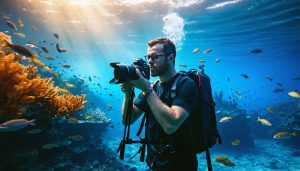
Master the art of underwater photography with these essential steps:
Dive Into Stunning Underwater Photos by investing in a high-quality underwater housing for your camera, ensuring it’s rated for the depths you plan to explore. Choose a wide-angle lens to capture the vastness of the underwater world and a strobe or video light to restore colors lost at depth. Set your camera to manual mode, adjusting shutter speed, aperture, and ISO to achieve the desired exposure and creative effects. Experiment with composition techniques like getting low, shooting upwards, and utilizing negative space to create compelling, immersive images that transport viewers into the mesmerizing realm beneath the waves.
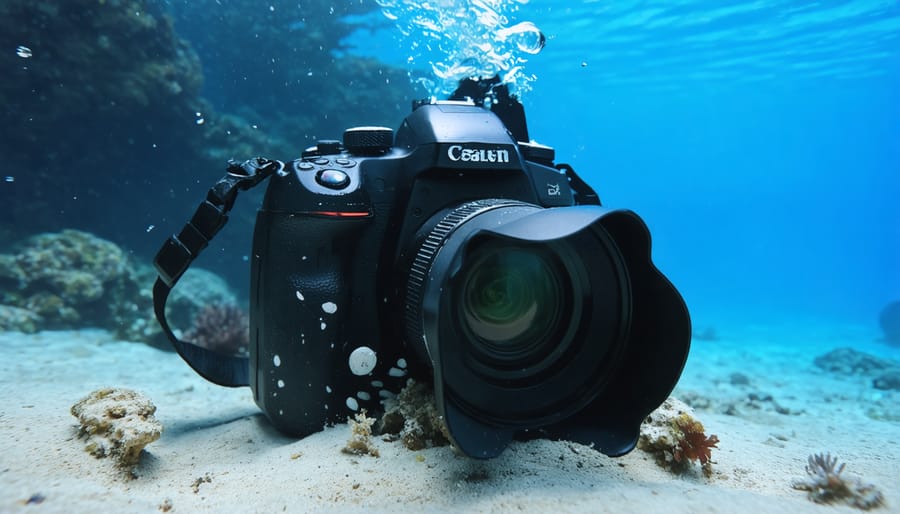
Essential Gear for Underwater Photography
Cameras and Housings
When selecting a camera for underwater photography, consider a compact point-and-shoot or a DSLR with manual controls. You can explore some of the best less-costly cameras that offer these features. Compact cameras are more affordable and easier to handle underwater, while DSLRs offer superior image quality and versatility. Ensure your camera has a suitable underwater housing rated for the depths you plan to dive.
Underwater housings protect your camera from water damage and provide access to controls. They are available for specific camera models and come in various materials like polycarbonate or aluminum. Look for housings with good ergonomics, reliable seals, and compatibility with wet lenses or ports for wide-angle and macro photography.
Popular compact cameras for underwater use include the Olympus Tough TG-6, Canon PowerShot G7 X Mark III, and Sony RX100 series. For DSLRs, consider models like the Nikon D850 or Canon EOS 5D Mark IV paired with housings from brands like Ikelite, Nauticam, or Sea&Sea.
When choosing an underwater housing, consider your budget, the type of diving you’ll be doing, and any additional accessories you may need, such as strobes or video lights. Don’t forget to properly maintain your housing by greasing O-rings and checking for leaks before each dive to ensure a watertight seal and protect your valuable camera gear.
Lenses and Ports
When selecting lenses for underwater photography, consider wide-angle and macro options to capture the diverse marine life and seascapes. Wide-angle lenses, such as fisheye or rectilinear lenses, are ideal for expansive reef scenes and large subjects like whales or sharks. Macro lenses allow you to photograph tiny, intricate creatures like nudibranchs and shrimp with stunning detail.
To use your lenses underwater, you’ll need compatible ports for your housing. Dome ports are best suited for wide-angle photography, as they minimize refraction and distortion. Flat ports are typically used for macro work, maintaining sharpness and magnification. Some ports feature interchangeable extensions to accommodate lenses of different lengths.
When assembling your setup, carefully check the compatibility between your housing, port, and lens to ensure a proper fit and watertight seal. Investing in high-quality lenses and ports will greatly enhance your underwater images’ clarity, color, and overall impact.
Lighting and Accessories
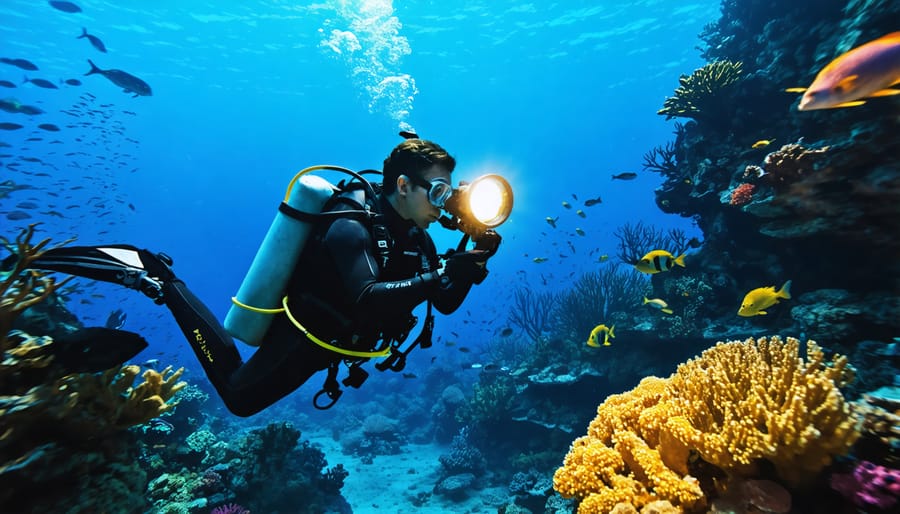
Proper lighting is critical for capturing stunning underwater photos. While natural light can be used in shallower waters, artificial lighting becomes essential as you dive deeper. Strobes and video lights are the go-to Lighting and Accessories for underwater photographers. Strobes provide powerful bursts of light to illuminate your subjects and restore lost colors. Video lights offer continuous illumination, which is ideal for shooting video or focusing in low-light conditions.
To attach your lighting equipment to your camera housing, you’ll need arms and trays. These accessories allow you to position your lights at various angles and distances from your lens. Flexible arms provide greater adjustability, while rigid arms offer more stability. Trays serve as a base for mounting your camera housing and lights, ensuring everything stays securely connected.
Other useful accessories include color-correction filters, lens ports, and focus lights. By investing in quality lighting gear, you’ll be well-equipped to create breathtaking underwater images.
Mastering Underwater Photography Techniques
Exposure and White Balance
Getting the right exposure and white balance underwater can be tricky, but it’s crucial for capturing stunning images. Water absorbs light differently than air, leading to color casts and reduced contrast. To compensate, you’ll need to adjust your camera settings accordingly.
Start by setting your camera to manual mode for greater control over exposure. Aim for a fast shutter speed (1/125 or higher) to freeze motion and minimize camera shake. Adjust your aperture based on the desired depth of field and available light. In darker conditions, bump up your ISO to maintain a proper exposure.
White balance is another key consideration. Underwater, colors tend to shift towards the blue-green end of the spectrum. Many cameras offer underwater white balance presets that can help correct this issue. If your camera doesn’t have this feature, you can manually set the white balance using a white or gray card as a reference.
For the best results, consider using an external strobe or video light to restore lost colors and illuminate your subject. Position the light at a 45-degree angle to minimize backscatter from suspended particles in the water.
Remember, achieving the perfect exposure and white balance underwater takes practice and experimentation. Don’t be afraid to review your shots and make adjustments as needed to find the sweet spot for your particular setup and shooting conditions.
Composing Your Shots
When it comes to underwater photography, composing your shots is key to capturing stunning images that truly showcase the magic of the aquatic world. One essential technique is to get close to your subject, as water can diminish color and contrast. By minimizing the distance between your camera and the subject, you’ll capture more vibrant and detailed shots.
Another crucial aspect is lighting. Since water absorbs light quickly, it’s important to shoot towards the surface whenever possible to take advantage of natural light filtering through. This will help illuminate your subject and bring out their true colors.
Framing is also critical in underwater photography. Look for interesting elements like coral formations, seaweed, or even other sea creatures to frame your main subject and add depth to your composition. Don’t be afraid to experiment with different angles, such as shooting upwards towards the surface or getting low to capture a unique perspective.
Remember the rule of thirds when composing your shots underwater. Place your subject off-center along the gridlines or at the intersections for a more visually appealing and balanced image. By keeping these techniques in mind, you’ll be well on your way to creating captivating underwater photographs that tell a story and transport your viewers to the mesmerizing world beneath the waves.
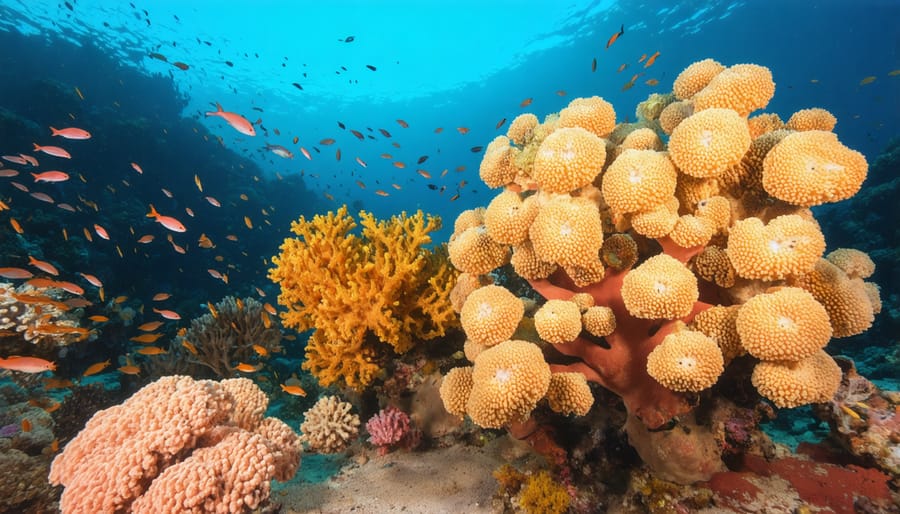
Approaching Marine Life
When approaching marine life for underwater photography, patience and respect are key. Move slowly and calmly to avoid startling the creatures. Observe their behavior and look for natural photo opportunities rather than trying to force interactions. Many underwater animals are curious and may approach you if you remain still.
For shy creatures like seahorses or eels, try positioning yourself near their hideouts and waiting quietly for them to emerge. When photographing larger animals such as sharks or whales, maintain a safe distance and never chase or corner them. Use longer focal lengths to capture close-ups without getting too close.
Pay attention to your surroundings and be mindful of fragile environments like coral reefs. Avoid touching or disturbing the underwater landscape. Look for compelling compositions that showcase the animal’s natural habitat and behavior.
Lighting is crucial for bringing out details and colors. Experiment with strobes or video lights to illuminate your subjects, especially in deeper, darker waters. Be cautious with lighting around sensitive creatures like seahorses to avoid stressing them.
Research the marine life you hope to photograph beforehand to understand their behaviors, habitats, and any special considerations for interactions. Local guides or dive professionals can often provide valuable tips for finding and safely photographing specific species. With a respectful approach and a bit of patience, you’ll be able to capture stunning images of the underwater world and its incredible inhabitants.
Post-Processing Underwater Photos
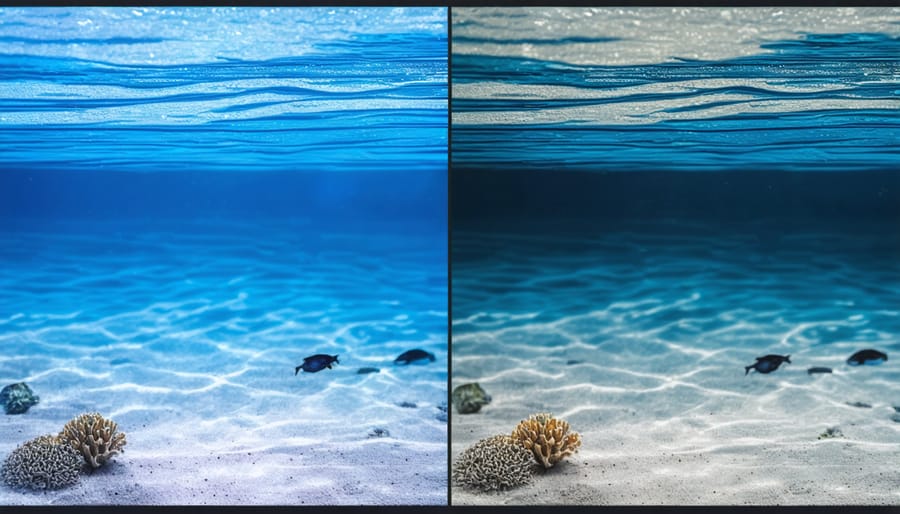
Once you’ve captured your stunning underwater images, the next step is to enhance them through post-processing. This is where you can really make your photos pop and correct any issues that may have arisen during the shoot. When editing underwater photos, focus on adjusting white balance to eliminate color casts caused by the water’s blue or green tint. You can also boost contrast and saturation to bring out the vibrant colors of coral reefs and marine life.
Noise reduction is another important aspect of post-processing underwater photos, as higher ISOs are often necessary in low-light conditions. Applying sharpening selectively can help bring out details in key areas without oversharpening the entire image. When working with RAW files, you have more flexibility to recover shadows and highlights, ensuring you maintain a balanced exposure.
Additionally, consider using local adjustments to target specific areas of the photo. For example, you might want to brighten up a dark foreground or add a vignette to draw the viewer’s eye to the main subject. Experiment with different techniques and find what works best for each image.
Remember, the goal of post-processing is to enhance the natural beauty of your underwater photos while maintaining a realistic look. Avoid over-editing or applying excessive filters that can make the image appear artificial. With practice and patience, you’ll develop a workflow that allows you to efficiently process your images and showcase the incredible world beneath the waves.
Underwater photography is a truly rewarding and magical pursuit that allows you to capture the wonders of the aquatic world in stunning detail. While it may seem challenging at first, with practice and dedication, anyone can learn to create breathtaking images beneath the waves. So don’t be intimidated – embrace the learning process, experiment with different techniques, and let your creativity flow. The underwater realm is full of endless opportunities for unique and captivating shots, from majestic marine life to ethereal seascapes. By following the tips and techniques outlined in this guide, you’ll be well on your way to unlocking the secrets of successful underwater photography. So gear up, dive in, and start exploring the incredible world that awaits beneath the surface. Your underwater photography journey starts now!


