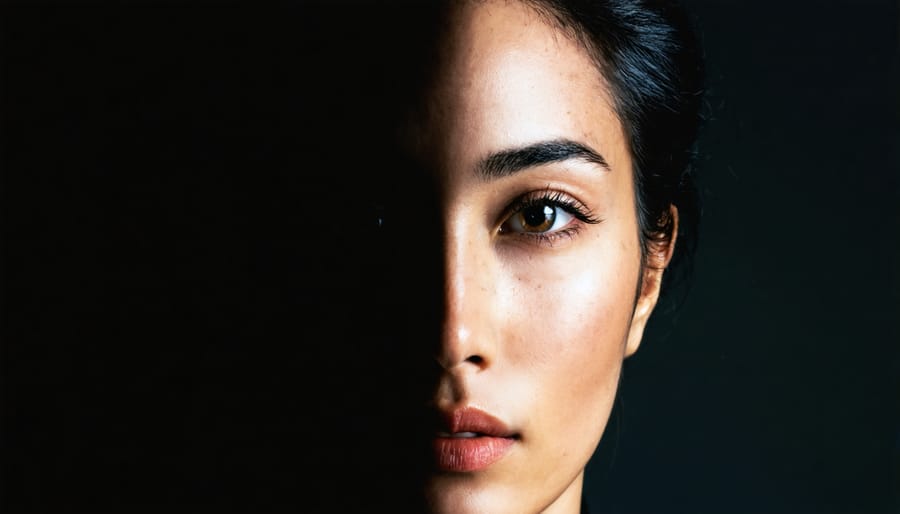
Harness the power of chiaroscuro, the interplay between light and shadow, to infuse your portraits with dramatic flair. Experiment with side lighting to sculpt your subject’s features, emphasizing texture and depth. Employ backlighting to create a luminous halo effect, separating your subject from the background. Mastering light is the key to crafting portraits that evoke emotion and captivate the viewer.
Understanding Light Quality and Direction
Hard Light vs Soft Light
Hard light creates strong shadows and high contrast, resulting in a dramatic, edgy look. It’s achieved by using a small, bright light source, such as the sun or a bare flash, positioned at an angle to the subject. The shadows are crisp and well-defined, emphasizing facial features and adding depth to the image.
In contrast, soft light produces a more flattering, diffused effect with gentle shadows and lower contrast. It’s created by using a large light source relative to the subject, such as a softbox or window light. The shadows are subtle and gradual, minimizing imperfections and creating a smooth, even illumination across the face.
To create hard light, position your light source close to the subject at a 45-degree angle. Experiment with different angles to sculpt the face and emphasize desired features. For soft light, use a larger light source or diffuse the light through a softbox, umbrella, or sheer curtain. Position the light closer to the subject for a wraparound effect that minimizes shadows.
Both hard and soft light have their place in dramatic lighting portrait photography. Hard light adds intensity and emphasizes texture, making it ideal for edgy, high-fashion looks or character portraits. Soft light is more forgiving and flattering, perfect for beauty shots or portraits where you want to minimize imperfections and create a gentler mood.
Experiment with your camera settings to control the light intensity and achieve the desired effect for your portraits.
Rembrandt Lighting
Rembrandt lighting, named after the Dutch master painter, is a classic lighting pattern that creates a dramatic, sculpted look. To achieve this effect, position your main light source 45 degrees to the side and slightly above your subject’s face. This placement creates a small, triangular highlight on the less illuminated side of the face, known as the “Rembrandt triangle.”
Ensure that the shadow of the nose does not merge with the shadow on the cheek, as this would create a more severe “split lighting” effect. Experiment with the height and angle of your light source to control the size and position of the Rembrandt triangle. A reflector placed on the opposite side of the main light can help fill in shadows and add catchlights to the eyes.
Rembrandt lighting works well with most facial structures, but it’s particularly effective for highlighting chiseled features and creating a sense of depth and dimensionality. This lighting pattern is popular in low-key portraits, where the background is dark, and the focus is on the subject’s face. By mastering Rembrandt lighting, you can add a timeless, painterly quality to your portraits that will make them stand out from the crowd.
Low Key Lighting Techniques
Single Light Setup
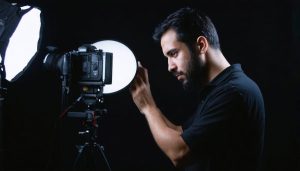
Here’s a simple yet effective low key setup using just one light source that can produce striking, dramatic portraits. Position your subject against a dark or black background, and place a single light source, such as a strobe or continuous light, at a 45-degree angle to the subject. Adjust the light’s height so that it illuminates the subject’s face while casting shadows on the opposite side, creating depth and dimension.
Experiment with the light’s distance from the subject to control the intensity and fall-off of the light. Closer proximity will result in a more contrasty look, while moving the light further away will create a softer, more even illumination. Use a reflector on the opposite side of the light source to fill in shadows and add catchlights to the subject’s eyes, if desired.
To add an extra touch of drama, consider using a grid or snoot on your light source to narrow the beam and create a more focused, spotlight-like effect. This will further emphasize the contrast between the illuminated and shadowed areas of the subject’s face.
When setting your camera, use manual mode to ensure full control over the exposure. Start with a low ISO (100-400) to minimize noise, and adjust your aperture and shutter speed accordingly. A wide aperture (f/2.8-f/5.6) will help create a shallow depth of field, isolating the subject from the background, while a slower shutter speed (1/125th-1/60th) will allow for a lower ISO and a more balanced exposure.
Remember, the key to success with this setup is experimentation and fine-tuning. Make small adjustments to the light’s position, intensity, and modifier until you achieve the desired dramatic effect that best complements your subject’s features and mood.
Adding Fill Light
While dramatic lighting is all about emphasizing shadows and highlights, sometimes shadows can become too dark, obscuring important details in your subject’s face. This is where fill light comes into play. Fill light is a secondary light source that helps to subtly lighten shadows without overpowering the main light or compromising the low-key look you’re aiming for.
One effective way to add fill light is by using a reflector. Position a white or silver reflector opposite your main light source to bounce some of that light back onto your subject, softening the shadows. Experiment with the distance and angle of the reflector to control the intensity and direction of the fill light.
Another option is to use a secondary light source, such as a speedlight or continuous light, set to a lower power than your main light. Place this fill light near the camera, aimed at your subject’s face, to gently illuminate the shadows. Be careful not to overdo it, as too much fill light can flatten the image and reduce the dramatic effect.
When using fill light, it’s essential to maintain the overall low-key aesthetic. The goal is to subtly lighten the shadows while preserving the depth and dimensionality created by your main light. As you adjust your fill light, keep an eye on your histogram to ensure that the shadows remain well-defined and the highlights aren’t blown out.
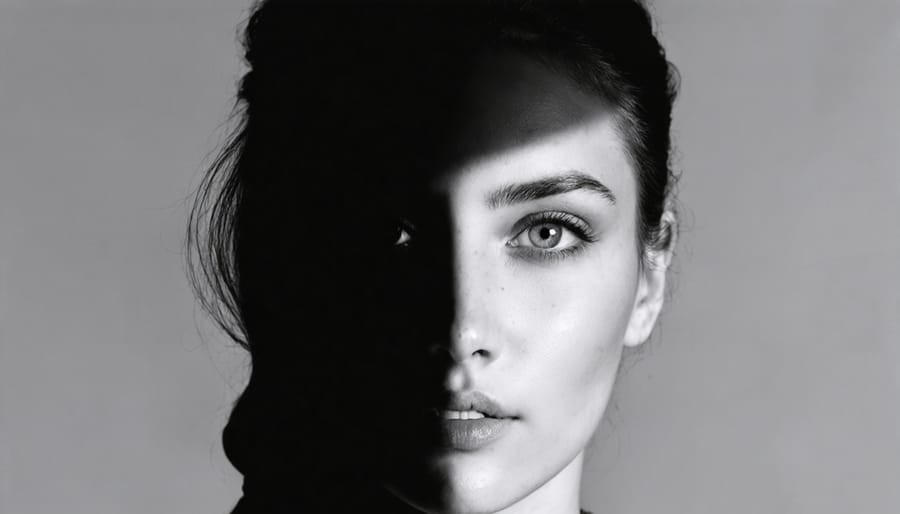
Mastering the use of fill light is a key skill for creating striking black and white photography portraits. By balancing the interplay of light and shadow, you can add depth, drama, and emotional impact to your images, elevating them from ordinary to extraordinary.
Creative Colored Lighting
Color Theory Basics
Color theory plays a crucial role in creating captivating portrait lighting. By understanding the interplay of colors, photographers can evoke specific moods and emotions in their images. The color wheel, consisting of primary, secondary, and tertiary colors, serves as a fundamental tool for selecting harmonious color schemes. Complementary colors, located opposite each other on the wheel, create striking contrasts when used together in lighting. For instance, pairing blue and orange lighting can result in a dramatic, cinematic effect. Analogous colors, situated adjacent on the wheel, produce more subtle and cohesive lighting schemes. Experimenting with color temperature is another essential aspect of color theory in portrait lighting. Warm colors, such as reds and oranges, can convey intimacy and warmth, while cool colors, like blues and greens, can evoke a sense of tranquility or mystery. By carefully selecting and balancing colors in your lighting setup, you can create portraits that not only illuminate your subject but also tell a compelling visual story. To achieve these effects, investing in quality photography lighting equipment, such as colored gels and filters, can greatly expand your creative possibilities in dramatic portrait lighting.
Expressing Mood with Color
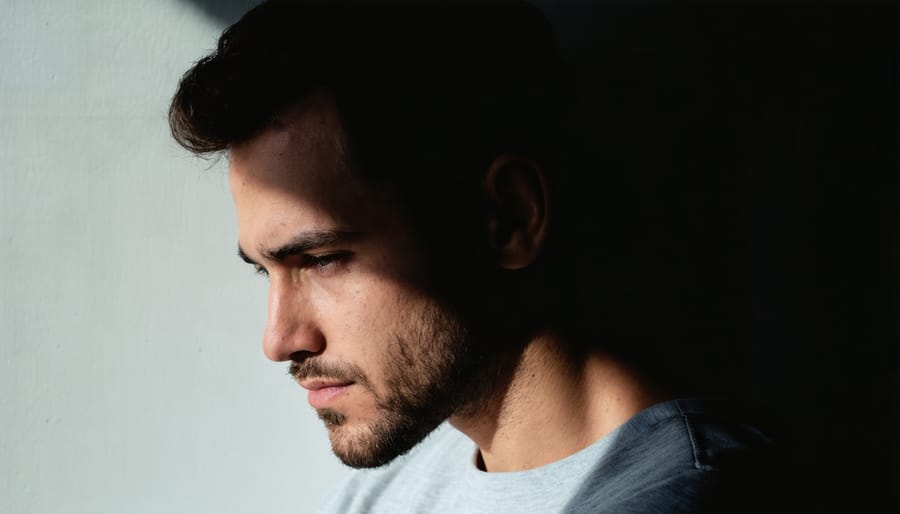
Color is a powerful tool for evoking specific moods and emotions in your dramatic lighting portraits. By strategically incorporating colored lights, you can create striking visual narratives that resonate with your audience. For instance, red lighting can convey passion, intensity, or even danger, making it ideal for bold and daring portraits. On the other hand, blue tones can evoke feelings of calmness, serenity, or melancholy, perfect for more introspective or somber scenes.
Green lighting can lend an ethereal, otherworldly atmosphere to your images, while yellow and orange hues can create a sense of warmth, intimacy, or nostalgia. Experimenting with contrasting colors, such as combining warm and cool tones, can add depth and visual interest to your portraits, helping to guide the viewer’s eye through the composition.
When using colored lights, consider the interplay between the subject’s skin tones, clothing, and the surrounding environment. Softening or diffusing the colored light can help create a more subtle and natural effect, while harsh, direct lighting can produce more dramatic and edgy results. As with any creative lighting setup, the key is to experiment, observe, and adjust until you achieve the desired mood and emotional impact in your portraits.
Practical Tips and Considerations
When working with dramatic lighting for portrait photography, it’s essential to maintain control over your light sources. Experiment with different light modifiers like softboxes, umbrellas, or reflectors to shape and direct the light as desired. Consider the size, distance, and angle of your lights to achieve the desired effect. Remember, small adjustments can make a big difference in the final result.
Communicating effectively with your model is crucial for capturing the right mood and expressions. Provide clear direction and guidance, while also allowing room for creativity and spontaneity. Encourage your model to interact with the light, using their body language and facial expressions to illuminate your artistry and enhance the dramatic effect.
In post-processing, you can further refine the dramatic look of your portraits. Adjust the contrast, highlights, and shadows to emphasize the interplay of light and dark. Selective dodging and burning can help draw attention to specific areas of the image. However, be mindful not to overdo the editing, as it can quickly look artificial. Aim for a balance that maintains the integrity of the original capture while enhancing the desired mood.
Lastly, don’t be afraid to experiment and push boundaries. Dramatic lighting is all about creating a strong visual impact, so try out unconventional lighting setups, unique poses, or unexpected locations. The more you practice and explore, the more you’ll develop your own signature style in dramatic portrait photography.
Conclusion
In conclusion, dramatic lighting in portrait photography is a powerful tool for creating captivating and emotive images that tell a story. By understanding the fundamentals of lighting, such as the qualities of hard and soft light, the direction and intensity of the light source, and the use of modifiers, you can craft images that evoke a specific mood or atmosphere. Experimenting with different lighting setups, from high-contrast chiaroscuro to ethereal rim lighting, allows you to express your unique creative vision and push the boundaries of traditional portraiture. Remember, the key to mastering dramatic lighting is to practice, observe, and learn from your successes and failures. Embrace the storytelling potential of light, and let it guide you in creating portraits that leave a lasting impression on your viewers.


