Optimize your camera settings for low light by setting your aperture to its widest and adjusting your ISO to minimize noise while capturing maximum light. Use a sturdy tripod to prevent camera shake and enable slower shutter speeds for brighter and clearer images. Experiment with long exposure techniques to create stunning effects like light trails and starbursts. Incorporate manual focusing for sharper images, as autofocus can struggle in dim settings. For added creativity, play with light painting by using a handheld light source to illuminate your subject or scene.
Understanding the Basics of Night Photography
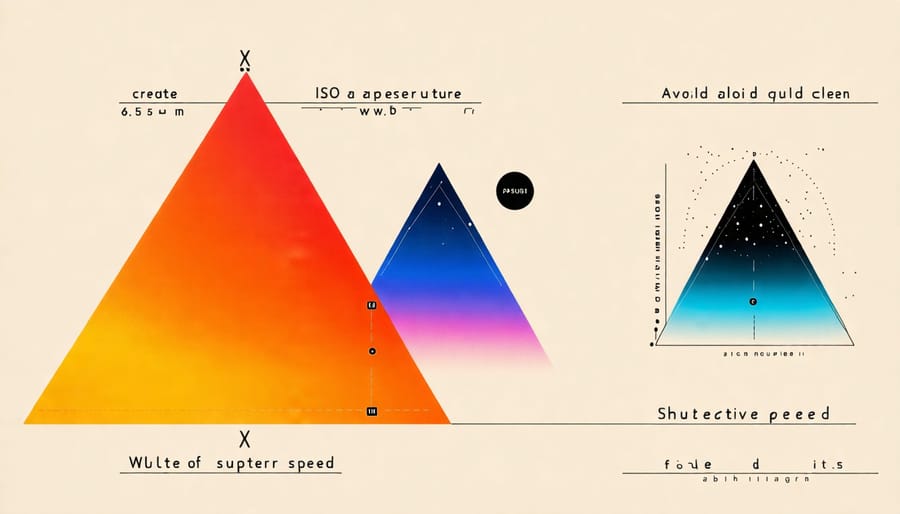
Exposure Triangle Explained
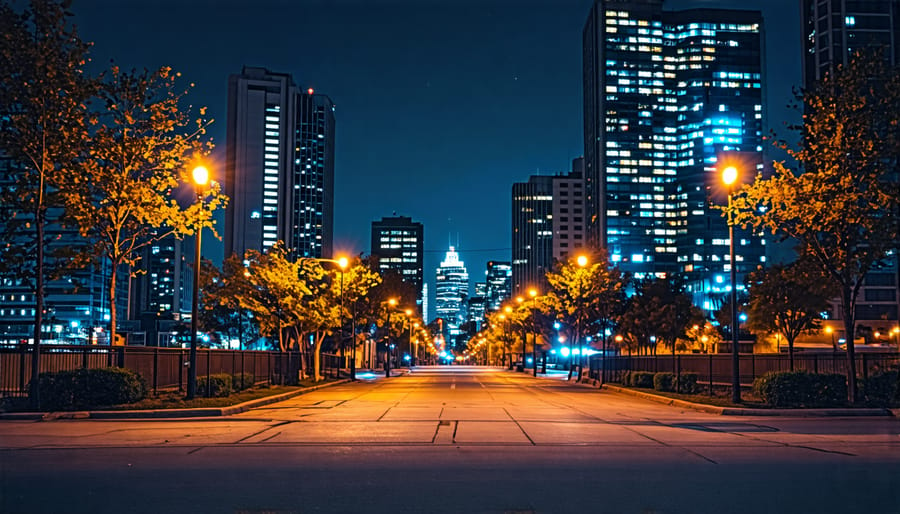
Imagine you’re on a quiet night-time photo expedition, capturing the magic of a city skyline or the tranquility of a moonlit landscape. To master this art, understanding the exposure triangle—comprising ISO, aperture, and shutter speed—is crucial. This triangle is your toolkit, balancing light and clarity. In night photography, your ISO determines sensitivity to light; a higher ISO makes your camera more sensitive, picking up more light in dark conditions but can introduce noise. Aperture, described through f-stop numbers, controls the lens’s light intake. A lower f-stop, like f/2.8, allows more light, ideal for capturing crisp images at night. Shutter speed dictates how long your camera’s sensor is exposed; longer durations, like 10 seconds, soak in more light but need a tripod to avoid blurs from camera shake. The interplay between these three elements allows creative expression while overcoming the challenges of low-light photography. With practice, you’ll find the perfect balance, unlocking the night’s hidden wonders.
Low Light Challenges
Capturing stunning photographs in low light can be challenging, primarily due to issues like noise and motion blur. Noise, or the grainy texture often seen in photos taken with high ISO settings, can intrude on the image’s clarity. To mitigate noise, try using the lowest ISO setting feasible for your scene and camera. If necessary, use post-processing software to reduce noise further, enhancing the final image. Motion blur occurs when your subject moves during the long exposure times needed to capture enough light. To combat this, consider using a tripod to stabilize your camera and keep your shutter speed fast enough to freeze motion whenever possible. Another tactic involves increasing the lens aperture—larger apertures allow more light onto the sensor, reducing the need for longer exposures. Story of capturing fireworks can serve as an example: by using a tripod and setting the right ISO, you can create crisp and vibrant images that illuminate the night.
Essential Gear for Night Photography
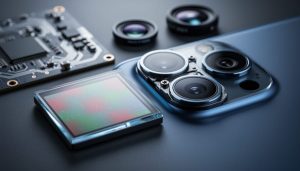
Choosing the Right Camera
When it comes to night photography, choosing the right camera can dramatically enhance your results. One essential feature to prioritize is a large sensor, such as full-frame or APS-C, which excels at capturing more light and detail in low light. Look for cameras offering high ISO performance to reduce noise in dim settings. Opt for models with manual settings to give you full control over exposure, aperture, and shutter speed. A camera with a robust autofocus system can help you capture sharp images even in the dark. For more insight on selecting a camera fit for your needs, check out our guide on buying the perfect camera. Keep these features in mind, and you’ll be well-equipped to capture the enchanting world of night photography.
Lens Selection
Choosing the right lens is crucial for capturing stunning night images, where the focus is on balancing light and clarity. For night photography, prime lenses with wide apertures, such as f/1.8 or f/2.8, are often preferred because they let in more light, allowing you to shoot at lower ISO settings and minimize noise. A fast lens like a 50mm or 35mm prime can be your go-to for sharp, detailed shots. However, don’t overlook wide-angle lenses; their larger field of view captures expansive night skies and urban landscapes beautifully. Remember, the best lens is the one that helps bring your creative vision to life.
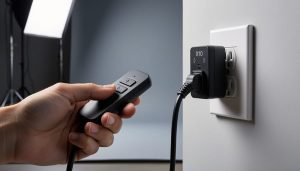
Tripods and Accessories
Stability is paramount in night photography, where even the slightest movement can blur your shot. A sturdy tripod is essential, acting as an unwavering foundation to keep your camera still. Pair it with a remote shutter release to eliminate camera shake that occurs when you press the shutter button manually. Another handy tool is a flashlight; it not only helps you navigate in low-light areas but also assists in composing your shot without disturbing the camera’s position. For additional tips on holding a camera steadily, check out our detailed guide. Together, these accessories can significantly enhance your nighttime captures.
Techniques for Capturing Stunning Night Shots
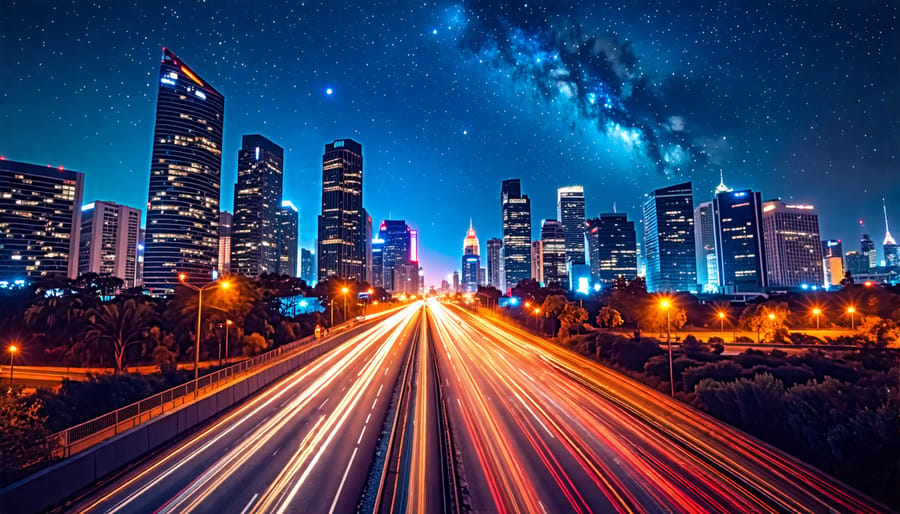
Playing with Light Trails
Capturing light trails is a thrilling aspect of night photography that infuses your images with movement and energy. As cars slice through the darkness, they leave mesmerizing streaks of light in their wake, which you can capture with a few simple techniques. To start, you’ll need a sturdy tripod to prevent camera shake and a camera capable of manual exposure settings. Set your camera to shutter priority mode or full manual mode, and choose a long exposure time—typically between 10 to 30 seconds—depending on the speed of the traffic and the ambient light conditions.
Adjust your ISO to a low setting, around 100 or 200, to reduce noise in your image. Set your aperture to an intermediate value, like f/8, to ensure a good depth of field. Compose your shot by finding an interesting urban backdrop or a curve in the road where the trails will add dynamic lines to your image. Focus manually to ensure sharpness, particularly if the light is too low for autofocus. Experiment with different angles and exposure times to see how they transform the light trails into flowing artworks.
Astrophotography Basics
Embarking on the journey of astrophotography is a thrilling way to capture the beauty of the night sky. To start, choose a location far from the artificial lights of the city; the darker the skies, the better your shots will be. A tripod is essential to keep your camera steady during long exposures, preventing blurry photos. For lenses, wide-angle options with a low f-stop, such as f/2.8, are ideal for capturing expansive scenes filled with stars.
Use manual mode on your camera to control the exposure settings. Begin with a shutter speed between 15 to 30 seconds to allow enough light to etch the stars onto your sensor without causing too much star motion. An ISO setting between 1600 and 3200 often works well, but feel free to adjust based on your specific conditions. Experimenting is key.
Don’t forget to focus manually, setting the lens to infinity or using live view to zoom in on a star for sharpness. Post-processing is your friend when enhancing details like the Milky Way’s intricate bands; astrophotography software can help you bring out those celestial wonders more vividly. Remember, patience and practice are your best companions in mastering this captivating craft.
Using Long Exposure
Capturing stunning night images with a dreamy effect often involves mastering the art of long exposure. This technique allows you to harness the beauty of dim light and transform it into enchanting photographs. To get started, stabilize your camera with a sturdy tripod to avoid any blur caused by movement during prolonged shooting times. Next, switch your camera to manual mode, allowing you to control the shutter speed, aperture, and ISO settings. For a balanced exposure that captures the subtle nuances of night scenes, start with a low ISO setting, around 100-400, to minimize noise. Keep your aperture between f/8 and f/16 to maintain sharpness throughout the image.
The magic lies in the shutter speed. Experiment with longer times, such as 15 to 30 seconds, which will beautifully capture light trails, smooth water reflections, or even starry skies. This technique offers endless creative possibilities—imagine the vibrant streaks of city lights painting a luminous tapestry across your frame or the tranquil dance of stars across the night sky. Always review your shots and make adjustments, as every scene reacts differently to long exposure. Embrace experimentation and enjoy how long exposure can elevate your night photography to a new artistic level.
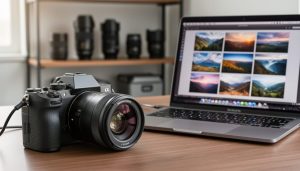
Post-Processing Tips for Night Photography
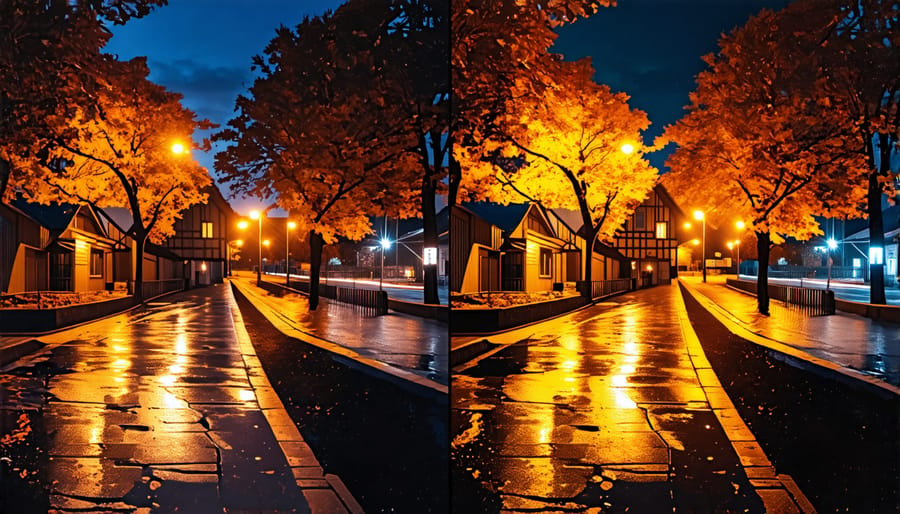
Noise Reduction Techniques
Capturing stunning night photos often means dealing with the inevitable challenge of noise. But fear not, as there are effective techniques to minimize it while preserving detail. Start by lowering your camera’s ISO setting; while higher ISO can brighten dark scenes, it also increases noise. Instead, try extending the exposure time, using a tripod to keep your camera steady. This allows more light to hit the sensor without upping the ISO.
Another method involves using fast lenses with wide apertures, like f/2.8 or lower, to let in more light and reduce dependence on high ISO settings. Moreover, shooting in RAW format is beneficial because these files retain more detail, providing more flexibility for noise reduction during post-processing.
In post-processing, tools like Adobe Lightroom or DxO PhotoLab offer powerful noise reduction features. Carefully apply noise reduction to maintain detail, starting by adjusting the luminance slider to smooth grain without softening the image too much. Remember, preserving detail is key, so strike a balance between noise and clarity for the perfect night shot.
Enhancing Colors and Contrast
Adjusting colors and contrast is crucial for transforming your night photos from ordinary to extraordinary. When shooting in low light, colors can often appear muted and shadows overwhelming. Start by experimenting with your camera’s settings to optimize the balance between highlights and shadows. One effective approach is to use your camera’s histogram to ensure you’re capturing all the necessary detail in your highlights without losing intricacies in the shadows.
In post-processing, software tools like Lightroom or Photoshop can be invaluable. Begin by adjusting the contrast to add depth to the image, making sure not to overdo it, which can lead to loss of detail. Increase the vibrance to subtly enhance the vividness of colors, without affecting skin tones. Applying selective color adjustments can help specific hues stand out, such as the blue of the night sky or the warm glow of streetlights. Remember, night photography is an artistic endeavor—don’t be afraid to let your creativity guide your adjustments to achieve a captivating final image.
Conclusion
Embarking on the journey of night photography is as thrilling as it is rewarding. Armed with the tips and techniques we’ve covered, you’re now well-prepared to transform the nocturnal world into your creative playground. Remember, the magic of night photography lies in the balance between embracing the shadows and celebrating the light. Continuously experiment with your settings—try longer exposures, tweak your ISO, or play with manual focus to see how these changes impact your images. Each outing under the starry sky offers a new opportunity for discovery and growth. Never shy away from making mistakes; they are the stepping stones to mastery. Engage with fellow photographers, share your results, seek feedback, and most importantly, enjoy the process of learning. With practice, patience, and a sprinkle of creativity, your night photography skills will illuminate the path to capturing breathtaking scenes. So, grab your camera and venture out into the night—your masterpiece awaits!