Transform ordinary portraits into captivating visual stories by mastering creative Photoshop techniques that go beyond basic post-processing fundamentals. Blend multiple exposures to create ethereal double exposures that reveal inner emotions through layered transparency. Harness advanced color grading with selective hue adjustments and split-toning to develop signature styles that set your work apart. Manipulate light and shadow through luminosity masks and dodge/burn techniques to sculpt dimensional portraits that command attention. Whether crafting dreamlike composites or enhancing natural beauty, these creative approaches elevate portrait editing from simple retouching to true artistic expression.
Unite technical precision with creative vision by incorporating textures, adjusting tonal contrast, and experimenting with artistic filters – all while maintaining skin texture and natural features. Master these techniques to develop a unique editing style that transforms client portraits into unforgettable works of art that tell compelling visual stories.
Essential Portrait Retouching Foundations
Non-Destructive Workflow Setup
Before diving into creative portrait editing, establishing a non-destructive workflow is crucial for maintaining image quality and flexibility throughout your editing process. Start by duplicating your background layer (Ctrl/Cmd + J) and rename it as your working layer. This creates a safety net, preserving your original image.
Create adjustment layers for each modification rather than applying direct changes to your image layers. These floating layers sit above your photo and can be modified or deleted without affecting the original image. For portraits, commonly used adjustment layers include Curves, Levels, and Color Balance.
Group related layers together by selecting them and pressing Ctrl/Cmd + G. This keeps your workspace organized and makes it easier to toggle entire sets of effects on and off. When working with skin retouching, use separate layers for frequency separation and healing operations.
Remember to name your layers descriptively – “Skin Smoothing,” “Eye Enhancement,” or “Color Grade” – making it simple to revisit and adjust specific elements of your edit later. This systematic approach ensures you can always backtrack and refine your creative decisions without compromising image quality.
Skin Smoothing Without the Plastic Look
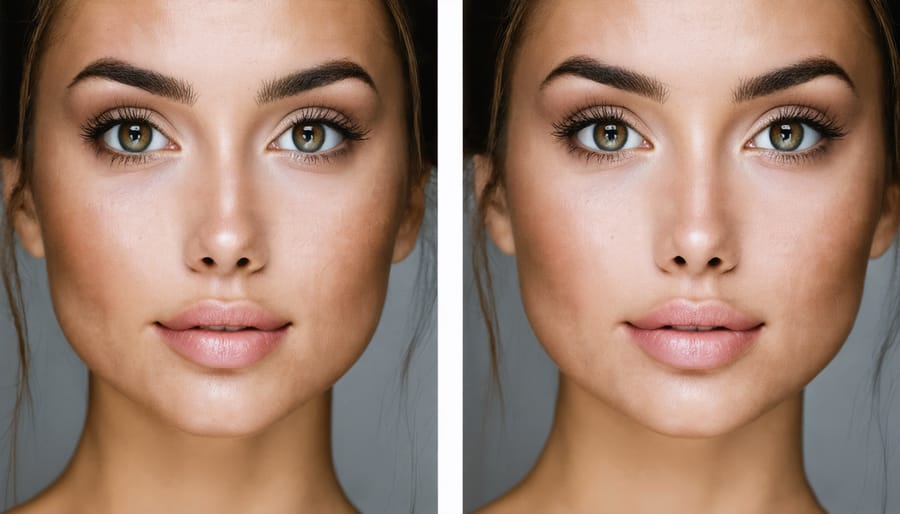
One of the most common pitfalls in portrait retouching is over-smoothing the skin, resulting in that dreaded “plastic” or “waxy” appearance that immediately screams “Photoshopped!” The key to natural-looking skin retouching lies in preserving the skin’s natural texture while selectively addressing imperfections.
Start by creating a new layer and use the Healing Brush Tool with a soft edge to tackle specific blemishes. Work methodically, addressing one area at a time rather than trying to fix everything at once. For broader areas, the frequency separation technique remains one of the most effective methods for maintaining skin texture. This approach separates the skin’s color and texture into different layers, allowing you to smooth out color transitions without destroying valuable texture details.
When using the Blur tool, opt for Surface Blur instead of Gaussian Blur, as it better preserves edge details. Keep the radius low (between 2-5 pixels) and adjust the threshold according to your subject’s skin type. Remember to mask out areas that should remain sharp, such as eyes, eyebrows, and lips.
A professional trick is to work at different opacity levels. Start with your retouching layer at 50% opacity and gradually increase it only where needed. This builds up the effect naturally and prevents over-processing. Pay attention to how skin looks in different lighting conditions – pores and fine lines should still be visible when zoomed in, just softened rather than eliminated.
Finally, step away from your screen periodically and view the image at different sizes. If the skin looks unnaturally smooth at any point, you’ve probably gone too far. Remember, the goal is enhancement, not perfection.
Advanced Color Grading for Mood
Split Toning Mastery
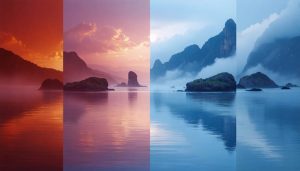
Split toning is a powerful tool that can transform ordinary portraits into cinematic masterpieces. By applying different colors to the highlights and shadows of your images, you can create depth and emotion that elevate your work to the next level. Think of it as painting with light and shadow, where each color choice tells a different story.
In Photoshop, navigate to the Camera Raw filter or use adjustment layers to access split toning controls. For a classic cinematic look, try adding subtle warm tones (like soft oranges or yellows) to your highlights while incorporating cool tones (such as teals or blues) in the shadows. This contrast creates a sophisticated visual balance that draws viewers into your portrait.
One of the most effective color grading techniques involves using split toning to enhance the emotional impact of your portraits. For instance, adding golden highlights with purple shadows can create a dreamy, romantic atmosphere, while green shadows with copper highlights might evoke a more mysterious or dramatic mood.
Remember to work with subtle adjustments – split toning is most effective when applied with a gentle touch. Start with low saturation values (around 10-15%) and gradually increase until you achieve your desired effect. Pay special attention to skin tones, as they can be particularly sensitive to color shifts.
Pro tip: Create and save your own split toning presets for consistent styling across a series of portraits. This not only saves time but helps maintain a cohesive look throughout your portfolio or client gallery.
Color Harmony Through Selective Adjustments
Color harmony can make or break a portrait, and mastering selective adjustments in Photoshop gives you precise control over your image’s color story. Start by creating a Curves adjustment layer and use the layer mask to selectively enhance specific areas of your portrait. This technique allows you to build depth and dimension while maintaining a cohesive look.
For portraits, focus on creating complementary relationships between skin tones and background colors. Use the Selective Color adjustment layer to fine-tune individual color channels – this is particularly powerful for enhancing warm skin tones while keeping cooler background elements balanced. Paint on the mask with a soft brush to blend these adjustments naturally.
One effective approach is the split-toning technique using Color Balance adjustment layers. Create two layers: one for highlights and another for shadows. This allows you to introduce subtle color variations that add depth while maintaining harmony. For example, try adding gentle warm tones to highlights and cool tints to shadows for a cinematic feel.
Don’t overlook the power of Gradient Maps for creating mood. Apply one as an adjustment layer, reduce the opacity to taste, and mask out areas where you want to preserve original colors. This technique is excellent for creating atmospheric portraits with a consistent color palette.
Remember to periodically toggle your adjustments on and off to ensure you’re not overdoing the effect. The goal is to enhance the natural color relationships within your image while creating a distinctive look that draws viewers into your portrait’s story.
Creative Light and Shadow Effects
Dodge and Burn Like a Pro
Mastering dodge and burn techniques can transform a flat portrait into a striking masterpiece with enhanced dimensionality and depth. While basic professional editing tools offer standard dodge and burn capabilities, the real magic happens when you approach it with precision and purpose.
Start by creating two curve adjustment layers – one set to Screen mode for dodging (lightening) and another to Multiply for burning (darkening). Set both layers’ opacity to 50% and fill them with 50% gray. This method gives you maximum control while preserving the ability to make adjustments later.
When working on portraits, focus on natural light patterns. Enhance existing highlights on the forehead, cheekbones, and bridge of the nose using your dodge tool with a soft brush at 10-15% opacity. For burning, target the natural shadows along the jawline, under the cheekbones, and around the eye sockets. Think of yourself as a digital sculptor, gradually building depth through subtle adjustments.
Pro tip: Create a new layer and fill it with 50% gray set to Soft Light blend mode. Use black and white brushes at 5% opacity to paint shadows and highlights manually. This technique offers precise control over every adjustment and maintains a non-destructive workflow.
Remember to step back frequently and view your image at different zoom levels. It’s easy to get caught up in details and overwork an area. A useful trick is to toggle the dodge and burn layers on and off occasionally to ensure you’re maintaining natural-looking results.
For sophisticated dimension, work in stages. Start with broad, general adjustments to establish the overall lighting direction, then progress to medium details like facial features, and finally fine-tune small details like catch lights in the eyes or subtle skin transitions. This layered approach ensures your dodging and burning enhances rather than overwhelms the portrait.
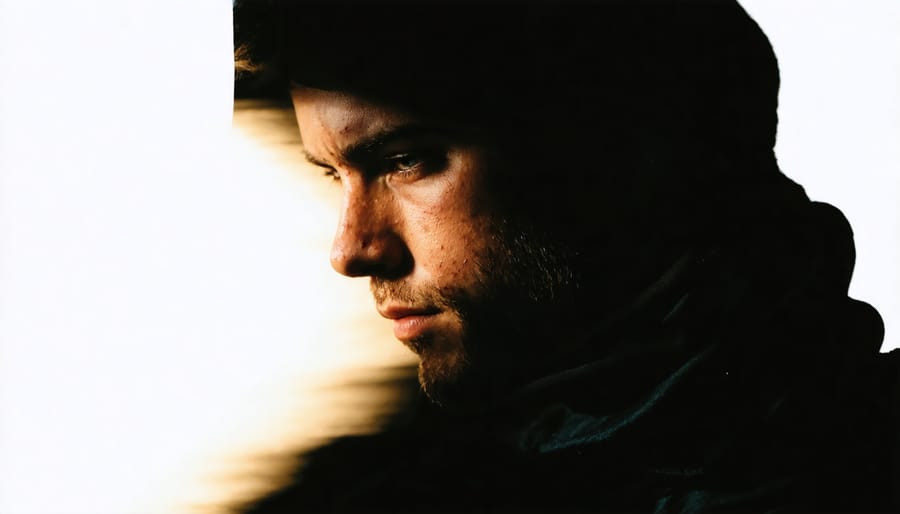
Creating Atmospheric Light Effects
Atmospheric lighting effects can transform an ordinary portrait into a captivating piece of art that tells a story. One of the most popular techniques is adding light leaks, which create a dreamy, vintage feel. To achieve this, create a new layer and use the Gradient Tool with warm colors like orange and yellow, setting the blend mode to Screen or Overlay for a subtle, natural-looking effect.
For lens flares, Photoshop’s Render > Lens Flare filter is just the beginning. For more authentic results, try overlaying real lens flare photos onto your portraits. Position them strategically near bright areas or light sources in your image, then adjust the opacity and blend mode (typically Screen or Add) until they complement rather than overwhelm your subject.
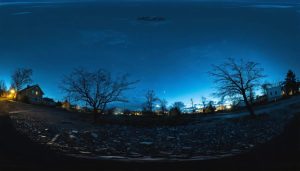
Environmental lighting effects can add depth and dimension to your portraits. Create a new layer and use a soft brush with a low opacity to paint with light. Cool blues work well for moonlight effects, while warm yellows and oranges can simulate golden hour lighting. Don’t forget to consider the direction of your added light – it should match any existing light sources in your image for realism.
For a more dramatic effect, try creating volumetric lighting or “god rays.” Start by making diagonal lines with a large, soft brush on a new layer, then apply Motion Blur. Adjust the layer’s blend mode to Screen and reduce opacity until it looks natural. This technique works particularly well in portraits with visible particles like dust or fog.
Remember that subtle is often better when it comes to atmospheric effects. Use layer masks to control where your lighting effects appear, and always step away from your work periodically to ensure you haven’t gone overboard. The goal is to enhance your portrait’s mood and atmosphere while maintaining the natural beauty of your subject.
Artistic Portrait Effects
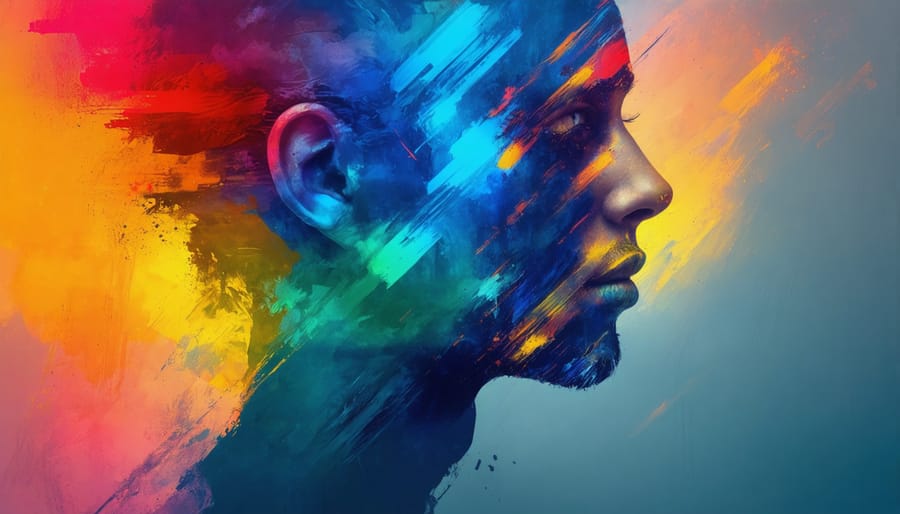
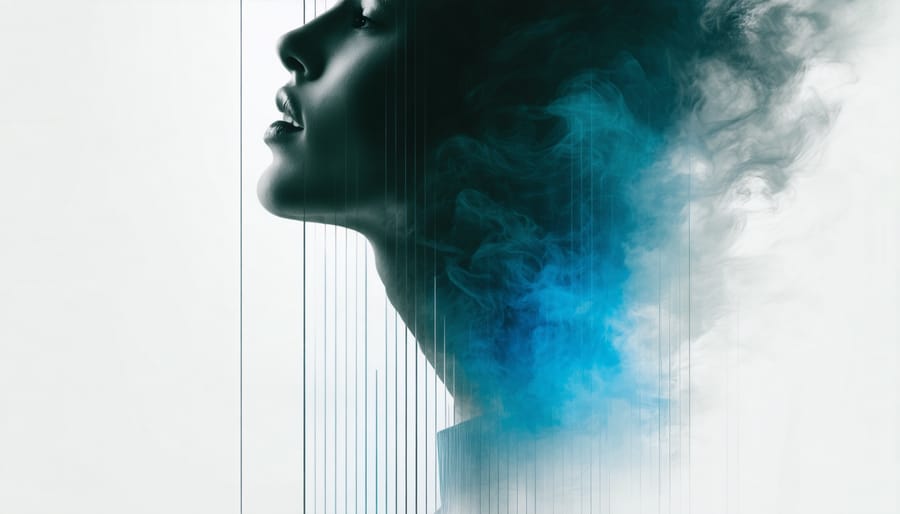
Double Exposure Magic
Double exposure effects have long been a hallmark of creative portraiture, and with Photoshop, you can take this artistic technique to new heights. The key to creating sophisticated double exposures lies in mastering masks and blending modes, which allow you to merge two or more images seamlessly.
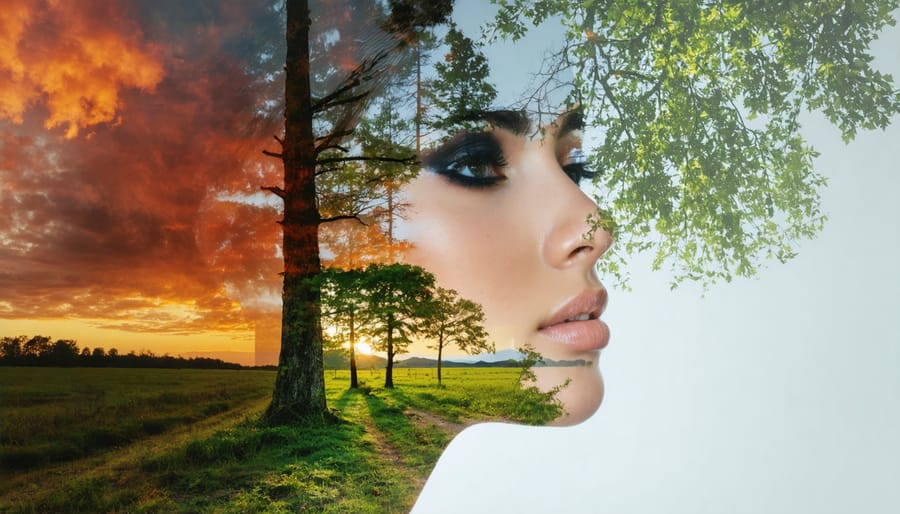
Start by selecting a strong portrait as your base image, ideally one with good contrast and a clear silhouette. For the secondary image, choose something that complements your subject – natural elements like trees, cityscapes, or abstract textures work particularly well. The magic happens when you bring these elements together.
To begin, open both images in Photoshop and drag your secondary image onto your portrait layer. Set the blending mode to Screen or Lighten for a classic double exposure look. The Screen mode works exceptionally well with lighter images, while Lighten can create more dramatic results with darker elements.
Creating a layer mask is crucial for precise control. Use the brush tool with varying opacity levels to reveal or hide portions of your secondary image. Pay special attention to the edges of your subject’s face and hair – these areas often benefit from subtle transitions between the two images.
For more depth, try experimenting with multiple exposures using different blending modes. Overlay can add texture, while Soft Light creates a more subtle effect. Don’t be afraid to adjust the opacity of different layers to find the perfect balance.
Advanced techniques include using gradient maps to unify the tones between images or applying adjustment layers to enhance contrast and color harmony. Remember to work non-destructively by using smart objects, allowing you to make changes to your composition at any stage of the process.
The key to successful double exposure portraits lies in the relationship between your chosen images. Look for shapes and patterns that complement your subject’s features, and don’t be afraid to experiment with unexpected combinations. Sometimes the most striking results come from bold, unconventional choices.
Painterly Portrait Effects
Transforming your portraits into painterly masterpieces can add a unique artistic dimension to your photography portfolio. Using Photoshop’s powerful custom photo effects and brushes, you can create stunning interpretations that blur the line between photography and traditional art.
Start by duplicating your base layer and applying a Smart Blur filter to create a soft, paint-like foundation. Experiment with the radius and threshold settings until you achieve a natural-looking smoothing effect that preserves essential details. Next, use the Mixer Brush tool to begin adding painterly strokes. Choose a brush with subtle texture and adjust the wetness and mix settings to simulate different painting techniques.
For an oil painting effect, work with multiple layers using various brush sizes. Focus on maintaining the portrait’s core features while allowing some areas to blend naturally. Pay special attention to the eyes, lips, and other defining characteristics that make your subject unique.
To add depth and dimension, incorporate texture overlays that mimic canvas or watercolor paper. Set the blend mode to Soft Light or Overlay and adjust the opacity to taste. This subtle detail can make your digital painting feel more authentic and tangible.
Consider using the Smudge tool with a textured brush to create deliberate brush strokes that follow the natural contours of your subject’s face. This technique works particularly well for hair and clothing, adding movement and artistic flair to your composition.
For a more stylized approach, try combining different artistic filters like Dry Brush or Palette Knife. Layer these effects with varying opacities and mask out areas where you want to preserve more photographic detail. Remember that the goal is to create a balanced interpretation that honors both the photograph and your artistic vision.
Remember to save your brush settings and layer styles as presets, allowing you to maintain consistency across a series of portraits while still giving each piece its unique character.
As we’ve explored throughout this guide, creative portrait editing in Photoshop offers endless possibilities for transforming your images into unique works of art. The key to success lies in finding the perfect balance between creative expression and maintaining the natural essence of your subject. Remember that these techniques – from sophisticated color grading to advanced compositing – are tools in your creative arsenal, not rigid rules to follow.
Start small with simple adjustments and gradually build up your effects layer by layer. This methodical approach helps you maintain control over your edits while developing your signature style. Pay attention to how each modification affects the overall mood and story of your portrait, and don’t be afraid to dial back effects that might overwhelm the image.
Experimentation is crucial to growth, but always keep your subject’s best interests in mind. The most successful creative portraits often combine technical expertise with emotional impact, telling a compelling story while preserving the authenticity of the moment.
Consider creating action sets for your favorite techniques to streamline your workflow, but remember to fine-tune each edit to suit the specific portrait you’re working on. No two subjects are identical, and your editing should reflect that uniqueness.
Above all, let your creativity flow while maintaining a discerning eye. With practice and patience, you’ll develop the confidence to push boundaries while creating portraits that are both imaginative and professionally polished.