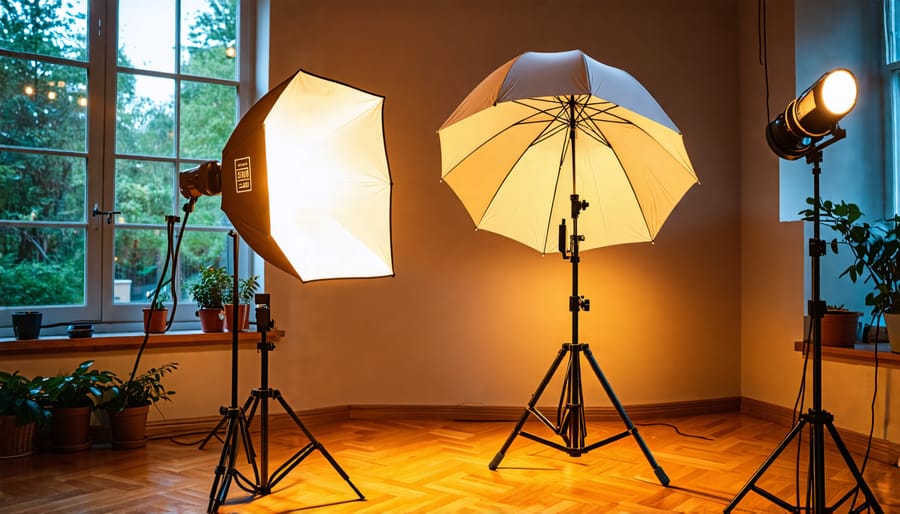
Invest in a basic lighting kit that includes a softbox or umbrella, a continuous light source, and light stands. These tools will help you control shadows and create a diffused, flattering effect for portraits or product shots. Experiment with the placement of your lights to understand how angles and distance affect the image. Try side lighting for dramatic effects or front lighting for soft, even coverage. Learn to use natural light effectively by positioning your subjects near windows or in shaded outdoor areas to avoid harsh, direct sunlight. Utilize reflectors to bounce light and fill in shadows when natural light is inconsistent or unavailable. As you practice these techniques, continually assess the impact of lighting on your photos and refine your skills. For more advanced guidance on transforming snapshots into art, consider exploring Mastering lighting to deepen your understanding and enhance your photographic journey.
Understanding Basic Lighting Concepts
The Role of Intensity and Direction
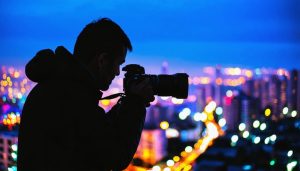
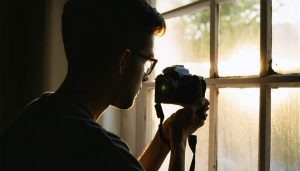
Lighting in photography is a bit like painting with light, and understanding both intensity and direction can dramatically alter your results. Light intensity refers to how bright or dim your light source is, directly affecting the mood and clarity of a photo. For instance, using a powerful flash can cast stark shadows and highlight details, perfect for capturing sharp, dynamic shots. On the other hand, natural window light offers a softer intensity that suits portraits and still life by creating a gentle, flattering glow.
Now, let’s talk direction. Imagine you’re taking a portrait: placing the light directly in front of your subject eliminates most shadows, providing an even, clear look. However, angling the light from the side can introduce dramatic shadows that add depth and texture, bringing your subject to life in a compelling way. Consider this simple setup: position a lamp at a 45-degree angle to experiment with shadow and highlight balance. Playing with these variables allows you to control how your subjects are perceived and feel in your images.
Color Temperature and White Balance
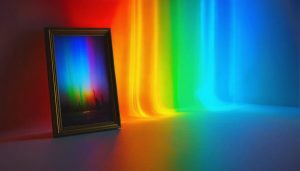
Color temperature is a key concept in photography that refers to the hue of light emitted by a source, typically measured in Kelvin (K). It’s what gives the warm, golden glow of a sunset or the cool, blue tint of a clear sky. Understanding color temperature is crucial because it affects how colors are rendered in your photographs. For example, indoor lighting often has a warmer color temperature, while daylight is usually cooler. This is where white balance comes into play. White balance settings on your camera help you adjust for these variations, ensuring that whites appear truly white and colors are balanced, no matter the type of light source.
For beginners, most cameras offer several preset white balance modes, such as daylight, cloudy, tungsten, and fluorescent. Starting with these presets is a practical approach to learning how different lighting conditions affect your photos. Imagine capturing a family gathering indoors under warm lights; using the tungsten setting might yield more natural-looking skin tones. Experimenting with these settings can teach you how to manage and manipulate light effectively, enhancing your photographic creativity and technical skills.
Essential Lighting Equipment for Beginners
Natural Light Reflectors
In the exciting world of photography, natural light reflectors are your best friends—they’re simple, versatile, and won’t break the bank. Essentially, a reflector is any surface that bounces light onto a subject, helping to fill in shadows and bring out details without additional equipment. For beginners, this could be as basic as using a white poster board or investing in an inexpensive five-in-one reflector kit. Imagine shooting a portrait in the late afternoon when the sun is lower in the sky. Shadows can become harsh, but a strategically placed reflector can soften these shadows by redirecting sunlight back onto the subject’s face. Experimenting with angles and distances introduces an element of creativity, allowing you to adapt to the changing natural light. Whether you’re shooting indoors near a window or outside in a park, reflectors offer a practical way to enhance your photos by manipulating natural light, making them an indispensable tool in any budding photographer’s kit.
Speedlights and Flashes
Speedlights and flashes are portable light sources that bring versatility and creativity to photography, offering an easy way to manipulate lighting conditions on the go. Whether you’re capturing a portrait in a dimly lit room or adding drama to an outdoor scene, these handy devices can make a significant difference. Unlike the built-in flash on your camera, an external speedlight allows you to direct light precisely, reducing shadows and achieving a more natural look.
Consider them as your personal sun, which you can control to highlight features or add depth to your shots. You might have seen filmmakers use diffused or soft lighting to enhance a scene; speedlights provide that adaptability. For example, by bouncing a flash off the ceiling, you can create a soft, flattering light on your subject, unlike the harsh, direct light of a built-in flash. Moreover, many speedlights come with adjustable power settings, allowing you to tailor light intensity to your specific needs.
Experimenting with flash photography opens opportunities for stunning creative effects, such as freeze-frames or light painting. When getting started, invest in an affordable speedlight compatible with your camera brand. This not only enhances your understanding of light manipulation but also adds a new dimension to your photography toolkit.
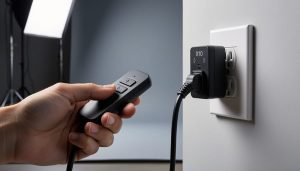
Continuous Lights
Continuous lighting offers an accessible entry point for beginners eager to explore photography lighting. These lighting options provide a constant light source, making them remarkably user-friendly for newcomers who can see the effects of lighting in real time as they set up their shots. Unlike flash units, which can be unpredictable to work with at first, continuous lights let you experiment with ease, adjusting the position and intensity to see immediate results.
One popular choice among beginners is the LED panel, known for its energy efficiency and cool running temperature. They’re lightweight, portable, and come in various sizes, making them ideal for everything from portraiture to product photography. Users also appreciate the ability to adjust the color temperature in some models, giving creative flexibility to mimic different lighting environments.
A striking advantage of continuous lights is their versatility in video projects. Since the lighting remains constant, it’s the perfect companion for budding photographers who are also expanding into video work. This dual-purpose use maximizes the value of your investment, effectively bridging both photo and video realms.
As a beginner, experimenting with continuous lights can help you understand how lighting positions and shadows affect your subject. With continuous lighting, what you see is what you get, making it an invaluable learning tool as you develop your photographic eye and style.
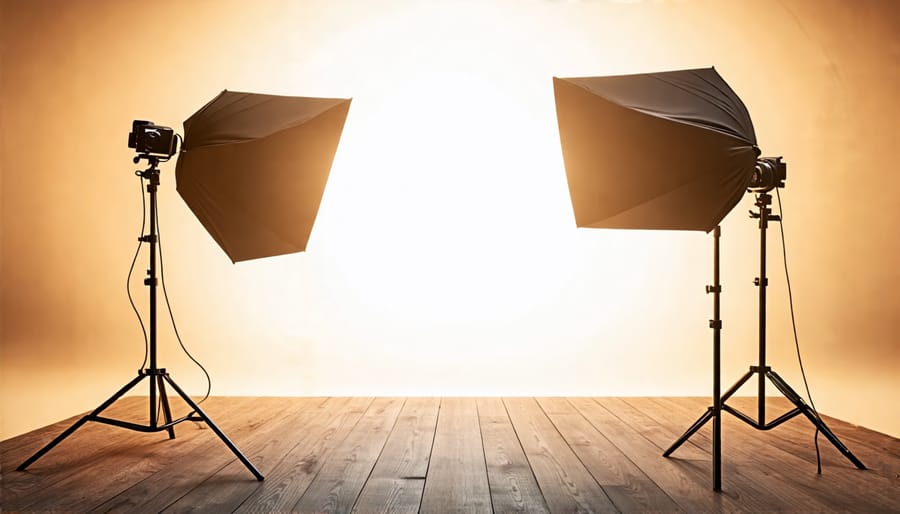
Softboxes and Umbrellas
Imagine you’re setting up a photoshoot, and you’re aiming for that perfect soft, flattering light. Here’s where softboxes and umbrellas become your trusty allies. These tools are magic makers in the world of photography lighting, designed to diffuse the intensity of a light source. A softbox, for instance, is like a big pillow covering your light, spreading its beams evenly over your subject, which helps to eliminate harsh shadows and highlights. This results in a more natural and beautiful look, whether you’re capturing portraits or product shots.
Umbrellas work similarly but offer more versatility in terms of spreading light over wider areas. By bouncing light off their reflective interior, umbrellas create a broad, soft light that wraps around your subject, which is especially useful in group photos or environmental portraits. For beginners, experimenting with these tools can transform ordinary photos into something extraordinary. Don’t hesitate to adjust angles and distances to see how each subtle change affects your shot.
Setting Up Your Lighting Gear: A Step-by-Step Guide
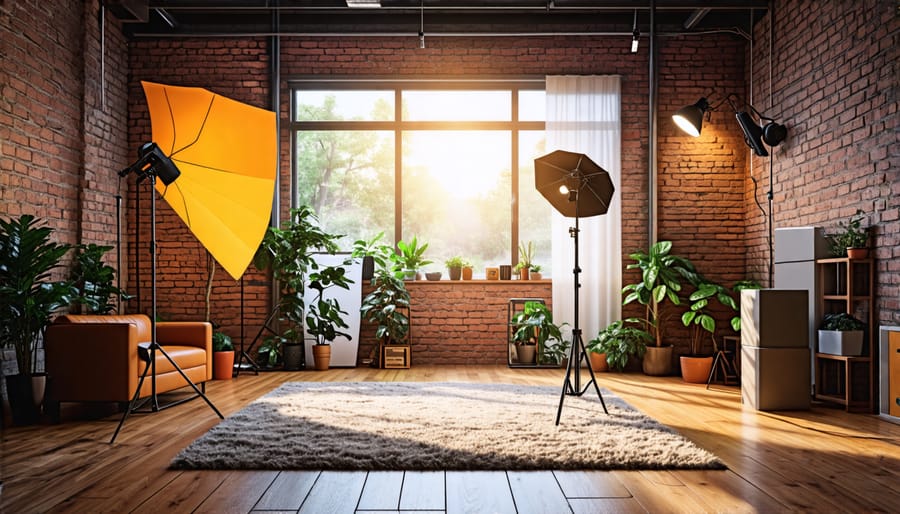
Creating a Simple Home Studio
Setting up a simple home studio doesn’t have to break the bank. Start with a space that offers enough room to maneuver around your subject, ideally near a window for natural light options. This can be a spare room or even a well-lit corner. Begin with basic lighting equipment like softbox lights, which are great for diffusing light gently, reducing harsh shadows that can be tricky for beginners. Pair this with a couple of inexpensive LED lights to experiment with different lighting angles. Remember, flexibility is key. As you improve your camera skills, you’ll appreciate how the direction and quality of light can transform your shots. Try arranging lights at different heights and directions to see how they impact your subject. Additionally, a reflector can work wonders for bouncing light where needed. Whatever setup you choose, ensure it’s adaptable, allowing you to refine your technique as you go.
Experimenting with Light Angles and Distances
Exploring different lighting angles and distances is where creativity truly comes alive in photography. Have you ever noticed how moving a light just a few inches can transform the mood of an image? Begin by placing your light source at various angles: directly above your subject for dramatic shadows or on the side for a more dynamic, sculpted look. Playing with distance is equally impactful. When the light is close, it provides softer shadows and more detail, while moving it further away introduces stronger, sharper shadows—ideal for creating striking contrasts.
Imagine you’re taking a portrait. Initially, position your light in front of your subject for a classic look, then gradually pivot it around them. Each slight adjustment reveals new expressions and emotions captured in the frame. Don’t hesitate to experiment with both artificial lighting and natural sunlight. Both offer unique textures and qualities that can evoke different feelings. Remember, trial and error is part of the journey, so keep adjusting until you achieve that perfect balance of light and shadow.
Common Mistakes and How to Avoid Them
One of the most frequent pitfalls beginners face with lighting setups is not using enough light. Many assume natural light is sufficient, but often find their images underexposed or shadowy. To tackle this, invest in or rent basic equipment like softboxes or LED panels. These tools can dramatically enhance your lighting without overwhelming your budget.
Another common mistake is neglecting the direction of the light. You’ve probably heard photographers talk about “catchlights” in a subject’s eyes; this is all about angle and direction. A simple trick is to observe where natural shadows fall on your subject and adjust your lights accordingly, ensuring the most flattering angles.
Overcomplicating setups is also a frequent issue. Enthusiasts might overload their scenes with multiple light sources, creating harsh contrasts and confusing results. It’s often best to start with a single main light and build gradually.
Lastly, forgetting to adjust the camera settings to match the lighting environment is a typical error. Your gear may be perfect, but ignoring simple setting adjustments, like ISO, can ruin the shot. Experiment with different settings to see how they interact with your lights. Remember, practice and experimentation are key, so don’t hesitate to make adjustments and learn from your shots. For more tips on how to avoid common mistakes, check out this resource.
Conclusion
In conclusion, mastering the art of lighting is an essential journey for both amateur and professional photographers seeking to elevate their craft. Understanding the impact of different lighting equipment not only enhances the visual appeal of your work but also empowers you to creatively communicate stories through your images. As discussed, simple tools like reflectors and diffusers can make a significant difference, and experimenting with these elements helps refine your skills. Remember, practice is key—don’t be afraid to try new setups or techniques to discover what works best for your style. Embrace the learning process and keep honing your lighting knowledge, as it forms the backbone of all great photography.