Sound transforms ordinary footage into immersive cinematic experiences, wielding as much storytelling power as cinematic visual elements. Layer ambient recordings beneath primary audio to create depth and atmosphere—rustling leaves, distant traffic, or room tone establish authentic spatial presence. Build tension through strategic sound mixing: fade volume levels gradually, introduce subtle bass frequencies during dramatic moments, and manipulate audio EQ to direct emotional response. Master the art of audio transitions by matching acoustic spaces between cuts, using crossfades to smooth scene changes, and incorporating natural sound bridges that pull viewers through your narrative.
Consider sound as a three-dimensional canvas where frequency, amplitude, and time intersect to craft mood and meaning. Professional sound design transcends basic audio capture—it orchestrates multiple tracks into a cohesive sonic landscape that enhances your visual story. From the subtle crunch of footsteps to the sweeping impact of a musical score, every audio element serves a deliberate purpose in elevating your production value.
Understanding the Basics of Cinematic Sound
Diegetic vs. Non-Diegetic Sound
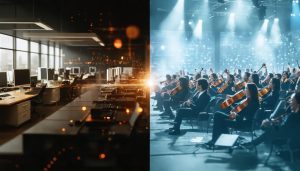
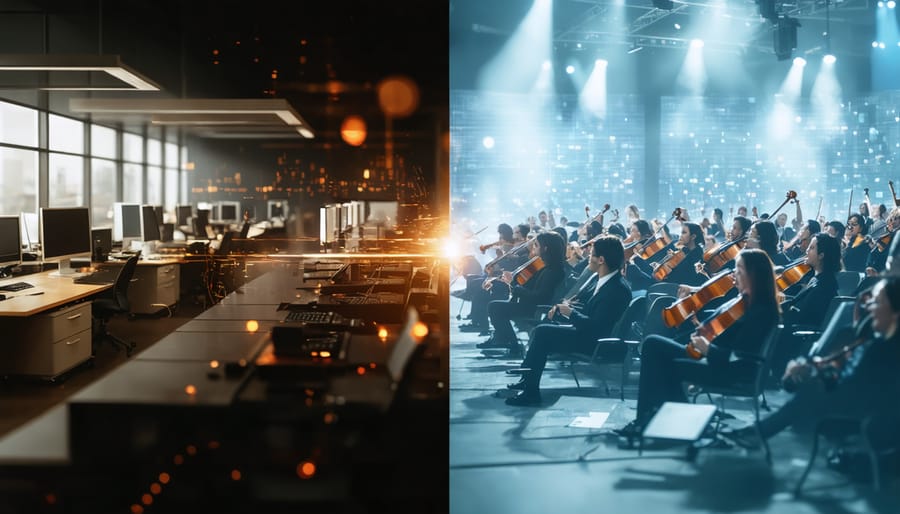
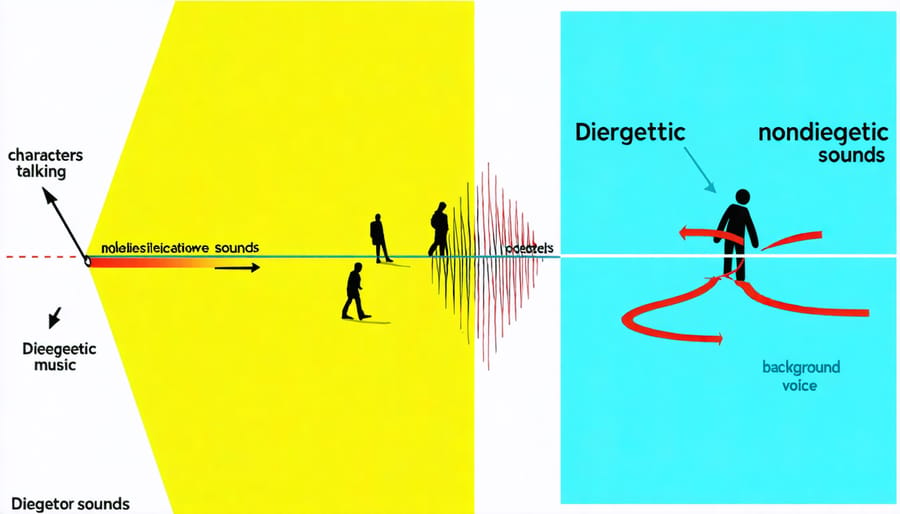
In cinematic sound design, understanding the distinction between diegetic and non-diegetic sound is crucial for creating immersive dynamic storytelling techniques. Diegetic sounds are those that naturally exist within the story world – like footsteps, dialogue, or a car engine that characters can hear. Think of a scene where a character turns on a radio; both they and the audience hear the music playing.
Non-diegetic sounds, on the other hand, are added purely for the audience’s benefit. These include background music, voice-over narration, or sound effects that enhance emotional impact but aren’t part of the actual scene. For example, the dramatic orchestral score playing during a tense moment isn’t heard by the characters themselves.
Both types of sound serve distinct purposes in your production. Diegetic sounds ground your story in reality and provide authenticity, while non-diegetic elements help shape the viewer’s emotional response and guide their interpretation of scenes. The key to effective sound design lies in knowing when and how to blend these elements seamlessly to create a compelling audiovisual experience.
The Three Layers of Sound Design
Sound design in cinema operates on three distinct but interconnected layers, each playing a crucial role in creating an immersive viewing experience. The first layer, dialogue, forms the foundation of your audio mix. Clear, well-recorded dialogue ensures your message reaches viewers effectively, whether it’s an interview, narrative film, or documentary piece.
The second layer consists of ambient sound or room tone, which creates the atmospheric foundation of your scene. Think of the gentle hum of an office, the distant traffic in a city scene, or the subtle chirping of birds in a forest. These background elements make your scenes feel natural and lived-in, even when viewers aren’t consciously aware of them.
Sound effects make up the third layer, adding texture and impact to specific actions and movements. From footsteps and door slams to more dramatic elements like explosions or rainfall, these sounds help sell the reality of what’s happening on screen. When all three layers work in harmony, they create a rich sonic landscape that elevates your visual storytelling and keeps viewers fully engaged in your content.
Essential Equipment for Cinematic Sound
Microphones and Recording Devices
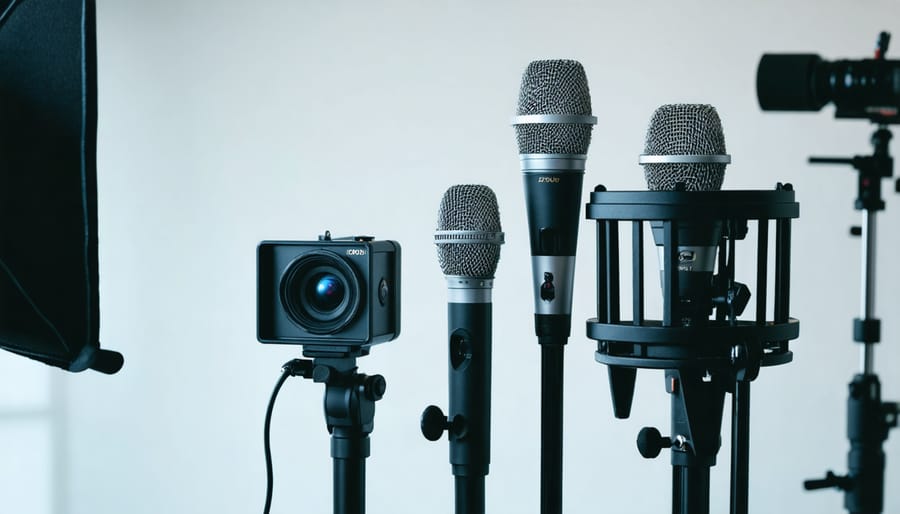
The foundation of great cinematic sound design lies in choosing the right microphone for each specific scenario. Shotgun microphones, like the popular Sennheiser MKH-416, excel at capturing focused, directional audio and are perfect for dialogue scenes. Their narrow pickup pattern helps minimize unwanted background noise while maintaining clarity on your subject.
Lavalier microphones, often called “lavs,” are the workhorses of dialogue recording. These small, discreet mics can be hidden in clothing and provide consistent audio levels as actors move around the scene. For best results, use high-quality wireless systems to eliminate the hassle of cables while maintaining pristine sound quality.
Room tone and ambient sounds often require a different approach. Large-diaphragm condenser microphones capture the rich, full spectrum of environmental audio, while stereo pair configurations help create an immersive soundscape. For capturing subtle details like footsteps or fabric movement, contact microphones attached directly to surfaces can provide unique and intimate sound textures.
Field recorders are equally crucial to your audio arsenal. Portable devices like the Zoom H6 or Sound Devices MixPre series offer multiple XLR inputs, high-quality preamps, and backup recording features. These recorders shine during location shoots where reliability and versatility are paramount. Remember to always record at least one backup track at a lower level to protect against unexpected audio peaks.
Audio Interfaces and Software
To create professional cinematic sound, you’ll need reliable hardware and software tools that work together seamlessly. At the heart of your audio setup should be a quality audio interface, which serves as the bridge between your microphones and your computer. Popular options like the Focusrite Scarlett series or Universal Audio Apollo interfaces offer excellent sound quality and low latency, essential for real-time monitoring.
For software, industry-standard Digital Audio Workstations (DAWs) like Pro Tools, Logic Pro, or Reaper provide the foundation for your sound design work. These platforms offer comprehensive tools for recording, editing, and mixing, along with support for third-party plugins. Speaking of plugins, investing in a good reverb plugin like FabFilter Pro-R or Valhalla Room can help create compelling spatial effects, while tools like iZotope RX are invaluable for audio cleanup and restoration.
Don’t overlook the importance of monitoring equipment. A pair of flat-response studio headphones, such as the Sennheiser HD series or Audio-Technica ATH-M50x, will help you make accurate mixing decisions. For more critical listening, near-field studio monitors like the Yamaha HS series or KRK Rokit speakers can reveal subtle details in your sound design.
Remember that while high-end equipment is nice to have, it’s more important to thoroughly understand and effectively use the tools you already own. Start with the basics and gradually expand your toolkit as your skills and needs grow.
Recording Techniques for Cinematic Sound
Location Sound Recording
Capturing pristine location sound requires a combination of technical expertise and environmental awareness. Start by selecting the right microphone for your setting – shotgun mics excel in focused, directional recording, while lavalier mics are ideal for dialogue in dynamic scenes. Just as engaging visual narratives depend on careful composition, clean audio relies on strategic microphone placement.
When recording outdoors, wind protection is essential. Use dedicated windscreens or “dead cats” to minimize wind noise, and position subjects with their backs to the wind when possible. For indoor locations, address room acoustics by identifying and eliminating unwanted sound reflections. Hanging blankets or positioning foam panels can help dampen echoes in challenging spaces.
Always record room tone for at least 30 seconds at each location. This “ambient silence” becomes invaluable during post-production for smooth audio transitions. Monitor audio levels consistently through headphones, keeping peaks between -12dB and -6dB to prevent distortion while maintaining adequate signal-to-noise ratio.
Consider recording backup audio tracks whenever possible, either through a second microphone or a separate recording device. This redundancy can save entire scenes if primary audio encounters unexpected issues.
Foley and Sound Effects
Foley artistry remains one of the most fascinating aspects of cinematic sound design, where everyday objects become tools for creating authentic audio experiences. Named after Jack Foley, this technique involves recording custom sound effects in real-time while watching footage, bringing scenes to life through carefully crafted sounds.
From footsteps to clothing rustles, Foley artists use creative methods to replicate natural sounds. A leather wallet might become the sound of folding fabric, while cornstarch in a leather pouch could create convincing footsteps in snow. For fight scenes, hitting a leather chair with a bamboo stick can produce impactful punches, while breaking celery stalks near the microphone creates bone-crunching effects.
The key to successful Foley work lies in timing and material selection. Professional Foley stages are equipped with various surface types – from concrete to gravel pits – allowing artists to match footsteps to any environment. Modern Foley artists also combine traditional techniques with digital processing, creating hybrid sounds that feel both authentic and cinematically enhanced.
Recording custom sound effects extends beyond Foley, incorporating field recordings and synthesized sounds. Nature sounds, mechanical noises, and ambient textures are captured using high-quality microphones and then processed to fit the scene’s requirements, adding depth and realism to the final mix.
Post-Production Sound Design
Audio Cleanup and Enhancement
Clean, professional audio is the foundation of cinematic sound design, and it starts with proper cleanup and enhancement techniques. The first step is noise reduction, which involves identifying and removing unwanted sounds like hiss, hum, or room tone. Professional tools like iZotope RX or Adobe Audition offer powerful algorithms that can surgically remove these distractions while preserving the original audio quality.
EQ (equalization) plays a crucial role in enhancing dialogue and ambient sounds. Start by cutting problematic frequencies – typically around 200-300Hz for muddiness and 2-4kHz for harshness. Then, boost frequencies that enhance clarity, usually around 3-5kHz for dialogue presence. Remember that subtle adjustments often yield better results than dramatic changes.
Compression helps control dynamic range, making quiet sounds louder and loud sounds quieter. For dialogue, aim for a ratio between 2:1 and 4:1, with careful threshold setting to maintain natural speech patterns. Use multiband compression when dealing with complex audio that requires different treatment across frequency ranges.
De-essing and de-popping are essential for professional dialogue. These techniques target sibilant sounds (like “s” and “sh”) and plosives (like “p” and “b”) that can be distracting. When applying these effects, listen carefully to ensure you’re not over-processing, as this can make speech sound unnatural or robotic.
Finally, consider using spectral repair tools for spot-fixing specific audio problems like coughs, phone rings, or other unexpected interruptions that couldn’t be avoided during recording.
Mixing and Layering
The art of mixing and layering sound is where cinematic audio truly comes alive. Like a painter working with layers of color, sound designers blend multiple audio elements to create rich, immersive soundscapes that enhance the viewing experience. This process requires careful attention to professional production techniques and an understanding of sonic depth.
Start by establishing your foundation with ambient sounds, which create the base layer of your audio environment. These might include room tone, outdoor atmospheres, or location-specific background noise. Next, add your mid-layer elements: key sound effects, footsteps, or interaction sounds that support the visual action. Finally, incorporate your foreground elements like dialogue, prominent sound effects, or featured music.
The key to effective mixing lies in proper leveling and EQ adjustment. Each sound element should occupy its own frequency space without competing with others. Use panning to create a sense of movement and space – background sounds can be spread wider in the stereo field, while important elements like dialogue typically stay centered.
Remember to create contrast between scenes by varying the density of your sound layers. Some moments might call for rich, complex soundscapes, while others might be more impactful with minimal audio elements. This dynamic approach helps maintain viewer engagement and enhances the emotional impact of your content.
Sound design is an art that can transform an ordinary video into a cinematic masterpiece. By applying the techniques we’ve explored – from capturing clean audio and layering ambient sounds to implementing thoughtful sound effects and music – you can create an immersive auditory experience that elevates your entire production.
Remember that great sound design isn’t about using every technique at once, but rather choosing the right elements to support your story. Start by focusing on capturing quality location audio, then gradually experiment with additional layers of sound. Pay attention to how professional films use audio in scenes similar to what you’re creating, and don’t be afraid to take notes and try new approaches.
Practice is key to mastering these techniques. Begin with simple projects and progressively tackle more complex sound designs as your confidence grows. Keep in mind that even small improvements in your audio can make a significant impact on the overall viewing experience.
Most importantly, trust your ears and creative instincts. While technical knowledge is valuable, the emotional response your sound design evokes is what truly matters. With dedication and attention to detail, you’ll develop a signature style that sets your work apart.