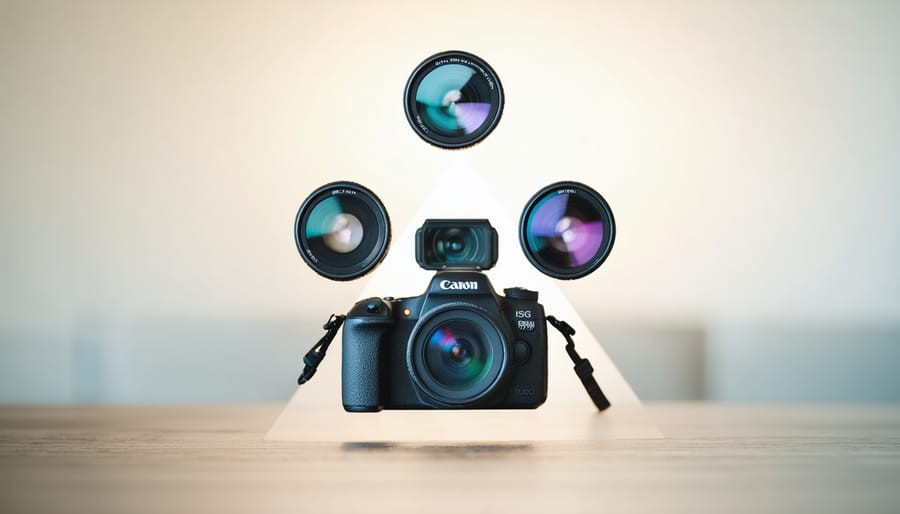
Master your Canon camera’s Manual mode to achieve complete creative control over your images. Unlike automated modes, M mode puts you in command of every exposure element – from shutter speed and aperture to ISO sensitivity. This powerful combination of settings transforms your photography from simple snapshots to intentional art, allowing precise exposure control in challenging lighting conditions and creative scenarios.
Professional photographers rely on M mode when shooting in studios, capturing long exposures, or working in variable lighting conditions where automatic modes might falter. Whether you’re photographing fast-moving subjects in low light or creating dramatic architectural shots at sunset, understanding Manual mode unlocks your camera’s full potential. It’s not just about technical control – it’s about developing the confidence to capture exactly what you envision, every time you press the shutter.
This comprehensive guide will walk you through mastering Canon’s M mode, from basic exposure principles to advanced techniques that elevate your photography to the next level. Let’s dive into the essential components that make Manual mode the preferred choice for photographers who demand precision and creativity in their work.
Understanding M Mode on Canon Cameras
The Exposure Triangle in M Mode
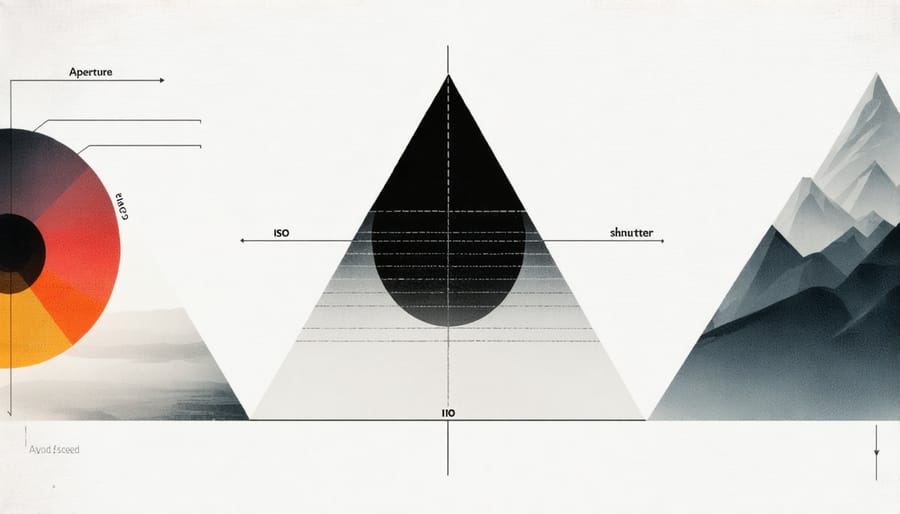
In Manual mode, mastering the exposure triangle is crucial for achieving perfect exposures. This fundamental concept revolves around three key settings: aperture, shutter speed, and ISO. Think of them as three interconnected controls, each affecting not only exposure but also distinct creative aspects of your image.
Aperture (f-stop) controls depth of field – lower numbers like f/1.8 create beautiful background blur, while higher numbers like f/16 keep more of your scene in focus. Shutter speed determines motion capture – faster speeds freeze action, while slower speeds create artistic blur. ISO affects your sensor’s light sensitivity, though higher values can introduce noise that might affect your post-processing workflow.
The beauty of M mode lies in how these settings work together. When you adjust one, you’ll need to compensate with another to maintain proper exposure. For instance, if you’re shooting in low light and need a fast shutter speed to freeze motion, you might open up your aperture or increase ISO to compensate. This complete control allows you to prioritize the creative aspects that matter most for your specific shot.
Reading the Light Meter
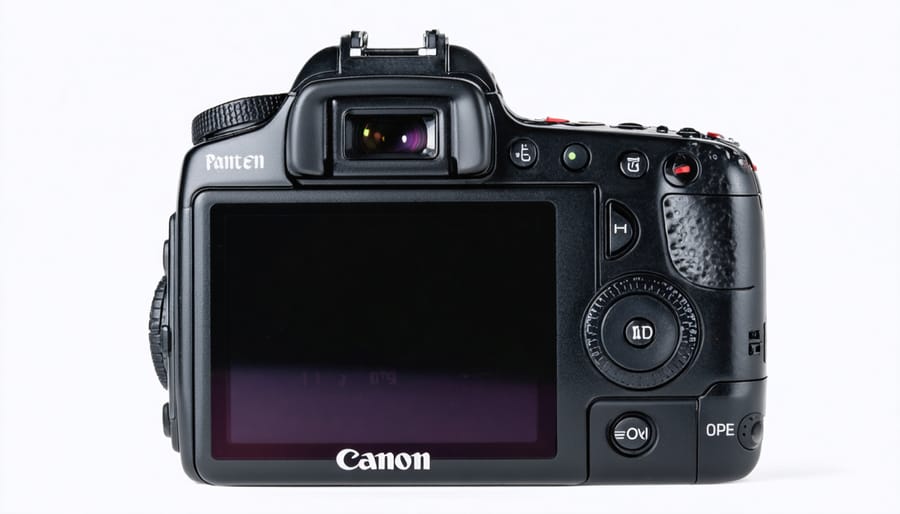
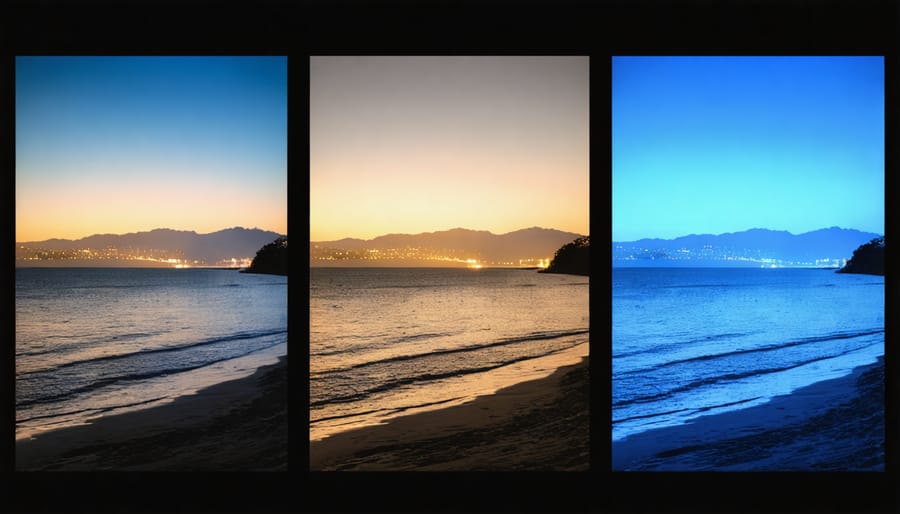
The light meter in your Canon camera is your compass for achieving correct exposure in Manual mode. Located in your viewfinder, it appears as a scale typically ranging from -3 to +3, with zero in the middle representing what the camera considers “correct” exposure. As you adjust your settings, a marker moves along this scale, indicating whether your image will be underexposed (negative values) or overexposed (positive values).
To read the meter, start by looking through your viewfinder or at your LCD screen. When the marker sits at zero, your current settings should produce a well-exposed image according to your camera’s evaluation. Moving one stop to the right (+1) means your image will be one stop brighter than the camera’s suggested exposure, while one stop to the left (-1) indicates it will be one stop darker.
Remember that while the light meter is an invaluable tool, it’s not infallible. It assumes you want an average exposure, which isn’t always the case. For creative shots like silhouettes or high-key portraits, you’ll intentionally deviate from the center reading. The meter is your starting point, but your artistic vision determines the final exposure.
Essential M Mode Camera Settings
Custom Button Configuration
Customizing your Canon camera’s button layout can significantly streamline your manual shooting workflow. Start by accessing the Custom Functions menu, where you’ll find options to reassign various buttons to better suit your shooting style.
A popular configuration among professional photographers is remapping the AF-ON button to handle autofocus independently from the shutter button. This separation gives you more precise control over focusing and capturing moments. Consider assigning your * (AE Lock) button to toggle between different metering modes, allowing quick adjustments without diving into menus.
The SET button in the center of your main dial can be particularly valuable when customized. Many photographers program it for instant access to ISO settings or to toggle between different picture styles. For landscape photographers, setting the depth-of-field preview button to switch between One-Shot and AI Servo AF modes can be incredibly useful.
Don’t overlook the potential of your camera’s control ring or multi-controller. These can be configured to directly adjust exposure compensation or quickly select AF points. Some photographers prefer setting the main dial to control aperture and the quick control dial for shutter speed when in M mode, creating a more intuitive shooting experience.
Remember that button configurations should evolve with your shooting needs. Experiment with different setups during practice sessions to find what works best for your specific photography style.
Quick Control Screen Setup
The Quick Control screen (Q menu) is your best friend when shooting in M mode, offering rapid access to essential settings without diving into complex menus. To customize this feature, press the Q button while in M mode, then press the Menu button while the Q screen is active. This allows you to handpick which settings appear in your Quick Control layout.
Consider prioritizing the settings you adjust most frequently in manual mode. For instance, you might want quick access to ISO, white balance, and drive mode. Many photographers also find it helpful to include metering mode and AF method for swift adjustments between shots. You can arrange these settings in a logical order that matches your shooting workflow.
Pro tip: Create different Q menu configurations for various shooting scenarios. For studio work, you might want flash settings readily available, while for landscape photography, you might prioritize bracketing controls and picture styles. The customized Q menu can display up to 12 different functions, so choose wisely based on your shooting needs.
Remember that muscle memory plays a crucial role in quick adjustments. Once you’ve set up your preferred layout, practice accessing these settings without looking at the camera. This familiarity will prove invaluable when capturing fast-moving subjects or working in challenging lighting conditions where every second counts.
Real-World M Mode Techniques
Studio Photography
Studio photography with M mode gives you complete control over your artificial lighting environment, making it perfect for professional product shots, portraits, and commercial work. Understanding studio lighting techniques becomes much more intuitive when you’re working in manual mode, as you can precisely match your camera settings to your lighting setup.
Start by setting your ISO low (typically 100) to minimize noise, since studio lighting provides plenty of illumination. Your shutter speed should align with your flash sync speed, usually around 1/200th of a second, though this varies by camera model. From there, adjust your aperture to control depth of field while considering your flash power settings.
One of the biggest advantages of using M mode in the studio is consistency. Once you’ve dialed in your settings for a particular setup, every shot will have identical exposure values, ensuring a cohesive look across your entire session. This is particularly valuable when shooting products or portraits that require multiple angles or poses.
Take advantage of your camera’s histogram and LCD preview to fine-tune your exposure. Remember that studio strobes or continuous lights won’t show their effect in the viewfinder, so taking test shots and reviewing them is essential. Many photographers find it helpful to start with a “base exposure” setting and make minor adjustments from there as needed.
Night Photography
Night photography in M mode unleashes endless creative possibilities, but it requires a solid understanding of exposure settings. Start by setting your ISO between 1600-3200, depending on the available ambient light. For starry skies, open your aperture wide (f/2.8 or wider if possible) to capture maximum light, and use shutter speeds between 15-30 seconds to record star trails and celestial movements.
When photographing city scenes at night, consider using smaller apertures (f/8-f/11) to capture sharp cityscapes with attractive starbursts from street lights. In these situations, stabilize your camera on a tripod and use slower shutter speeds, typically 1-5 seconds, to maintain lower ISO values and reduce digital noise.
For light painting, switch to Bulb mode (accessed by scrolling past 30″ in M mode) to keep the shutter open as long as needed. This technique works brilliantly for creating striking light trails from passing cars or painting scenes with artificial light sources.
Remember that autofocus might struggle in low light, so switch to manual focus and use your LCD’s live view with magnification to achieve precise focus. Using your camera’s histogram becomes crucial in dark conditions, as the LCD screen can be deceiving. Aim to push your exposure to the right without clipping highlights to capture maximum detail in the shadows while maintaining image quality.
Action Photography
Action photography in M mode demands quick thinking and precise control, especially when your subject moves between different lighting conditions. Imagine tracking a basketball player as they dart from bright stadium lights to shadowy court corners – this is where manual mode truly shines.
Start by setting your initial exposure based on the most common lighting condition in your scene. For sports or wildlife photography, prioritize your shutter speed first – typically 1/500th of a second or faster to freeze motion. Then, adjust your aperture and ISO to achieve proper exposure while maintaining your creative vision.
The key to success is practicing your adjustment technique before the critical moment arrives. Keep your right hand on the shutter while your thumb and index finger rest on the main dial and quick control dial. This positioning allows you to make rapid exposure adjustments without taking your eye from the viewfinder.
Consider using the center-weighted or spot metering mode to maintain consistent exposure on your main subject. When shooting sequences, lock in your settings for the primary action area and adjust only when your subject moves to significantly different lighting conditions.
Remember that slightly underexposing can help preserve highlight details and give you more flexibility in post-processing. This technique is particularly valuable when shooting high-contrast scenes where subjects move between bright and dark areas.
Common M Mode Challenges and Solutions
Exposure Consistency
One of the key advantages of shooting in M mode on your Canon camera is the ability to maintain consistent exposure across multiple shots. This is particularly valuable when shooting in challenging lighting conditions or when creating a series of images that need to match perfectly, such as in panoramic photography or time-lapse sequences.
To maintain exposure consistency, start by determining your ideal exposure settings for the scene. Once you’ve found the perfect balance of aperture, shutter speed, and ISO, these settings will remain locked until you manually change them. This is especially useful when shooting events where lighting conditions are constant, like indoor sports or studio portraits.
Keep an eye on your camera’s light meter as you shoot, particularly if there are subtle changes in lighting. While M mode won’t automatically adjust for these changes, this manual control actually becomes an advantage – you can choose whether to maintain your current settings for consistency or make deliberate adjustments when needed.
For sequences requiring absolute consistency, consider using the camera’s exposure lock feature in conjunction with M mode, and always review your histogram periodically to ensure your exposure remains on target.
Quick Response Situations
When time is of the essence, mastering M mode becomes crucial for capturing fleeting moments. Start by developing an efficient shooting workflow that includes pre-setting your camera for anticipated scenarios. For fast-moving subjects like sports or wildlife, begin with a baseline of 1/500 shutter speed, f/5.6 aperture, and Auto ISO to maintain flexibility while controlling motion blur and depth of field.
Create custom presets for common situations you encounter, such as indoor events or outdoor action shots. Practice quick adjustments using your camera’s control wheel and dial combinations until they become muscle memory. Keep your ISO ceiling in mind, but don’t be afraid to push it higher if it means capturing the moment.
Remember to regularly check your histogram during breaks in the action to ensure your exposure remains on target. In rapidly changing light conditions, prioritize adjusting your shutter speed first, followed by aperture, letting ISO compensate as needed. This approach helps maintain creative control while responding swiftly to unfolding scenes.
Mastering Manual mode on your Canon camera opens up a world of creative possibilities that automatic modes simply can’t match. While the learning curve might seem steep at first, the control and precision M mode offers are well worth the investment of time and practice.
Remember that Manual mode isn’t just about having complete control – it’s about understanding how aperture, shutter speed, and ISO work together to create your desired image. Start by practicing in controlled environments where you can take your time to experiment with different settings. As you become more comfortable, gradually challenge yourself with more complex lighting situations and moving subjects.
Keep in mind that even professional photographers don’t use Manual mode for every situation. The key is knowing when M mode will help you achieve your creative vision and when other modes might be more appropriate. Don’t be discouraged if your first attempts don’t produce perfect results – every experienced photographer started exactly where you are now.
Make it a habit to review your images and their settings after each shoot. Understanding what worked and what didn’t will help you develop an intuitive feel for manual exposure. Consider starting a photography project that specifically requires Manual mode to build your confidence and skills.
With consistent practice and patience, you’ll find that Manual mode becomes second nature, allowing you to focus less on the technical aspects and more on capturing the moments and scenes that inspire you.