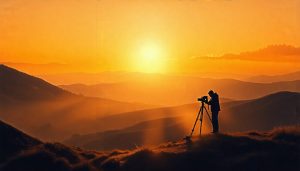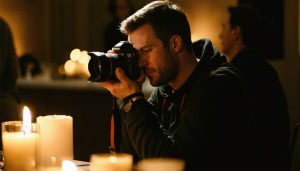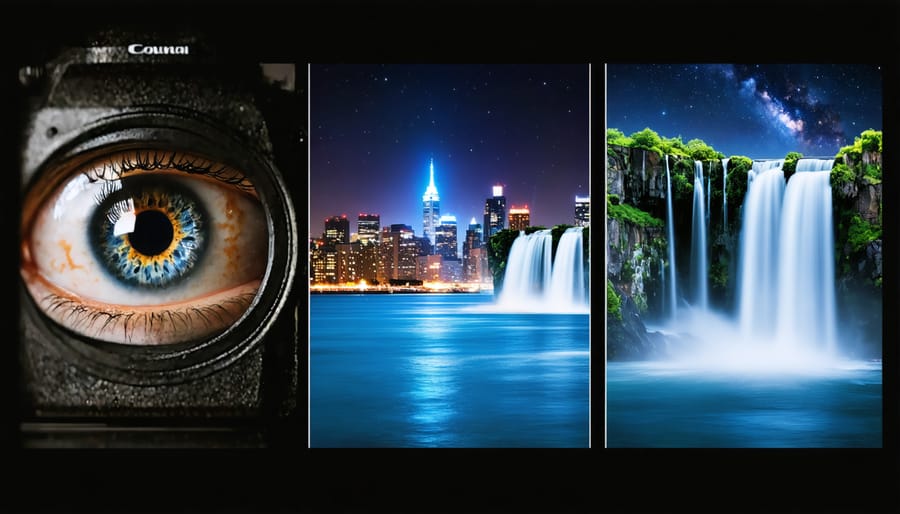
Take control of your photography by learning to master your camera settings in manual mode. Understanding the exposure triangle—aperture, shutter speed, and ISO—transforms ordinary snapshots into compelling visual stories. Manual mode isn’t just about technical control; it’s your gateway to creating images exactly as you envision them, from silky waterfall shots to razor-sharp portraits with dreamy backgrounds.
Think of manual mode as your camera’s creative command center. While auto mode makes educated guesses, manual mode puts you in charge of every artistic decision. Whether you’re capturing the subtle light of golden hour or freezing fast-moving subjects, manual control ensures your creative vision—not your camera’s programming—determines the final image.
This comprehensive guide breaks down manual photography into digestible steps, helping you move beyond the comfort of automatic settings to achieve professional-quality results. By the end, you’ll confidently adjust settings on the fly, knowing exactly how each change affects your final image.
The Three Pillars of Manual Photography
Aperture: Controlling Depth and Light
Aperture, represented by f-stops (like f/1.8, f/4, f/16), is one of the most powerful creative tools in photography. Think of your camera’s aperture like the pupil of your eye – it can open wide to let in more light or narrow to restrict light. The smaller the f-number, the larger the aperture opening, and vice versa.
When shooting in manual mode, aperture serves two crucial functions. First, it controls the amount of light entering your camera. A wide aperture (small f-number) lets in more light, making it ideal for low-light situations. Second, and perhaps more creatively significant, aperture determines your depth of field – the zone of acceptable sharpness in your image.
A wide aperture like f/1.8 creates a shallow depth of field, where your subject is sharp but the background becomes beautifully blurred – that dreamy effect photographers call “bokeh.” This is perfect for portraits, where you want your subject to pop against a soft background. On the flip side, a narrow aperture like f/16 keeps more of your scene in focus, making it ideal for landscape photography where you want sharpness from foreground to background.
Here’s a practical way to remember aperture values: each full f-stop (like f/2 to f/2.8) halves the amount of light entering your camera. While this might seem counterintuitive at first, you’ll quickly develop an instinct for which aperture suits different situations.
For beginners, try this simple exercise: photograph the same subject at different f-stops while keeping other settings constant. Notice how the background blur changes and how the overall exposure is affected. Start with f/4 – it’s a sweet spot that offers good sharpness while still providing some background separation.
Remember, there’s no “perfect” aperture – it’s about choosing the right tool for your creative vision. Want to highlight your subject? Go wide. Need everything sharp? Stop down. The beauty of manual mode is that you’re in complete control of these creative decisions.
Shutter Speed: Freezing or Flowing Motion
Shutter speed is your camera’s mechanism for controlling how long light hits the sensor, and it’s one of the most creative tools in manual mode photography. Think of it as a set of curtains that open and close at varying speeds – from blazingly fast (like 1/4000th of a second) to several seconds long.
When photographing moving subjects, shutter speed determines whether you freeze the action or capture flowing motion. Fast shutter speeds (like 1/1000th or 1/2000th) can freeze a hummingbird’s wings mid-flight or capture every water droplet in a splash. These speeds are perfect for sports photography, wildlife, or any situation where you want to preserve a precise moment in time.
Slower shutter speeds, on the other hand, create beautiful motion effects. Imagine capturing the silky flow of a waterfall (typically 1/2 second or longer) or the light trails of cars at night (several seconds). The key to successful slow-shutter photography is holding your camera steadily, usually with a tripod for speeds slower than 1/60th of a second.
Remember that shutter speed directly affects exposure. Each time you halve the shutter speed (like going from 1/500th to 1/250th), you double the amount of light entering your camera. This means you’ll need to balance it with ISO or aperture to maintain proper exposure.
Here’s a quick reference guide:
– 1/1000th and faster: Freezing fast action (sports, birds)
– 1/250th to 1/500th: General action shots (running, dancing)
– 1/60th to 1/125th: Everyday photos, slight movement
– Below 1/60th: Creative motion blur (requires stabilization)
Practice experimenting with different speeds to understand how they affect your images. Start with a moving subject – like flowing water or passing traffic – and try various shutter speeds to see the different effects you can create.
ISO: Finding the Sweet Spot
ISO is often described as your camera’s sensitivity to light, but think of it as an amplifier for the signal your sensor receives. Starting with your camera’s native ISO (typically 100 or 200) gives you the cleanest, most detailed images possible. As you increase ISO, you’re essentially turning up this amplifier, allowing you to shoot in darker conditions or maintain faster shutter speeds.
But here’s the catch: higher ISO values come with a trade-off in image quality. As you crank up the ISO, you’ll notice digital noise creeping into your photos – those grainy specks that can make images look less crisp. It’s similar to turning up the volume on a quiet audio recording; eventually, you’ll hear background static.
Finding your ISO sweet spot requires understanding your camera’s capabilities and your shooting situation. Here’s a practical approach:
For bright daylight: Stick to base ISO (100-200)
Indoor well-lit environments: ISO 400-800 is usually safe
Indoor dim lighting: ISO 1600-3200 might be necessary
Low-light situations: ISO 3200+ when you need it
Modern cameras handle high ISOs much better than older models, but it’s still wise to use the lowest ISO possible for your shooting conditions. A good rule of thumb: only increase ISO when you can’t achieve proper exposure by adjusting aperture and shutter speed first.
Pro tip: Test your camera’s ISO performance by taking the same shot at different ISO values in low light. Look at the results at 100% magnification on your computer. This will help you determine your camera’s “acceptable” ISO ceiling – the highest setting you’re comfortable using before image quality degrades too much for your taste.
Remember that some noise is better than a blurry photo, so don’t be afraid to push your ISO when necessary to capture the moment. Many photographers would rather have a sharp, slightly noisy image than a clean but motion-blurred one.
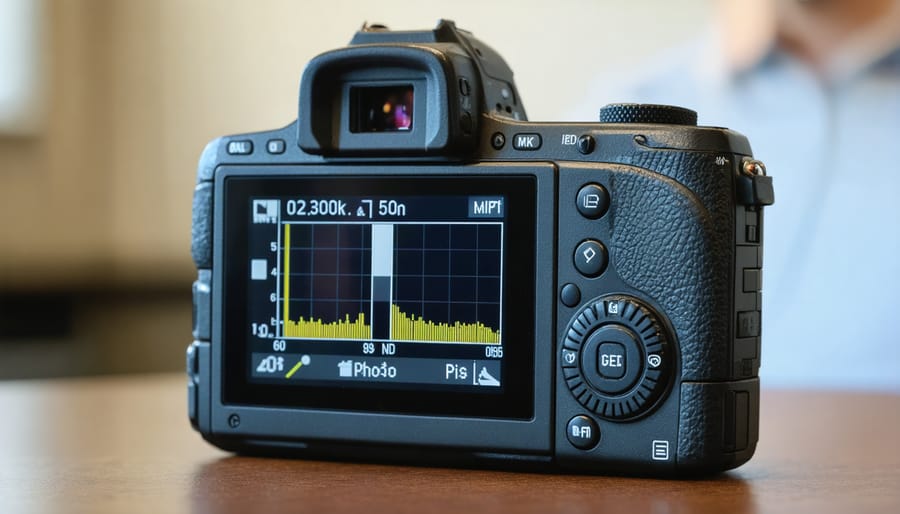
Reading Your Camera’s Light Meter
Your camera’s light meter is like a trusted advisor, helping you achieve perfect exposure in manual mode. Located in your viewfinder or on your LCD screen, it typically appears as a horizontal scale with markers ranging from -2 to +2 (or -3 to +3 on some models), with zero in the middle.
When you look through your viewfinder, you’ll see a moving indicator on this scale. This indicator shows whether your current settings will result in an underexposed (too dark), overexposed (too bright), or correctly exposed image. If the indicator moves toward the negative side, your image will be darker; if it moves toward the positive side, it will be brighter.
Think of the light meter as a balancing act. When the indicator sits at zero, your camera believes you’ve achieved “correct” exposure based on its reading of the scene. However, while mastering natural light and exposure, remember that the “correct” exposure isn’t always what you’re creatively aiming for.
Most cameras offer different metering modes: evaluative (matrix), center-weighted, and spot metering. Evaluative metering analyzes the entire frame, making it ideal for most situations. Center-weighted prioritizes the middle of the frame, while spot metering measures light from a specific point – perfect for tricky lighting situations or when your subject is backlit.
For consistent results, get into the habit of checking your meter before each shot. Start by positioning the indicator at zero, then adjust your settings based on your creative vision. With practice, you’ll develop an intuitive understanding of when to trust your meter completely and when to intentionally override its suggestions.
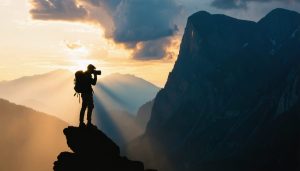
Real-World Shooting Scenarios
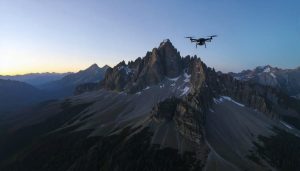
Landscapes: Maximizing Sharpness
When shooting landscapes in manual mode, achieving maximum sharpness requires careful attention to several key settings. Start by selecting a narrow aperture, typically between f/8 and f/11, which provides an optimal balance between depth of field and lens sharpness. While f/16 or smaller might seem tempting for maximum depth of field, these extremely narrow apertures can actually reduce overall sharpness due to diffraction.
Always use a sturdy tripod to eliminate camera shake, especially when shooting in lower light conditions. Enable your camera’s mirror lock-up feature and use a remote shutter release or 2-second timer to further minimize vibration. Focus about one-third into the scene (hyperfocal distance) to ensure sharpness from foreground to background.
Keep your ISO as low as possible, ideally at your camera’s base ISO (usually 100), to maintain maximum image quality and minimize digital noise. If lighting permits, use faster shutter speeds (1/125 or faster) for handheld shots. For scenes with moving elements like water or clouds, consider using neutral density filters to achieve longer exposures while maintaining your desired aperture and ISO settings.
Portraits: Creating Beautiful Bokeh
Creating stunning portrait photographs with beautiful bokeh requires mastery of manual mode settings and choosing the right lens. To achieve that coveted background blur, start by setting your aperture wide open (lowest f-number available on your lens). A setting between f/1.4 and f/2.8 typically works best for portraits.
Position your subject at least 6-8 feet away from the background, and ensure you’re relatively close to your subject. This distance combination maximizes the bokeh effect. When setting your shutter speed, aim for at least 1/125th of a second to prevent motion blur, especially when photographing people.
Keep your ISO as low as possible while maintaining proper exposure. In good lighting conditions, ISO 100-400 should suffice. Focus precisely on your subject’s eyes using single-point autofocus, as the shallow depth of field leaves little room for error.
For the most pleasing bokeh, look for backgrounds with small, bright points of light or dappled sunlight filtering through trees. Remember that longer focal lengths (85mm and above) will compress the background more, creating even creamier bokeh effects while flattering your subject’s features.
Common Manual Mode Mistakes
Even experienced photographers make mistakes when shooting in manual mode, but being aware of these common pitfalls can help you avoid them. One frequent error is forgetting to reset settings between shooting sessions. You might find yourself starting a new shoot with settings from your last night photography session, resulting in severely overexposed daytime images.
Another common mistake is fixating too much on one setting while neglecting others. For instance, you might be so focused on getting the perfect aperture that you forget to adjust your shutter speed, leading to motion blur or camera shake. Remember, manual mode requires a balance of all three exposure elements.
Many photographers also struggle with their light meter readings, either ignoring them completely or relying on them too heavily. While the light meter is a valuable tool, it can be deceived by very bright or dark scenes. Learn to use it as a guide rather than gospel.
ISO settings are often overlooked until it’s too late. Leaving your ISO high after shooting in low light can result in unnecessarily grainy images when you return to bright conditions. Make it a habit to check your ISO before starting each session.
Finally, don’t fall into the trap of thinking every shot needs to be in manual mode. Sometimes other modes might be more appropriate for the situation. The key is knowing when manual control truly benefits your creative vision.
Congratulations on taking your first steps into the world of manual photography! Remember, mastering manual mode is a journey, not a destination. Start by practicing in low-pressure situations – perhaps in your backyard or during a casual walk. Focus on one setting at a time until it becomes second nature, then gradually combine them. Don’t be discouraged by initial mistakes; they’re valuable learning opportunities that will help you develop your essential photography skills. Challenge yourself to shoot in manual mode for a full week, documenting your progress and reviewing your results. Join local photography groups or online communities where you can share your experiences and learn from others. With practice and patience, you’ll soon find that manual mode becomes your preferred way to capture the world around you. The creative control and satisfaction of nailing the perfect exposure are well worth the effort!