Harness the power of directional light to sculpt your subject, using side lighting to accentuate texture, backlighting to create dramatic silhouettes, or frontlighting for even illumination. Master the art of using natural light by shooting during the golden hours near sunrise and sunset, when the light is soft, warm, and flattering. Tame harsh midday sun by employing diffusers and reflectors to soften shadows and fill in details. Elevate your images with intentional use of shadows, strategically placing them to add depth, drama, and intrigue to your compositions.
The Fundamentals of Light
Quality of Light
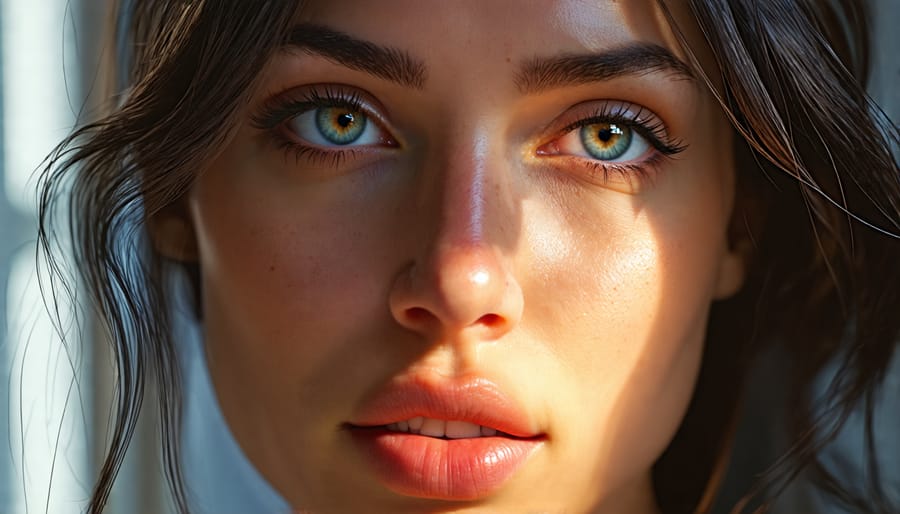
Light quality is a crucial aspect that can dramatically impact the mood and appearance of your photographs. Hard light, characterized by its strong, directional nature and sharp shadows, often creates a sense of drama, intensity, and sharp contrast. It can emphasize textures, sculpt subjects, and produce bold, graphic compositions. On the other hand, soft light is more diffused and even, resulting in gentle shadows and smooth gradations. It tends to flatter subjects, minimize blemishes, and create a more soothing, inviting atmosphere. Soft light is particularly well-suited for portraits, as it wraps around facial features and produces a more natural, flattering look. Understanding how to harness and control both hard and soft light allows photographers to shape the emotional impact of their images and convey their intended message effectively. By carefully observing the quality of light and making deliberate choices, you can elevate your photography and create images with depth, dimension, and visual interest.
Direction of Light
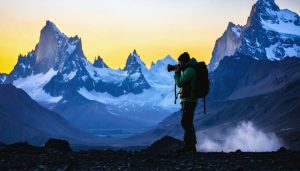
The direction of light plays a crucial role in shaping your subject and setting the mood of your photograph. Front lighting occurs when the light source is directly facing the subject, resulting in even illumination with minimal shadows. This type of lighting is ideal for capturing detail and color, but it can sometimes appear flat. Side lighting, where the light comes from the left or right of the subject, creates a more dramatic effect by emphasizing texture and depth through the interplay of light and shadow. Back lighting positions the light source behind the subject, often creating a stunning silhouette or a luminous halo effect when the light filters through translucent objects like hair or leaves. Experimenting with various angles of light can dramatically alter the appearance and emotional impact of your subject, so don’t be afraid to explore different directions to find the most compelling visual narrative for your image.
Color Temperature
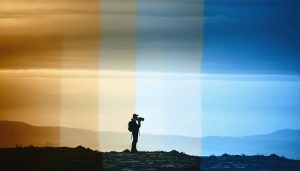
Color temperature, measured in Kelvins (K), describes the hue of light and significantly impacts the mood and feel of your photographs. Warm light (lower Kelvin values) has an orange or reddish tint, creating a cozy and inviting atmosphere. Cool light (higher Kelvin values) appears blue and can evoke feelings of coldness or solitude. Your camera’s white balance setting adjusts for different color temperatures, ensuring that white objects appear white in your final image. Experiment with various white balance settings to intentionally warm up or cool down your photos for creative effect. Understanding color temperature empowers you to make deliberate choices that enhance the emotional impact of your images.
Natural Light Techniques
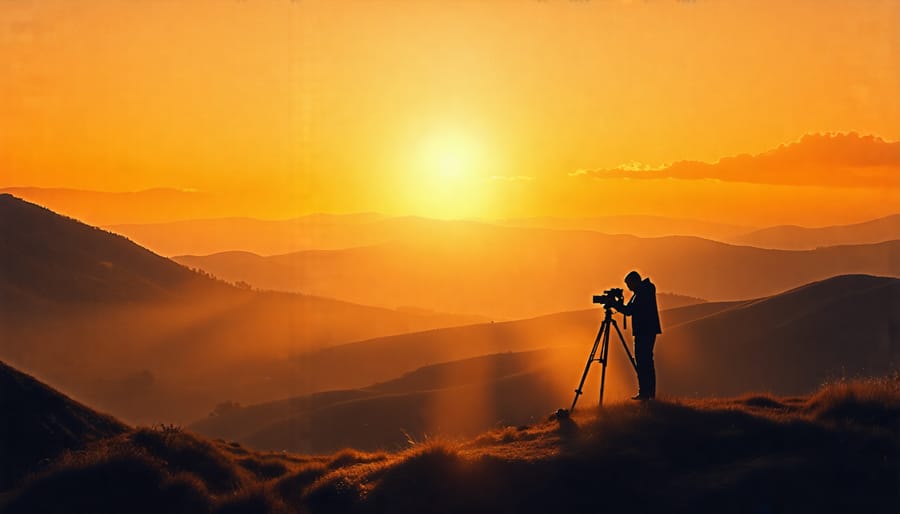
Golden Hour Magic
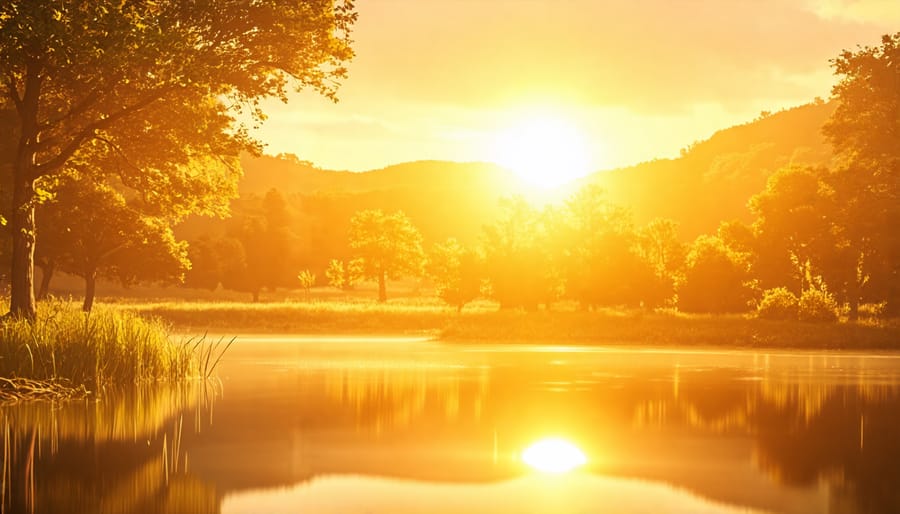
The golden hours, the periods shortly after sunrise and before sunset, are a magical time for photography. During these fleeting moments, the sun is low on the horizon, casting a warm, golden glow across the landscape. This soft, diffused light illuminates subjects with a radiant quality that is simply breathtaking. Shadows become longer and more dramatic, adding depth and dimension to your compositions. The golden hour light also enhances colors, making them appear richer and more vibrant. From the fiery oranges and pinks of a sunset sky to the warm tones of sun-kissed skin, the golden hours offer a palette that is unmatched at any other time of day. Whether you’re capturing portraits, landscapes, or cityscapes, shooting during the golden hours can elevate your images to new heights, imbuing them with a sense of enchantment and beauty that will captivate viewers.
Taming Harsh Midday Sun
Shooting in harsh midday sun can be a photographer’s worst nightmare, with intense shadows and blown-out highlights wreaking havoc on your images. But fear not! There are several strategies you can employ to tame that bright, direct sunlight and create stunning photographs. One effective technique is to seek out shade, using trees, buildings, or other structures to diffuse the light and soften shadows. If shade isn’t available, consider using a diffuser or reflector to manipulate the light and minimize harsh contrasts. Alternatively, embrace the shadows and use them creatively to add depth and drama to your compositions. Backlighting your subjects can also yield beautiful results, creating a luminous halo effect. Remember to adjust your camera settings accordingly, using a faster shutter speed and a narrower aperture to avoid overexposure. If all else fails, consider changing your shooting angle or waiting for the light to soften during the golden hours. With a little creativity and patience, you can turn that midday sun into a powerful ally. For more low-light shooting advice, check out our night photography tips.
Embracing Overcast Skies
Overcast skies may seem like a photographer’s worst nightmare, but they can actually be a blessing in disguise. The soft, diffused light created by cloudy conditions is perfect for capturing evenly lit subjects with minimal shadows. This type of light is particularly flattering for portraits, as it helps to soften skin tones and minimize blemishes. It’s also ideal for shooting in forests or other densely vegetated areas, where the even illumination can help to bring out the details and colors of the foliage. When shooting on overcast days, embrace the moody atmosphere and experiment with different compositions to showcase the unique quality of the light. Don’t be afraid to boost your ISO or use a wider aperture to compensate for the lower light levels. With a little creativity and technical know-how, you can turn those dreary gray skies into stunning photographic opportunities.
Artificial Lighting Essentials
On-Camera Flash
When using an on-camera flash, whether it’s a built-in pop-up or a more powerful hot shoe unit, the key is to balance the flash output with the ambient light. Start by setting your camera to aperture priority mode and choosing an aperture that provides the desired depth of field. The flash will automatically adjust its power to match the aperture setting. If your subject appears too bright or harshly lit, use flash exposure compensation to reduce the flash output by one or two stops. Conversely, if the subject looks underexposed, increase the flash power.
To soften the light and minimize harsh shadows, consider using a flash diffuser or bouncing the flash off a nearby white surface, such as a wall or ceiling. This technique spreads the light over a larger area, creating a more natural-looking illumination. When bouncing the flash, make sure to adjust the flash head so that it points toward the reflecting surface rather than directly at your subject. Experiment with different angles and distances to find the most flattering light for your scene. Remember that on-camera flash is most effective when used as a fill light to supplement the existing ambient light, rather than as the primary light source.
Off-Camera Lighting
For more advanced and creative lighting, photographers often turn to off-camera flash and studio strobes. These powerful tools allow you to shape light in ways that are impossible with on-camera flash or natural light alone. With wireless flash systems, you can position lights anywhere you want, giving you ultimate control over the direction, intensity, and quality of light in your scene.
Studio strobes are even more powerful than speedlights, making them ideal for lighting larger subjects or working in bright conditions. They also offer more precise control over light output and can be used with a variety of light modifiers like softboxes, umbrellas, and beauty dishes. When using off-camera lighting, it’s important to choose compatible lenses that can communicate with your flash system for optimal exposure and performance.
Mastering off-camera lighting opens up a world of creative possibilities. You can use multiple lights to create complex, multi-dimensional lighting setups, or experiment with colored gels to add mood and atmosphere to your shots. Whether you’re shooting portraits, products, or creative concepts, learning to control light off-camera is an essential skill for taking your photography to the next level.
Continuous Lights
Continuous lights, such as LED panels, offer photographers a consistent and reliable light source for their shots. Unlike flash, which provides a brief burst of light, continuous lights allow you to see exactly how the light falls on your subject in real-time. This makes it easier to adjust the lighting and compose your shot without guesswork. LED panels are particularly popular due to their adjustable brightness, low heat emission, and energy efficiency. They’re ideal for studio photography, video work, and situations where you need a steady, controllable light source. Continuous lights are also excellent for beginners learning to control light, as the effects are immediately visible. However, they may not be as powerful as flash and can introduce issues like flickering in video. When using continuous lights, consider the color temperature, intensity, and placement to achieve the desired mood and minimize unwanted shadows in your images.
Modifying Light
Reflectors and Diffusers
Reflectors and diffusers are essential tools for shaping light in photography. While they may seem simple, their impact on the quality and character of your images can be profound. Reflectors, typically white, silver, or gold, bounce light back onto your subject, filling in shadows and adding dimensionality. White reflectors provide a soft, neutral fill, while silver ones create a cooler, more specular highlight. Gold reflectors, on the other hand, impart a warm glow that’s perfect for outdoor portraits.
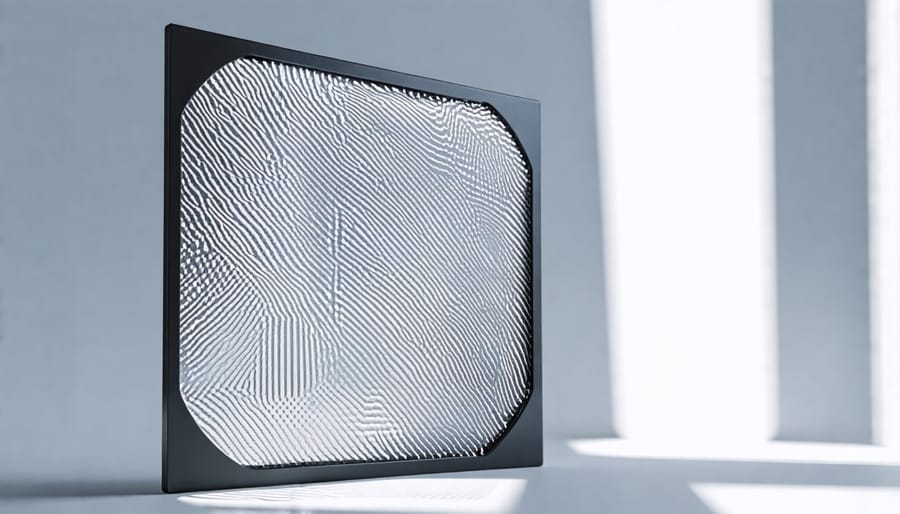
Diffusers, usually made of translucent fabric or plastic, soften and spread light, reducing harsh shadows and contrast. They’re particularly useful when working with strong, directional light sources like the midday sun or a bare flash. By placing a diffuser between the light and your subject, you can create a more flattering, even illumination that wraps gently around faces and objects.
The beauty of reflectors and diffusers lies in their versatility. You can use them to control natural light, turning a small patch of shade into a beautiful soft box, or to tame the output of artificial lights, transforming a harsh flash into a gentle kiss of radiance. Experiment with different positions, angles, and combinations to sculpt light to your vision. With these tools in your kit, you’ll have the power to shape light in any situation, elevating your images from ordinary to extraordinary.
Flags and Gobos
To further control the quality and direction of light in your photographs, consider using flags and gobos. Flags are dark, opaque materials used to block light and create shadows. They come in various sizes and can be positioned to partially or fully block light from hitting your subject, allowing you to shape and sculpt the light for a more dramatic effect.
Gobos, short for “go-betweens,” are objects placed between the light source and the subject to create patterns, shapes, or textures in the light. Common gobo materials include perforated metal, wire mesh, or even natural elements like leaves or branches. By casting interesting shadows or highlights, gobos add depth and visual interest to your images.
When using flags and gobos, experiment with their placement and distance from the light source and subject. Subtle adjustments can significantly impact the mood and atmosphere of your photograph. These tools are particularly useful in studio settings where you have more control over the lighting setup, but they can also be employed creatively in outdoor shoots by blocking or shaping sunlight or artificial light sources.
Mastering the use of flags and gobos takes practice, but the results are well worth the effort. By selectively blocking and shaping light, you can elevate your images from ordinary to extraordinary, creating photographs that captivate and inspire.
Conclusion
In conclusion, mastering the use of light is essential for creating stunning and impactful photographs. By understanding the qualities of light, harnessing natural light effectively, and skillfully manipulating artificial light, you can elevate your images to new heights. Remember to observe how light interacts with your subjects, experiment with different lighting techniques, and don’t be afraid to think outside the box with creative solutions like DIY photo backdrops. With practice and persistence, you’ll develop a keen eye for light and gain the ability to craft photographs that truly captivate your audience. So grab your camera, embrace the power of light, and let your creativity shine through in every shot you take.