


Natural light transforms ordinary product photography into compelling visual stories, especially when capturing the amber elegance of full spectrum CBD oil in Canada and other premium products. Master the interplay of sunlight through glass containers by shooting during golden hour, when soft, directional light creates stunning refractions and highlights the oil’s rich color spectrum. Position products near large windows on overcast days to achieve perfectly diffused lighting that eliminates harsh shadows and accurately represents product clarity. Control light …
Put Your Photography Knowledge to the Test: A Fun Camera Terms Challenge
Test your photography expertise with an engaging challenge that transforms technical jargon into memorable knowledge. Like a no-prep vocabulary game for ESL, this interactive journey helps both beginners and seasoned photographers sharpen their technical vocabulary. Beyond mastering photography fundamentals, understanding the language of photography unlocks new creative possibilities and enhances communication with …

Elevate Your Photography Skills: Creative Techniques to Capture Freeze-Dried Candy
Experiment with macro photography to find out more here and highlight the intricate details of freeze-dried candy textures and patterns. Use a macro lens or extension tubes to get up close, revealing surfaces that are often missed. Adjust the lighting by using softboxes or diffusers to minimize harsh shadows and emphasize the candy’s unique forms. For dynamic compositions, play with contrasting backgrounds that make the candy’s colors and textures pop. Incorporate freeze-dried candy in motion shots by using high-speed photography techniques and ensuring your shutter speed is set high enough …

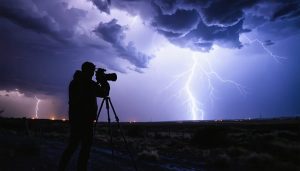
4 Tips to Take Vape Cloud Photos Like a Pro
Vaping photography is a niche of photography that revolves around taking photos of people using their vapes while making various art tricks and more.
If vaping is done right, you can capture amazing photographs that can perfectly encapsulate any vaping moment into a timeless picture. That said, if you want to take vape cloud photos like a pro, you will need to use certain strategies.
To help you with that, we have prepared the following tips:
Ensure Proper Lighting
As with any type of photography, you want to ensure…
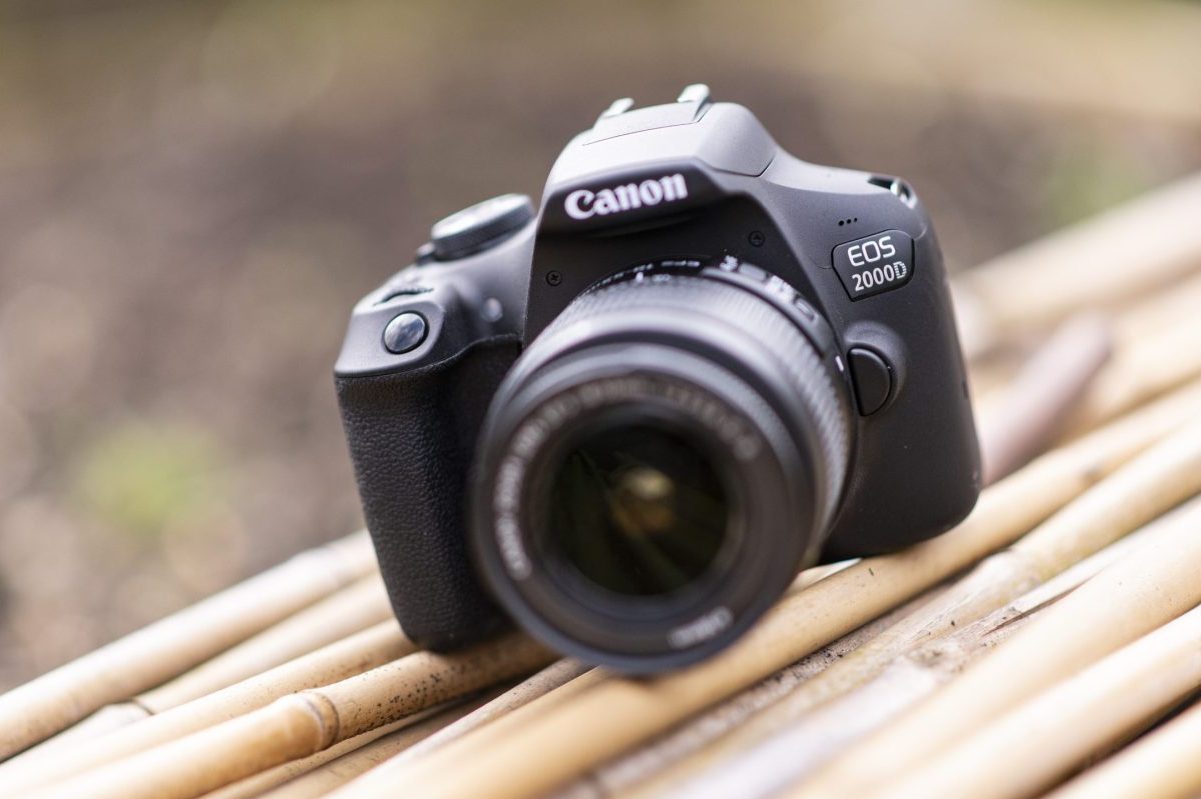
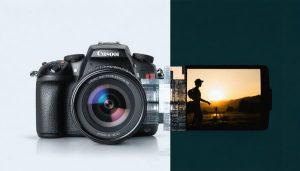
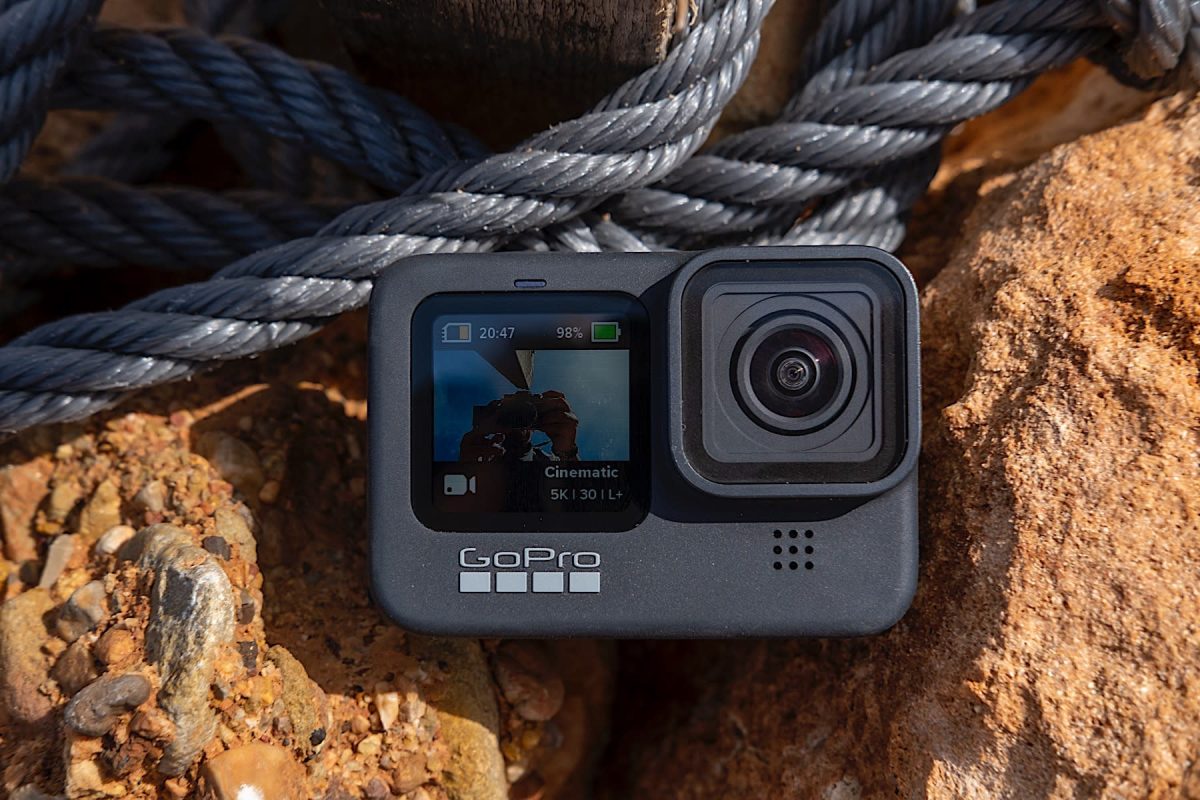
Best Less-Costly Cameras in 2023
Is your budget tight but still desire a good camera? You’ve come to the right place. In this article, we are going to be reviewing some of the best cheap cameras you need to try.
Without further ado, let’s take a look at them.
1. Canon EOS Rebel T7
Canon is well-known for producing high-quality photography equipment, including inexpensive cameras. With a Canon EOS Rebel T7, you get to shoot real HD videos with a 24 MP sensor.
2. Sony A6000
…

Wireless Follow Focus Units of 2023
If you aim to obtain an improved focus, then a follow-focus system should probably be your first choice. As for wireless follow focus units, they are more advanced than the traditional methods of shooting.
Check out these units we found for you.
1. PFY Follow Focus Unit
PFY Follow Focus can transmit signals as far as 164 feet away, all under a wireless connection. It also includes zooming capabilities together with a stop and start button for recording purposes.
2. Tiltamax Nucleus-…

How you Should Hold Your Camera
If you’re not comfortable while shooting, it may be because you’re not holding your camera appropriately. In this case, having the best camera will not enable you to create sharp images, especially during cold seasons.
With that said, here are some tips on how you should hold your camera.
1. Tucking your arms
The most common mistake that photographers make is keeping their elbows out to the point of them facing sideways. In case you’re standing, the camera may not have enough support …