Dial in your exposure triangle – aperture, shutter speed and ISO – to achieve proper exposure and desired effects like depth of field and motion blur. Master composition techniques such as the rule of thirds, leading lines, framing, and symmetry to create more impactful, visually appealing images. Practice using different best mirrorless cameras, lenses and focal lengths to understand how they affect perspective, background compression, and the overall look and feel of your photos. Capture images in RAW format to preserve maximum detail and flexibility for post-processing adjustments in editing software like Lightroom or Photoshop.
Understand Your Camera Settings
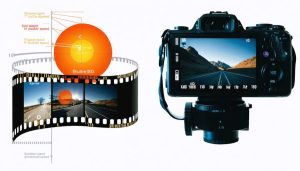
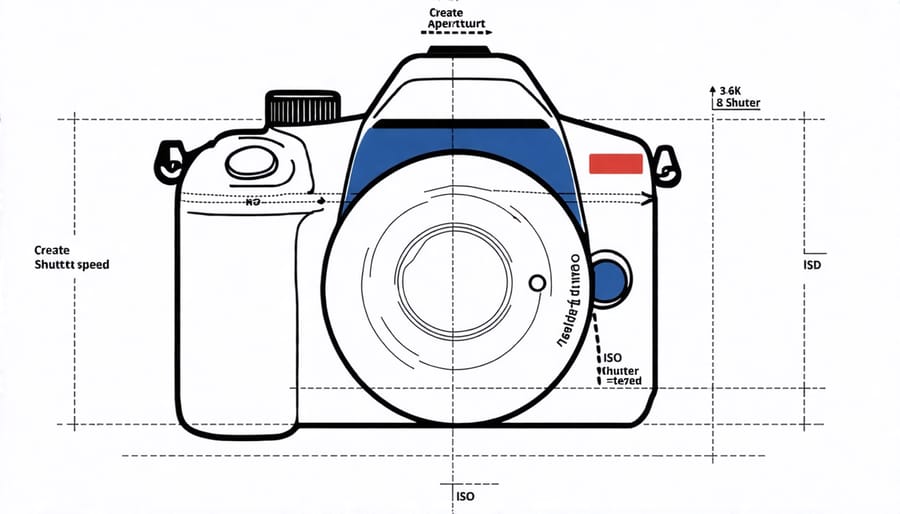
Aperture
Aperture refers to the opening in your lens that allows light to enter the camera. It is measured in f-stops, with lower numbers (like f/2.8) indicating a wider aperture and higher numbers (like f/16) representing a narrower one. The aperture directly affects depth of field – the amount of your image that appears sharp. Wide apertures create a shallow depth of field, perfect for portraits where you want to blur the background and make your subject pop. Narrow apertures keep more of the scene in focus, ideal for landscapes where you want foreground to background sharpness.
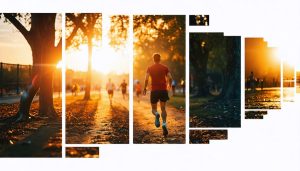
Shutter Speed
Shutter speed is a crucial setting that determines how motion is captured in your photographs. Slower shutter speeds allow more light to enter the camera, resulting in brighter exposures, but any movement will appear blurred. Faster shutter speeds freeze motion but let in less light. As a rule of thumb, use a shutter speed that’s the reciprocal of your lens focal length (e.g., 1/60 for a 60mm lens) or faster when shooting handheld to avoid camera shake. Experiment with slow shutter speeds to create artistic effects like silky waterfalls or light trails, or use fast speeds to freeze fast-moving subjects like athletes or wildlife in action.
ISO
ISO refers to your camera’s sensitivity to light. Higher ISO settings make the sensor more sensitive, allowing you to shoot in low-light situations without a flash. However, increasing ISO also introduces more noise or grain into your images. As a general rule, keep your ISO as low as possible while maintaining proper exposure. Raising the ISO is a tradeoff between brightness and image quality. If you’re shooting handheld in dim conditions and can’t lower your shutter speed further without risking blur from camera shake, bump up the ISO as needed. For the cleanest images, use the lowest ISO that yields a fast enough shutter speed for sharp results.
Learn Composition Techniques
Composition is the heart of great photography. By arranging elements within the frame in a deliberate, artistic way, you can create images with more impact and meaning. One classic technique is the rule of thirds – mentally dividing your frame into a 3×3 grid and placing key elements along those lines or at their intersections. This creates a pleasing sense of balance.
Leading lines are another powerful tool, using natural lines in the scene to guide the viewer’s eye into and through the photograph. Roads, fences, rivers, or even a row of trees can serve as leading lines. Framing is a technique where you use elements in the foreground to create a “frame” around your main subject, focusing attention and adding depth.
Symmetry is also visually appealing, whether it’s a perfectly centered subject or a mirrored reflection. However, breaking the symmetry strategically can add interest too.
The best way to understand composition is through examples. Study how these principles are applied in iconic photographs or the work of master photographers. Then practice seeing these concepts in the world around you.
Take multiple shots of the same scene, deliberately experimenting with different compositions. Review them afterwards to analyze why certain framings are stronger than others. With time, spotting great compositions will become second nature. Remember, even the most basic scene can be elevated through artful, intentional composition. It’s a skill that will transform your photography.
Master Lighting
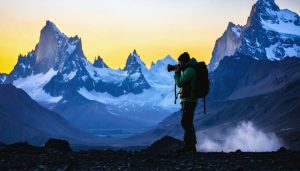
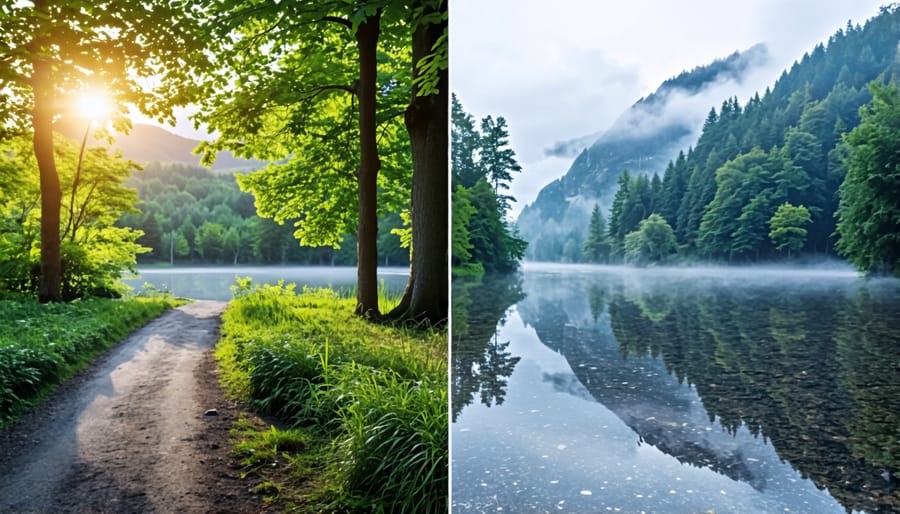
Mastering light is the key to creating stunning photographs that capture the eye and evoke emotion. Light shapes the mood, highlights the subject, and sets the overall tone of an image. As a photographer, it’s essential to understand how to work with various lighting conditions, both natural and artificial.
When shooting outdoors, pay attention to the direction and quality of sunlight. Early morning and late afternoon provide a soft, warm glow that’s perfect for portraits and landscapes. Midday sun can be harsh, creating deep shadows and high contrast. In these situations, look for shade or use a diffuser to soften the light on your subject.
Overcast days offer even, diffused light that’s ideal for minimizing shadows and bringing out colors. Embrace cloudy conditions for portraits, macro shots, and woodland scenes. Backlighting, where the sun is behind your subject, can create a beautiful rim light effect, but be careful to avoid lens flare.
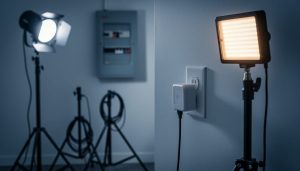
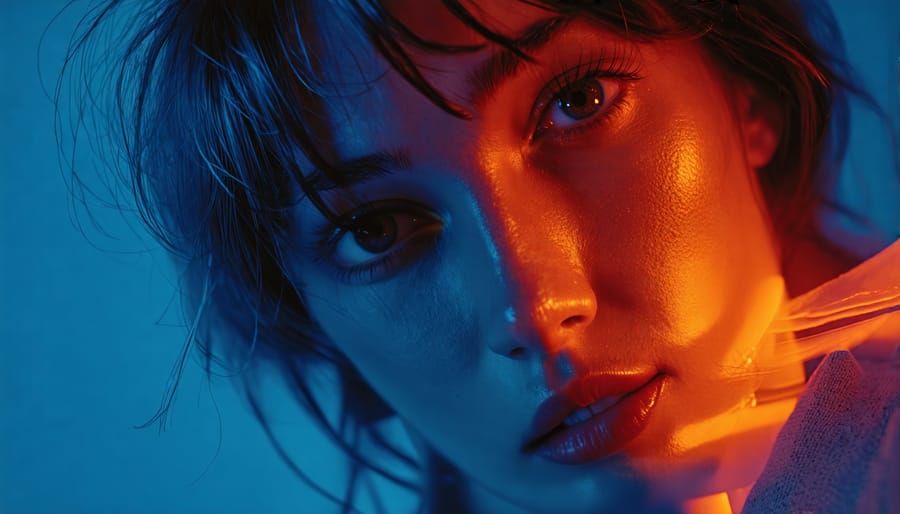
Artificial lighting opens up a world of creative possibilities. Start with a simple one-light setup, using a speedlight or strobe with a softbox or umbrella to diffuse the light. Experiment with different angles and distances to shape the light on your subject. Adding a reflector can help fill in shadows and provide a catchlight in the eyes.
As you advance, explore more complex lighting setups with multiple lights to create depth and dimension. Mastering light is a lifelong journey for photographers, but by understanding its properties and learning to control it, you’ll be well on your way to creating images that shine.
Practice, Practice, Practice
The most surefire way to improve your photography is simple: practice, practice, practice. Make it a habit to take your camera with you everywhere, whether you’re running errands, walking the dog, or meeting friends for coffee. Challenge yourself to find photo opportunities in everyday moments and settings.
Set themes or projects to focus your practice sessions. For example, spend a week capturing architectural details, or document the changing colors of fall leaves. Participate in online challenges like the “365 Project” where you commit to taking and posting one photo per day for a year.
Regular practice helps you gain familiarity with your gear so adjusting settings becomes second nature. You’ll also train your eye to spot compelling compositions and learn to anticipate decisive moments. With digital cameras, you have the freedom to experiment without worrying about wasting film. Take advantage of that to try new angles, settings, and techniques. The more time you spend behind the lens, the more your skills will grow. Remember, even the masters were once beginners – their iconic images are the result of passion and persistent practice.
Experiment with Different Genres
Experimenting with different genres is an excellent way to broaden your photography skills and find new creative outlets. Portraits, for instance, teach you how to connect with subjects, use lighting to flatter faces, and compose shots that capture personality. Landscape photography hones your eye for grand, sweeping compositions and trains you to work with natural light at different times of day.
Street photography pushes you out of your comfort zone, teaching you to anticipate moments and react quickly in dynamic, uncontrolled environments. Nature and wildlife photography require patience, planning, and a solid grasp of technical settings to freeze motion and nail focus, all while avoiding common wildlife photography mistakes.
The best part? The skills you gain in one genre will make you a better photographer across the board. Portraits teach you to see and shape light, a critical skill for any type of photography. The compositional techniques used in landscapes – leading lines, framing, and the rule of thirds – apply universally. Street photography sharpens your instincts and ability to adapt on the fly.
So branch out and try new things. You may discover a hidden passion or unlock creative approaches you can bring back to your primary genre. Versatility is key to growth as a photographer. By exploring multiple genres, you’ll build a diverse skill set that will serve you well no matter what you’re shooting. Embrace the opportunity to learn and evolve with each new photographic pursuit.
Learn Post-Processing Basics
Learning the basics of post-processing is essential for taking your photography to the next level. While capturing a great shot in-camera is crucial, editing your photos in software like Adobe Lightroom or Capture One can help you refine your vision and make your images truly stand out.
Start by familiarizing yourself with the fundamental editing tools, such as exposure, contrast, saturation, and white balance adjustments. Experiment with each slider to understand how it impacts your photo. For example, boosting the contrast can add depth and drama, while increasing saturation can make colors more vibrant.
Next, explore the power of local adjustments. Using tools like the adjustment brush or radial filter, you can selectively edit specific areas of your photo. This is particularly useful for enhancing the subject, balancing exposure, or drawing the viewer’s eye to key elements.
To see the transformative potential of post-processing, study before and after examples from experienced photographers. Pay attention to subtle changes in tone, color, and overall mood. With practice, you’ll develop an intuitive sense of how to edit your photos to achieve your desired aesthetic.
Remember, the goal of post-processing is to enhance your photos, not to completely alter them. Start with subtle adjustments and gradually build your editing skills over time. With patience and experimentation, you’ll unlock new creative possibilities in your photography.
Connect with Other Photographers
Connecting with other photographers is one of the best ways to accelerate your growth and get valuable feedback on your work. Seek out photography communities, both online and in your local area, to meet like-minded individuals passionate about the craft. Online forums such as DPReview, Fred Miranda, and UglyHedgehog are fantastic resources for asking questions, sharing your images, and learning from experienced photographers. Facebook groups dedicated to specific genres or camera brands can also provide a supportive environment to post your work and receive constructive critiques.
Locally, look for photography clubs or meetup groups in your city or region. These organizations often host regular events, workshops, and photo walks where you can practice shooting alongside others and gain insights from more seasoned members. Attending art gallery openings, exhibitions, and photography conferences can also help you network with industry professionals and expose you to fresh ideas and perspectives to incorporate into your own photography. Remember, everyone started somewhere, so don’t be afraid to put yourself out there and learn from the wealth of knowledge within the photography community.
Conclusion
In conclusion, becoming a skilled photographer is a journey that requires dedication, practice, and a willingness to learn. By mastering the seven key areas we’ve covered – exposure, composition, lighting, focus, post-processing, gear knowledge, and experimentation – you’ll be well on your way to creating stunning images that capture the world in your own unique vision. Remember, even the most experienced photographers started as beginners, so don’t be discouraged if your shots don’t turn out perfectly at first. With time and effort, you’ll develop an intuitive understanding of your camera settings and learn to see creatively.
As you progress, consider investing in quality equipment that suits your needs. Our beginner’s guide to buying a camera can help you make informed decisions. Most importantly, get out there and shoot regularly. Challenge yourself to try new techniques, explore different subjects, and find your artistic voice. The more you practice, the more you’ll grow as a photographer. So grab your camera, unleash your creativity, and enjoy the rewarding journey of becoming a better photographer with every click of the shutter.