Light shapes every photograph you’ll ever take. Master it, and you’ll transform ordinary scenes into extraordinary images. Understanding light isn’t just about technical knowledge – it’s about seeing the world through a photographer’s eyes and knowing how to capture the perfect moment when light, subject, and composition align.
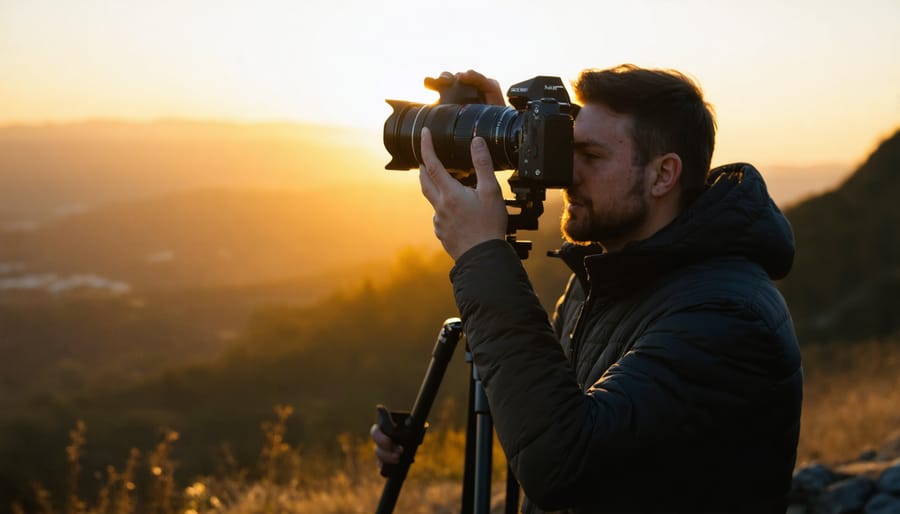
Seasoned photographers know that success hinges on more than just essential photography gear – it’s about recognizing how light behaves, moves, and interacts with your subject. Whether you’re shooting in the golden glow of sunrise or the challenging conditions of a dimly lit interior, light is your most powerful tool and most important collaborator.
The difference between an amateur snapshot and a professional image often comes down to one thing: the photographer’s ability to read, manipulate, and harness light. This fundamental skill influences every aspect of photography, from exposure settings to composition choices, and ultimately determines the emotional impact of your images.
By understanding light’s core principles – direction, quality, color temperature, and intensity – you’ll develop the foundation needed to create compelling images in any situation. Let’s explore how to master this essential element of photography and elevate your work to the next level.
What is Lens Aperture?
The F-Stop Scale Explained
The f-stop scale might seem mysterious at first, but it follows a logical pattern that directly relates to light control. Each f-stop number (like f/1.4, f/2, f/2.8, f/4, f/5.6, f/8, f/11, and f/16) represents the ratio between your lens’s focal length and the diameter of the aperture opening. As you move up the scale, each step reduces the amount of light entering your camera by half.
Think of f-stops like a water faucet: f/1.4 is like turning the tap on full blast, letting in maximum light, while f/16 is like barely cracking it open. When you move from f/2.8 to f/4, you’re cutting the light in half. Conversely, moving from f/4 to f/2.8 doubles the amount of light reaching your sensor.
Understanding this relationship is crucial because it affects not just exposure but also depth of field. Lower f-stop numbers (wider apertures) create that sought-after background blur, while higher numbers (smaller apertures) keep more of your scene in focus. This mathematical progression might seem complex, but remembering that each step halves or doubles the light makes it much more manageable in practice.
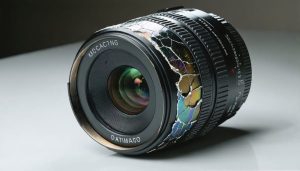
How Aperture Blades Shape Your Light
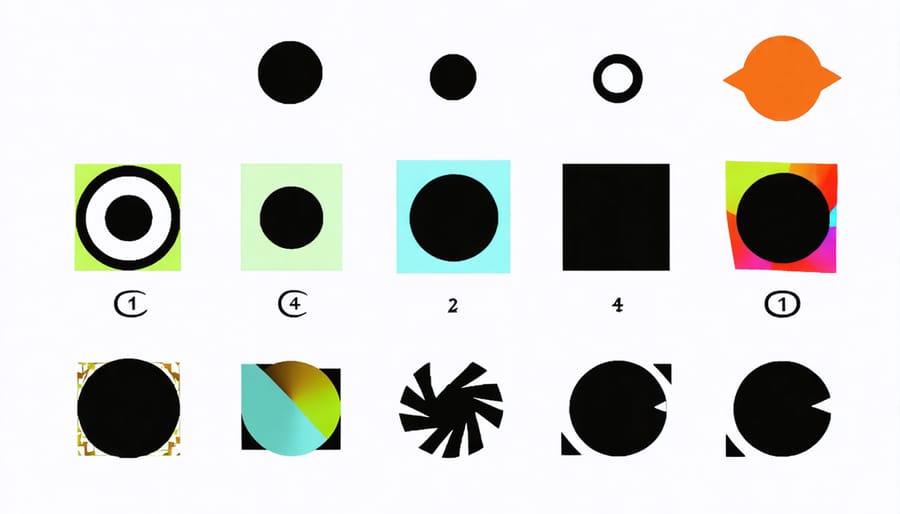
The number and shape of aperture blades in your camera lenses play a crucial role in determining the quality and character of your images, particularly when it comes to bokeh and light points. Most modern lenses feature between 5 and 9 blades, with higher-end models often sporting 7 to 9 rounded blades for superior light rendering.
When light passes through a lens with fewer straight blades, out-of-focus highlights take on angular shapes – pentagonal for 5 blades, hexagonal for 6, and so on. This effect becomes particularly noticeable in night photography or when capturing reflective surfaces. Lenses with more rounded blades, however, create smoother, more circular bokeh that many photographers find more pleasing.
The blade design also affects sunstars and light flares. Straight blades produce more defined, pointed sunstars, while rounded blades create softer, more subtle effects. This is why landscape photographers often prefer lenses with straight blades for those striking sunburst effects, while portrait photographers typically opt for rounded blades to achieve creamy, natural-looking background blur.
Aperture’s Effect on Exposure
Large vs. Small Apertures
Aperture size plays a crucial role in how light interacts with your camera’s sensor, and understanding the difference between large and small apertures can transform your photography. A large aperture (represented by a small f-number like f/1.8) creates a wider opening in your lens, allowing more light to enter. This is particularly useful in low-light situations or when you want to achieve that coveted background blur, known as bokeh.
Conversely, small apertures (higher f-numbers like f/16) restrict light entry and provide greater depth of field, keeping more of your scene in focus. Think of landscape photography, where you typically want everything from the foreground flowers to the distant mountains sharp and clear.
Here’s a practical way to remember it: for portraits and detail shots where you want your subject to pop against a blurred background, opt for larger apertures (f/1.8 to f/4). For scenes where you need everything in focus, like architecture or group photos, choose smaller apertures (f/8 to f/16).
However, there’s a trade-off to consider. While large apertures excel in low light and create beautiful bokeh, they can make focusing more challenging due to the narrower depth of field. Small apertures provide more forgiveness in focusing but require more light or slower shutter speeds to achieve proper exposure. Understanding these relationships helps you make informed decisions based on your shooting conditions and creative vision.
The Exposure Triangle Connection
The three pillars of exposure – aperture, shutter speed, and ISO – work together like a well-orchestrated dance. Think of them as a system of checks and balances, where adjusting one element affects how you might need to adjust the others to maintain proper exposure.
When you open up your aperture to let in more light (lower f-number), you’ll typically need to use a faster shutter speed or lower ISO to prevent overexposure. Conversely, if you’re shooting in low light and need a smaller aperture for greater depth of field, you might need to slow down your shutter speed or increase your ISO to compensate.
Understanding this relationship is crucial for creative control. For instance, if you’re photographing a waterfall and want that silky-smooth water effect, you’ll need a slow shutter speed. To prevent overexposure, you’ll likely need to close down your aperture (higher f-number) or use a lower ISO setting.
The beauty of modern digital cameras is that they can handle this balancing act automatically. However, knowing how to manually adjust these settings gives you the power to achieve specific creative effects. Whether you’re capturing motion blur, creating a shallow depth of field, or shooting in challenging lighting conditions, mastering the exposure triangle allows you to make informed decisions that serve your creative vision rather than letting the camera make those choices for you.
Creative Applications of Aperture
Depth of Field Control
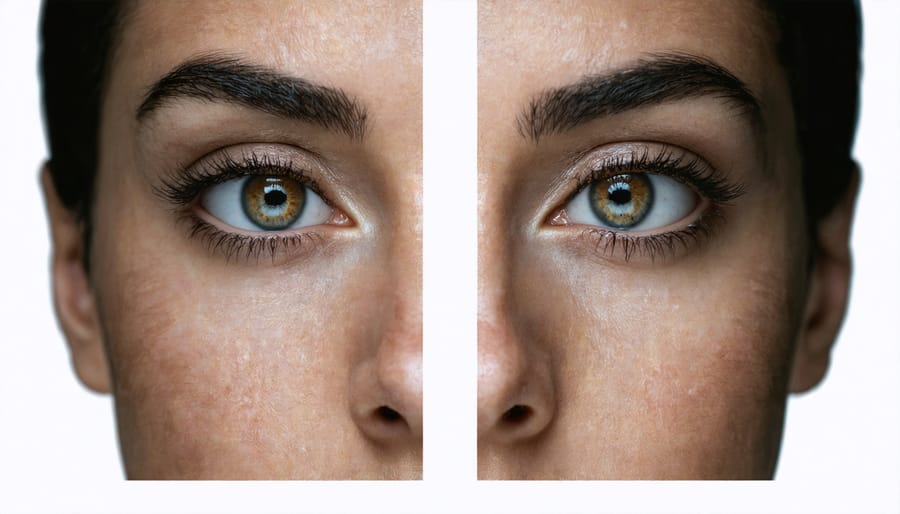
One of the most powerful creative tools in photography is your ability to control depth of field through aperture settings. Think of depth of field as the zone of sharpness in your image – the area that appears in clear focus from front to back. A wide aperture (low f-number like f/1.8) creates a shallow depth of field, where only your subject is sharp while the background melts into a creamy, soft blur photographers call “bokeh.” This effect is perfect for portraits or isolating subjects from busy backgrounds.
Conversely, a narrow aperture (high f-number like f/16) extends this zone of sharpness, keeping both near and distant elements in focus – ideal for landscape photography where you want everything from foreground flowers to distant mountains tack-sharp. The relationship is straightforward: the smaller the aperture opening, the greater the depth of field.
To master depth of field control, start by experimenting with different f-stops on a single subject. Try photographing a flower at f/2.8, f/8, and f/16, noting how the background blur changes. Remember that your distance to the subject and focal length also affect depth of field – getting closer to your subject or using a longer lens will decrease the depth of field at any given aperture.
Understanding this relationship gives you creative control over your images, allowing you to direct viewers’ attention precisely where you want it.
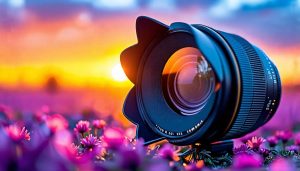
Artistic Effects with Bokeh
Bokeh, derived from the Japanese word for “blur,” is one of the most captivating artistic effects you can achieve through masterful light control. This beautiful background blur can dramatically transform your photography by creating dreamy, ethereal backgrounds that make your subjects pop.
To create stunning bokeh effects, start by using a lens with a wide maximum aperture (f/1.8, f/1.4, or wider). The wider the aperture, the more pronounced the bokeh effect will be. Position your subject at a distance from the background, as this separation enhances the blur effect. Background elements like small lights, foliage, or reflective surfaces often create the most pleasing bokeh patterns.
Consider the shape of your bokeh as well. While most lenses produce circular bokeh, some specialty lenses can create hearts, stars, or other interesting shapes. The quality of bokeh isn’t just about how blurry the background is—it’s about how smoothly and pleasingly the out-of-focus areas are rendered.
For the most impactful results, shoot during golden hour or in environments with multiple light sources. City lights at night, Christmas decorations, or dappled sunlight through trees can create magical bokeh effects that add depth and dimension to your images. Remember that the closer you are to your subject, the more pronounced the background blur will become.

Common Aperture Mistakes and Solutions
Even experienced photographers can run into common photography mistakes when working with aperture settings. Here are some frequent issues and their solutions:
Using too wide an aperture for group shots is a classic error. While f/1.8 creates beautiful bokeh for portraits, it can leave some subjects out of focus in group photos. Solution: Use f/5.6 or smaller for groups to ensure everyone’s in focus.
Camera shake at small apertures is another common problem. When shooting at f/16 or smaller, your camera compensates with slower shutter speeds, potentially causing blur. Solution: Use a tripod or increase your ISO to maintain faster shutter speeds.
Many photographers struggle with focus accuracy at wide apertures. When shooting at f/1.4 or f/1.8, even slight movements can throw off focus. Solution: Use single-point autofocus, aim for the eyes in portraits, and take multiple shots to ensure at least one is perfectly sharp.
Forgetting to adjust aperture when changing shooting distances can lead to unexpected results. What works for a landscape shot might not work for macro photography. Solution: Remember that shooting distance affects depth of field – adjust your aperture accordingly when moving closer to or further from your subject.
Finally, avoid stopping down too far (f/22 or smaller) without good reason. This can actually reduce image sharpness due to diffraction. Solution: Stay within your lens’s optimal range (usually f/4 to f/11) unless you specifically need an extremely deep depth of field.
Understanding light is fundamental to creating compelling photographs, and mastering its principles will transform your photography journey. Remember that light’s intensity, direction, quality, and color temperature all play crucial roles in shaping your images. Practice observing natural light throughout the day, and don’t be afraid to experiment with different lighting conditions and techniques. Whether you’re working with natural light or artificial sources, the key is to keep practicing and developing your eye for light. Start by applying one concept at a time in your photography sessions, and gradually build upon your knowledge. With time and dedication, you’ll develop an intuitive understanding of light that will naturally enhance your creative vision and technical execution. The journey of mastering light in photography is ongoing, but the rewards of creating beautifully lit images make every step worthwhile.