Transform your photography instantly by learning to master your camera settings for any situation. Shoot landscapes with f/11-f/16 aperture and ISO 100 for edge-to-edge sharpness and minimal noise. Capture fast action by setting shutter speeds above 1/1000s and engaging continuous autofocus (AF-C). Create stunning portraits using f/2.8 or wider apertures to blur backgrounds while keeping eyes tack-sharp. Perfect your low-light shots with a balanced trinity: open aperture (f/2.8 or wider), higher ISO (up to 3200), and the slowest hand-holdable shutter speed (usually 1/focal length).
Your camera becomes an extension of your creative vision when you understand how to adapt these fundamental settings. Whether you’re shooting a sun-drenched beach or a dimly lit concert hall, the right combination of aperture, shutter speed, and ISO transforms challenging scenarios into opportunities for exceptional images. Professional photographers don’t just react to situations—they anticipate them, preparing their settings before crucial moments unfold.
Landscape Photography Settings
Natural Light Landscapes
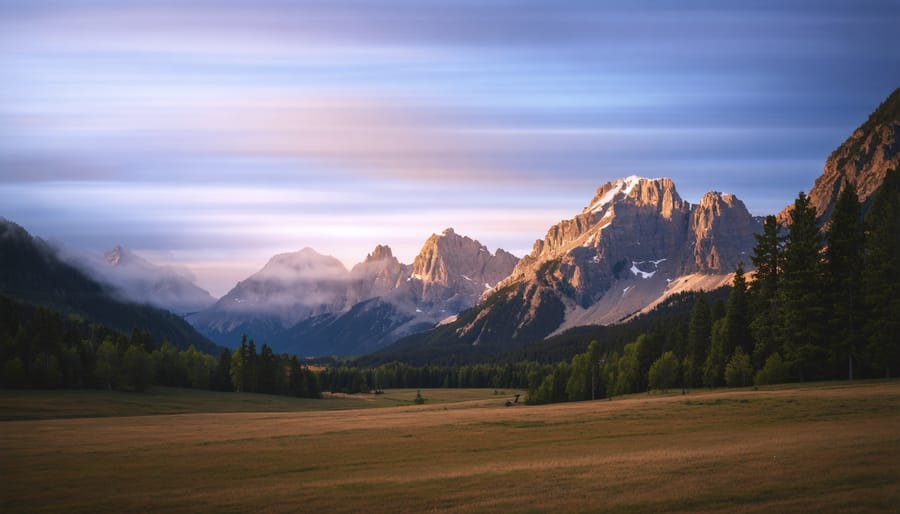
Learning to master natural light is crucial for capturing stunning landscape photos. During golden hour (the first and last hour of sunlight), start with an aperture of f/8 to f/11 for optimal sharpness, and keep your ISO low at 100-200 for minimal noise. Use aperture priority mode (A/Av) and let your camera determine the appropriate shutter speed, but monitor it to ensure it’s fast enough to prevent camera shake.
Midday sun presents unique challenges with harsh shadows and high contrast. Combat this by using a polarizing filter to manage reflections and deepen sky colors. Set your aperture between f/11 and f/16 to maintain depth of field, and consider using exposure compensation (-0.3 to -0.7) to prevent highlight clipping. Your ISO can remain low, typically 100-400.
Overcast conditions offer soft, even lighting that’s perfect for capturing detail-rich landscapes. Open up your aperture slightly to f/5.6-f/8, as diffused light reduces the risk of blown highlights. You might need to increase your ISO to 400-800 if the cloud cover is heavy. Use matrix/evaluative metering, and consider bracketing your exposures (+/-1 stop) to ensure you capture all the subtle tones in the scene.
Remember to always check your histogram to ensure you’re capturing the full dynamic range of the scene, especially in challenging lighting conditions.
Night Landscapes
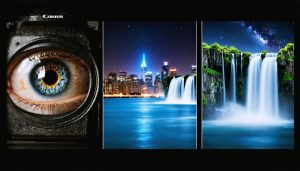
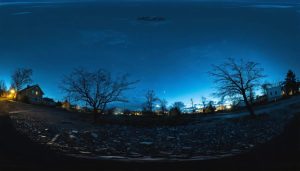
Capturing the magic of night landscapes requires a specific combination of settings to balance light gathering with image clarity. Start by setting your camera to manual mode and using a sturdy tripod – this is non-negotiable for sharp night shots. Set your aperture wide open (typically f/2.8 or the widest your lens allows) to collect maximum light and achieve those striking starbursts from distant lights.
For classic night landscapes, begin with ISO 1600-3200 and a shutter speed between 15-30 seconds. This combination usually provides enough exposure while keeping digital noise manageable. If you’re specifically shooting the Milky Way, follow the “500 rule” – divide 500 by your lens’s focal length to determine the maximum shutter speed before stars start to trail.
For sharper results, enable your camera’s long-exposure noise reduction and use a remote shutter release or 2-second timer to avoid camera shake. Focus manually by using your camera’s live view to zoom in on bright stars or distant lights. Set your white balance to “Kelvin” mode (around 3200-4000K) to maintain natural-looking colors in the night sky.
Consider shooting in RAW format for maximum flexibility in post-processing, particularly when dealing with challenging dynamic ranges between bright city lights and dark skies. For cleaner images, try taking multiple exposures at lower ISOs and stacking them in post-processing software.
Portrait Photography Settings
Indoor Portrait Settings
Indoor portrait photography requires careful attention to both camera settings and available light sources. When shooting in a studio or indoor environment, start with an ISO between 100-400 to maintain image quality while providing enough light sensitivity. If you’re working with natural window light, position your subject at a 45-degree angle to the light source for flattering shadows and dimension.
For aperture settings, f/2.8 to f/4 works well for individual portraits, creating that sought-after background blur while keeping your subject’s features sharp. When photographing groups indoors, stop down to f/5.6 or f/8 to ensure everyone remains in focus. Your shutter speed should stay at 1/125 or faster to prevent motion blur from slight movements.
When using studio lighting, set your white balance to match your light source – typically around 5500K for studio strobes or 3200K for tungsten continuous lighting. For natural indoor light, auto white balance often works well, but you might need to adjust based on the time of day and window tinting.
In low-light situations without artificial lighting, don’t be afraid to push your ISO up to 1600 or even 3200 if your camera handles noise well. Consider using a prime lens with a wide aperture like f/1.8 to maximize available light. Remember to spot meter on your subject’s face to ensure proper exposure, especially when dealing with mixed lighting conditions.
Outdoor Portrait Settings
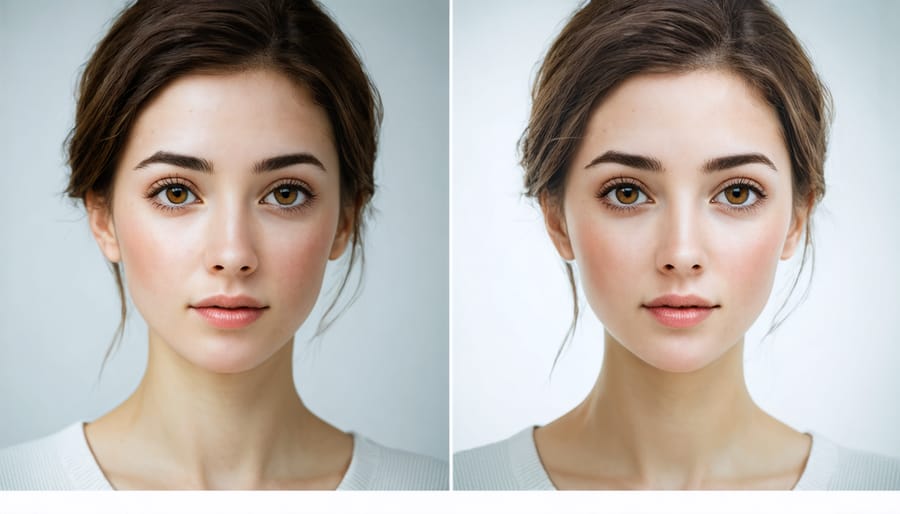
Natural light portrait photography requires a delicate balance of settings to capture both stunning subject detail and beautiful background bokeh. Start with aperture priority mode (A or Av) and set your aperture between f/2.8 and f/4 for that coveted background blur while maintaining sharp focus on your subject’s features.
For optimal results in soft morning or evening light, keep your ISO as low as possible (100-400) to minimize noise. Your shutter speed should stay above 1/200 to ensure sharp images, especially when photographing people. In these conditions, a center-weighted or spot metering mode helps maintain proper exposure on your subject’s face.
Dealing with harsh midday sun requires different tactics. Switch to spot metering and slightly underexpose (by -0.7 to -1 stop) to prevent blown-out highlights on your subject’s face. Position your subject in open shade when possible, or use the sun as a backlight. In backlit situations, bump up your ISO to 400-800 to maintain faster shutter speeds while properly exposing the shadow areas.
For creative control, use manual mode with auto ISO. Set your desired aperture for background blur and a minimum shutter speed of 1/200, letting auto ISO handle exposure variations. This approach works particularly well when moving between sun and shade during a session, ensuring consistent results while maintaining creative control over depth of field.
Remember to shoot in RAW format to preserve maximum detail in highlights and shadows, giving you more flexibility in post-processing.
Action and Sports Photography Settings
Fast-Moving Subjects
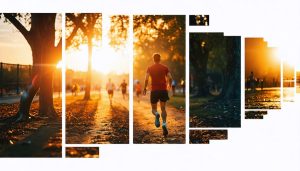
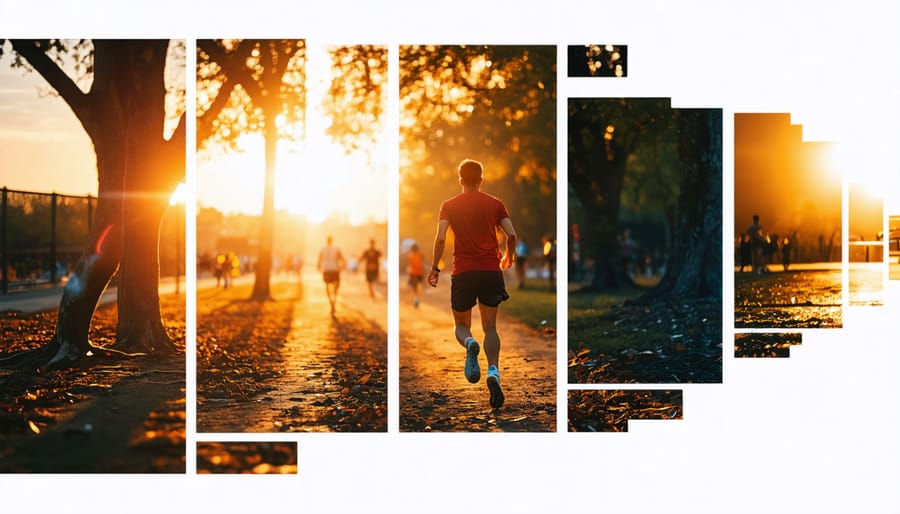
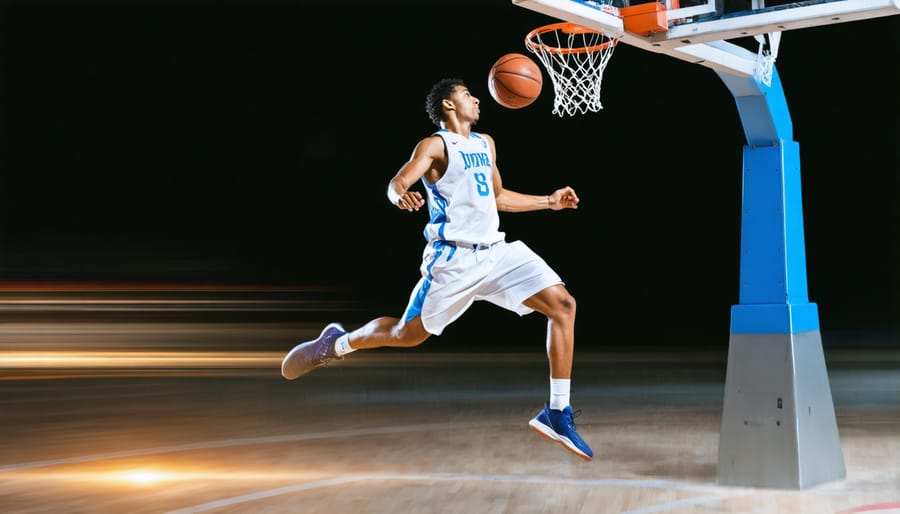
Capturing fast-moving subjects requires quick thinking and the right camera settings to freeze the action. Start by switching to Shutter Priority mode (Tv or S) to maintain control over your shutter speed. For sports and wildlife, aim for at least 1/1000th of a second to freeze motion effectively.
Holding your camera steadily becomes crucial when tracking moving subjects. Use continuous autofocus (AI Servo for Canon, AF-C for Nikon) to maintain focus on moving subjects, and select a burst mode to capture multiple frames in quick succession.
For optimal results, set your ISO to Auto with a maximum limit of 6400 to ensure your camera can maintain fast shutter speeds even as lighting conditions change. Select a mid-range aperture (f/5.6 to f/8) to provide enough depth of field while still allowing plenty of light.
When practicing your wildlife photography techniques, use back-button focus to separate focus activation from your shutter release. This gives you more control when tracking erratic subjects.
Consider using zone AF or dynamic-area AF modes to help maintain focus on unpredictable subjects. Remember to anticipate your subject’s movement and position yourself accordingly – sometimes the best shots come from predicting where the action will be rather than following it.
Creative Motion Effects
Creative motion effects can transform ordinary scenes into dynamic works of art through intentional blur and movement. To capture motion blur, start by selecting a slower shutter speed – typically between 1/15 and 1 second, depending on your subject’s speed. For flowing water or traffic trails, try 1/2 second to create that silky-smooth effect while keeping stationary elements sharp with a sturdy tripod.
Panning is another powerful technique that keeps your moving subject sharp while blurring the background. Set your camera to shutter priority mode (Tv or S) and choose speeds between 1/15 and 1/60 second for runners, cyclists, or cars. Track your subject smoothly, moving your camera parallel to their motion while maintaining focus. Practice this fluid movement before releasing the shutter.
For more experimental effects, try zoom burst photography. Set a longer exposure (1-2 seconds), and while the shutter is open, twist your zoom ring from one extreme to the other. This creates a dramatic radial blur effect, perfect for abstract photography or adding energy to urban scenes.
Remember to use a lower ISO to prevent noise in longer exposures, and consider using neutral density filters in bright conditions to achieve slower shutter speeds. The key to mastering motion effects is experimentation – don’t be afraid to try different combinations of settings until you achieve your desired result.
Street and Event Photography Settings
Urban Photography
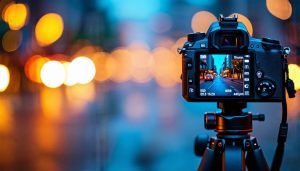
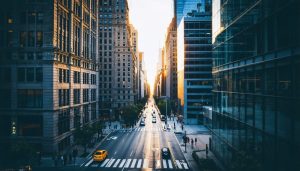
Urban photography demands quick thinking and adaptability, as city scenes can change in an instant. Start with aperture priority mode (A or Av) at f/8 to maintain sharp details from street level to building tops while allowing enough light for faster shutter speeds. In busy areas, bump up your ISO to 400-800 to keep your shutter speed at 1/250 or faster, helping you capture candid moments and moving subjects.
For dramatic cityscapes, switch to manual mode and use a narrower aperture (f/11 to f/16) to ensure everything from foreground elements to distant architecture remains sharp. During golden hour or blue hour, consider using exposure compensation of -1 to preserve rich sky colors while maintaining detail in buildings.
When shooting in tight urban spaces or alleys, open up your aperture to f/2.8-f/4 to create separation between your subject and busy backgrounds. For night street photography, don’t be afraid to push your ISO to 1600 or higher – modern cameras handle noise well, and some grain can add character to urban shots.
Keep your camera in continuous autofocus mode (AI Servo/AF-C) when photographing street life, and consider zone focusing techniques for quick-reaction shots. A neutral Picture Style/Profile works best, giving you more flexibility in post-processing while maintaining the authentic urban feel.
Event Coverage
Event photography demands quick thinking and adaptable settings as conditions can change rapidly. For indoor events, start with ISO 800-1600, keeping your aperture wide (f/2.8-4) to capture available light while maintaining acceptable shutter speeds around 1/125s. Switch to aperture priority mode (A/Av) for consistent exposure across varying lighting conditions.
For outdoor events, use shutter priority mode (S/Tv) with speeds of at least 1/250s to freeze motion. Keep ISO lower (100-400) and let the camera adjust aperture accordingly. Consider using Auto ISO with a maximum limit of 3200 to maintain image quality while adapting to changing light.
Always shoot in RAW format for maximum editing flexibility. Set your AF mode to AI Servo/Continuous AF for moving subjects, and enable back-button focus for better control. Use burst mode judiciously to capture key moments without filling your memory card too quickly.
For venues with mixed lighting, set a custom white balance using a gray card, or shoot a test series to determine the most natural-looking preset. Keep a flash handy but diffused for fill light when needed, typically at -1 to -2 EV for natural-looking results.
Quick-Reference Settings Chart
Here’s your quick-reference guide for essential manual mode settings across common shooting scenarios:
Landscape Photography
– Aperture: f/8 to f/16
– Shutter Speed: 1/60 or slower
– ISO: 100-400
– Focus Mode: Manual/Single
– White Balance: Daylight/Cloudy
Portrait Photography
– Aperture: f/1.8 to f/4
– Shutter Speed: 1/125 or faster
– ISO: 100-800
– Focus Mode: Single-point AF
– White Balance: Natural/Portrait
Sports/Action
– Aperture: f/2.8 to f/5.6
– Shutter Speed: 1/500 or faster
– ISO: 400-3200
– Focus Mode: Continuous AF
– White Balance: Auto
Night Photography
– Aperture: f/1.4 to f/4
– Shutter Speed: 1-30 seconds
– ISO: 800-3200
– Focus Mode: Manual
– White Balance: Tungsten/Custom
Wildlife Photography
– Aperture: f/4 to f/8
– Shutter Speed: 1/500 or faster
– ISO: 400-1600
– Focus Mode: Continuous AF
– White Balance: Auto/Daylight
Remember, these are starting points to be adjusted based on lighting conditions and creative vision. Weather, time of day, and specific subject requirements may necessitate modifications to these baseline settings.
Mastering your camera settings is a journey that requires both knowledge and practice. Throughout this guide, we’ve explored various scenarios and their optimal camera settings, from capturing serene landscapes to freezing fast-moving subjects. Remember that these recommendations serve as starting points – your unique vision and shooting conditions may require adjustments. Don’t be afraid to experiment with different combinations of aperture, shutter speed, and ISO to achieve your desired results. The more you practice with these settings, the more intuitive photography will become. Keep your camera handy, step out of your comfort zone, and challenge yourself to shoot in various conditions. With time and dedication, you’ll develop an instinctive understanding of which settings work best for any given situation, allowing you to focus more on composition and creativity rather than technical details.