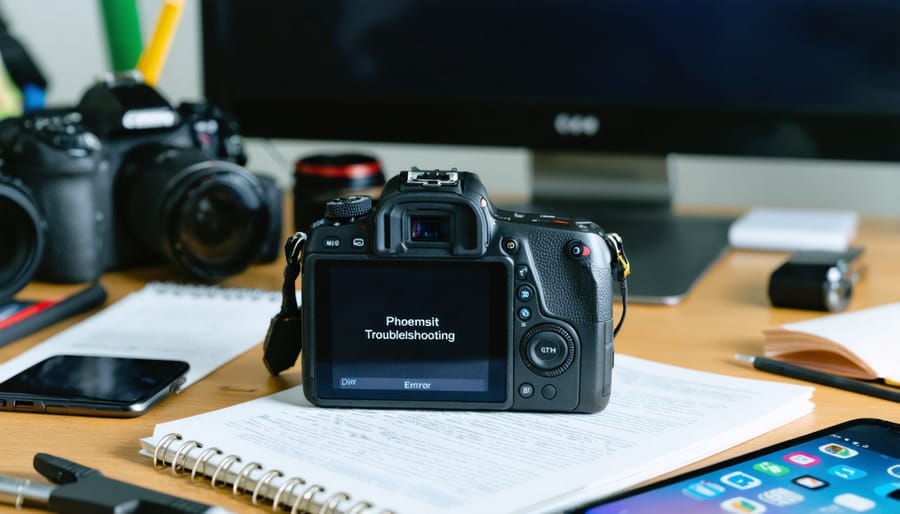
When your camera displays the dreaded “Front Camera Fault Service Required” message, you’re facing a potentially serious system error that demands immediate attention. This warning typically indicates a malfunction in your camera’s front-facing imaging system, which can stem from electronic failures, mechanical issues, or software glitches.
Don’t panic – while this error message sounds alarming, not every case requires expensive repairs or replacement. Many photographers have successfully resolved this issue through systematic troubleshooting, and understanding the root cause is your first step toward a solution.
In this comprehensive guide, we’ll walk you through the most common causes of front camera faults, from simple software bugs to more complex hardware failures. Whether you’re dealing with this issue on a professional DSLR, mirrorless camera, or smartphone, you’ll find practical, step-by-step solutions that could save you both time and money.
Most importantly, we’ll help you determine when you can safely attempt DIY fixes and when it’s crucial to seek professional service – because knowing the difference could mean the difference between a quick fix and permanent damage to your valuable equipment.
Understanding the Front Camera Fault Message
Common Causes of Front Camera Failures
Front camera failures can stem from both hardware and software issues, with several common culprits leading to the dreaded “service required” message. Physical damage, such as drops or impacts, often affects the camera module’s delicate components, including the lens assembly and sensor. Moisture exposure is another frequent offender, potentially causing internal corrosion or electrical shorts that disrupt camera functionality.
On the software side, corrupted camera apps, outdated firmware, or operating system conflicts can trigger this error. Background app interference, particularly from third-party camera applications, may create conflicts that prevent the front camera from initializing properly. System updates gone wrong can sometimes disrupt the camera’s drivers or settings, leading to communication failures between the hardware and software.
Manufacturing defects, while less common, can also cause front camera failures. These might include loose connections, faulty flex cables, or sensor defects that weren’t apparent initially but develop over time. Age-related wear and tear naturally affects electronic components, with mechanical parts like the autofocus mechanism being particularly susceptible to deterioration.
Understanding these root causes is crucial for determining whether you’re facing a DIY-fixable issue or need professional repair services.
How to Diagnose Your Camera Issue
Start by checking your camera’s display screen for any specific error codes or messages. These can provide valuable clues about the nature of the fault. Note whether the error appears immediately upon startup or only when attempting to use specific features.
Next, test your camera’s basic functions. Try taking a few test shots in different lighting conditions and observe if the autofocus works correctly. Pay attention to any unusual sounds, delayed responses, or visual artifacts in your images. If the viewfinder shows a black screen or distorted image, this could indicate a sensor or electronic issue.
Examine the physical condition of your camera. Look for any visible damage, loose components, or debris around the lens mount and sensor area. Gently clean the electrical contacts between the lens and camera body using a soft, dry cloth. Check if the issue persists when using different lenses, as this can help determine whether the problem lies with the camera body or a specific lens.
Document all symptoms and when they occur, as this information will be crucial whether you attempt DIY fixes or seek professional repair services.
DIY Troubleshooting Steps
Software Solutions
Before diving into hardware solutions, let’s explore software fixes that might resolve your front camera fault error. These steps are often overlooked but can be surprisingly effective.
Start by clearing your camera app’s cache and data. On most devices, navigate to Settings > Apps > Camera > Storage, then tap ‘Clear Cache’ and ‘Clear Data’. This simple step can resolve many software-related camera issues.
Next, ensure your device’s operating system is up to date. Camera functionality often improves with system updates, which can patch known bugs. Similarly, check for any available firmware updates specific to your camera model.
If the error persists, try these additional software troubleshooting steps:
– Force stop the camera application
– Restart your device in safe mode to check if third-party apps are causing conflicts
– Reset app preferences to their defaults
– Check for any recently installed apps that might interfere with camera operations
For some devices, performing a factory reset might be necessary, but remember to backup your data first. This should be your last resort among software solutions, as it will erase all personal data and settings from your device.
If none of these software solutions resolve the issue, it’s time to consider hardware-related causes or professional servicing.

Hardware Checks
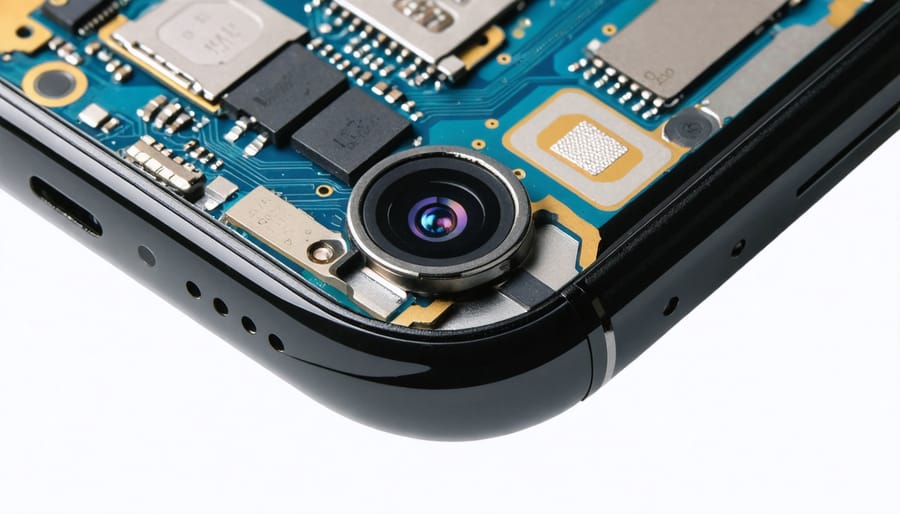
Before diving into software solutions, let’s perform essential physical checks on your camera’s hardware components. Start by examining the front camera lens for any visible damage, scratches, or debris. Even tiny smudges can trigger error messages, so using professional cleaning techniques is crucial for maintaining optimal performance.
Gently inspect the camera housing for signs of misalignment or physical damage. If your device has been dropped or exposed to moisture, look for subtle cracks or water damage indicators. Pay special attention to the camera module’s connection points – any loose components could trigger the fault message.
Using a bright light, check for dust or debris inside the lens assembly. While you can’t access internal components directly, this visual inspection helps determine if professional servicing is necessary. For external cleaning, use a microfiber cloth and appropriate lens cleaning solution, working in gentle circular motions.
Test the camera’s physical movement mechanism if it has autofocus or optical image stabilization features. Listen for unusual sounds during operation, which might indicate mechanical issues. If you hear grinding or clicking noises, this could point to a hardware malfunction requiring professional attention.
Remember to check any protective cases or accessories that might interfere with the camera’s operation. Sometimes, simple adjustments to these external elements can resolve what appears to be an internal fault.
System Reset Options
When encountering a front camera fault, performing various system resets can often resolve the issue before seeking professional service. Start with a basic camera reset by powering off your device completely for at least 30 seconds. This simple action can clear temporary glitches and restore normal camera functionality.
For more persistent issues, try a soft reset by accessing your camera settings and selecting “Reset Camera Settings.” This action returns all camera parameters to their factory defaults without affecting your stored photos or personal data. If you’re using a mirrorless or DSLR camera, removing and reinserting the battery while holding the power button for 10 seconds can force a complete system refresh.
Some devices offer a specialized camera module reset through a specific button combination. Check your device manual for the exact sequence, as it varies by manufacturer. For smartphones, clearing the camera app’s cache and data through the system settings menu can effectively resolve persistent fault messages.
A factory reset should be your last resort among system reset options, as it erases all device data. Before attempting this, ensure you’ve backed up all important photos and settings. While system resets can fix many camera faults, if the error persists after trying these methods, it likely indicates a hardware issue requiring professional attention.
Remember that repeated camera faults after successful resets might point to deeper hardware problems that reset procedures can’t fix permanently.
When to Seek Professional Repair
Professional Repair Options
When DIY solutions don’t resolve your front camera fault, seeking professional repair services is often the wisest choice. Authorized service centers typically charge between $150-300 for camera module replacements, while independent repair shops might offer more competitive rates ranging from $100-200. These costs can vary significantly based on your camera model and location.
For DSLR and mirrorless cameras, manufacturer-authorized service centers provide comprehensive diagnostics and repairs with genuine parts, typically backing their work with a warranty. Canon, Nikon, and Sony maintain extensive service networks, with turnaround times averaging 7-14 business days. Some premium service plans offer expedited options for professional photographers who can’t afford extended downtime.
Independent camera repair specialists can be excellent alternatives, often providing faster service at lower costs. However, it’s crucial to research their reputation and ensure they have experience with your specific camera model. Many reputable shops offer free diagnostics and estimates before proceeding with repairs.
For those with camera insurance or extended warranties, repairs might be covered with just a deductible payment. Professional photographers should consider service contracts that include regular maintenance and priority repairs, potentially saving money and minimizing workflow disruptions in the long run.
Before choosing a repair option, request detailed quotes and warranty information, and ask about the source of replacement parts to ensure you’re getting the best value for your investment.
Preventive Maintenance Tips
Regular essential camera maintenance is crucial to prevent front camera faults and extend your equipment’s lifespan. Start by keeping your camera clean, paying special attention to the lens contacts and mount area. Use a soft brush and cleaning kit to remove dust and debris weekly, and store your camera in a dry, temperature-controlled environment when not in use.
To keep your camera working like new, handle it with care during lens changes. Always power down the camera before switching lenses, and make the exchange quickly to minimize exposure to the elements. Keep lens caps on when the camera isn’t in use, and regularly check the rubber seals around the battery compartment and memory card slots for wear.
Consider using a UV filter to protect your front lens element, and avoid exposing your camera to extreme temperatures or humidity. When shooting in challenging conditions, use appropriate weather protection. Schedule professional cleanings annually, especially if you frequently shoot in dusty or humid environments. These preventive measures can significantly reduce the likelihood of encountering front camera faults and ensure reliable performance when you need it most.
Dealing with a front camera fault can be frustrating, but armed with the right knowledge, you can often resolve the issue without immediately rushing to a service center. Remember to start with the basics: checking for physical damage, cleaning the lens and sensors, and ensuring your device’s software is up to date. If these steps don’t resolve the problem, don’t hesitate to try a factory reset – just remember to back up your data first.
For persistent issues, particularly those involving hardware malfunctions or error messages that won’t go away, seeking professional service is your best course of action. While DIY solutions can save money, attempting complex repairs without proper expertise might cause more harm than good. Choose an authorized service center to ensure quality repairs and maintain your warranty coverage.
Keep in mind that regular maintenance and careful handling of your camera can prevent many common issues. By following proper care guidelines and addressing problems promptly, you can extend your camera’s lifespan and maintain optimal performance. When in doubt, consulting with a professional technician will help you make an informed decision about repairs or potential replacement.