Transform your distorted photos into professional-grade images by mastering lens distortion correction. Barrel, pincushion, and mustache distortions regularly challenge photographers, but understanding how focal length affects composition empowers you to prevent and correct these issues effectively.
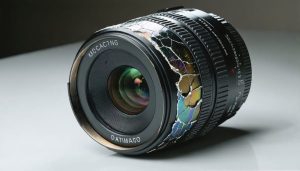
Wide-angle lenses frequently introduce barrel distortion, making straight lines bow outward, while telephoto lenses can create pincushion distortion, pulling lines inward. Architecture photographers particularly face these challenges when capturing buildings, where straight lines are crucial for professional results.
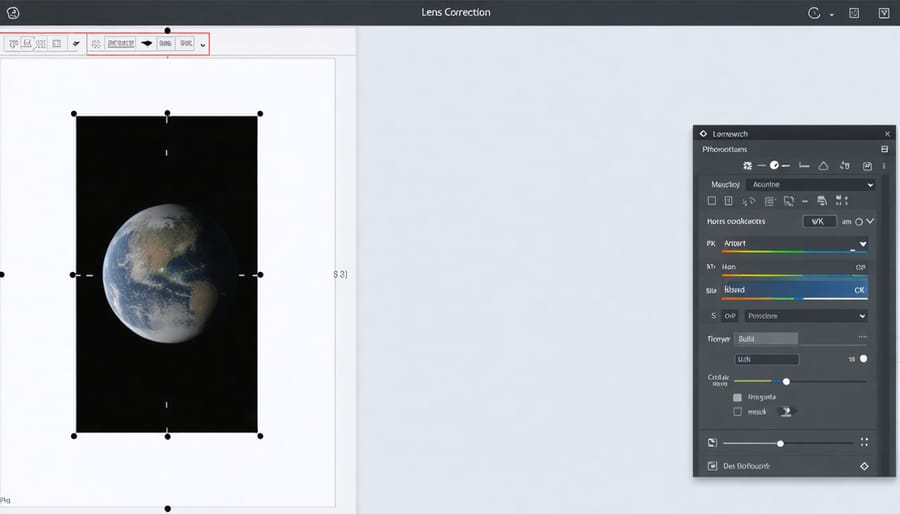
Modern editing software like Adobe Lightroom and Capture One offers powerful built-in correction tools, automatically detecting your lens profile and applying precise adjustments. For photographers seeking more control, manual correction allows fine-tuning of distortion parameters, ensuring your creative vision remains intact while eliminating unwanted warping effects.
Whether you’re shooting real estate, portraits, or landscapes, understanding and correcting lens distortion transforms good photos into exceptional ones. The key lies in recognizing distortion patterns and applying the right correction technique for your specific situation.
Understanding Common Types of Lens Distortion
Barrel Distortion: The Bulging Effect
Have you ever noticed how your photos sometimes make straight lines appear to bow outward, creating a spherical or bulging effect? This common phenomenon is known as barrel distortion, and it’s particularly noticeable when photographing architecture or any scene with straight lines near the edges of the frame.
Imagine taking a photo of a rectangular building, only to find that its walls seem to curve outward like the sides of a barrel – hence the name. This distortion is most pronounced when using wide-angle lenses, especially at their widest focal lengths. You’ll frequently encounter it with smartphone cameras and kit lenses that come bundled with entry-level cameras.
The effect is particularly visible in architectural photography, where straight lines should remain straight. Take a photo of a grid pattern, and you’ll notice the lines curve outward more dramatically toward the edges of the frame. Even in everyday scenarios, like photographing bookshelves or doorways, barrel distortion can make your images look less professional than intended.
The good news is that this distortion is predictable and correctable. Modern cameras and editing software often include built-in correction profiles that can automatically compensate for this effect, helping restore the natural appearance of your subjects.

Pincushion Distortion: The Pinched Look
Pincushion distortion creates the opposite effect of barrel distortion, making straight lines appear to bow inward toward the center of the image, as if being pinched from the corners. This type of distortion commonly occurs with telephoto lenses, particularly at their longest focal lengths, and is most noticeable when photographing subjects with straight lines like buildings or fences.
Imagine photographing a grid pattern – with pincushion distortion, the grid lines curve inward, creating a subtle (or sometimes obvious) pinching effect. This distortion tends to be most visible near the edges of the frame while leaving the center relatively undistorted. You’ll often encounter pincushion distortion when using zoom lenses in the 70-300mm range, especially when shooting at their maximum focal length.
While less common than barrel distortion in everyday photography, pincushion distortion can be particularly problematic in architectural photography or any situation where straight lines are crucial to the composition. The good news is that modern editing software makes correcting this type of distortion relatively straightforward, often with just a few clicks.
Mustache Distortion: The Complex Curve
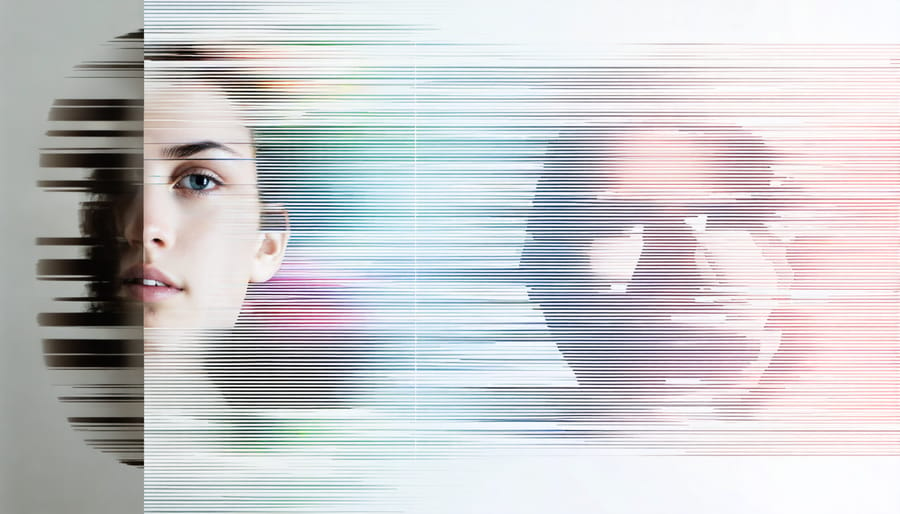
Mustache distortion, also known as complex wave distortion, creates a distinctive wavy pattern that resembles a handlebar mustache across your image. Unlike simple barrel or pincushion distortion, this type of aberration produces multiple curves that alternate between bending inward and outward. It’s particularly noticeable in wide-angle zoom lenses, especially at their widest focal lengths, where straight lines near the edges of the frame appear to undulate like waves.
The effect is most visible when photographing architecture or any scene with straight horizontal lines. For instance, when shooting a building’s facade, you might notice the windowsills appear to ripple across the frame. This complex distortion can be particularly challenging to correct because it requires sophisticated algorithms that can address multiple curves simultaneously. Most modern editing software includes specialized tools for tackling mustache distortion, though achieving perfect results often requires careful fine-tuning of multiple correction parameters.
Practical Correction Methods
In-Camera Correction Options
Modern cameras have revolutionized lens distortion correction by offering built-in solutions that work while you shoot. Many recent DSLR and mirrorless cameras come equipped with sophisticated lens correction profiles that can automatically fix distortion issues in real-time.
These in-camera corrections typically work by recognizing the attached lens and applying predetermined correction parameters. When enabled, your camera can adjust for barrel distortion, pincushion distortion, and even chromatic aberration before saving the image. This feature is particularly useful for JPEG shooters who prefer minimal post-processing.
Most manufacturers like Canon, Nikon, and Sony provide lens correction data for their native lenses. When you mount a supported lens, the camera automatically detects it and applies the appropriate corrections. You can usually find these settings in your camera’s menu under “Lens Corrections” or “Optical Corrections.”
However, there are some trade-offs to consider. In-camera corrections can slightly impact continuous shooting speed and battery life. Additionally, while these corrections work well for JPEGs, RAW shooters might prefer to handle distortion correction during post-processing for more control over the final result.
To make the most of in-camera corrections, check your camera’s manual to confirm which lenses are supported and ensure the feature is enabled in your settings. Remember that third-party lenses may not be recognized by your camera’s correction system.
Software Solutions for Perfect Results
Modern photographers are fortunate to have access to numerous powerful software solutions for correcting lens distortion. Adobe Lightroom and Photoshop lead the pack with their comprehensive lens correction tools, which include built-in profiles for countless lens-camera combinations. These profiles automatically apply corrections based on your specific equipment, making them invaluable for photographers looking to streamline their advanced photo editing techniques.
DxO ViewPoint has earned a reputation as a specialist tool for perspective and distortion correction, offering incredibly precise controls for fixing even the most challenging cases. Its automatic corrections are notably accurate, while manual adjustments allow for fine-tuning to achieve exactly the look you want.
For those working with a tighter budget, Capture One Express provides excellent distortion correction capabilities at a more accessible price point. Its user-friendly interface makes it particularly appealing for photographers who are just beginning to explore post-processing.
Open-source enthusiasts will appreciate GIMP and RawTherapee, which offer powerful distortion correction tools without any cost. While these might require a steeper learning curve, they’re capable of producing professional-quality results.
Another noteworthy option is PTLens, a specialized plugin that works with various editing software and excels at correcting complex distortion patterns. It’s particularly effective for ultra-wide-angle lenses that tend to produce more pronounced distortion.
When choosing software, consider factors like:
– Your camera and lens combinations
– Whether you need batch processing capabilities
– Your comfort level with technical adjustments
– Integration with your existing workflow
– Budget constraints
Remember that while automatic corrections work well in most situations, understanding how to make manual adjustments can help you achieve more precise results in challenging scenarios. Most of these tools offer free trials, so it’s worth experimenting with different options to find the one that best suits your needs.
Manual Correction Techniques
While automatic corrections are convenient, manual correction techniques give you precise control over fixing lens distortion. Let’s walk through the step-by-step process of manually correcting different types of distortion in your images.
Start by opening your image in your preferred editing software and creating a backup copy. Most professional editing programs offer manual distortion controls, typically found under “Lens Corrections” or “Transform” tools.
For barrel distortion, look for the main distortion slider (often labeled “Distortion” or “Barrel”). Start with small adjustments, usually between +10 and +30, and gradually increase until vertical lines appear straight. Pay special attention to buildings or horizon lines as reference points.
When dealing with pincushion distortion, use negative values on the distortion slider. Begin with subtle adjustments around -10 to -20. Focus on the edges of your frame, where the inward-bending effect is most noticeable.
For perspective distortion, use the vertical and horizontal transform tools. Start with the vertical transform to straighten building edges or walls. Then adjust the horizontal transform if needed, being careful not to over-correct and create unnatural-looking results.
Here’s a pro tip: Enable grid overlay while making corrections. This visual guide helps ensure your lines are truly straight and parallel. Many editors also offer guidelines that you can drag onto your image for reference.
Fine-tune your corrections by:
– Adjusting the midpoint slider to control where the correction is strongest
– Using the scale tool to compensate for any image cropping caused by the correction
– Making localized adjustments with adjustment brushes for complex distortions
Remember to periodically toggle the correction on and off to compare your progress with the original image. This helps prevent over-correction, which can look just as distracting as the original distortion.
Always finish by examining the entire image for any areas that might need additional tweaking, paying particular attention to the edges where distortion is usually most pronounced.
Prevention Is Better Than Cure
Lens Selection Strategy
Minimizing lens distortion starts with choosing quality lenses that suit your specific photography needs. Prime lenses typically exhibit less distortion than zoom lenses, making them an excellent choice for architectural photography and other situations where straight lines are crucial.
For general photography, consider lenses with focal lengths between 35mm and 70mm, as these tend to produce more natural-looking images with minimal distortion. Wide-angle lenses (below 35mm) are more prone to barrel distortion, while telephoto lenses might introduce pincushion distortion, so use these with awareness of their characteristics.
When shopping for a new lens, look for models that feature built-in distortion correction profiles or ones that are well-supported by your camera’s firmware. Many modern lenses include specialized elements designed to minimize distortion, such as aspherical elements and ED (Extra-low Dispersion) glass.
Consider your typical shooting scenarios: If you frequently photograph architecture, invest in a tilt-shift lens or a premium wide-angle lens with minimal distortion. For portrait photography, standard focal lengths (50mm-85mm) generally provide the most flattering perspective with natural-looking proportions.
Remember that more expensive doesn’t always mean better – read reviews, compare test images, and if possible, rent or borrow lenses before making a significant investment. This hands-on experience will help you make an informed decision based on your specific needs and budget.
Shooting Techniques That Help
While software corrections are valuable, implementing proper shooting techniques can significantly reduce lens distortion from the start. Understanding proper camera handling techniques is crucial for minimizing distortion during capture.
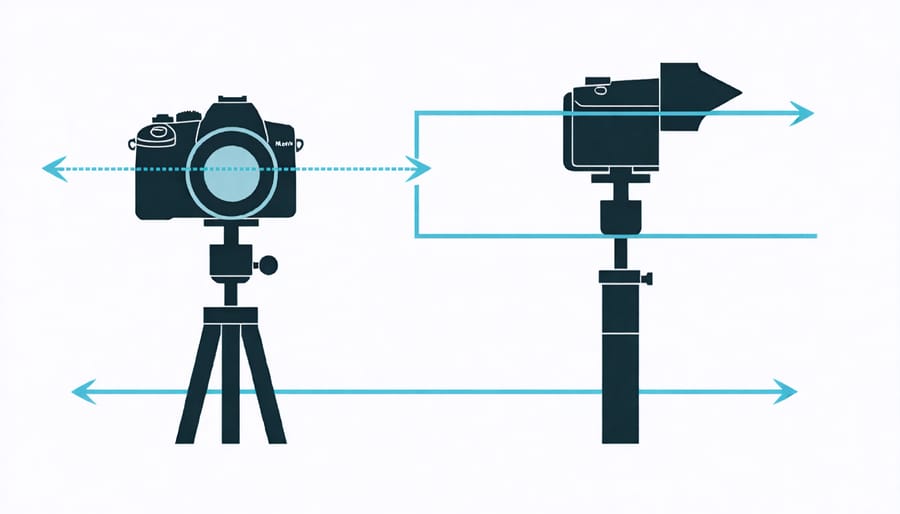
Keep your camera level with the subject whenever possible. Using a tripod or stabilizing your camera against a solid surface helps maintain proper alignment and reduces perspective distortion. When photographing architecture or interiors, position yourself at the middle height of the building or room to minimize convergence of vertical lines.
For wide-angle shots, avoid placing important subjects near the edges of the frame where distortion is most prominent. Instead, compose with key elements toward the center, where distortion is minimal. When shooting portraits with wide-angle lenses, maintain adequate distance from your subject to prevent unflattering facial distortions.
Consider your lens choice carefully. If shooting architecture or products, opt for a longer focal length when space permits, as these lenses typically exhibit less distortion. For landscapes requiring wide-angle coverage, try stepping back and shooting a panorama with a standard lens instead of using an ultra-wide lens.
Remember to enable any in-camera lens corrections if your camera offers this feature. While these won’t completely eliminate distortion, they provide a solid foundation for further adjustments in post-processing.
Mastering lens distortion correction is a journey that combines technical understanding with practical application. Throughout this guide, we’ve explored the various types of distortion that can affect your images, from barrel distortion that makes your architectural shots bulge outward to pincushion distortion that can squeeze your landscapes inward. We’ve also seen how perspective distortion can dramatically impact the way your subjects appear in the frame.
Remember that while post-processing solutions like Lightroom and Photoshop offer powerful correction tools, prevention is often the best approach. Choosing the right lens for your subject, understanding your equipment’s characteristics, and practicing proper shooting techniques can significantly reduce the need for extensive corrections later.
Whether you’re a professional photographer working on client projects or an enthusiast striving to improve your craft, addressing lens distortion is crucial for achieving professional-looking results. Don’t be afraid to experiment with different correction methods to find what works best for your specific situation and workflow.
Take action today by reviewing your photo archive and practicing these correction techniques on your images. Start with simple corrections and gradually work your way up to more complex adjustments. With time and practice, identifying and correcting lens distortion will become second nature, leading to consistently better photographs that truly capture your creative vision.