Transform your product photography workflow from time-consuming chaos to streamlined efficiency with an automated system that cuts processing time by 50% while maintaining consistent, professional results. Professional photographers shooting hundreds of products weekly know the secret lies not in better equipment, but in a meticulously planned workflow that leverages automation at every stage.
Today’s digital landscape demands both speed and quality – a challenging balance that’s only achievable through systematic automation. From tethered capture and instant file organization to batch processing and automated client delivery, modern workflow solutions eliminate repetitive tasks while ensuring every image meets exact specifications.
Whether you’re a solo photographer handling boutique products or managing a high-volume studio, implementing an automated workflow isn’t just about efficiency – it’s about creating a repeatable process that delivers consistent results while freeing you to focus on the creative aspects of your craft. This comprehensive guide breaks down each stage of the product photography workflow, identifying key automation opportunities and providing practical implementation steps to transform your production pipeline.
Let’s dive into the essential components of a professional product photography workflow, examining how automation can revolutionize each step while maintaining the quality your clients expect.
Pre-Shoot Planning and Setup
Equipment Checklist and Studio Layout
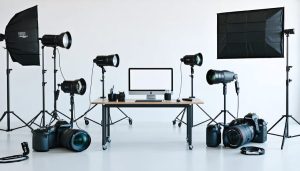
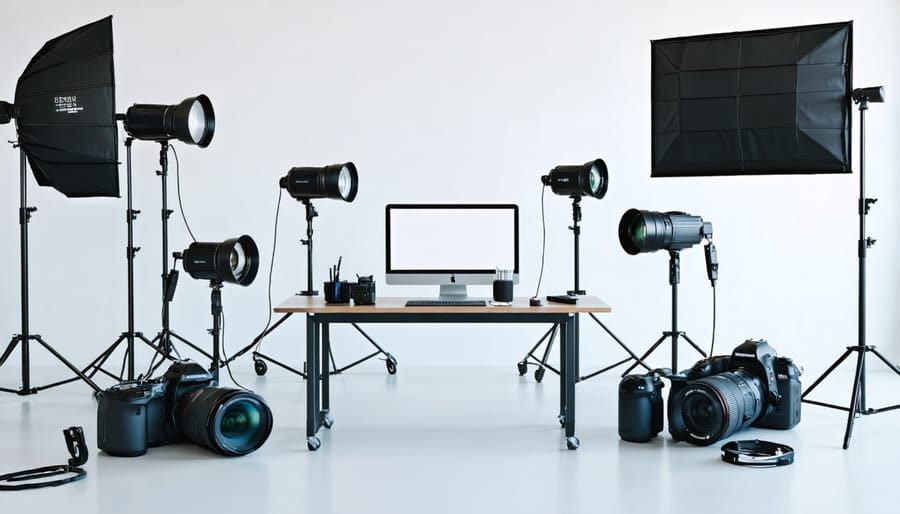
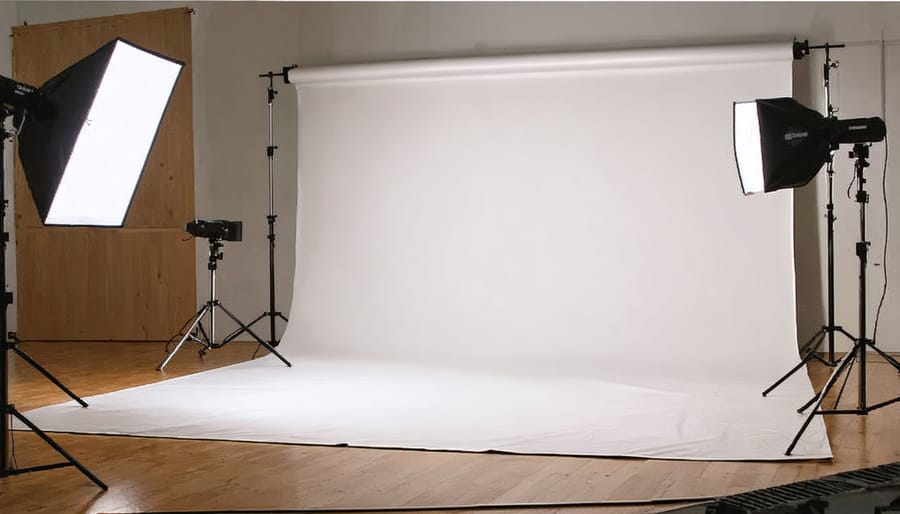
An organized studio setup is crucial for maintaining an efficient product photography workflow. Start by creating dedicated zones: a shooting area, a prep station, and a storage space for equipment. Your main shooting area should have ample room for your camera setup, lighting equipment, and product placement.
Essential equipment should be arranged in an easily accessible manner. Keep your camera gear, including bodies, lenses, and memory cards, in a designated area within arm’s reach. Position your lighting equipment—softboxes, strobes, and reflectors—on wheeled stands for quick adjustments. A sturdy table or platform for product placement should be centrally located in your shooting zone.
Create a prep station with cleaning supplies, props, and styling tools. This area should include a clean workspace for product preparation and minor adjustments. Consider using rolling carts to keep frequently used items mobile and organized.
Storage solutions are vital for maintaining order. Install shelving units or cabinets for less frequently used equipment, backup gear, and various backgrounds. Label everything clearly and maintain a logical organization system.
Keep cable management in mind—use cable ties and floor covers to prevent tripping hazards and maintain a professional appearance. Position your computer station within view of the shooting area for immediate image review and tethered shooting capabilities.
Remember to leave enough space for movement between zones, ensuring a smooth flow from prep to shooting to post-production. Good organization saves time and reduces stress during busy shooting sessions.
Shot List and Style Guide Creation
A well-organized shot list and style guide are your roadmap to consistent, high-quality product photography. Start by creating a detailed shot list that includes every angle and composition required for each product. This typically includes front, back, side views, detail shots, lifestyle images, and any specific angles that highlight unique product features.
Your style guide should outline key elements like lighting setup, camera settings, and composition rules. Document preferred aperture ranges, shutter speeds, and ISO settings for consistency. Include specific requirements for background colors, props, and styling elements that align with your brand’s aesthetic.
Consider creating templates for different product categories. For example, clothing might require on-model, flat lay, and detail shots, while electronics need feature close-ups and scale reference images. Use a spreadsheet or project management tool to track these requirements and share them easily with team members.
Don’t forget to include post-processing guidelines in your style guide. Specify color correction parameters, preferred white balance settings, and any particular editing techniques that maintain brand consistency. This might include shadow depth, highlight treatment, and color saturation levels.
Remember to keep these documents living and flexible. As you discover better techniques or receive client feedback, update your guides accordingly. Regular reviews ensure your shot lists and style guides evolve with your photography skills and client needs.
Automated Capture Setup
Tethering Software Configuration
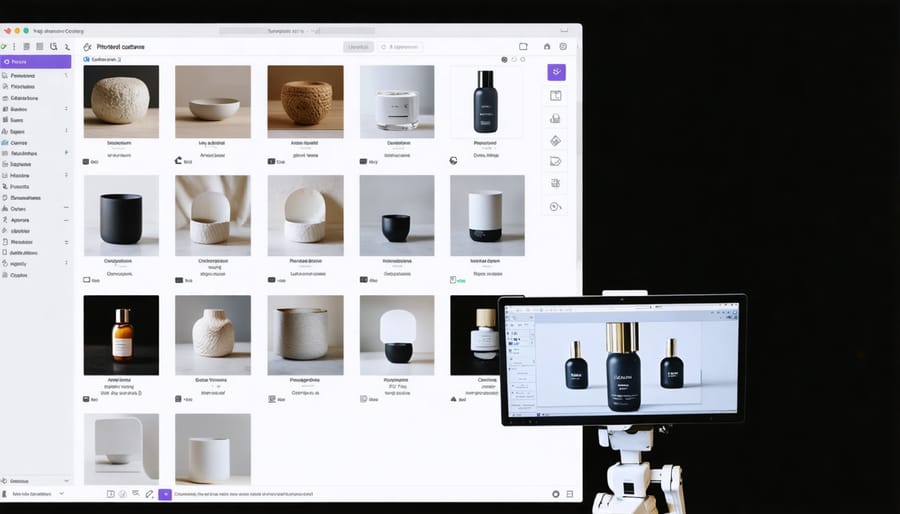
Efficient tethering software setup is crucial for streamlined product photography. Popular options like Capture One Pro and Adobe Lightroom Classic offer robust tethering capabilities that integrate seamlessly with professional editing software, making your workflow smoother and more productive.
Start by configuring your tethering software’s basic settings. Set your preferred file naming convention, include relevant metadata, and establish a clear folder structure for incoming images. Create custom presets for common product categories to automatically apply basic adjustments during capture.
Enable live view when possible – it’s invaluable for precise composition and focus checking. Configure your histogram and exposure warnings to display in real-time, helping you catch exposure issues before they become problems. Set up automated backup options to ensure your work is saved to multiple locations.
For maximum efficiency, customize your keyboard shortcuts. Common actions like rating images, applying presets, or triggering the shutter should be easily accessible. Consider using a programmable keyboard or control surface for even more streamlined operation.
Most tethering software allows for client review features – set these up if you’re working with art directors or clients remotely. Configure your preview settings to show images at an appropriate size and quality for quick assessment while maintaining reasonable transfer speeds.
Remember to test your entire tethering setup before any crucial shoot. Check cable connections, verify transfer speeds, and ensure all automated functions work as intended. Having a backup capture method ready is always wise, just in case technical issues arise.
Automated File Management
In today’s fast-paced product photography environment, manual file management can quickly become overwhelming. Implementing an efficient file organization system is crucial for maintaining sanity and productivity.
Start by establishing a consistent naming convention that includes key identifiers like date, client name, product SKU, and shot type. For example: “2024-01-15_ClientName_SKU123_Front.” This structured approach makes finding specific images a breeze later on.
Consider using automation software like Adobe Bridge or Photo Mechanic to batch rename files during import. These tools can automatically apply your predetermined naming convention, saving countless hours of manual work. Many photographers find success with folder structures organized by year, then client, then project – creating a natural hierarchy that’s easy to navigate.
Take advantage of metadata tagging during import. Set up templates that automatically add copyright information, contact details, and basic product categories. This not only protects your work but makes searching through thousands of images much more manageable.
For cloud storage synchronization, tools like Dropbox or Google Drive can be configured to automatically sort incoming files based on custom rules. Create automated workflows that move files from your capture folder to specific client folders, backup locations, and delivery destinations.
Remember to implement a version control system for edited files. Use suffix indicators like “_RAW,” “_EDIT,” and “_FINAL” to track different stages of your workflow. Automated backup systems should be configured to run daily, ensuring your valuable work is always protected.
By investing time in setting up these automated systems now, you’ll save countless hours down the road and minimize the risk of misplaced or poorly organized files.
Batch Processing and Editing
Creating Automated Editing Presets
Creating automated editing presets is a game-changer for streamlining your product photography workflow. By implementing professional post-processing techniques consistently, you’ll save countless hours while maintaining brand cohesion across all your product images.
Start by analyzing your most successful product shots and identify common editing patterns. What adjustments do you frequently make? These might include exposure tweaks, white balance corrections, or specific shadow and highlight adjustments. Document these steps to create a foundation for your presets.
In Lightroom, create a baseline preset that addresses fundamental corrections like lens distortion and chromatic aberration. Then, develop category-specific presets for different product types. For instance, jewelry might need higher contrast and clarity, while fabric products might require softer settings and consistent color grading to showcase texture accurately.
Remember to include export settings in your automation strategy. Create export presets that automatically generate multiple file versions – high-resolution files for printing, web-optimized images for your online store, and thumbnails for catalogs. Name these consistently using a standardized format that includes the product code and version type.
Test your presets thoroughly before implementing them in your workflow. Apply them to various products under different lighting conditions to ensure they’re versatile enough for your needs. Keep in mind that presets should serve as a starting point – you may need to make minor adjustments for individual products.
Store your presets in a cloud-based system for easy access across different workstations and backup purposes. Regular reviews and updates of your presets ensure they evolve with your brand’s aesthetic and meet changing client requirements. This systematic approach to editing automation will significantly reduce your post-processing time while maintaining consistent, professional results.

Batch Export and Delivery
The final stage of your product photography workflow should be a well-organized batch export and delivery system. Setting up automated export presets can save countless hours and ensure consistency across all client deliverables. Start by creating a standardized folder structure for your exports, with clear naming conventions that include the client name, date, and product category.
Adobe Lightroom users can leverage the Export Presets feature to create multiple export profiles for different client requirements. For instance, you might set up one preset for web-resolution images (72 DPI, sRGB color space) and another for print-ready files (300 DPI, Adobe RGB). Name these presets clearly, such as “Client_Web” or “Client_Print,” to avoid confusion during bulk exports.
Capture One users benefit from similar functionality through Process Recipes, which allow for simultaneous export of multiple versions of the same image. This is particularly useful when clients need various formats – for example, high-resolution TIFFs for print catalogs alongside compressed JPEGs for e-commerce platforms.
Consider implementing a file delivery system that matches your business scale. For smaller operations, cloud storage services like Dropbox or Google Drive work well, especially when combined with automated folder sharing. Larger studios might benefit from dedicated client galleries through platforms like PhotoShelter or ShootProof, which offer automated delivery and client download tracking.
Remember to maintain a consistent backup strategy for your exports. Set up automated backups of your delivered files to an external drive or cloud storage. This protects both you and your clients, ensuring access to previous deliveries if needed.
Finally, create a delivery checklist that includes file naming verification, image count confirmation, and a quick quality control review before sending. While automation speeds up the process, a final human check helps maintain your professional standards and catches any potential issues before they reach the client.
Quality Control Automation
Automated Image Verification
Quality control in product photography has evolved beyond manual inspection, thanks to sophisticated image verification software tools. These automated systems act as virtual quality assurance managers, analyzing multiple aspects of your product photos to ensure consistency across your entire catalog.
Modern image verification software can automatically check for key technical parameters such as resolution, color accuracy, and file format compliance. Tools like Capture One’s Auto QC and Adobe Bridge’s batch analysis features can quickly identify images that don’t meet predetermined specifications, saving hours of manual review time.
These systems excel at detecting common issues like color inconsistencies, improper white balance, and exposure problems. They can also verify that images meet specific marketplace requirements, such as minimum dimensions or maximum file sizes for various e-commerce platforms.
Advanced AI-powered tools go even further by analyzing composition elements, checking if products are properly centered, and ensuring backgrounds are consistently white or transparent. Some solutions can even detect dust spots, unwanted reflections, or subtle lighting variations that might be missed by the human eye.
To implement automated verification effectively, start by establishing clear quality standards and creating custom presets that match your requirements. Regular calibration of these tools ensures they maintain accuracy over time. While automation significantly reduces manual checking, it’s still important to periodically review a sample of images personally to confirm the software is performing as expected.
Creating Quality Control Checklists
Quality control checklists are your last line of defense against image inconsistencies and errors. Creating a systematic approach to final image review ensures nothing slips through the cracks, especially when handling large product photography projects.
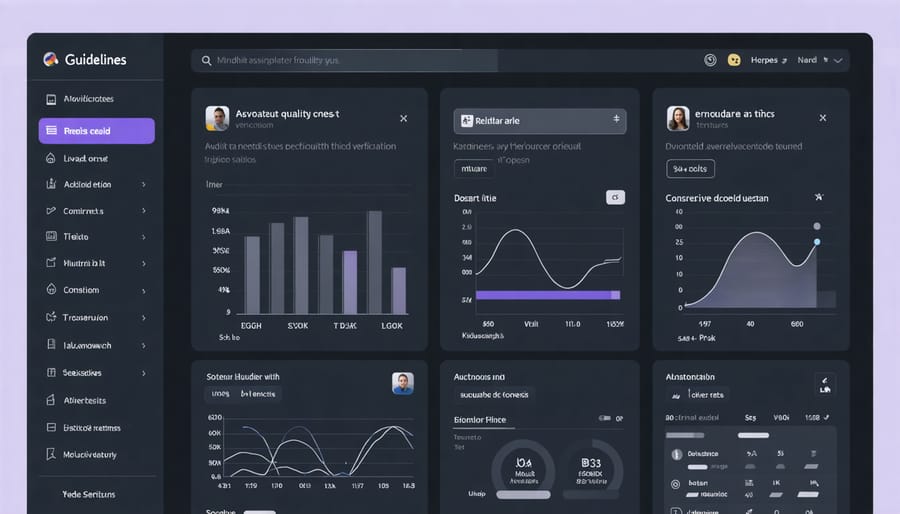
Start by developing a master checklist that includes essential technical aspects: correct white balance, proper exposure, accurate focus, and consistent crop ratios. Add product-specific elements like background uniformity, shadow consistency, and proper alignment. For efficiency, break your checklist into categories: technical quality, aesthetic elements, and client-specific requirements.
Consider using digital tools like Photoshop actions or Lightroom presets to automate parts of your quality control process. These can quickly identify exposure issues, color inconsistencies, or resolution problems across multiple images. Many photographers find success with collaborative tools like Trello or Asana, where checklists can be shared with team members and marked off in real-time.
Here’s a practical tip: create a reference image for each product series and compare new shots against it. This ensures consistency across your entire collection. Include a final human review step – while automation helps catch technical issues, nothing beats the human eye for spotting subtle aesthetic differences.
Remember to regularly update your checklists based on client feedback and common issues you encounter. This creates a living document that evolves with your workflow and helps maintain high standards across all your product photography work.
Integration with Business Systems
Client Delivery Automation
The final stage of your product photography workflow deserves just as much automation as the shooting process. Modern client delivery systems make it easy to streamline this crucial step. Cloud-based galleries like Shootproof, Pixieset, or Zenfolio offer automated delivery solutions that trigger as soon as your edited images are uploaded. These platforms can automatically generate client galleries, send access emails, and even handle download tracking.
Consider setting up templated delivery workflows that include customized welcome messages, download instructions, and usage rights documentation. Many platforms allow you to create branded client portals that maintain your professional image while handling the technical aspects automatically.
For regular clients, implement a folder watching system that automatically uploads new images to their designated galleries when you save them to specific folders on your computer. Combine this with automated email notifications to keep clients informed without manual intervention. Additionally, consider integrating your delivery system with your invoicing software to automatically trigger payment reminders or mark orders as complete when clients download their images.
Remember to regularly back up your delivery system settings and templates to maintain consistency across all client interactions.
Project Management Integration
Integrating your product photography workflow with project management tools can significantly streamline your operations and keep everything organized. Popular platforms like Trello, Asana, or Monday.com offer excellent features for tracking projects from start to finish. Create dedicated boards for different clients or product categories, and set up columns that reflect your workflow stages – from initial client contact to final delivery.
For example, you might set up a card for each product shoot, complete with checklists for equipment needed, lighting setups, and post-processing requirements. These tools also allow you to attach reference images, shooting schedules, and client specifications directly to each project card.
Many of these platforms offer automation features that can notify team members when their tasks are due, automatically move cards between stages, and even integrate with your editing software to track progress. Some photographers find success using Slack channels alongside their project management tool to facilitate quick communication about ongoing shoots.
Remember to customize your project management system to match your specific workflow – what works for one studio might not work for another.
Implementing an efficient product photography workflow can transform your studio operations, saving valuable time and resources while ensuring consistent, high-quality results. By following the steps outlined in this guide, you’ll be well-equipped to streamline your process from initial setup to final delivery. Remember to start small, perhaps automating one aspect of your workflow at a time, and gradually build up to a fully optimized system. The key is to maintain flexibility while establishing standardized procedures that work for your specific needs. Whether you’re a solo photographer or managing a team, the right workflow will help you deliver better results to clients, reduce post-processing time, and ultimately grow your business. Start implementing these changes today, and you’ll soon experience the benefits of a well-organized, automated product photography workflow.