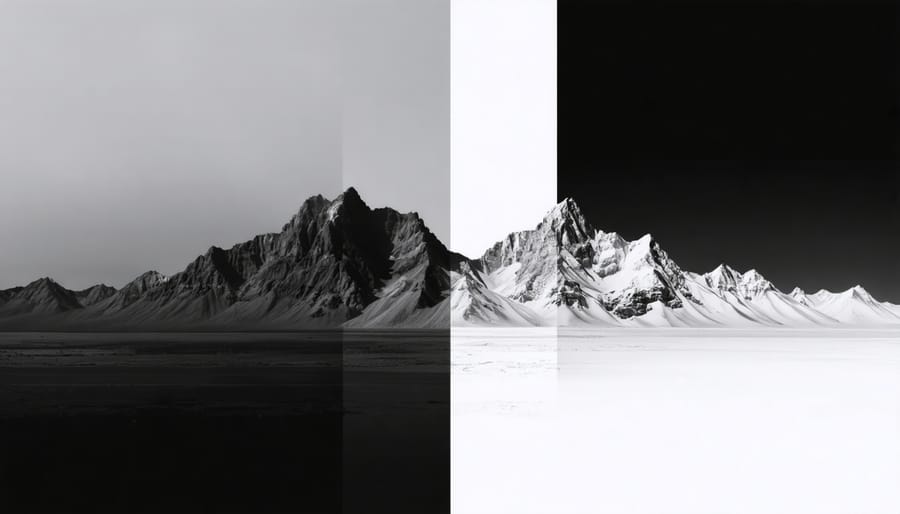
Master the zone exposure system by visualizing your scene in distinct brightness levels, from deep shadows (Zone 0) to pure whites (Zone IX). Originally developed by Ansel Adams, this systematic approach transforms challenging light situations, including extreme weather conditions, into precisely controlled exposures.
Think of your camera’s sensor as a musical scale, with each zone representing a doubling or halving of light intensity. Pre-visualize your final image by mentally placing key scene elements into specific zones – shadows in Zones II-III, mid-tones in Zone V, and highlights in Zones VII-VIII. This deliberate approach ensures optimal detail retention across the entire dynamic range.
Professional photographers rely on the zone system when faced with high-contrast scenes where traditional metering falls short. Whether capturing snow-capped mountains against dark forests or documenting storm clouds over sun-lit landscapes, this systematic method delivers consistently superior results. By understanding these foundational principles, you’ll move beyond basic exposure compensation to create images with rich tonality and precise detail in both highlights and shadows.
Why Traditional Metering Fails in Extreme Conditions
Traditional light meters, whether in-camera or handheld, operate on a fundamental assumption: that every scene averages out to middle gray (18% reflectance). While this works reasonably well for typical scenes, it often falls apart in challenging lighting conditions.
Consider photographing snow-covered landscapes. Your camera’s meter, faithfully trying to render the scene as middle gray, will typically underexpose the image, turning pristine white snow into a muddy gray. Conversely, when shooting dark subjects like a black cat or a night cityscape, the meter attempts to brighten these naturally dark scenes, resulting in overexposed images that lack depth and detail.
The problem becomes even more pronounced in high-contrast situations. Picture a sunset where you’re trying to capture both the brilliant sky and shadowed foreground. Traditional metering struggles because it can’t simultaneously accommodate such extreme brightness differences within a single frame. It typically chooses a middle ground that renders neither the highlights nor shadows correctly.
Backlit scenes present another common challenge. When shooting a subject against bright light, the meter often gets confused between exposing for the bright background or the darker subject. This confusion frequently results in silhouetted subjects or blown-out backgrounds.
The limitations of traditional metering become particularly evident in scenarios involving:
– Snow, sand, or other highly reflective surfaces
– Very dark subjects or night scenes
– Extreme contrast situations like sunrise/sunset
– Fog or mist that affects light distribution
– Mixed lighting conditions
These situations demand a more sophisticated approach to exposure measurement and control. Understanding these limitations is crucial because it helps photographers recognize when to override their camera’s automatic settings and apply more advanced techniques like the zone system, which provides a more nuanced way to handle these extreme scenarios.
The Zone System: Your Lifeline in Challenging Light
Understanding the 11 Zones
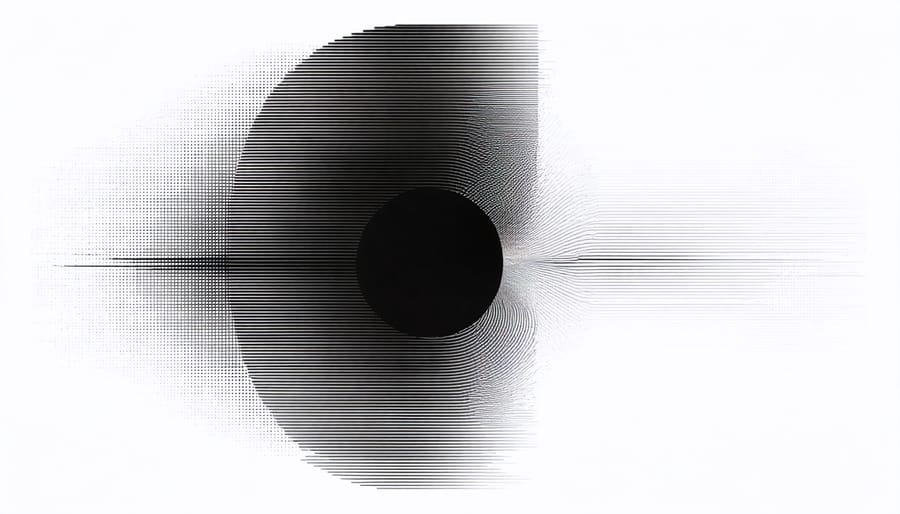
The Zone System divides the tonal range from pure black to pure white into 11 distinct zones, numbered from 0 to 10. Zone 0 represents absolute black with no detail, while Zone 10 signifies pure white. The middle zone, Zone 5, corresponds to 18% gray, which is the standard reference point for most camera meters.
Starting from the shadows, Zones 1-3 represent the darkest areas where detail is still visible. Zone 1 shows minimal detail in deep shadows, while Zone 3 reveals texture in darker elements like dark foliage or shadowed rocks. Zones 4-6 encompass the mid-tones, where most of your image’s important details typically reside. Zone 5, being middle gray, is particularly crucial as it’s what your camera’s meter aims to achieve by default.
Moving into the highlights, Zones 7-9 represent progressively brighter tones. Zone 7 captures bright skin tones and light-colored objects, while Zone 9 holds the brightest details before losing texture. Understanding these zones helps you make intentional exposure decisions. For instance, if you’re photographing snow, you might place it in Zone 7 or 8 to retain texture while still conveying its brightness.
In digital photography, these zones roughly correspond to exposure stops, making the system particularly relevant for understanding dynamic range and exposure compensation. This knowledge becomes especially valuable when dealing with high-contrast scenes or challenging lighting conditions.
Pre-Visualizing Your Final Image
Before pressing the shutter, successful zone system practitioners develop a crucial skill: pre-visualization. This mental mapping process involves looking at your scene and mentally assigning different elements to specific zones based on how you want them to appear in your final image.
Start by identifying the darkest and brightest elements in your scene. For instance, when photographing a snow-capped mountain at sunset, you might envision the deep shadows in the rock face as Zone III, while placing the brilliant snow highlights in Zone VII. The mid-tones of the sky might fall into Zone V.
Train yourself to see the world in terms of these zones by practicing without your camera first. Look at different scenes and mentally break them down into their corresponding zones. Ask yourself questions like “Where do I want this shadow detail to fall?” or “How bright should these highlights appear?”
Consider the emotional impact you want to achieve. Placing elements in lower zones creates mood and drama, while higher zones convey brightness and airiness. This pre-visualization process becomes second nature with practice, allowing you to make more deliberate exposure decisions in the field.
Practical Application in Different Environments
Snow and Ice Photography
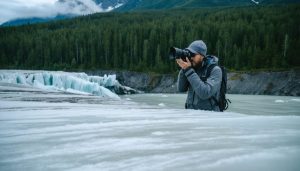
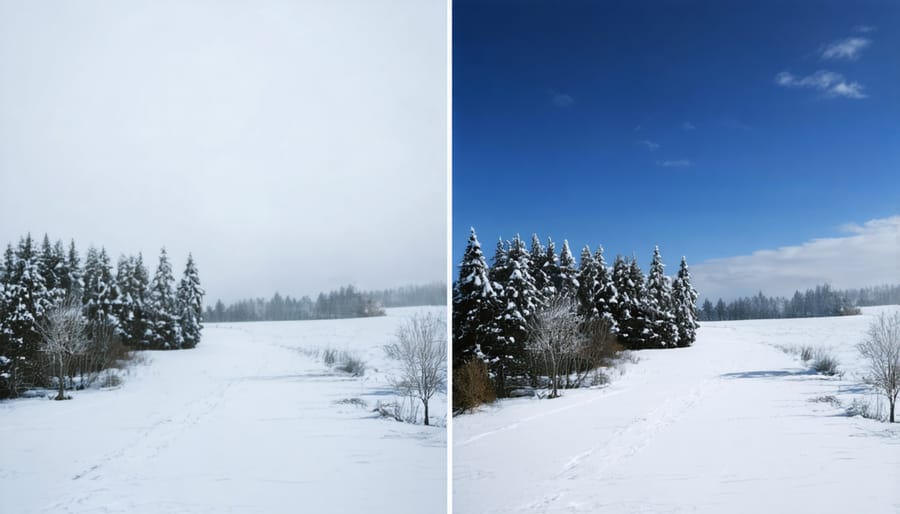
Photographing snow and ice presents unique exposure challenges due to their highly reflective nature. These bright conditions often trick camera meters into underexposing scenes, resulting in gray, lifeless snow instead of pristine white. Using the zone system effectively helps maintain both highlight and shadow detail in these tricky situations.
When photographing snowy landscapes, place the brightest snow at Zone VII or VIII to preserve texture while keeping darker elements like rocks or trees in Zone III or IV. This approach is particularly valuable for remote landscape photography in winter conditions.
A practical technique is to spot meter the brightest snow and open up 1.5 to 2 stops from the meter reading. This typically places the snow where it should be on the zone scale while maintaining shadow detail. For scenes with glaciers or ice, watch for specular highlights that may exceed Zone X – these will appear as pure white but can be acceptable if they occupy small areas of the frame.
Remember to check your histogram, ensuring you’re not clipping highlights while maintaining adequate shadow detail in darker areas like evergreen trees or exposed rock faces.
Desert and Bright Sun
Desert environments present unique challenges for zone system practitioners due to their extreme contrast ratios. The intense sunlight and lack of natural diffusion create scenes where the brightest highlights can be up to 12 stops brighter than the deepest shadows. When practicing harsh daylight photography, it’s crucial to carefully consider your exposure strategy.
Start by identifying your primary subject and determining its ideal placement within the zone system. In desert scenes, mid-tones often fall around Zone V, while sun-bleached rocks or sand might reach Zone VIII or IX. Deep shadow areas beneath rock formations typically register in Zone II or III.
To manage this contrast effectively, consider shooting during the golden hours when the light is more directional and softer. If shooting during midday is unavoidable, use graduated neutral density filters to control the sky’s brightness while maintaining detail in the foreground. Alternatively, bracket your exposures and blend them in post-processing to capture the full dynamic range of the scene.
Remember that the zone system isn’t just about technical accuracy – it’s about creative interpretation. Sometimes allowing the highlights to blow out or the shadows to go completely dark can create more dramatic and impactful desert images.
Dark Caves and Canyons
Photographing in dark caves and deep canyons presents unique challenges that put the zone system to the ultimate test. In these extreme low-light conditions, your camera’s meter can easily be fooled, making the zone system an invaluable tool for achieving accurate exposures.
When working in these environments, start by identifying your darkest shadow detail, which often falls in Zone II or III. Cave walls and canyon shadows typically contain subtle textures you’ll want to preserve. Use spot metering to measure these areas, then place them deliberately in the appropriate zone. Remember that in extremely dark conditions, your camera may suggest impossibly long exposures – this is where understanding the zone system’s principles becomes crucial.
For canyon photography, pay particular attention to the relationship between sunlit areas and shadows. The dynamic range can easily exceed 10 stops, pushing beyond what most cameras can capture in a single frame. Use the zone system to determine whether you need to bracket exposures, placing the deepest shadows in Zone III and the brightest highlights in Zone VII or VIII.
In caves, where artificial light is often necessary, the zone system helps balance your lighting setup with ambient darkness. Consider using multiple exposures, placing key features across different zones to maintain detail throughout the final image. This methodical approach ensures you capture both the subtle details in dark recesses and any illuminated features without losing important information to pure black or blown highlights.
Digital Tools and the Zone System
While Ansel Adams developed the Zone System for film photography, modern digital tools have evolved to complement and enhance this classic approach to exposure control. Today’s cameras and post-processing software offer powerful features that align perfectly with zone system principles, making it easier than ever to apply these fundamentals of exposure in your photography.
Digital cameras now provide instant histogram feedback, allowing photographers to visualize tonal distribution in real-time. This immediate feedback helps ensure proper placement of key elements within their intended zones. Many cameras also feature highlight and shadow warnings, effectively marking areas that fall into Zone 0 (pure black) or Zone X (pure white).
Post-processing software like Adobe Lightroom and Capture One have introduced tools that mirror zone system concepts. The basic panel’s exposure, highlights, shadows, whites, and blacks sliders correspond directly to different zones, allowing precise control over tonal ranges. HDR techniques and exposure blending have expanded the achievable dynamic range beyond what was possible in Adams’ time.
Perhaps the most significant digital advantage is the raw file format, which captures a broader range of tones than JPEG. This extended dynamic range allows photographers to recover details from seemingly blown-out highlights or blocked-up shadows during post-processing, offering greater flexibility in zone placement after the fact.
While these digital tools make the zone system more accessible, they don’t replace the need for understanding the underlying principles. Instead, they serve as powerful aids in achieving the precise exposure control that the zone system advocates, helping photographers create images with the full tonal range they envision.
Mastering the zone exposure system takes time and practice, but the rewards are well worth the effort. By understanding how to evaluate and control tonal ranges in your images, you’ll gain precise control over your photography and consistently achieve the results you envision. Remember that the key principles – evaluating highlights and shadows, determining your middle gray reference, and placing tones intentionally – form the foundation of this powerful technique.
Start by practicing in controlled environments before moving to more challenging situations. Take notes of your exposure decisions and review your results carefully. Don’t be discouraged if your first attempts aren’t perfect; even experienced photographers continue to refine their understanding of the zone system throughout their careers.
As you become more comfortable with the technique, you’ll find it becomes second nature to evaluate scenes in terms of zones. This intuitive understanding will serve you well in all types of photography, from dramatic landscapes to intimate portraits. The zone system isn’t just a technical tool – it’s a way of seeing and interpreting light that will transform your approach to photography.
Keep experimenting, stay curious, and most importantly, enjoy the journey of mastering this fundamental photographic technique.


