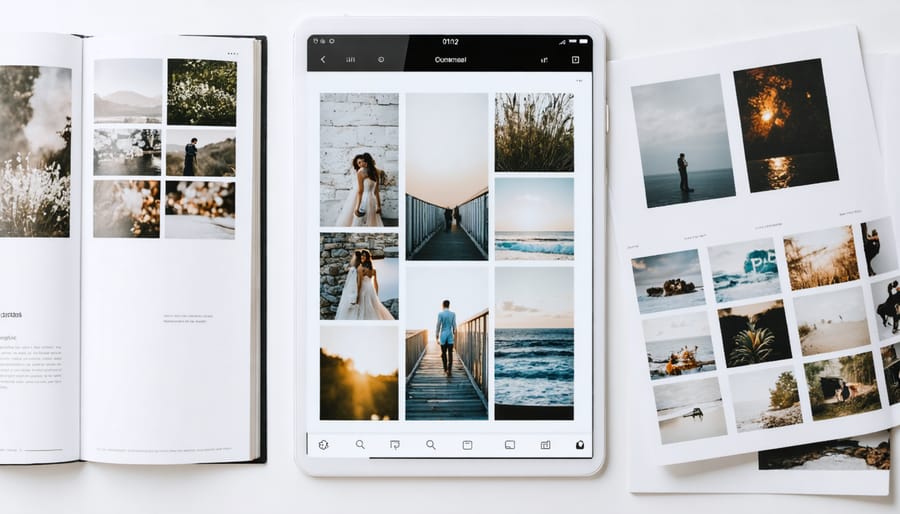
Transform your photography collection into a compelling PDF portfolio that captures clients’ attention and showcases your best work. While a portfolio website serves as your digital hub, a carefully crafted PDF portfolio becomes your portable marketing powerhouse, perfect for client meetings and email submissions.
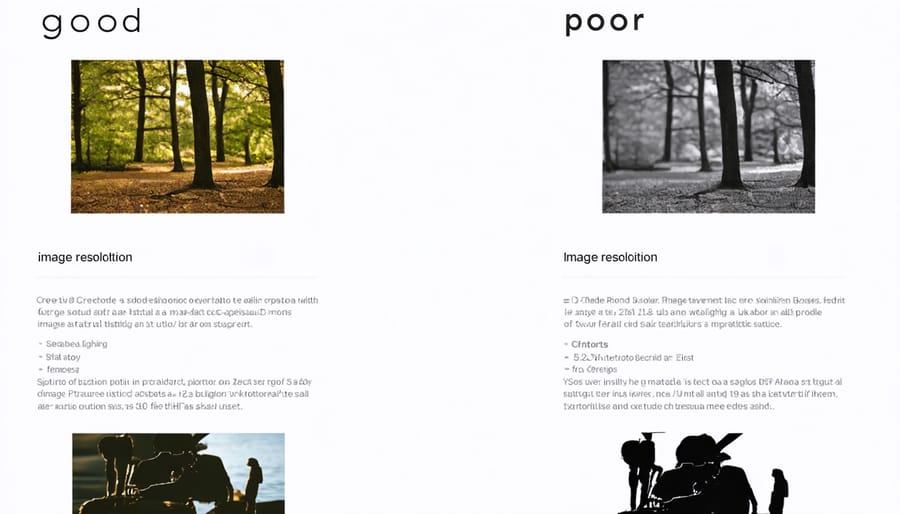
Start by curating 15-20 of your strongest images that tell a cohesive visual story. Select high-resolution photographs (300 DPI minimum) that demonstrate your unique style and technical expertise while remaining under 20MB total file size for easy sharing. Organize these images strategically – open with your most striking shot, group similar themes together, and close with a memorable finale that leaves a lasting impression.
Professional portfolio design demands clean layouts, consistent spacing, and careful attention to color management. Using Adobe InDesign or Affinity Publisher, create a template that balances visual impact with practical functionality, ensuring your work looks stunning whether viewed on screen or in print.
Essential Planning Before You Start
Defining Your Portfolio’s Purpose
Before diving into the technical aspects of creating your PDF portfolio, it’s crucial to establish a clear purpose for your showcase. Your portfolio isn’t just a collection of images; it’s a powerful tool in your marketing strategies for photographers that should speak directly to your intended audience.
Start by asking yourself: Who will be viewing your portfolio? Whether you’re targeting potential wedding clients, commercial art directors, or gallery curators, your audience will influence everything from image selection to presentation style. A wedding photographer might focus on emotional moments and storytelling, while an architectural photographer would emphasize technical precision and composition.
Next, define clear goals for your portfolio. Are you looking to land specific client work, showcase a particular style, or demonstrate versatility? Your objectives will help determine which projects and images to include. For instance, if you’re aiming to attract corporate clients, prioritize your best commercial work rather than personal projects.
Remember, a focused portfolio that resonates with your target audience is far more effective than a general collection trying to appeal to everyone. Be intentional with your choices, and let your portfolio’s purpose guide every decision in its creation.
Curating Your Best Work
Selecting the right images for your portfolio is crucial – think of it as curating your own gallery exhibition. Start by gathering your absolute best work, then narrow it down to 15-25 images that truly represent your style and expertise. Remember, less is more; it’s better to show fewer outstanding photos than dilute your portfolio with mediocre ones.
When curating, consider these key factors: technical excellence, emotional impact, and variety within your specialty. Group similar images together to create cohesive stories or themes. For instance, if you’re a wedding photographer, showcase different moments from ceremonies, from intimate exchanges to grand celebrations.
Pay attention to the flow of your portfolio. Lead with your strongest image to grab attention, and end with another powerful shot to leave a lasting impression. Consider how images work together – their colors, compositions, and emotional tones should complement each other.
Remove any duplicates or very similar shots. If you have multiple images from the same shoot or location, choose the strongest one. Also, ensure your selection aligns with the type of work you want to attract. Your portfolio should reflect not just who you are as a photographer, but where you want your career to go.
Technical Requirements for Professional Results
Image Resolution and Color Profiles
Getting your image resolution and color profiles right is crucial for ensuring your portfolio looks stunning both on screen and in print. For digital viewing, set your images to 72 PPI (pixels per inch), which provides excellent screen quality while keeping file sizes manageable. However, if you’re planning to print your portfolio, you’ll want to use 300 PPI to achieve crisp, professional results.
When it comes to color profiles, Adobe RGB or sRGB are your best options. sRGB is ideal for digital portfolios as it’s the standard color space for web browsers and most digital devices. If you’re creating a print portfolio, Adobe RGB offers a wider color gamut and better color accuracy for professional printing.
Save your images in either JPEG or PNG format. JPEGs work well for photographs while maintaining reasonable file sizes, especially when saved at 80-90% quality. PNGs are better for images with text or graphics that require transparency.
Remember to proof your portfolio on different devices and, if possible, with different printing services. Colors can appear differently across various screens and printers, so it’s worth checking how your images look on both mobile devices and desktop monitors. For print portfolios, always request a proof copy before ordering multiple copies to ensure the colors and resolution meet your expectations.
To maintain consistency throughout your portfolio, create a preset in your editing software with your chosen resolution and color profile settings, then apply it to all images before exporting.

File Size Management
Managing file size in your photography portfolio PDF requires striking the perfect balance between image quality and practical usability. While you want your images to look their absolute best, an oversized portfolio can be difficult to email, upload, or download, potentially frustrating potential clients or art directors.
Start by optimizing your images before placing them in your PDF. Export your photos at 300 DPI for optimal print quality, but keep dimensions reasonable – typically 2000-3000 pixels on the longest side is sufficient for portfolio work. When saving for PDF, use JPEG compression at high or maximum quality settings to maintain image integrity while reducing file size.
Consider these practical guidelines for your final PDF:
– For email sharing: Keep the file under 10MB
– For web hosting: Aim for 15-20MB maximum
– For print portfolios: Up to 50MB is acceptable
Adobe Acrobat’s “Reduce File Size” feature can be invaluable for final optimization. When using this tool, choose the “Retain High Quality” preset to maintain image quality while eliminating unnecessary metadata and compressing efficiently.
Remember to always save a high-resolution master copy of your portfolio separately. This allows you to generate different versions optimized for specific purposes – whether that’s a lightweight version for email or a higher-quality version for in-person presentations.
Design and Layout Fundamentals
Grid Systems and Image Placement
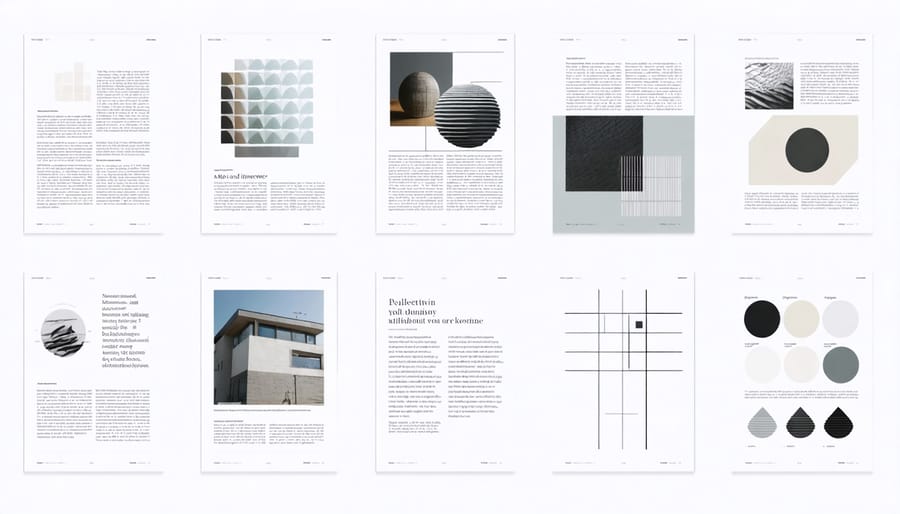
A well-structured grid system is the backbone of any professional photography portfolio. Think of your grid as an invisible framework that guides your image placement and creates visual harmony throughout your PDF. Start by dividing your pages into thirds both horizontally and vertically – this follows the classic rule of thirds and provides a natural foundation for image placement.
For maximum impact, stick to consistent margins around your pages, typically between 0.5 to 1 inch. This white space acts as a visual breather and frames your work elegantly. When placing multiple images on a single page, maintain equal spacing between them to create a balanced, professional look.
Consider these proven layout approaches:
– Single large image per page for high-impact shots
– Two images side by side for comparison or storytelling
– Three to four smaller images for detail shots or series
– Grid of six to nine images for contact sheet style presentations
The size of your images should correspond to their importance. Make your strongest shots larger and give them breathing room. Supporting images can be smaller but should still maintain sufficient resolution to show detail.
Remember to maintain visual flow throughout your portfolio. Lead the viewer’s eye naturally from one image to the next by considering the visual weight and directional elements within your photos. If an image contains strong directional lines or movement, position it so it leads into the next page rather than off the edge.
For digital PDFs, ensure your grid accommodates both landscape and portrait orientations, as viewers may rotate their devices. Test your layout at different zoom levels to confirm your images remain impactful regardless of viewing size.

Typography and Spacing
Typography plays a crucial role in making your photography portfolio both professional and easy to read. Choose a clean, modern font for your main text – something like Helvetica, Futura, or Open Sans works perfectly. For headings, you might opt for a slightly more distinctive font, but keep it readable. Stick to two fonts maximum to maintain consistency and professionalism.
When it comes to font sizes, use 10-12pt for body text, ensuring comfortable readability both on screen and in print. Headings should be notably larger, typically 14-18pt, to create clear visual hierarchy. Your name and contact information can be slightly smaller, around 8-9pt, as these are secondary details.
White space is your friend in portfolio design. Don’t feel compelled to fill every inch of the page – let your images and text breathe. Maintain generous margins of at least 0.5 inches on all sides, though 0.75 to 1 inch often looks more polished. Between text blocks and images, leave enough space to create distinct sections without making the layout feel disconnected.
For image captions, keep them subtle but readable – 8-9pt in a lighter weight of your chosen font works well. Consider using different text alignments strategically: center-align titles, left-align body text, and perhaps right-align page numbers. This creates visual interest while maintaining readability.
Remember to maintain consistent spacing throughout your portfolio. If you set 24pt spacing after a heading on one page, use the same spacing on all pages. This attention to detail in typography and spacing will make your portfolio look cohesive and professionally crafted.
Software Tools and Creation Process
Recommended Software Options
When it comes to creating your photography portfolio PDF, several excellent software options can help streamline the process. Adobe InDesign remains the industry standard, offering unparalleled control over layout and typography, though it does require a steeper learning curve. For those seeking a more accessible option, Canva has emerged as a popular choice, providing professionally designed templates and an intuitive interface perfect for beginners.
Affinity Publisher offers a compelling middle ground, combining professional features with a one-time purchase model, making it an excellent alternative to subscription-based services. Like other modern photography tools, these software options include advanced features for image optimization and color management.
For photographers who prefer working within familiar environments, Adobe Lightroom’s Book Module provides a straightforward way to create portfolio PDFs directly from your photo catalog. Meanwhile, Blurb BookWright offers a free, dedicated solution for those focusing specifically on photo book and portfolio creation.
Consider your technical comfort level, budget, and specific needs when choosing your software. While premium options offer more features, free tools like Scribus can still produce professional results with some additional effort. Remember, the key is selecting a tool that won’t impede your creative process while ensuring your work looks its absolute best.
Export Settings and Final Checks
Before finalizing your portfolio PDF, it’s crucial to ensure your export settings are optimized for both quality and practicality. Start by checking your color settings – set your color space to sRGB if your portfolio will primarily be viewed digitally, or CMYK if you’re planning for print. This ensures your colors appear as intended across different devices and mediums.
For resolution, aim for 300 DPI for print-quality results while keeping file size manageable. If your portfolio is exclusively for digital viewing, 150 DPI might suffice while reducing file size significantly. Speaking of size, try to keep your final PDF under 10MB if possible – this makes it easier to email and upload to websites without compression issues.
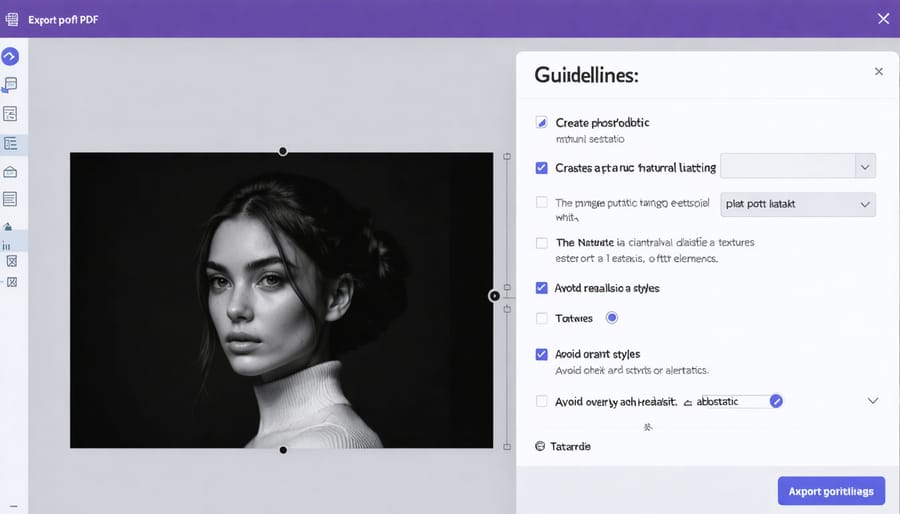
When exporting, enable PDF compression but be careful not to overdo it. Choose the “High Quality Print” or “Press Quality” preset in your design software as a starting point, then adjust compression settings to find the sweet spot between quality and file size.
Don’t forget to embed all fonts to ensure your typography appears correctly on any device. Before sending your portfolio, perform these final checks:
– View the PDF on different devices to verify display consistency
– Click through all pages to ensure proper navigation
– Check that all images are sharp and properly positioned
– Verify that any interactive elements work as intended
– Confirm file size is appropriate for your intended sharing method
– Test all hyperlinks if you’ve included any
– Ensure metadata (title, author) is correctly filled out
Finally, create a backup copy of your source files and export multiple versions optimized for different uses – one for print, one for digital sharing, and perhaps a lower-resolution version for quick email attachments.

Distribution and Updates
Once your photography portfolio PDF is complete, effective distribution and regular updates are crucial for maximizing its impact. Start by developing a strategic social media portfolio distribution plan to reach your target audience across various platforms.
Consider hosting your PDF portfolio on cloud storage services like Dropbox or Google Drive, making it easily accessible while maintaining file quality. Create a dedicated landing page on your website where potential clients can download your portfolio, and ensure the download link is prominently displayed in your email signature and professional profiles.
Keep your portfolio fresh by updating it every 3-4 months, or whenever you complete significant projects. Remove older work as you add new pieces, maintaining a curated selection of your best and most recent photographs. Consider creating different versions of your portfolio tailored to specific clients or photography genres.
Track your portfolio’s performance using analytics tools to monitor downloads and engagement. Request feedback from clients and peers to continuously improve its effectiveness. Remember to maintain consistent file naming conventions for different versions and always keep a backup of your master file.
When sending your portfolio directly to clients, consider using file transfer services that notify you when the recipient opens the file, helping you follow up at the right time. This professional approach to distribution and maintenance will help ensure your portfolio remains an effective tool for securing new opportunities.
Creating a compelling photography portfolio PDF doesn’t have to be overwhelming. By following the steps we’ve outlined, you can craft a professional presentation that showcases your best work and helps advance your photography business strategies. Remember to carefully select your strongest images, maintain consistent design elements, and ensure optimal file quality throughout your portfolio. Take time to organize your work into clear sections, write engaging descriptions, and double-check all technical aspects before finalizing your PDF. Most importantly, don’t let perfectionism hold you back – your portfolio is a living document that will evolve with your photography journey. Start creating your PDF portfolio today, and remember to update it regularly as your skills and body of work grow. Your perfect portfolio is waiting to be built – now you have the tools to make it happen.


