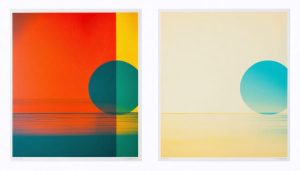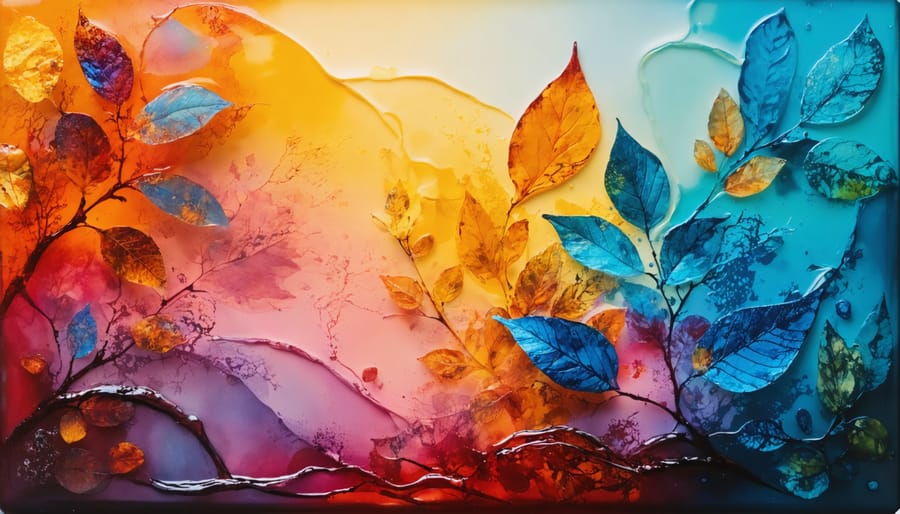
Transform ordinary prints into stunning artistic expressions with gel printing, one of the most versatile photographic printing techniques available today. Press acrylic paint onto a gelatin plate with textured materials like leaves, stencils, or fabric to create layered, one-of-a-kind monoprints that capture intricate details and organic patterns. Master this dynamic medium by controlling paint consistency—thinner layers reveal subtle textures while thicker applications produce bold, dramatic effects. Layer multiple colors and impressions to build depth, using ghost prints and negative space to develop complex compositions that tell visual stories. Whether you’re a seasoned printmaker or just beginning your artistic journey, gel printing offers endless possibilities for experimentation and creative discovery, combining the spontaneity of printmaking with the precision of controlled artistic expression.
What Makes Gel Printing Special
The Science Behind Gel Prints
Gel printing achieves its unique aesthetic through a fascinating interplay of chemistry and physics. The gelatin-based printing plate, composed of glycerin and gelatin, creates a flexible surface that can both accept and release ink with remarkable precision. This semi-permeable matrix allows for selective absorption and transfer of pigments, resulting in prints with exceptional detail and textural qualities.
When ink is applied to the gel plate, it doesn’t simply sit on the surface. Instead, the plate’s molecular structure creates microscopic valleys and peaks that hold the ink in varying amounts. This variation produces the characteristic mottled effects and subtle gradients that make gel prints so distinctive. The plate’s temperature sensitivity also plays a crucial role – slightly warmer conditions make the surface more receptive to ink, while cooler temperatures create crisper transfers.
The pressure applied during printing forces the ink into direct contact with the paper, creating sharp impressions where texture exists and softer transitions in smooth areas. This process, combined with the gel plate’s natural ability to hold moisture, ensures that prints maintain their vibrancy and achieve a depth that’s difficult to replicate with other printing methods.
Print Characteristics and Benefits
Gel prints offer a distinctive combination of characteristics that set them apart from traditional photographic prints. The most notable feature is their unique textural quality, which creates a subtle dimensionality that catches light in captivating ways. These prints exhibit exceptional detail retention, particularly in shadow areas, where the gel medium preserves fine gradations that might be lost in conventional printing methods.
The benefits of gel printing extend beyond pure aesthetics. The process allows for extraordinary color saturation, producing vibrant hues that maintain their intensity without appearing artificial. The gel medium also provides a natural protective layer, making prints more resistant to environmental factors and UV damage compared to standard prints.
Another significant advantage is the versatility in surface selection. Gel prints can be successfully created on various materials, including textured papers, fabrics, and even non-traditional surfaces like wood or metal. This adaptability opens up new creative possibilities for artists and photographers.
The archival quality of gel prints is particularly noteworthy, as the gel medium creates a stable bond between ink and substrate, resulting in prints that can maintain their integrity for decades when properly stored and displayed. Additionally, the process allows for unique artistic interventions during printing, enabling photographers to create one-of-a-kind pieces that blur the line between photography and fine art.
Essential Equipment and Materials
Choosing the Right Gel Plate
Selecting the right gel plate is crucial for achieving pro-quality prints at home. Gel plates come in various sizes, thicknesses, and durability levels, each suited for different printing needs and artistic styles.
For beginners, a 6×6 inch plate offers an ideal starting point, providing enough space to experiment without overwhelming you. More experienced artists might prefer larger 8×10 or 11×14 inch plates for creating broader compositions or multiple prints simultaneously.
Thickness matters too – standard plates (about 1/4 inch) work well for most applications, while thinner plates (1/8 inch) offer more flexibility and sensitivity to texture. Thicker plates (3/8 inch) provide better durability and are excellent for heavy use in workshops or professional settings.
Consider the plate’s firmness as well. Softer plates are more forgiving and better capture subtle textures, making them perfect for botanical prints and detailed work. Firmer plates offer cleaner edges and are ideal for geometric patterns and precise designs.
For specialized techniques, some manufacturers offer plates with different surface textures or temperature resistance properties. These can expand your creative possibilities but aren’t necessary when you’re just starting out.
Supporting Materials and Tools
To achieve professional results in gel printing, you’ll need a carefully curated selection of materials and tools. Start with a high-quality gel plate – these come in various sizes, but an 8×10 inch plate is versatile for most projects. Ensure proper equipment maintenance to extend the life of your materials.
For inks, opt for water-soluble printing inks or acrylic paints. Golden Open Acrylics are particularly popular due to their longer drying time. You’ll also need a brayer (rubber roller) for spreading ink evenly, and a clean-up roller for maintaining pristine prints.
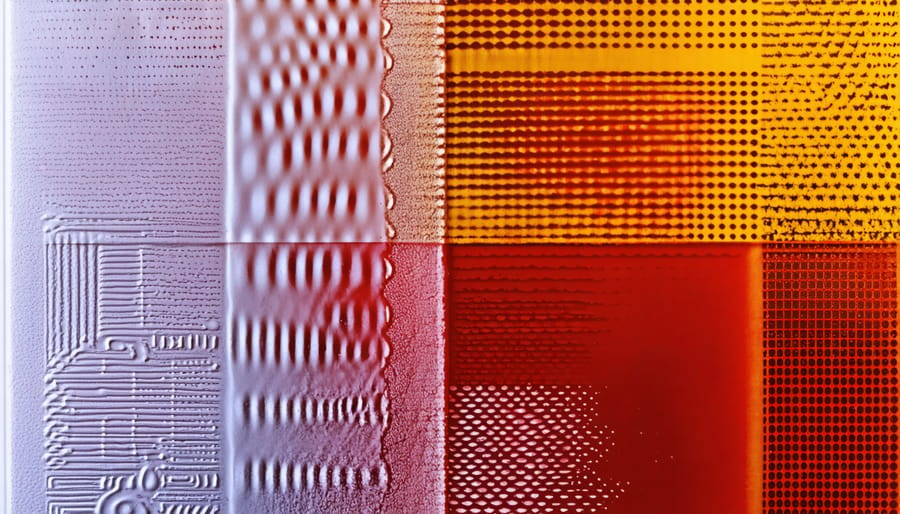
Paper selection is crucial – both for printing and creating textures. Keep a variety on hand: lightweight Japanese papers, sturdy printmaking papers, and even regular copy paper for practice runs. Essential tools include palette knives for ink manipulation, spray bottles for adding water effects, and texture tools like bubble wrap, leaves, or stencils.
Organization is key – invest in storage solutions for your plates and a flat drying rack for finished prints. Don’t forget cleaning supplies: baby wipes work wonderfully for quick clean-ups, while gentle soap and water are perfect for thorough plate cleaning.
Step-by-Step Gel Printing Process
Preparation and Setup
Before diving into gel printing, proper preparation ensures optimal results and a smooth photography workflow. Start by gathering your essential materials: a gel plate (either store-bought or homemade), brayer or roller, acrylic paints, paper for printing, and textured materials for creating patterns.
Set up your workspace on a flat, clean surface with plenty of room for movement. Cover your work area with a non-stick craft mat or disposable paper to protect the surface. Keep paper towels and cleaning supplies nearby, as gel printing can get messy.
Temperature and humidity can affect your gel plate’s performance, so aim for a room temperature environment between 65-75°F (18-24°C). If your gel plate feels too sticky, dust it lightly with cornstarch. If it’s too firm, allow it to warm up naturally to room temperature.
Organize your materials in a logical sequence: paints and tools on one side, clean paper for printing on the other, and textured materials within easy reach. Fill a water container for cleaning brushes and tools between color changes. Having everything readily accessible helps maintain creative momentum and prevents unwanted paint mixing or smudging.
Before your first print, gently clean the gel plate with soap and water, then dry it thoroughly. This removes any manufacturing residue or dust that could affect your prints’ quality.
Printing Techniques and Methods
Gel printing offers a variety of techniques to achieve stunning and unique results. The basic pull method involves applying even pressure while lifting the paper from the plate, creating smooth, consistent prints. For more dynamic effects, try the double-pull technique, where you make two consecutive pulls from the same plate without reapplying paint, resulting in ghosted images with subtle variations.
Texture manipulation is another powerful approach. Try pressing textured materials like bubble wrap, leaves, or fabric into the gel plate before printing. You can also use stencils and masks to create negative spaces and defined shapes. The layering technique involves making multiple prints on the same paper, allowing each layer to dry between applications for rich, complex compositions.
For experimental effects, try the mono-printing technique by drawing directly onto the gel plate before making your print. The spray-and-lift method involves spritzing water onto the plate after applying paint, creating interesting patterns and textures when printed. Working with temperature variations can also yield unique results – slightly warming the plate makes colors more vibrant, while cooling it creates more muted tones.
Advanced practitioners often combine these techniques, perhaps starting with a textured background layer, adding stenciled elements, and finishing with a ghost print. Remember to clean your plate thoroughly between different techniques to maintain crisp results.
Troubleshooting Common Issues
Even experienced printmakers encounter challenges with gel printing, but most common issues have straightforward solutions. If your prints appear faint or inconsistent, the most likely cause is insufficient paint on the plate. Try adding more paint or using less water in your mixture for better coverage. When prints come out blotchy, ensure you’re rolling your brayer evenly and with consistent pressure.
Unwanted texture marks often result from dried paint on your plate. Clean your gel plate thoroughly between prints using baby wipes or a damp paper towel. If you notice bubbles forming under your paper, try smoothing it down from the center outward before lifting. For papers that stick to the plate, consider using less moisture or switching to a different paper type with better release properties.
Ghost images from previous prints can be eliminated by doing a cleanup print between designs. Simply pull a print with plain white paper to remove residual paint. If your plate becomes tacky or loses its smooth surface, avoid using alcohol-based products and stick to water-soluble paints and inks.
Temperature can also affect printing results – if your studio is too warm, the plate may become overly soft. Work in a cooler environment or refrigerate your plate briefly before use. Remember that different paints and papers interact differently with the gel plate, so don’t hesitate to experiment with various combinations until you find what works best for your specific project.
Creative Applications and Advanced Tips
Artistic Effects and Textures
Gel printing offers a fascinating array of artistic possibilities through various textures and effects that can transform your prints into unique works of art. By experimenting with different materials and techniques, you can create captivating visual elements that add depth and character to your work.
One of the most popular effects is created by using textured materials like bubble wrap, mesh, or natural elements such as leaves and feathers. Press these items into the gel plate before applying paint to create intricate patterns and organic textures. For a more geometric approach, try using stencils or masks to create precise shapes and clean lines.
Layer building is another powerful technique for achieving complex visual effects. Start with a light base layer, then gradually add subsequent layers using different colors and patterns. The transparency of the gel plate allows you to see previous layers, making it easier to align new elements perfectly.
Experiment with paint consistency to achieve different effects. Thicker paint creates bold, opaque areas, while thinner paint produces more translucent, ethereal results. Try using multiple colors on your plate simultaneously and drag a comb or texture tool through them for beautiful marbled effects.
For added dimension, consider incorporating found objects or textured papers into your printing process. Items like string, corrugated cardboard, or even crumpled tissue paper can create unexpected and exciting patterns that make each print truly unique.
Combining Techniques
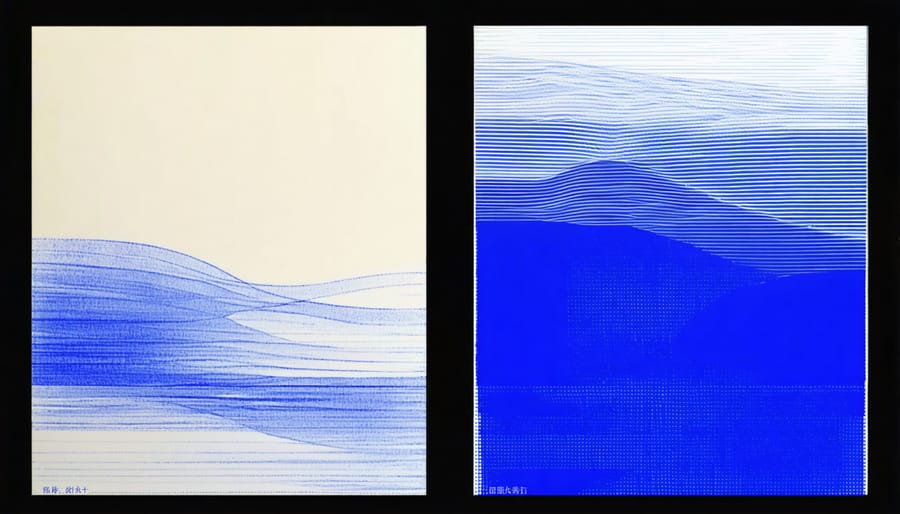
The versatility of gel printing truly shines when combined with other photographic printing techniques. By layering different methods, you can create unique and compelling images that stand out from traditional prints. One popular approach is incorporating gel prints with traditional darkroom techniques, where photographers often apply gel printing over silver gelatin prints to add texture and depth to their final images.
Digital photographers can scan their gel prints and blend them with digital images in post-processing software, creating hybrid works that combine the organic feel of gel printing with the precision of digital manipulation. Some artists overlay multiple gel prints using different colors and patterns, building complex compositions that wouldn’t be possible with a single technique alone.
Another effective combination involves using gel printing as a base layer for alternative processes like cyanotype or Van Dyke brown printing. The textural elements from the gel print show through these processes, creating mysterious and ethereal effects. Mixed-media artists often incorporate gel prints with collage elements, adding physical materials like tissue paper or dried plants between layers.
Remember to experiment with opacity levels when combining techniques. Semi-transparent gel layers can create subtle effects when combined with other printing methods, while bold, opaque applications make stronger statements. Document your successful combinations and keep notes on the specific materials and methods that work well together.
Gel printing represents an exciting frontier in creative photography, combining traditional darkroom techniques with modern artistic expression. As we’ve explored throughout this guide, the possibilities are truly limitless – from basic single-layer prints to complex, multi-layered masterpieces. The beauty of gel printing lies in its accessibility; whether you’re a seasoned photographer or just starting out, you can achieve stunning results with practice and patience.
Remember that experimentation is key to developing your unique style. Don’t be afraid to try different papers, inks, and textures. Start with simple designs and gradually work your way up to more complex compositions as your confidence grows. Keep detailed notes of your successful combinations and learn from the prints that don’t turn out as expected – these “happy accidents” often lead to the most innovative techniques.
The gel printing community continues to grow and evolve, with artists constantly discovering new approaches and applications. We encourage you to share your experiences, connect with fellow enthusiasts, and push the boundaries of what’s possible with this versatile medium. Your creative journey in gel printing is just beginning – embrace the process and enjoy watching your artistic vision come to life.


