Master the art of capturing stunning low light photos at events by embracing the challenging interplay of available light, movement, and atmosphere. Event photography in dim conditions demands technical precision, swift decision-making, and specialized gear working in perfect harmony. While natural light photographers chase golden hour, event photographers thrive in the dramatic shadows of reception halls, concert venues, and candlelit ceremonies. This specialized field combines the storytelling power of photojournalism with the technical demands of low-light shooting, requiring photographers to capture fleeting moments while maintaining image quality in less-than-ideal conditions. Whether documenting a wedding reception’s first dance or capturing the energy of a concert performance, success hinges on understanding your equipment’s capabilities, mastering manual controls, and anticipating decisive moments before they unfold.
Essential Camera Bodies for Low Light Events
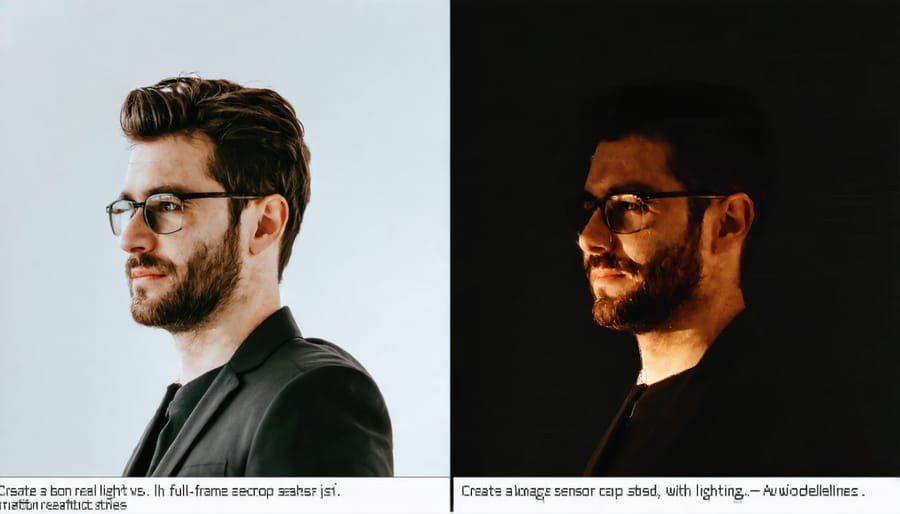
Full-Frame Sensors and Their Advantages
Full-frame sensors are often considered the gold standard for low light event photography, and for good reason. These larger sensors pack more surface area for light capture compared to their crop-sensor counterparts, which translates into significantly better low light performance.
The magic lies in the physics of sensor design. Full-frame sensors feature larger individual pixels (photosites) that can capture more light information. Think of these pixels as buckets collecting raindrops – bigger buckets can collect more water, just as larger photosites can collect more light. This increased light-gathering capability results in cleaner images with less digital noise, even when shooting at higher ISO settings.
When shooting events in challenging lighting conditions, such as wedding receptions or concert venues, this advantage becomes particularly apparent. You can confidently push your ISO to 3200, 6400, or even higher while maintaining image quality that would be impossible with smaller sensors. This flexibility allows you to maintain faster shutter speeds and smaller apertures when needed, giving you more creative control over your shots.
Another benefit of full-frame sensors is their superior dynamic range. This means they can capture a wider spectrum of light intensities in a single frame, from deep shadows to bright highlights. At events where lighting conditions can vary dramatically – think of a dance floor with spotlights and dark corners – this enhanced dynamic range helps preserve details throughout the image.
While full-frame cameras typically come with a higher price tag, their superior low light performance often makes them a worthwhile investment for serious event photographers who frequently work in challenging lighting conditions.
High ISO Performance Capabilities
Modern cameras have made remarkable strides in high ISO performance, transforming what’s possible in low-light event photography. While photographers once feared pushing beyond ISO 800, today’s professional cameras can deliver clean, usable images at ISO 6400 and beyond.
The key to understanding ISO performance lies in how well cameras handle digital noise. Premium full-frame cameras like the Sony A7S series and Nikon Z6 II have revolutionized low-light shooting, producing remarkably clean images even at ISO 12800. This capability means you can maintain faster shutter speeds and smaller apertures while still capturing well-exposed images in dimly lit venues.
However, it’s important to understand your camera’s sweet spot. While many cameras boast extremely high maximum ISOs (some reaching over 100,000), the practical usable range is typically much lower. As a general rule, most modern full-frame cameras produce professional-quality results up to ISO 6400, with APS-C sensors performing well up to ISO 3200.
When shooting events, don’t be afraid to push your ISO higher if it means getting the shot. It’s better to have a slightly noisy but sharp image than a clean but motion-blurred one. Modern post-processing software has also become incredibly effective at reducing noise while preserving detail, making higher ISO shots more salvageable than ever before.
Remember that different cameras handle noise differently – some produce a more film-like grain, while others might show more color noise. Test your camera’s high ISO performance before critical shoots to understand its limitations and characteristics, ensuring you can make confident decisions in the field.
Fast Lenses for Low Light Events
Prime vs. Zoom Lenses in Low Light
When it comes to shooting events in low light, the choice between prime and zoom lenses can significantly impact your results. Prime lenses, with their fixed focal length and typically wider maximum apertures (often f/1.4 to f/1.8), are traditionally considered the champions of low-light photography. These lenses allow more light to reach your camera’s sensor, enabling faster shutter speeds and lower ISO settings.
For example, a 50mm f/1.4 prime lens can gather about four times more light than a typical 24-70mm f/2.8 zoom lens. This difference can be crucial when photographing dimly lit wedding receptions or concert venues where flash photography might be restricted or undesirable.
However, zoom lenses have come a long way in recent years. Professional-grade zoom lenses with constant f/2.8 apertures offer remarkable versatility while still providing respectable low-light performance. The ability to quickly adjust focal length without changing position can be invaluable during fast-paced events where you might miss crucial moments while switching prime lenses.
Consider this practical approach: Many event photographers carry both types of lenses. A 70-200mm f/2.8 zoom lens might be perfect for ceremony shots and speeches, while a 35mm or 50mm f/1.4 prime could be your go-to for reception candids and dance floor moments. This combination provides both flexibility and optimal low-light capability when needed.
Budget considerations also play a role. Quality prime lenses are often more affordable than their professional zoom counterparts, making them an excellent choice for photographers building their kit. However, if you can only invest in one lens initially, a versatile f/2.8 zoom might be more practical for event work, even if it means compromising slightly on low-light performance.
Remember that while maximum aperture is important, factors like image stabilization, autofocus performance, and your shooting style should also influence your choice between prime and zoom lenses for low-light events.
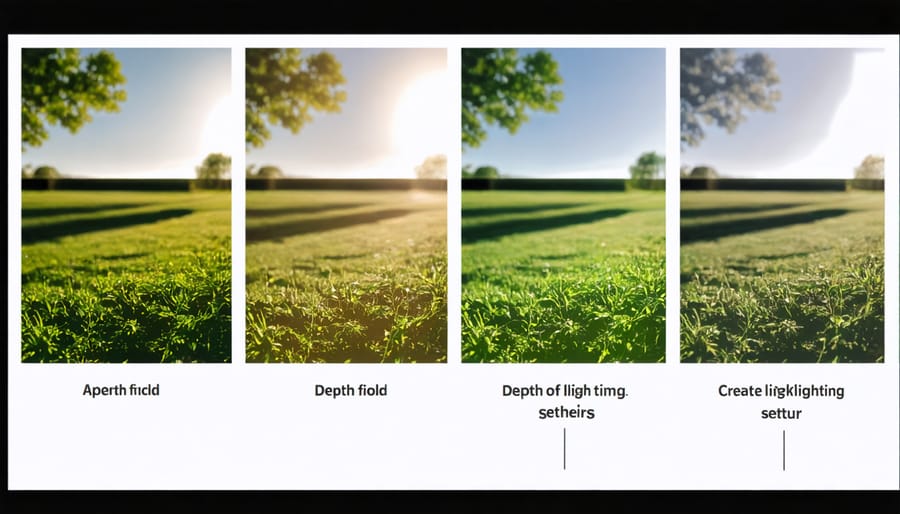
Must-Have Aperture Ranges
In low light event photography, your aperture settings can make or break your shots, and having lenses with the right maximum aperture capabilities is crucial. For most event situations, you’ll want lenses that can open up to at least f/2.8, though f/1.8 or wider is even better.
Prime lenses with maximum apertures of f/1.4 or f/1.8 are particularly valuable for event photography. These wide apertures not only allow more light to reach your sensor but also create that beautiful background blur (bokeh) that helps isolate your subjects from busy event backgrounds. A 50mm f/1.8, often called the “nifty fifty,” is an excellent starting point and typically quite affordable.
For zoom lenses, f/2.8 is generally considered the minimum acceptable maximum aperture for professional event work. While f/4 zoom lenses are available and often less expensive, they may struggle in particularly dark venues unless you’re willing to push your ISO higher. Professional-grade 24-70mm f/2.8 and 70-200mm f/2.8 zooms are popular choices because they maintain their maximum aperture throughout their zoom range.
Remember that while shooting at your widest aperture can be tempting in low light, it’s not always the best choice. When photographing groups or ensuring sharp detail across your frame, you might want to stop down to f/2.8 or f/4, even with a lens capable of f/1.4. This helps maintain adequate depth of field while still allowing plenty of light.
For reception venues and similarly dark environments, having at least one lens that can open to f/1.8 or wider gives you valuable flexibility. This extra light-gathering capability can mean the difference between capturing or missing crucial moments, especially when flash photography isn’t appropriate or allowed.
The key is building a lens collection that offers various maximum aperture options, allowing you to adapt to different lighting situations while maintaining image quality and achieving your desired creative effects.
Supporting Gear Enhancements
Flash and Light Modifiers
When shooting events in challenging light conditions, understanding your photography lighting equipment becomes crucial. Your flash choice and how you modify it can make the difference between harsh, unflattering light and beautifully balanced images that capture the event’s atmosphere.
For on-camera flash, consider using a speedlight with bounce capabilities. Bouncing your flash off walls or ceilings creates softer, more natural-looking light that wraps around your subjects. However, be mindful of colored surfaces that might affect your white balance.
Various lighting modifiers can dramatically improve your flash photography. A small diffuser dome softens direct flash, while a bounce card helps redirect light when ceiling bounce isn’t possible. For more control, consider using a flash bracket to move your light source away from the camera axis, reducing the dreaded “deer in headlights” look.
Don’t overlook the power of flash gels. Adding a CTO (Color Temperature Orange) gel to match ambient tungsten lighting helps create a more cohesive look. Meanwhile, using a grid attachment helps control light spread, perfect for spotlighting specific subjects without flooding the entire scene.
For larger events, consider setting up remote flashes in key locations. Modern wireless triggering systems make it easy to create depth and dimension in your images by cross-lighting subjects or illuminating dark corners. Remember to test your setup before the event starts, ensuring consistent coverage throughout the venue.
Practice balancing flash with ambient light – aim for natural-looking results where the flash enhances rather than dominates the scene. Start with lower power settings and gradually adjust until you find the sweet spot.

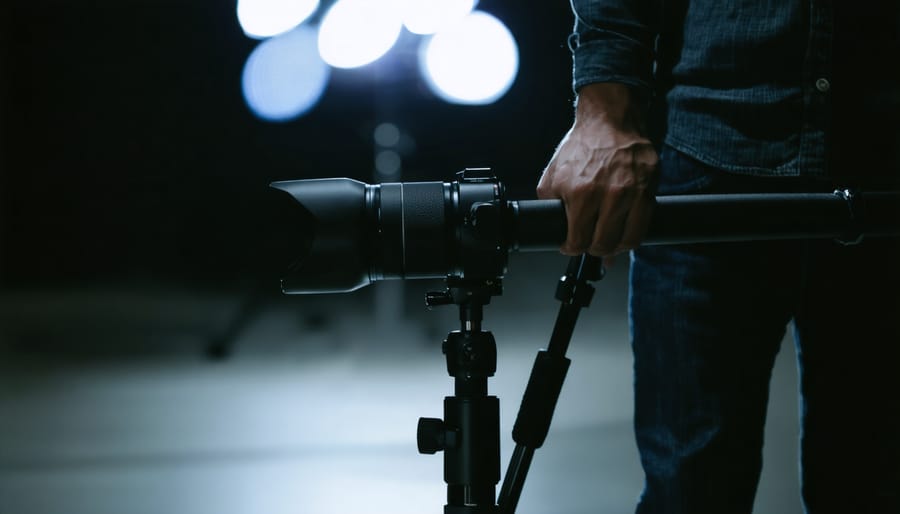
Stabilization Equipment
In low light event photography, stability is crucial for achieving sharp images, and having the right stabilization equipment can make all the difference. A sturdy tripod is your best friend when shooting in challenging lighting conditions, particularly for longer exposures or when using slower shutter speeds. Look for a tripod that offers both stability and portability, as event photography often requires moving quickly between locations.
For situations where tripods aren’t practical or allowed, a monopod can be an excellent alternative. These single-leg supports provide significant stability while maintaining mobility, making them ideal for wedding receptions, concerts, or indoor corporate events. Many photographers find monopods particularly useful when working with longer lenses or in crowded venues.
In-camera and lens-based image stabilization systems have become increasingly sophisticated, offering anywhere from 3 to 8 stops of compensation. When selecting equipment, prioritize lenses or camera bodies with built-in stabilization for low light events. Some modern cameras offer both in-body and lens stabilization working in tandem, providing maximum steadiness for handheld shots.
Don’t overlook less conventional stabilization options. Bean bags can be excellent impromptu supports when shooting from tables or ledges, while chest and shoulder rigs can provide additional stability for video work. Some photographers also employ techniques like bracing against walls or furniture to enhance stability when traditional supports aren’t an option.
Remember that even the best stabilization equipment requires proper technique. Practice setting up your gear quickly and efficiently, and always ensure your tripod or monopod is level before shooting. This preparation will help you capture those crucial moments without technical limitations getting in the way.
Memory Cards and Batteries
When shooting events in low light conditions, memory cards and batteries become even more critical than usual. Since you’ll likely be shooting in RAW format and possibly using burst mode to capture fleeting moments, opt for high-capacity cards with fast write speeds. A minimum of 64GB per card is recommended, but carrying 128GB or larger cards gives you peace of mind during lengthy events.
Always pack multiple memory cards – there’s nothing worse than running out of storage mid-event. Consider using dual card slots if your camera has them, either for backup or overflow purposes. This redundancy can be a lifesaver if one card fails during a crucial moment.
As for batteries, low light photography tends to drain power more quickly due to several factors: longer exposure times, image stabilization working overtime, and the LCD screen being used more frequently to check exposure. Pack at least three fully-charged batteries for a typical event. If you’re shooting with a battery grip, bring spares for that too.
Keep your batteries warm in cold conditions, as their performance can degrade significantly in low temperatures. Store them in an inside pocket of your jacket rather than in your camera bag. When charging, use only genuine manufacturer batteries and chargers to ensure reliability and optimal performance. A portable power bank can also be a valuable backup for cameras that support USB charging.
Real-World Performance Tips
Success in low light event photography isn’t just about having the right gear – it’s about knowing how to use it effectively. Here are some battle-tested tips to help you maximize your equipment’s potential.
First, always arrive early to scout the venue. This gives you time to identify challenging lighting conditions and plan your shooting positions. Test your camera settings in different areas, noting where you might need to adjust your ISO or shutter speed.
When shooting with fast prime lenses, don’t always default to the widest aperture. While f/1.4 or f/1.8 can gather more light, shooting at f/2 or f/2.8 often provides a better balance between light gathering and depth of field, especially for group shots where multiple subjects need to be in focus.
Master your camera’s back-button focus. This technique separates focus from the shutter release, giving you more control in dynamic situations. It’s particularly useful when tracking moving subjects in dim conditions, like dancers at a wedding reception.
While high ISO capabilities are impressive in modern cameras, remember that just like natural light photography techniques, proper exposure at capture is crucial. Use exposure compensation when needed, especially with backlit subjects or spotlit performers.
For flash photography, bounce the light whenever possible. Direct flash can create harsh shadows and flatten your subject. Instead, aim your flash at nearby walls or ceilings to create softer, more flattering light. Keep a small bounce card in your kit for situations where bouncing isn’t possible.
Finally, shoot in RAW format to give yourself more flexibility in post-processing. This allows you to recover shadow detail and adjust white balance more effectively, especially when dealing with mixed lighting conditions common at events.
Remember to regularly check your images on your camera’s LCD screen, but don’t rely on it entirely – use the histogram to ensure proper exposure across all tonal ranges.
Mastering low light event photography requires a combination of technical knowledge, the right gear, and practical experience. Throughout this guide, we’ve explored the essential elements that contribute to capturing stunning images in challenging lighting conditions. Remember that while having the right essential photography gear is important, it’s your understanding of how to use it effectively that makes the difference.
Focus on developing your skills with fast prime lenses, learning to balance available light with artificial lighting, and mastering your camera’s manual settings. Start with the fundamental equipment we’ve discussed and gradually expand your kit as your experience grows. Don’t feel pressured to acquire everything at once – many successful event photographers began with just a capable camera body and a single fast prime lens.
Practice in various low light situations before taking on paid assignments, and always have backup equipment ready for critical shoots. Remember that post-processing skills are equally important in bringing out the best in your low light images. Most importantly, stay patient and keep experimenting – every challenging lighting situation is an opportunity to learn and improve your craft.
By applying these principles and continuously refining your technique, you’ll be well-equipped to handle any low light event photography situation with confidence and creativity.