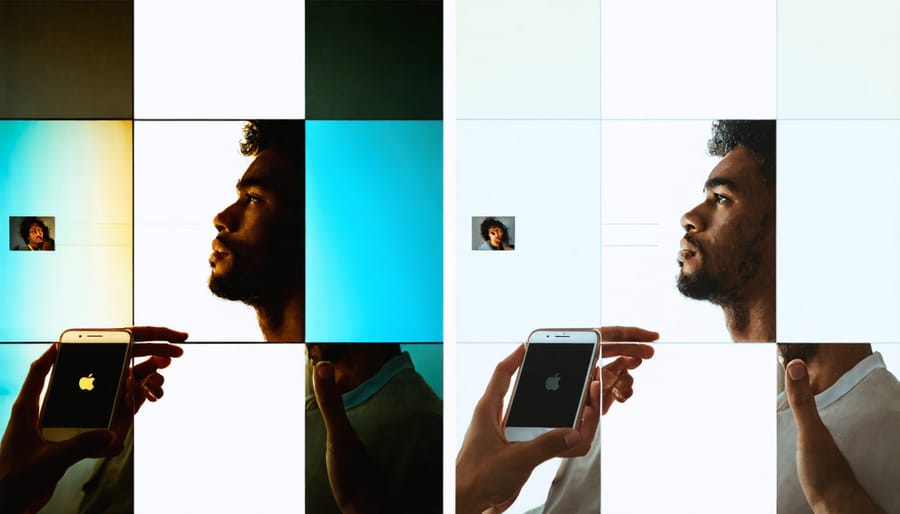
Transform ordinary iPhone shots into captivating images by mastering these essential smartphone photography secrets. Lock focus and exposure separately by tapping and holding your subject, then sliding up or down to fine-tune brightness. Activate the grid overlay (Settings > Camera) to compose using the rule of thirds and create balanced, professional-looking images. Leverage Portrait mode’s depth control after taking the shot to adjust background blur for studio-quality results.
The latest iPhones pack professional-grade features that rival dedicated cameras, yet most users barely scratch the surface of their device’s photographic potential. Whether you’re documenting daily life or creating art, understanding your iPhone’s advanced capabilities—from ProRAW capture to Night mode—opens up endless creative possibilities. This guide breaks down the essential techniques professionals use to capture stunning images, focusing on practical methods you can implement immediately.
Armed with the right knowledge, your iPhone becomes more than just a point-and-shoot device—it transforms into a powerful creative tool capable of producing magazine-worthy photographs. Let’s dive into the techniques that will elevate your mobile photography from casual snapshots to compelling visual stories.
Essential iPhone Camera Settings You’re Probably Missing
Grid Lines and Composition Tools
Your iPhone’s grid lines are among the most essential camera features for creating well-composed shots. To enable them, go to Settings > Camera > Grid. Once activated, you’ll see a 3×3 grid overlaid on your camera screen, perfect for applying the rule of thirds.
The grid helps align your subjects along intersecting points, creating more dynamic and engaging compositions. Try positioning your main subject at any of the four intersection points rather than dead center. For landscapes, align the horizon with either the top or bottom horizontal line to create a more balanced image.
Beyond the basic grid, your iPhone also offers a level indicator that appears as two crosses when shooting straight down or forward. This tool is invaluable for capturing perfectly aligned flat lays or architectural shots. When the crosses align and turn yellow, you know your shot is perfectly level.
Remember that while these tools are helpful guides, they’re not strict rules. Once you’ve mastered the basics, feel free to break these compositional guidelines intentionally for creative effect.
ProRAW and HDR Settings
ProRAW and HDR (High Dynamic Range) are powerful features that can dramatically enhance your iPhone photos when used correctly. ProRAW, available on iPhone 12 Pro and newer models, combines the flexibility of RAW format with iPhone’s computational photography capabilities, giving you greater control during editing.
When shooting in ProRAW, you’ll capture more detail in both highlights and shadows, making it ideal for high-contrast scenes like sunsets or indoor shots with bright windows. Enable ProRAW in your camera settings when you want maximum editing flexibility, but remember that these files are significantly larger than standard images.
HDR, on the other hand, automatically captures multiple exposures and combines them into a single photo with balanced lighting. Modern iPhones use Smart HDR, which intelligently decides when to apply HDR based on the scene. However, you can manually control HDR by tapping the HDR icon in the camera app.
Here’s when to use each feature:
Use ProRAW when:
– Shooting in challenging lighting conditions
– Planning extensive post-processing
– Capturing scenes with wide dynamic range
– Taking professional or portfolio shots
Use HDR when:
– Photographing backlit subjects
– Capturing landscapes with bright skies
– Shooting in mixed lighting conditions
– Taking photos with strong contrast
For best results, keep your iPhone steady when using either feature, as movement can cause artifacts or blurring. Also, consider using a tripod for ProRAW shots in low light, as these images can take slightly longer to process.
Remember that while these features are powerful, they’re not always necessary for every shot. Regular JPEG format is perfectly suitable for casual photos and social media sharing.
Light Mastery for iPhone Photography
Natural Light Techniques
Natural light is your iPhone’s best friend, and mastering its use can transform your photos from ordinary to extraordinary. The key is understanding how different types of natural light affect your images and when to shoot for optimal results.
The golden hour, occurring during the first hour after sunrise and the last hour before sunset, provides warm, soft lighting that’s perfect for photography. During these times, the sun’s position creates longer shadows and a gentle, golden glow that adds depth and dimension to your subjects. Try shooting portraits or landscapes during these hours to capture stunning, naturally lit images with minimal harsh shadows.
When shooting during midday, be mindful of strong overhead sunlight, which can create unflattering shadows and excessive contrast. Look for open shade under trees or buildings to diffuse the light and create more even illumination. You can also use bright sunlight creatively by capturing dramatic shadows or silhouettes.
Cloudy days offer their own advantages, acting like a giant softbox that creates even, diffused light perfect for portraits and macro photography. These conditions reduce harsh contrasts and make it easier to capture detail in both highlights and shadows.
For indoor photography, position your subject near windows to take advantage of natural light. Side lighting from windows can create beautiful directional light that adds depth and dimension to your photos. Move your subject closer to or further from the window to control the intensity of the light, and experiment with different angles to find the most flattering illumination.
Remember to tap on your subject in the iPhone’s camera app to set focus and exposure, then slide up or down to fine-tune the brightness for perfect exposure in any lighting condition.

Low-Light Photography Solutions
Low-light photography has traditionally been a challenge for smartphone cameras, but modern iPhones offer impressive capabilities to capture stunning shots in dim conditions. The key to success lies in understanding and maximizing your iPhone’s Night mode, which automatically activates when the camera detects low-light situations.
To make the most of Night mode, keep your iPhone as steady as possible – use a tripod or rest it against a stable surface. This allows the camera to capture more light over a longer exposure time, resulting in clearer, brighter images. When hand-holding your phone, maintain a firm grip and hold your breath while shooting to minimize camera shake.
For situations where Night mode isn’t quite enough, try these artificial lighting techniques. Position your subject near available light sources like street lamps or store windows, using them as natural spotlights. The iPhone’s flash can be useful, but instead of using it directly, try bouncing it off a white wall or ceiling to create softer, more flattering illumination.
Experiment with exposure compensation by tapping and holding on your subject, then sliding up or down to adjust brightness. This gives you more control over the final image’s mood and atmosphere. For creative effects, try incorporating light sources into your composition – capture light trails from passing cars or the warm glow of city lights.
In post-processing, don’t be afraid to embrace some grain in your night photos – it can add character and atmosphere. Use the built-in editing tools to carefully adjust highlights and shadows, maintaining a balance between visibility and preserving the natural darkness of the scene.
Remember that low-light photography often requires patience. Take multiple shots of the same scene, as slight variations in stability and timing can significantly impact the final result.
Creative Composition Techniques
Portrait Mode Mastery
Portrait mode on iPhone has revolutionized mobile photography, allowing anyone to capture stunning professional-looking portraits with beautifully blurred backgrounds. To master this feature, start by maintaining an optimal distance of 2-8 feet from your subject – this ensures the camera can accurately detect depth and create that coveted bokeh effect.
Lighting plays a crucial role in Portrait mode success. Natural light works best, particularly during golden hour or in evenly lit shade. Position your subject so that light falls evenly across their face, or experiment with dramatic side lighting for more artistic results. Avoid harsh backlight, as it can confuse the depth sensor and create artificial-looking edges.
While Portrait mode works best with people, don’t limit yourself. Try capturing pets, flowers, or even inanimate objects with artistic depth effects. Experiment with the various Portrait Lighting effects – Natural, Studio, Contour, Stage, and High-Key Light Mono – each offering unique creative possibilities.
For the most professional results, tap to focus on your subject’s eyes or most prominent feature. After taking the shot, use the depth control slider to adjust the background blur intensity. Remember that you can always edit these effects later in the Photos app, including changing Portrait Lighting effects or adjusting background blur.
Pay attention to the background composition – choose clean, uncluttered scenes that complement your subject without competing for attention. The best portraits often emerge from simple, thoughtful compositions where the depth effect enhances rather than dominates the image.
Perspective and Angles
One of the most powerful ways to elevate your iPhone photography is through experimenting with unique perspectives and angles. While most people shoot from eye level, incorporating diverse creative photography techniques can transform ordinary scenes into extraordinary images.
Try getting low to the ground for a dramatic “worm’s eye view” that makes subjects appear larger than life. This perspective works particularly well for architecture, creating a sense of grandeur and scale. Alternatively, seek out high vantage points to capture captivating bird’s-eye compositions – staircases, balconies, or even carefully holding your iPhone overhead can provide fresh perspectives.
The iPhone’s compact size is actually an advantage here, allowing you to position it in places where larger cameras can’t fit. Experiment with shooting through objects in the foreground to create natural frames, like archways, branches, or even everyday items. This technique adds depth and context to your images while drawing attention to your main subject.
Don’t forget about diagonal lines and angles in your composition. Instead of shooting straight on, try positioning your iPhone at a 45-degree angle to create dynamic leading lines. The grid feature in your iPhone camera app can help you align these angles perfectly.
For portraits, try shooting from slightly above your subject with the camera angled down – this is typically more flattering than shooting from below. When photographing children or pets, get down to their eye level to capture their world from their perspective, creating more engaging and intimate photos.
Remember that changing your position even slightly can dramatically impact your final image, so don’t be afraid to move around and experiment with different viewpoints until you find the perfect angle.
Post-Processing Like a Pro
Native Photos App Editing
The iPhone’s native Photos app is a powerhouse of editing capabilities that often gets overlooked in favor of third-party applications. However, mastering these built-in tools can help you achieve pro-level editing secrets without ever leaving your default software.
Start with the Auto adjust feature for quick enhancements, but don’t stop there. The Brilliance slider is particularly effective for balancing shadows and highlights while adding depth to your images. For precise control, the Smart HDR adjustment lets you fine-tune exposure elements separately, ensuring you maintain detail in both bright and dark areas.
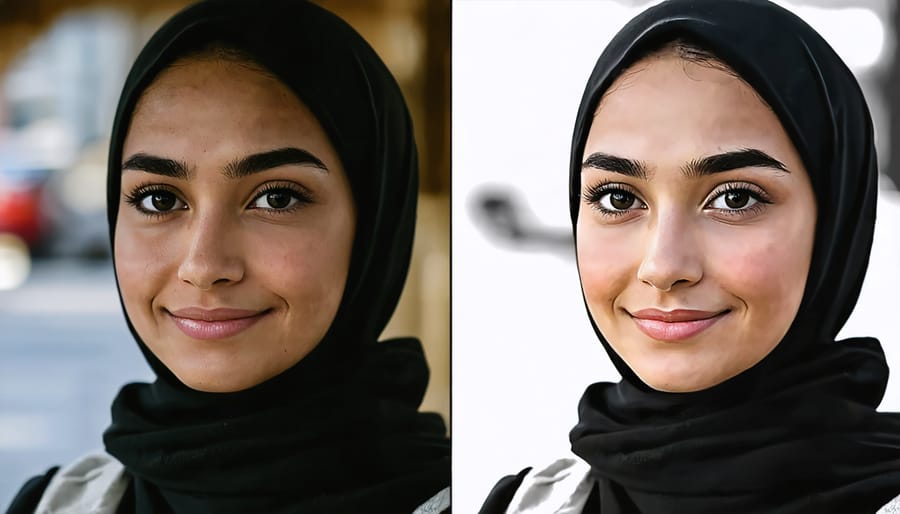
The selective color adjustment tools are surprisingly sophisticated. You can modify individual color channels, perfect for enhancing blue skies or warming up skin tones. The Portrait lighting effects, available for images shot in Portrait mode, offer studio-quality lighting adjustments that can transform a simple snapshot into a professional-looking headshot.
Don’t overlook the crop and straighten tools, which include automatic horizon detection. The perspective correction feature is especially useful for architectural shots, helping you achieve perfect vertical lines in building photographs.
For more creative edits, explore the Filters section, but adjust the intensity using the slider – full-strength filters often look artificial. The Vignette tool, when used subtly, can draw attention to your subject without being obvious.
Finally, take advantage of the revert feature, which lets you experiment freely knowing you can always return to your original image. Remember to duplicate important photos before editing to maintain an untouched version while you perfect your editing technique.
Third-Party Apps Worth Using
While the iPhone’s native Camera and Photos apps are powerful, several third-party apps can elevate your mobile photography to new heights. Snapseed, a free app from Google, stands out for its professional-grade editing tools, including selective adjustments and healing features that rival desktop software. Its intuitive interface makes complex editing accessible to beginners while offering depth for advanced users.
For those seeking more creative control, VSCO offers a stunning array of film-inspired presets and advanced camera controls. The app’s editing tools emphasize subtle adjustments that maintain a natural look, perfect for achieving that coveted analog aesthetic. The built-in community also provides inspiration and learning opportunities.
Halide Mark II is worth the investment for serious photographers who want maximum control over their iPhone camera. It offers features like focus peaking, histogram display, and RAW capture capabilities. The app’s technical prowess shines in challenging lighting conditions, allowing for precise exposure adjustments.
For creative effects and artistic transformations, Prisma leads the pack with its AI-powered filters that turn photos into artwork inspired by famous painters and artistic styles. Meanwhile, TouchRetouch excels at removing unwanted objects from your photos with remarkable precision.
ProCam 8 deserves mention for its comprehensive suite of manual controls and professional features, including exposure bracketing and focus stacking. It’s particularly useful for night photography and complex shooting scenarios where the standard camera app might fall short.
Remember to experiment with different apps to find the combination that best suits your photography style and editing needs.
Creating Your Editing Style
Developing a signature editing style for your iPhone photos helps create a cohesive look across your portfolio and strengthens your visual identity. While there’s no one-size-fits-all approach to professional photo editing, consistency is key to building a recognizable aesthetic.
Start by identifying the visual elements that resonate with your creative vision. Do you prefer warm, golden tones or cool, moody atmospheres? Are you drawn to high-contrast images or soft, dreamy aesthetics? Understanding these preferences will guide your editing decisions.
Experiment with preset combinations in apps like VSCO or Lightroom Mobile, but don’t rely on them entirely. Instead, learn to make subtle adjustments to key elements:
– Color temperature and tint to set the overall mood
– Exposure and contrast for image depth
– Highlights and shadows to preserve detail
– Saturation and vibrancy for color intensity
– Grain and texture for added character
Once you’ve found a combination that works, save your adjustments as custom presets. This allows you to apply consistent edits across multiple photos while making minor tweaks as needed. Remember that your style should enhance your subjects rather than overpower them.
Document your editing process by taking screenshots or notes. This helps you recreate your favorite looks and refine them over time. As you develop your style, don’t be afraid to evolve and experiment, but maintain enough consistency that your work remains recognizable and authentic to your vision.
Mastering iPhone photography is an ongoing journey of discovery and practice. By implementing the techniques we’ve explored – from mastering basic camera settings to experimenting with creative compositions and leveraging advanced features – you can dramatically improve your mobile photography skills.
Remember that great iPhone photography isn’t just about technical knowledge; it’s about developing an eye for compelling subjects and understanding how to capture them effectively. Start by practicing one technique at a time, whether it’s playing with Portrait mode, experimenting with different lighting conditions, or exploring new angles and perspectives.
Don’t be afraid to break the conventional rules of photography once you understand them. Your iPhone is a powerful creative tool that fits in your pocket, ready to capture life’s memorable moments at any time. The best way to improve is through consistent practice and experimentation.
Take advantage of your iPhone’s native features, but also explore third-party apps that can enhance your creative possibilities. Keep your camera lens clean, ensure you have enough storage space, and always be ready to capture unexpected photo opportunities.
Most importantly, enjoy the process. Photography should be fun and rewarding, whether you’re documenting family memories or pursuing artistic expression. With these tips and techniques in your arsenal, you’re well-equipped to take your iPhone photography to the next level. Now get out there and start shooting!