Transform ordinary photos into captivating visual stories by mastering creative photography effects that go beyond basic snapshots. Blend traditional creative techniques with modern digital innovations to craft unique images that stand out in today’s visual landscape.
Experiment with intentional camera movement to create ethereal light trails and dynamic motion blur while shooting at slower shutter speeds. Layer multiple exposures in-camera to produce dreamlike compositions that merge different moments into a single frame. Manipulate depth of field using wide apertures and creative focusing techniques to isolate subjects against beautifully blurred backgrounds.
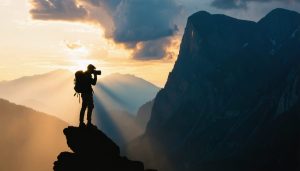
Whether you’re shooting portraits, landscapes, or street photography, these creative effects open up endless possibilities for artistic expression. From simple tricks like using prisms and filters to more advanced techniques involving long exposures and specialized lighting, each effect adds a new dimension to your photographic toolkit. Master these techniques to develop your unique visual signature and create images that resonate with viewers on a deeper emotional level.
In-Camera Creative Techniques
Long Exposure Magic
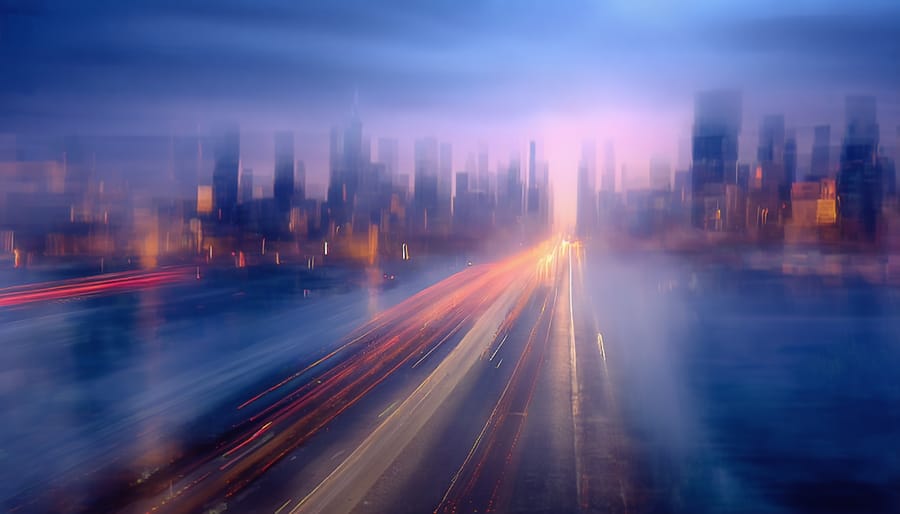
Long exposure photography transforms ordinary scenes into magical compositions by capturing the passage of time in a single frame. This technique requires a slow shutter speed, typically ranging from several seconds to minutes, allowing you to create stunning effects that aren’t visible to the naked eye.
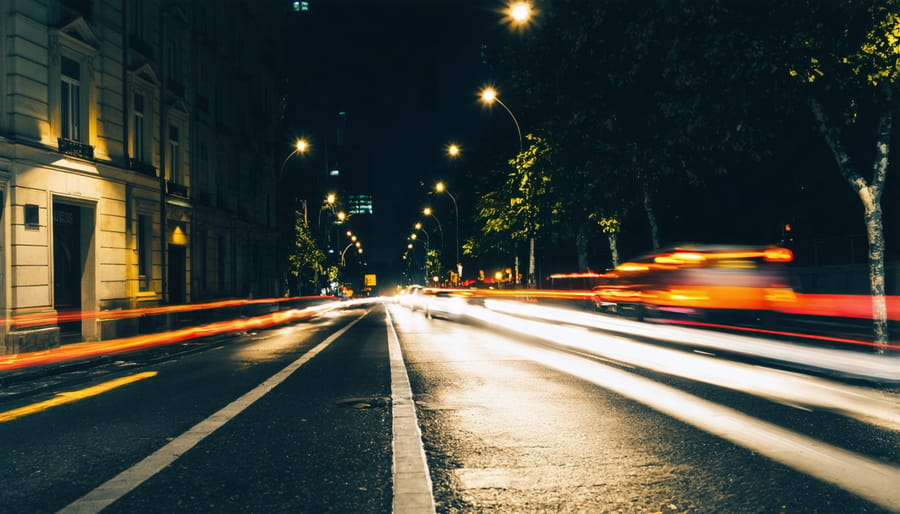
For capturing light trails, position your camera on a sturdy tripod and set your shutter speed between 10-30 seconds. Urban environments at twilight or night offer perfect opportunities to photograph streaking car headlights, creating luminous ribbons through your frame. Remember to use a small aperture (f/8 or higher) to maintain sharp focus throughout the scene.
Water smoothing effects are particularly enchanting in landscape photography. When photographing waterfalls or seascapes, experiment with shutter speeds between 1-5 seconds to achieve that silky-smooth water effect. A neutral density filter helps manage exposure during daylight hours, preventing overexposure while maintaining those longer shutter speeds.
Motion blur can add dynamic energy to your images. Try panning with moving subjects while using shutter speeds around 1/15 to 1/30 second. This technique keeps your subject relatively sharp while blurring the background, creating a sense of speed and movement. It works beautifully with cyclists, running animals, or passing trains.
For best results, shoot during blue hour or overcast conditions when the light is more manageable. Use your camera’s built-in spirit level or virtual horizon to ensure perfectly straight horizons, especially crucial for seascapes and architectural shots.
Multiple Exposure Artistry
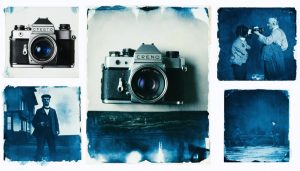
Multiple exposure photography opens up a world of creative possibilities, allowing you to blend two or more images directly in your camera to create ethereal, dreamlike effects. This technique, which dates back to film photography, has evolved into a powerful digital tool for creating surreal compositions that captivate viewers.
To get started, enable your camera’s multiple exposure mode – most modern digital cameras offer this feature. Begin with simple compositions: try overlaying a portrait with delicate tree branches, or combine architectural elements with natural textures. The key is to think in layers and consider how the light and dark areas of each image will interact.
For the best results, aim for contrast between your exposures. Pair silhouettes with detailed textures, or combine sharp architectural lines with organic shapes. Remember that the final image’s exposure is cumulative, so you’ll typically need to underexpose each shot by about one stop when combining two images.
Experiment with different opacity settings if your camera offers them. Some photographers find success with a 50/50 blend, while others prefer to emphasize one exposure over the other. Try capturing motion in one frame while keeping the other static, or play with different focusing distances to create depth and dimension.
Don’t be afraid to break conventional rules – multiple exposures are about creative expression. Practice with different subjects and lighting conditions until you develop your unique style in this fascinating technique.

Creative Lens Techniques
When it comes to creative lens techniques, photographers have an array of tools at their disposal to create captivating and unique effects. Lens filters are perhaps the most versatile, offering everything from subtle enhancements to dramatic transformations. A circular polarizer can deepen blue skies and eliminate reflections, while neutral density filters enable those dreamy long-exposure shots of flowing water and clouds.
Prism photography has gained popularity for its ability to create ethereal effects and light fractals. By holding a crystal prism in front of your lens, you can bend and split light to produce rainbow patterns, interesting reflections, and dreamy distortions. The key is experimenting with different angles and distances between the prism and your lens.
Freelensing takes things a step further by detaching your lens from the camera body and manually holding it in place. This technique creates a tilt-shift effect, allowing you to manipulate the focal plane for unique selective focus and light leak effects. While it requires careful handling to protect your sensor from dust, the ethereal results can be worth the extra effort.
Remember to start with simple techniques and gradually progress to more advanced ones. Keep your filters clean, handle your equipment with care, and don’t be afraid to experiment with different combinations of these methods to develop your own signature style.
Light Manipulation Effects
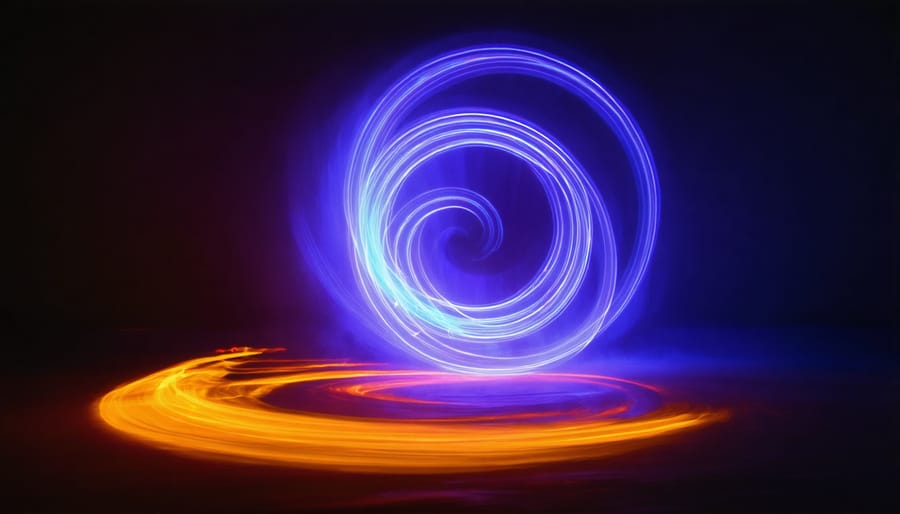
Light Painting Mastery
Light painting is one of photography’s most mesmerizing techniques, transforming darkness into a canvas for your creative vision. To get started, you’ll need a camera capable of long exposures, a sturdy tripod, and various light sources – from LED wands and flashlights to steel wool for more advanced effects.
Begin by setting up your camera in a dark environment. Use manual mode with settings typically starting at f/8, ISO 100, and exposure times between 10-30 seconds. Your exact settings will depend on your light source’s brightness and desired effect. Focus manually before starting, as autofocus struggles in low light.
The basic technique involves keeping your camera steady while moving your light source through the frame during the long exposure. Start with simple shapes – circles, lines, or writing your name. As you gain confidence, experiment with different tools: colored gels over flashlights create rainbow effects, while fiber optic brushes produce ethereal streaks of light.
For more complex compositions, try multiple exposures in the same frame. You can light different elements of your scene separately or combine various light sources for dramatic results. Remember to wear dark clothing to avoid appearing in the shot unless that’s part of your creative vision.
Common mistakes to avoid include camera shake (use a remote trigger if possible), excessive ambient light, and inconsistent movement speeds. Practice your light painting movements before opening the shutter to ensure smooth, intentional patterns.
Bokeh Crafting
Bokeh, those dreamy, out-of-focus light elements in photographs, can be transformed from simple blurred circles into creative shapes that add a magical touch to your images. The technique involves crafting a custom aperture cover for your lens using black card stock or foam board.
To create custom bokeh shapes, start by cutting a circle slightly larger than your lens diameter. In the center, cut out your desired shape – it could be a heart, star, triangle, or any simple design roughly 1/2 inch in size. The smaller the shape, the more defined your bokeh will appear. Attach this DIY filter to your lens using an elastic band or gaffer tape.
For the best results, shoot with your lens wide open (lowest f-number) and ensure there’s significant distance between your subject and the background lights. Christmas lights, city lights, or even fairy lights make excellent bokeh sources. Focus on your main subject in the foreground while letting the background lights transform into your custom shapes.
Experiment with different shooting distances and shapes to find your perfect effect. Try combining multiple shapes in a single image by switching filters between shots, or create a series of images using seasonal shapes like snowflakes for winter scenes or hearts for romantic portraits.
Remember that larger aperture lenses (f/1.8 or wider) typically produce the most pronounced bokeh effects, but you can achieve interesting results with any lens that opens to at least f/2.8.
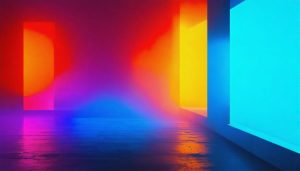
Color Gel Magic
Color gels are like magic wands for photographers, transforming ordinary lighting setups into extraordinary visual experiences. These transparent, colored filters attach to your light sources, opening up a world of creative possibilities that can dramatically enhance your photography’s mood and impact.
Understanding color theory principles is crucial when working with gels, as complementary or contrasting colors can create striking effects. Try placing a blue gel on your key light while using an orange gel for the background light – this creates a cinematic look reminiscent of Hollywood blockbusters.
For portraits, experiment with split lighting using different colored gels. Position one red-gelled light on one side of your subject’s face and a blue-gelled light on the other. This technique creates a dynamic, editorial look that’s perfect for fashion or creative portraiture.
Starting with gel photography doesn’t require expensive equipment. Basic LED lights and a starter pack of gels can achieve professional results. Begin with primary colors and gradually expand your collection as you become more comfortable with the technique.
Remember to consider your camera’s white balance settings when using gels. Sometimes, letting the colors blend naturally creates beautiful effects, while other times, you might want to adjust the white balance to emphasize specific tones. The key is experimentation – don’t be afraid to push boundaries and create your unique lighting signature.
Post-Processing Creative Effects
Double Exposure in Post
Creating double exposure effects in post-processing offers precise control and endless creative possibilities that might be challenging to achieve in-camera. Modern editing software like Photoshop, Lightroom, or even mobile apps makes this technique accessible to photographers of all skill levels.
To create a basic double exposure in Photoshop, start by selecting two complementary images – perhaps a portrait and a textural element like trees or architecture. Open both images as separate layers, with your main subject (typically the portrait) as the bottom layer. Set the top layer’s blend mode to “Screen” or “Multiply” for different effects, then adjust the opacity to fine-tune the balance between the images.
For more sophisticated results, try using layer masks to control exactly where and how your images blend. This technique is particularly effective when you want to preserve certain elements of your base image while selectively revealing the overlay. For instance, you might keep a subject’s face clear while allowing abstract elements to merge with their silhouette.
Color plays a crucial role in double exposure effects. Consider converting one or both images to black and white, or experiment with color gradients to create mood and depth. You can also use adjustment layers to enhance contrast or modify colors selectively, adding drama to your final composition.
Some pro tips for successful double exposures in post:
– Choose images with strong contrast for better blending
– Look for complementary shapes that enhance your subject
– Pay attention to negative space in your composition
– Experiment with different blend modes beyond just Screen and Multiply
– Consider the direction of light in both images for natural-looking results
Remember that double exposure is an art form – there’s no single “correct” way to achieve it. The key is experimentation and finding combinations that tell your unique visual story.
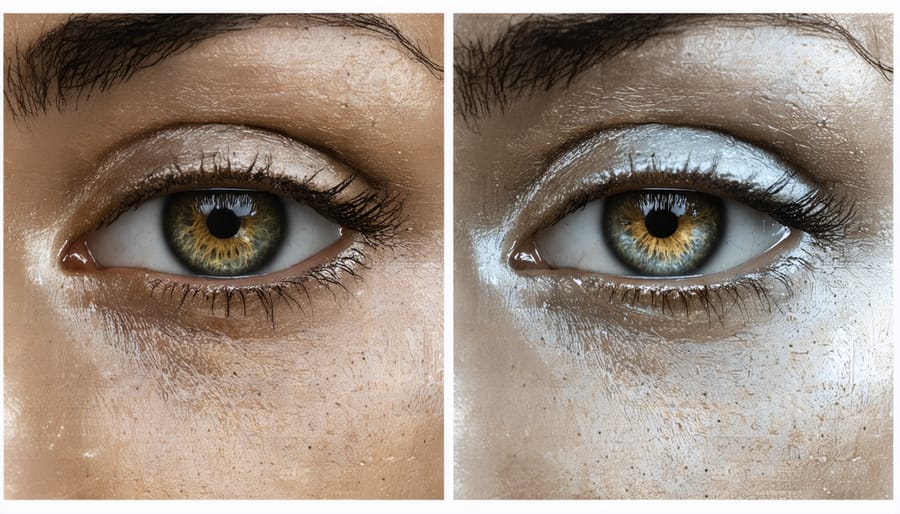
Selective Color Techniques
Selective color techniques allow photographers to create striking visual contrasts by isolating specific colors while converting the rest of the image to black and white. This powerful effect draws immediate attention to your chosen subject and can convey deeper meaning through thoughtful color selection.
To achieve this effect in-camera, many modern digital cameras offer a selective color mode that lets you choose which color to preserve while shooting. This approach requires careful composition and color awareness, as you’ll need to identify your target color before pressing the shutter.
Post-processing offers more flexibility and precise control. Using software like Adobe Photoshop or Lightroom, you can create selective color effects through various methods. The most common approach involves creating a black and white adjustment layer and using layer masks to reveal the colors you want to preserve. This technique allows you to fine-tune the effect and make adjustments until you achieve your desired result.
For more advanced color manipulation, consider color grading techniques that can dramatically alter the mood of your images. Split-toning, for instance, allows you to apply different colors to the highlights and shadows of your image, creating atmospheric effects perfect for creative portraiture or landscape photography.
When applying selective color effects, consider these practical tips:
– Choose colors that naturally draw attention
– Use complementary colors for maximum impact
– Keep the effect subtle unless you’re specifically aiming for dramatic results
– Consider the emotional impact of your chosen colors
– Experiment with preserving multiple colors for more complex compositions
Remember that selective color should enhance your image’s story rather than serve as a mere gimmick. The most successful applications of this technique are those where the preserved colors contribute meaningful elements to the overall composition and message of your photograph.
Texture Blending
Texture blending is a powerful technique that can transform ordinary photographs into compelling pieces of art by layering textures onto your images. This creative effect adds depth, atmosphere, and a tactile quality that can make your photos truly unique.
To get started with texture blending, you’ll need to build a collection of texture images. These can include photographs of worn walls, rustic wood, peeling paint, fabric patterns, or natural elements like leaves and stone. The key is choosing textures that complement your base image and enhance its mood.
In photo editing software, begin by opening both your main image and your chosen texture. Place the texture layer above your base photo and experiment with different blending modes. Overlay, Soft Light, and Multiply are particularly effective for texture work. Adjust the opacity of the texture layer to control its intensity – sometimes subtle effects at 15-30% opacity create the most natural results.
For more precise control, use layer masks to selectively apply the texture. This allows you to preserve important details in your main subject while letting the texture affect the background or specific areas. You might, for example, keep a portrait subject’s skin clear while allowing the texture to enhance the surrounding composition.
Consider the relationship between your texture and subject matter. Urban photographs often pair well with concrete or metal textures, while nature shots can benefit from organic textures like paper or canvas. The color of your texture also matters – you can create a unified look by matching it to your photo’s color scheme or create contrast by choosing complementary colors.
Advanced photographers might layer multiple textures, each serving a different purpose. One texture might add grit and detail, while another introduces subtle color variations. The key is building these layers gradually and maintaining a cohesive final image that doesn’t look overprocessed.
As we’ve explored throughout this guide, creative photography effects open up a world of artistic possibilities that can transform ordinary shots into extraordinary images. From simple in-camera techniques like multiple exposures and intentional camera movement to advanced post-processing effects, these tools empower you to express your unique creative vision.
Remember that mastering these effects isn’t about following rigid rules – it’s about experimentation and finding what resonates with your artistic style. Start with the basics we’ve covered and gradually build your confidence to try more complex techniques. Whether you’re capturing light trails at night, creating dreamy long exposures, or crafting compelling double exposures, each technique adds another dimension to your photographic toolkit.
Don’t be afraid to push boundaries and combine different effects to create something truly unique. For more inspiration, check out our guide to creative photography ideas that can spark your imagination and help you develop your signature style.
Most importantly, practice patience and persistence as you explore these techniques. Not every experiment will yield perfect results, but each attempt teaches valuable lessons that will enhance your skills. Keep experimenting, stay curious, and let your creativity guide you toward developing your unique photographic voice.