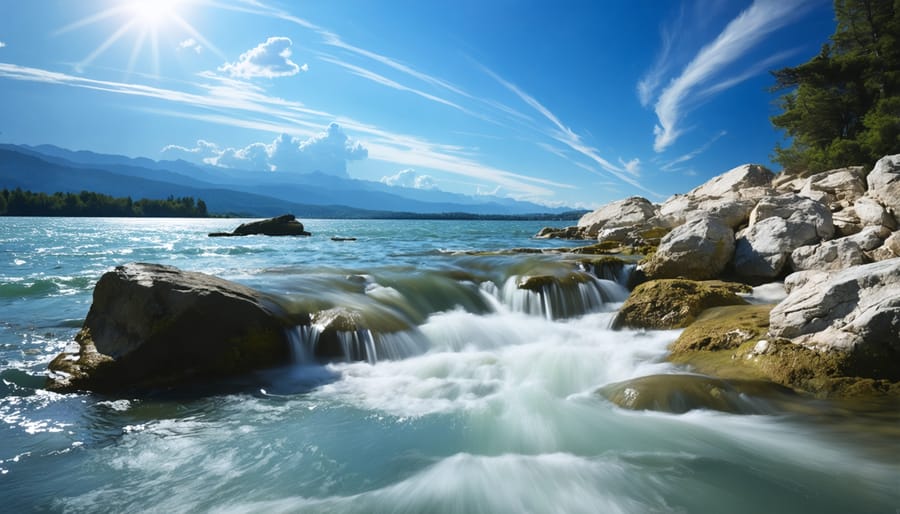
Master long exposure photography in broad daylight by mounting a high-quality neutral density (ND) filter – aim for at least 10 stops of light reduction to achieve those silky water effects and dreamy cloud movements. Calculate your extended exposure time by multiplying your base shutter speed by the ND filter factor, ensuring precise results even in challenging light conditions. Stabilize your camera on a robust tripod with a remote shutter release to eliminate any potential camera shake during exposures that can last several minutes, particularly in extreme weather conditions. Scout locations during different times of day, noting how moving elements like water, clouds, and foliage interact with changing light patterns to create compelling compositions that maximize the dramatic effect of extended exposures.
Combat light leak issues by covering your camera’s viewfinder with its built-in eyepiece cover or black tape, and enable your camera’s long exposure noise reduction feature to maintain image quality during extended shoots. This technical mastery of daytime long exposures opens up creative possibilities typically reserved for golden hour and blue hour, allowing you to transform ordinary scenes into otherworldly landscapes any time of day.
Essential Gear for Daytime Long Exposures
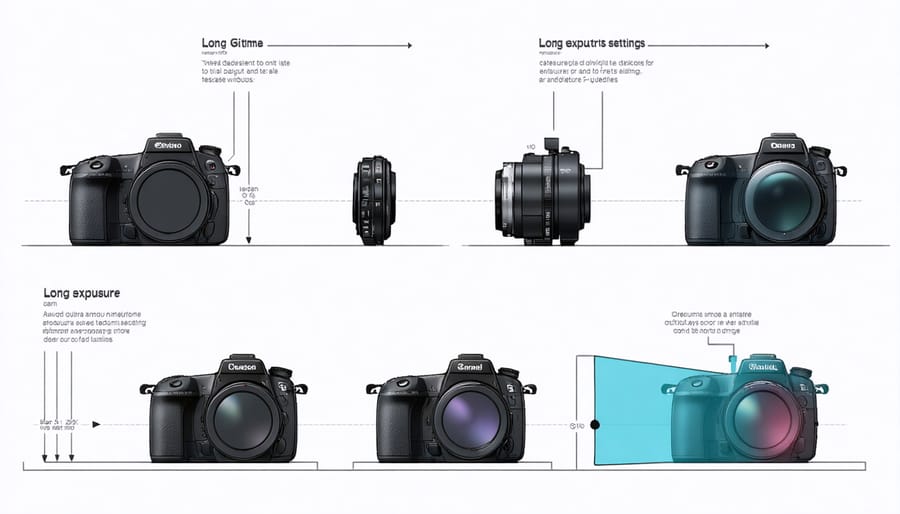
ND Filters: Your Best Friend in Bright Light
Neutral Density (ND) filters are essential tools for achieving long exposures in bright conditions, acting like sunglasses for your camera lens. These darkened pieces of glass or resin come in various strengths, measured in stops of light reduction or optical density numbers.
The most common ND filter types include:
– Solid ND filters: Single-density filters that reduce light uniformly
– Variable ND filters: Adjustable filters that offer multiple densities in one unit
– Graduated ND filters: Half-darkened filters primarily used for landscape photography
When selecting an ND filter, consider the strength you’ll need. A 3-stop (ND8) filter works well for subtle motion blur, while a 10-stop (ND1000) filter enables dramatic long exposures even in bright sunlight. For maximum versatility, many photographers carry a set of 3-stop, 6-stop, and 10-stop filters.
Quality matters significantly with ND filters. Premium filters maintain better color neutrality and reduce unwanted effects like color casting and vignetting. Look for filters with multi-coating to minimize ghosting and flare, especially when shooting toward bright light sources.
For ease of use, consider the filter mount type. Circular screw-in filters are convenient but limited to one lens diameter, while square filter systems offer more flexibility but require additional holders and adapters. Whatever system you choose, ensure it’s compatible with your specific lens lineup.
Supporting Cast: Tripods and Remote Triggers
When it comes to long exposure photography in daylight, your tripod becomes your most trusted companion. Even the slightest camera movement can introduce unwanted blur, so investing in a sturdy tripod is non-negotiable. Look for a model that offers both stability and versatility – carbon fiber tripods are excellent choices as they combine lightweight construction with exceptional rigidity.
Your tripod head matters just as much as the legs. A ball head offers quick adjustments, while a geared head provides precise control for careful compositions. Whichever you choose, ensure it can securely support your camera and lens combination without drooping.
Remote triggers are equally crucial for sharp images. They come in two main varieties: simple cable releases and wireless remotes. Cable releases are reliable and affordable, but wireless options offer more flexibility and additional features like intervalometers for time-lapse photography. Many modern cameras also support smartphone connectivity through dedicated apps, providing a convenient alternative to traditional remotes.
Don’t forget about tripod stabilization techniques. In windy conditions, hang your camera bag from the tripod’s center column to add weight. Always disable image stabilization when your camera is mounted on a tripod, as it can actually introduce vibration. For extra stability, use your tripod’s spike feet on soft ground and rubber feet on hard surfaces. These small details make a significant difference in achieving tack-sharp long exposures.
Camera Settings That Won’t Fail You
Base ISO and Aperture Choices
When shooting long exposures in daylight, your choice of base ISO and aperture settings plays a crucial role in achieving optimal image quality. Start with your camera’s lowest native ISO setting (typically ISO 100 or 64) to minimize digital noise and maximize dynamic range. This approach aligns with managing challenging lighting conditions effectively.
For aperture selection, you’ll want to find the sweet spot of your lens – usually between f/8 and f/11 – where sharpness is at its peak. While it might be tempting to stop down to f/16 or smaller to reduce light intake, these extremely narrow apertures can introduce diffraction, reducing overall image quality. Understanding these fundamental photography skills is essential for successful long exposures.
Consider this practical approach: Start with ISO 100 and f/8, then adjust your neutral density filter strength accordingly. This combination typically provides the best balance between exposure control and image quality. If you’re shooting landscapes, you might want to stop down to f/11 to extend depth of field while still maintaining optimal sharpness. Remember that every camera sensor responds differently to long exposures, so it’s worth experimenting with your specific equipment to find the ideal settings that produce the cleanest images with minimal noise and maximum detail retention.
Exposure Times and Calculations
Calculating exposure times for long exposure photography in daylight requires a methodical approach, especially when using ND filters. Start by taking a base exposure reading without any filters attached. This reading serves as your reference point for all subsequent calculations.
The general rule for ND filters follows a simple pattern: each stop of light reduction doubles your exposure time. For instance, if your base exposure is 1/125 second, a 3-stop ND filter would extend this to 1/15 second (1/125 → 1/60 → 1/30 → 1/15).
Here’s a practical approach to calculating exposure times:
1. Take your base exposure reading
2. Count the number of stops your ND filter reduces light
3. Double the exposure time for each stop
For stronger ND filters (10-stop or higher), mental calculations become challenging. A 10-stop filter, for example, multiplies your exposure time by 1,024. This means a base exposure of 1/125 second becomes roughly 8 seconds with a 10-stop filter.
To simplify these calculations, consider using a smartphone app designed for ND filter calculations. These apps can instantly convert your base exposure to the correct filtered exposure time, accounting for any combination of ND filters.
Remember that very long exposures may require additional compensation for reciprocity failure, particularly in film photography. As a general rule, add 10-15% to your calculated exposure time for exposures longer than 30 seconds to maintain proper exposure.
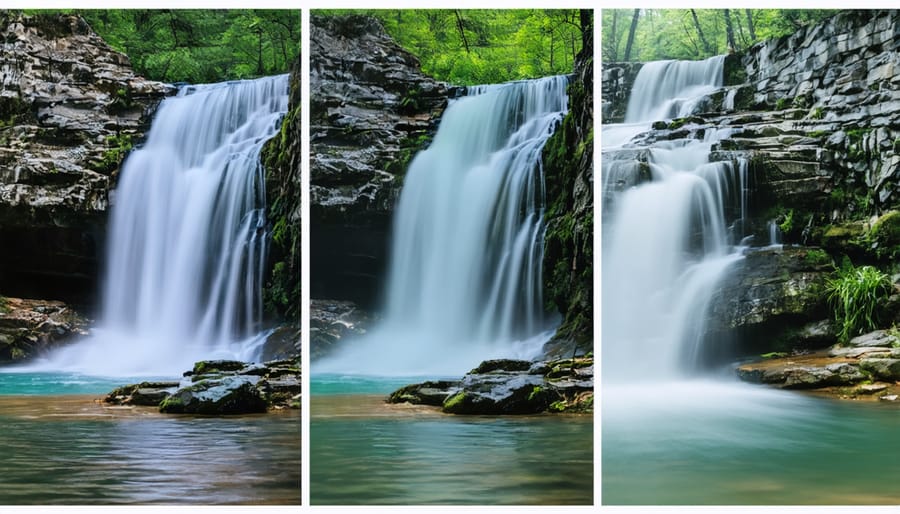
Always bracket your exposures when shooting lengthy daylight exposures – take shots at your calculated exposure time, plus one shot slightly under and one slightly over. This ensures you capture at least one perfectly exposed image.
Handling Extreme Environmental Challenges
Heat Management and Sensor Protection
Long exposure photography in bright daylight can put significant stress on your camera’s sensor, making heat management crucial for both image quality and equipment longevity. During extended exposures, your sensor remains active for prolonged periods, which can lead to heat buildup and potentially cause damage if not properly managed.
To protect your gear, always allow cooling periods between long exposures. A good rule of thumb is to wait at least 30 seconds between shots, longer if you’re shooting in high temperatures. Consider using the camera’s live view sparingly, as it generates additional heat. When possible, shoot in cooler parts of the day and keep your camera out of direct sunlight when not actively shooting.
Using a heat shield or sun shade can help prevent excessive warming of your camera body. Some photographers even employ creative cooling solutions like placing a cold pack near (but not directly on) their camera during breaks between shots. Be particularly cautious when shooting in environments above 85°F (29°C).
Watch for warning signs of overheating, such as increased digital noise in your images or camera shutdown. Many modern cameras have built-in thermal protection that will automatically stop operation if temperatures become dangerous. Always respect these warnings – pushing through them could result in permanent sensor damage.
If you’re planning an extensive shooting session, consider bringing a backup camera to alternate between bodies, allowing each camera sufficient time to cool down.
Wind and Vibration Control
When shooting long exposures in daylight, wind and vibration can be your biggest enemies, potentially ruining otherwise perfect shots. As with many landscape photography techniques, stability is crucial for achieving sharp results.
Start by ensuring your tripod is as stable as possible. Push the legs firmly into the ground and avoid extending the center column if possible. On windy days, hang your camera bag from the tripod’s hook for added weight and stability. If you’re shooting on softer ground, consider using tripod spikes instead of rubber feet.
Wind can also cause movement in your subject matter, especially with foliage or water. Choose your shooting time wisely – early morning often offers calmer conditions. When photographing in windy conditions, try positioning yourself to block the wind or use natural windbreaks like walls or large rocks.
Vibration can come from various sources, including your own interaction with the camera. Always use a remote shutter release or your camera’s self-timer to avoid touching the camera during exposure. For extra precaution, enable your camera’s mirror lock-up feature if available. This prevents the slight vibration caused by the mirror flipping up during exposure.
If you’re shooting from elevated platforms or bridges, be aware that passing traffic or footsteps can cause subtle vibrations. Wait for quiet moments between passers-by, or consider repositioning to more stable ground.
Dealing with Changing Light Conditions
One of the biggest challenges in daytime long exposure photography is dealing with changing light conditions. As the sun moves across the sky or clouds drift overhead, exposure values can shift dramatically, potentially ruining your carefully planned shot.
To maintain consistency in your exposures, start by monitoring the weather forecast and choosing days with stable conditions when possible. Overcast days often provide the most predictable lighting, though they may require longer exposure times to achieve your desired effect.
When shooting during variable conditions, take test shots frequently and adjust your settings accordingly. If you notice clouds moving in, you might need to lengthen your exposure time to compensate for the reduced light. Conversely, if the sky clears, you may need to add stronger ND filters or decrease your exposure time.
A helpful technique is to bracket your exposures, taking multiple shots at different settings. This gives you options in post-processing and helps ensure you capture at least one perfectly exposed image. Consider using an incident light meter for more accurate readings, as reflected light meters can be fooled by bright skies or dark foregrounds.
Remember that gradual light changes during sunrise and sunset can be particularly challenging. During these golden hours, take shorter test shots between long exposures to verify your settings are still appropriate for the changing conditions.
Post-Processing Long Exposure Images
Color Correction and White Balance
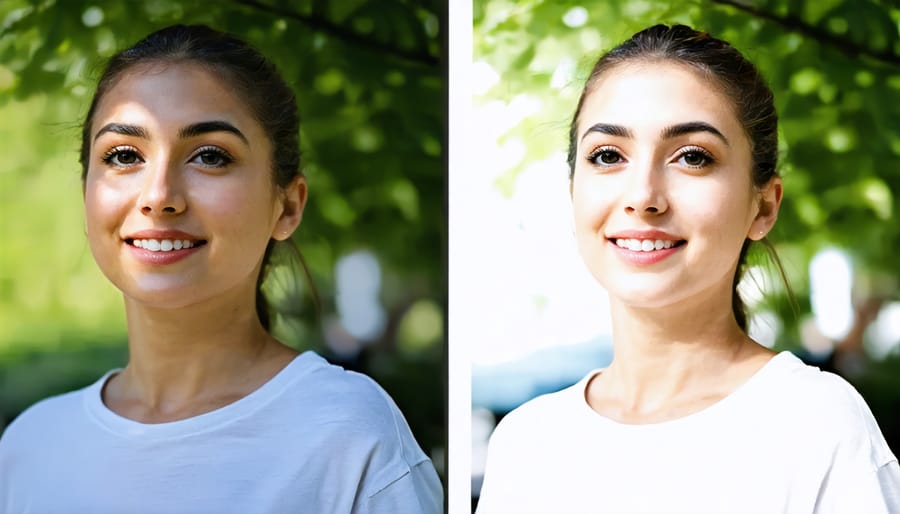
When using neutral density (ND) filters for long exposure photography, you might notice an unwanted color cast in your images – typically a blue or brown tint that affects the overall color accuracy. This is a common challenge that even experienced photographers face, but there are several effective ways to address it.
First, it’s important to understand that not all ND filters are created equal. Higher-quality filters generally produce less color cast, but even the best ones may introduce some tinting. The key is to tackle this issue both in-camera and during post-processing.
Start by setting a custom white balance in-camera rather than relying on auto white balance. Take a test shot with your ND filter mounted and use that as a reference to adjust your white balance settings. Some photographers find it helpful to create a custom white balance preset specifically for their ND filter setup.
During post-processing, you’ll have several tools at your disposal. The basic white balance adjustments in your editing software can work wonders, but for more challenging cases, you might need to explore advanced image editing techniques such as selective color adjustment and color balance layers.
A practical tip is to shoot in RAW format, which gives you much more flexibility in correcting color issues during post-processing. Also, consider taking a reference shot without the ND filter before starting your long exposure. This gives you a color-accurate image to match during editing.
Remember that some color casts can be used creatively – don’t feel pressured to eliminate every hint of tinting if it enhances your artistic vision. The goal is to achieve natural-looking colors while maintaining the dreamy effect that makes long exposure photography so captivating.
Noise Reduction Techniques
Noise can be a significant challenge in long exposure photography, especially when pushing your camera’s limits during daylight shoots. The good news is that there are several effective techniques to minimize noise and maintain image quality.
First, always shoot in RAW format. This gives you maximum flexibility during post-processing and preserves more detail in both highlights and shadows. When setting up your shot, use your camera’s lowest native ISO setting (typically 100 or 200) to minimize digital noise from the outset.
Temperature management is crucial, as heat buildup in your sensor during long exposures can increase noise. If possible, allow your camera to cool down between shots, especially on hot days. Some photographers even use cold packs near (but not directly on) their cameras during extended shooting sessions.
Taking dark frame exposures can be incredibly effective. After your main shot, cover your lens and take another exposure with identical settings. Many cameras have a built-in long exposure noise reduction feature that automates this process, though it doubles your shooting time. In post-processing, you can manually subtract the dark frame from your main image to reduce fixed-pattern noise.
Consider using exposure stacking as an alternative to ultra-long exposures. Taking multiple shorter exposures and combining them in post-processing can often yield cleaner results than a single long exposure. Software like Photoshop or specialized stacking programs make this process straightforward.
During post-processing, apply noise reduction selectively. Focus on shadow areas where noise is most visible, and be careful not to over-process, as this can reduce detail and create an artificial appearance.
Long exposure photography in daylight presents unique challenges, but mastering this technique opens up a world of creative possibilities. Throughout this guide, we’ve explored the essential equipment needed, from neutral density filters to sturdy tripods, and the technical settings that make these ethereal shots possible. Remember that successful daytime long exposures require careful planning, patience, and attention to detail.
Safety should always be your priority when shooting long exposures. Never look directly at the sun through your viewfinder, especially when using ND filters, and always secure your equipment properly to prevent accidents. Choose stable locations for your tripod and be mindful of tide patterns when shooting near water.
Start your journey into daytime long exposure photography with simple subjects like flowing water or moving clouds. As you gain confidence, experiment with more complex scenes and longer exposure times. Don’t be discouraged if your first attempts don’t match your vision – each shot is a learning opportunity that will help refine your technique.
Keep exploring different lighting conditions, subjects, and filter combinations. The morning and evening golden hours often provide ideal conditions for long exposures, offering softer light and more manageable exposure times. Document your settings and results to build a personal reference for future shoots.
Remember that while technical knowledge is important, creativity and vision are what truly make compelling long exposure images. Push the boundaries of your imagination while staying grounded in the fundamental principles we’ve discussed. With practice and persistence, you’ll develop your unique style in this fascinating genre of photography. Now it’s time to grab your gear, head outside, and start creating those dreamy, time-bending images you’ve always imagined.