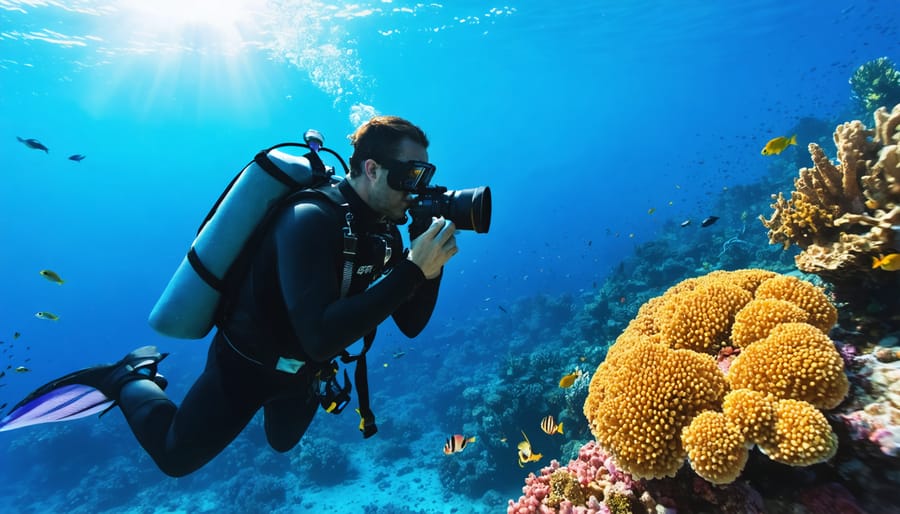
Plunge into a world where silence speaks volumes and every movement reveals nature’s hidden masterpiece. Beneath the surface lies an alien landscape teeming with extraordinary life forms, prismatic coral gardens, and mysteries waiting to be uncovered by those bold enough to explore them. From the crystalline waters of the Great Barrier Reef to the shadowy depths of underwater caves, exploring beneath the waves offers photographers and adventurers an unparalleled opportunity to witness Earth’s last great frontier.
The underwater realm demands more than just courage – it requires technical expertise, specialized equipment, and a deep respect for marine ecosystems. Whether you’re an experienced diver or a novice snorkeler, mastering the art of moving effortlessly through this three-dimensional space opens doors to encounters with creatures that seem to defy imagination: from tiny seahorses swaying in the current to graceful manta rays soaring through blue infinity.
As we dive deeper into the techniques and technologies that make underwater exploration possible, remember that every descent into these azure depths isn’t just an adventure – it’s an opportunity to document, preserve, and share the incredible diversity of our ocean’s heritage for generations to come.
Essential Underwater Photography Equipment
Choosing the Right Camera Housing
Selecting the right camera housing is crucial for protecting your equipment while capturing stunning underwater images. These waterproof cases come in two main categories: hard cases and soft bags. Hard cases offer maximum protection and typically feature precise controls that match your camera’s buttons, while soft bags are more affordable and versatile but may limit access to some camera functions.
When choosing a housing, first consider your camera model – manufacturers design housings specifically for different cameras, ensuring proper fit and functionality. Depth rating is another critical factor; recreational divers should look for housings rated to at least 40 meters, while technical divers might need ratings of 60 meters or more.
Pay attention to the housing’s construction material. Polycarbonate housings are lighter and more affordable but may not withstand extreme depths. Aluminum housings, while pricier, offer superior durability and often feature better ergonomics. Look for double O-ring seals and vacuum valve systems for additional protection against leaks.
Consider your shooting needs as well. If you plan to use external strobes, ensure the housing has bulkhead connections. For videographers, check that the housing allows smooth operation of zoom and focus controls. Don’t forget to factor in portability – some professional housings can be quite heavy and bulky, which might affect your travel plans.
Before making a final decision, read user reviews and possibly rent different housings to test their compatibility with your shooting style and comfort level underwater.
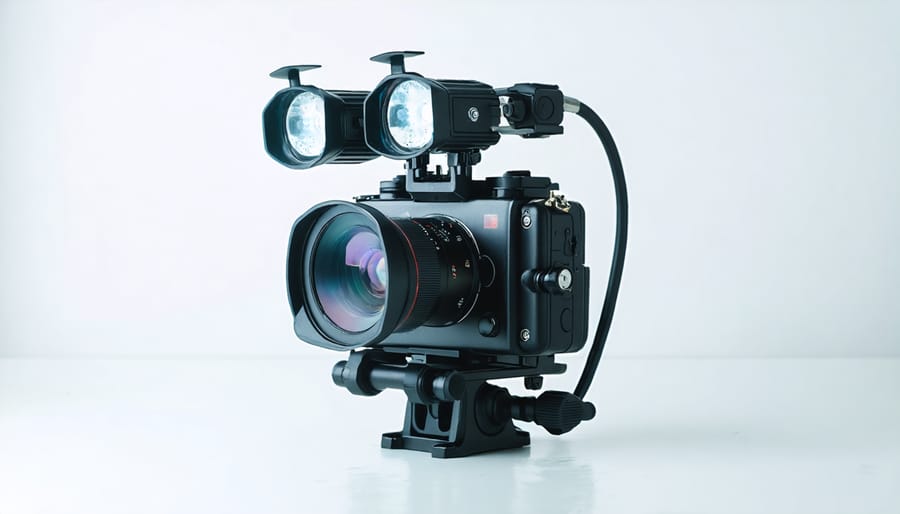
Lighting Systems and Strobes
Proper lighting is crucial for capturing stunning underwater images, as water absorbs light differently than air and can create challenging shooting conditions. Understanding lighting techniques for underwater photography is essential for bringing out the vibrant colors and details of marine life.
The backbone of underwater lighting systems typically consists of two main components: primary strobes and focus lights. Strobes provide the powerful burst of light needed for proper exposure, while focus lights help with composition and autofocus in darker conditions. For beginners, a single strobe setup can work well, but serious photographers often opt for dual strobes to eliminate harsh shadows and provide more even illumination.
When selecting strobes, consider factors like power output (measured in guide numbers), beam angle, and recycle time. Modern strobes often feature adjustable power settings and come with diffusers to soften the light. Position your strobes at roughly 45-degree angles from your camera to minimize backscatter – those annoying floating particles that appear as bright spots in your images.
For macro photography, consider adding a secondary focus light or video light for additional creative control. These continuous light sources can help you preview exactly how your subject will be illuminated before taking the shot, making it easier to achieve the desired effect.
Lenses for Underwater Photography
Choosing the right lens for underwater photography can dramatically impact your results, and different subjects require different approaches. For wide-angle scenes like coral reefs, shipwrecks, or large marine life, fisheye and ultra-wide-angle lenses (8-16mm) are ideal. These lenses allow you to get close to your subject while still capturing the expansive underwater environment, helping reduce the amount of water between your camera and the subject.
For medium-sized subjects like sea turtles or small schools of fish, standard wide-angle lenses (16-35mm) offer excellent versatility. They provide enough coverage while maintaining natural perspective, making them perfect for both scenic shots and larger marine life encounters.
Macro lenses are essential for capturing small subjects like nudibranchs, shrimp, or coral polyps. A 60mm macro lens works well for shy creatures, allowing you to maintain a comfortable working distance. For extremely small subjects, consider a 100mm macro lens, which offers greater magnification and working distance but requires more stability to use effectively.
When shooting in turbid water, opt for shorter focal lengths as they require less light to travel through the water. Remember that underwater, all focal lengths effectively increase by about 25% due to water’s magnification effect. Consider investing in a high-quality dome port for wide-angle lenses to minimize distortion and maintain corner sharpness in your images.
Mastering Underwater Camera Settings
Managing White Balance
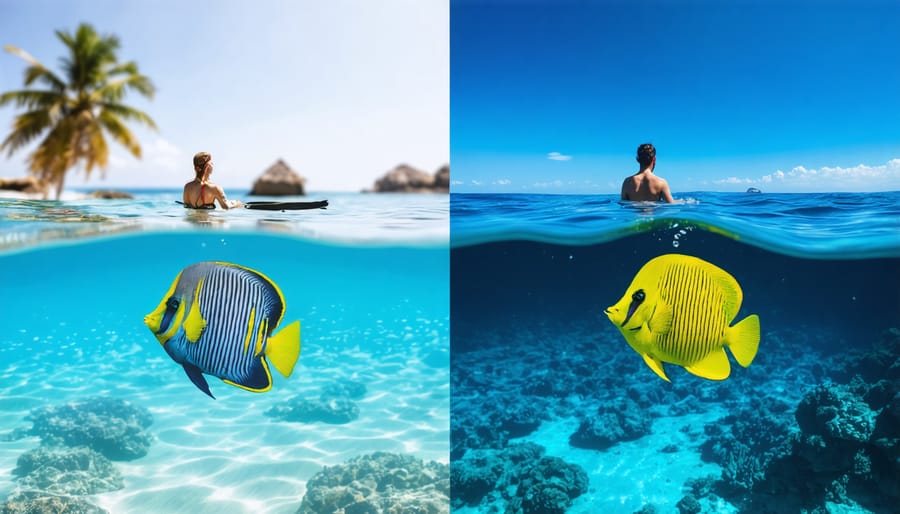
Managing white balance underwater is one of the most crucial skills for capturing accurate colors, as water absorbs different wavelengths of light at varying depths. As you descend, reds and oranges are the first colors to disappear, leaving images with an overwhelming blue cast if not properly corrected.
The most reliable method for achieving accurate colors is using a custom white balance setting on your camera. Start by holding a white slate or neutral gray card at your shooting distance and use it to set your camera’s custom white balance. This process should be repeated every time you change depth significantly, as the color temperature of light changes dramatically with depth.
For those shooting in RAW format, you have more flexibility to adjust white balance in post-processing. However, getting it right in-camera will save you considerable time in editing and provide better results overall. Many underwater photographers also use color correction filters, which act like underwater sunglasses for your camera. Red filters are particularly useful in blue water, while magenta filters work better in greener coastal waters.
Strobes and video lights can also help restore natural colors by providing artificial light that hasn’t been filtered by the water column. When using artificial light, position your lights at approximately 45-degree angles to your subject to minimize backscatter – those distracting floating particles that appear as bright spots in your images.
Remember that the deeper you go, the more critical proper white balance becomes. Regular practice and experimentation with different techniques will help you develop an intuitive understanding of color correction underwater.
Exposure Settings for Clear Waters
When shooting in clear waters, getting your exposure settings right is crucial for capturing the vibrant underwater world in all its glory. Start with your ISO settings – in clear water conditions with good sunlight penetration, you can typically keep your ISO low (100-400) to minimize noise while maintaining image quality.
Your shutter speed will largely depend on your subject and available light. For stationary subjects like coral formations or resting fish, you can work with slower speeds around 1/60th to 1/125th of a second. However, for fast-moving subjects like swimming fish or marine mammals, you’ll want to bump this up to at least 1/250th or faster to freeze the action.
Aperture choice becomes particularly important underwater. In clear conditions, you might be tempted to stop down to f/8 or f/11 for maximum depth of field, but remember that water already reduces contrast and sharpness. A sweet spot often lies between f/4 and f/6.3, providing enough depth of field while allowing sufficient light to reach your sensor.
White balance deserves special attention in clear waters. While auto white balance can work well near the surface, deeper waters tend to filter out red wavelengths first. Consider using a custom white balance setting or bringing a white slate for reference. Alternatively, shooting in RAW format gives you more flexibility to adjust white balance in post-processing.
Remember that clear water doesn’t always mean bright conditions – depth significantly affects available light. As a general rule, increase your ISO or open up your aperture for every 15 feet of depth to maintain proper exposure while preserving image quality.
Environmental Photography Techniques
Macro Photography in Marine Environments
Macro photography in underwater environments opens up a fascinating world of tiny marine creatures and intricate details that often go unnoticed by the casual observer. The key to successful underwater macro photography lies in mastering both your equipment and technique while maintaining patience and stability.
To capture stunning macro shots underwater, start by selecting a dedicated macro lens with a focal length between 60mm and 105mm. These lenses allow you to get extremely close to your subjects while maintaining sharp focus. Consider adding a diopter or wet lens for even greater magnification capabilities, especially when photographing subjects smaller than an inch.
Lighting becomes crucial in macro photography, as you’ll often be working in tight spaces. A dual strobe setup provides the most flexibility, allowing you to illuminate tiny subjects from multiple angles while avoiding backscatter. Position your strobes at 45-degree angles to your subject, and adjust power settings to prevent overexposure of reflective surfaces.
Stability is paramount when shooting macro underwater. The slightest movement can throw off your focus, so practice proper buoyancy control and consider using a pointer stick to steady yourself without damaging the environment. Many photographers find success by approaching subjects from slightly below, which helps create striking compositions against the water column background.
Focus on finding subjects that remain relatively still, such as nudibranchs, seahorses, or coral polyps. These make excellent subjects for practicing your technique. When composing your shot, remember the rule of thirds but don’t be afraid to break it for impact. Getting low and shooting upward can create dramatic effects, especially when capturing smaller fish or invertebrates.
Remember to maintain a safe distance from marine life and never manipulate or move subjects for a shot. Patience is your greatest ally in underwater macro photography – wait for the perfect moment when your subject naturally presents itself in an interesting pose or behavior.

Wide-Angle Reef Photography
Wide-angle photography underwater opens up a whole new dimension for capturing the grandeur of coral reefs and vast marine landscapes. Unlike macro photography, which focuses on tiny details, wide-angle techniques allow you to showcase the reef’s entire ecosystem in a single frame, much like natural habitat photography on land.
To achieve stunning wide-angle reef shots, start by positioning yourself at an optimal distance of 2-3 feet from the reef wall. This distance helps maintain perspective while capturing the reef’s full scope. Use a dome port with your underwater housing, as it minimizes distortion and maintains image quality across the frame.
Light management is crucial for wide-angle reef photography. While natural sunlight creates beautiful ambient lighting, you’ll typically need two wide-beam strobes positioned at 10 and 2 o’clock angles. This setup helps eliminate backscatter and provides even illumination across the scene.
For the best results, shoot slightly upward at a 15-degree angle. This technique creates depth and draws viewers into the image while incorporating the water column above the reef. Set your aperture between f/8 and f/11 to maintain sufficient depth of field, and keep your shutter speed at 1/125 or faster to freeze any moving elements.
Remember to practice proper buoyancy control to avoid damaging delicate coral structures. Look for interesting foreground elements like sea fans or barrel sponges to create depth in your compositions. The key is to capture both the reef’s intricate details and its expansive beauty while maintaining crystal-clear water between your lens and the subject.

Marine Life Behavior and Timing
Understanding marine life behavior patterns is crucial for capturing compelling underwater photographs. Just like terrestrial wildlife, marine creatures follow predictable daily routines that savvy photographers can learn to anticipate. Success in photographing marine wildlife behavior often comes down to being in the right place at the right time.
Many reef fish are most active during dawn and dusk, creating excellent opportunities for dramatic shots during these “golden hours.” These periods often showcase hunting behaviors, feeding activities, and social interactions that make for compelling images. Cleaner stations, where smaller fish service larger ones, are particularly productive spots for capturing interesting behavioral sequences.
The lunar cycle also influences marine life activity. During full moons, many species exhibit unique spawning behaviors, while new moons often trigger coral spawning events in tropical waters. Seasonal migrations and mating seasons vary by species and location, so research your intended subjects before planning your dive schedule.
Tidal patterns affect visibility and animal behavior as well. Incoming tides often bring clearer water and more active marine life, while outgoing tides can create challenging shooting conditions. Learning to read these natural rhythms will significantly improve your chances of encountering photogenic subjects.
Remember that different species have varying comfort levels with human presence. Some fish are naturally curious and approachable, while others require patience and careful positioning to photograph. Take time to observe your subjects from a respectful distance before moving in for shots, allowing them to become comfortable with your presence.
Conservation Through the Lens
As underwater photographers, we bear a unique responsibility as witnesses to both the ocean’s beauty and its growing challenges. Our images can serve as powerful tools for marine conservation, documenting everything from coral reef health to marine life behavior. The conservation photography impact extends far beyond stunning imagery – it helps raise awareness about ocean preservation and influences environmental policy decisions.
When shooting underwater, always practice the “look but don’t touch” principle. Maintain proper buoyancy control to avoid damaging delicate coral structures, and never chase or harass marine life for that “perfect shot.” Keep a safe distance from all creatures, using longer focal lengths when necessary. Remember that some species are more sensitive to camera lights than others, so research your subjects beforehand and minimize artificial lighting exposure time.
Consider documenting environmental challenges you encounter, such as plastic pollution, bleached coral, or ghost fishing nets. These images, while less aesthetically pleasing, tell important stories about ocean conservation. Partner with local marine conservation organizations to share your images and support their efforts.
For those serious about conservation photography, maintain detailed logs of your observations, including species identification, locations, and behavioral notes. This information can be valuable for marine researchers and conservation efforts. Additionally, share your images responsibly on social media, including educational captions that inform viewers about marine ecosystems and conservation needs.
By combining artistic vision with environmental awareness, we can create compelling images that not only capture the ocean’s beauty but also inspire others to protect it for future generations.
Underwater photography opens up a magnificent world of possibilities, bringing the ocean’s hidden wonders to the surface through your lens. As we’ve explored throughout this guide, success in underwater photography requires a careful balance of technical knowledge, proper equipment, and respect for marine environments.
Remember to master the basics before advancing to more complex techniques. Start with understanding your camera’s settings, proper lighting techniques, and the importance of getting close to your subjects. Always prioritize the safety and well-being of marine life, maintaining appropriate distances and never disturbing natural behaviors for the sake of a shot.
Environmental responsibility should be at the forefront of every underwater photographer’s mind. Practice proper buoyancy control, avoid touching coral reefs, and be mindful of your impact on marine ecosystems. Consider sharing your images to promote ocean conservation and raise awareness about marine life protection.
With patience, practice, and persistence, you’ll develop the skills needed to capture stunning underwater images while contributing to the preservation of our oceans’ beauty for future generations to enjoy and photograph.