Transform real estate listings into immersive virtual experiences with advanced 3D photography techniques that consistently generate 40% more buyer inquiries. Modern property buyers expect to walk through homes virtually before scheduling in-person viewings, making professional 3D capture essential in today’s competitive market. Professional-grade 3D cameras, combined with specialized software, now enable photographers to create detailed, navigable property tours that showcase every room, feature, and angle with unprecedented clarity. The technology has evolved far beyond simple 360-degree photos, offering true spatial mapping that lets potential buyers measure spaces, examine finishes up close, and experience properties as if they were physically present. Whether you’re an established real estate photographer or just entering the field, mastering 3D capture workflows delivers a significant competitive advantage while meeting the growing demand for immersive property marketing solutions.
Essential Equipment and Setup for 3D Real Estate Photography
Camera and Lens Requirements
For professional 3D real estate photography, your camera setup needs to meet specific requirements to capture high-quality, immersive images. A full-frame DSLR or mirrorless camera with at least 24 megapixels is recommended, though many photographers prefer 36MP or higher for enhanced detail. Popular choices include the Sony A7R series, Canon EOS R5, or Nikon Z7, which offer excellent dynamic range and low-light performance.
Lens selection is crucial, with wide-angle lenses being the cornerstone of real estate photography. A 16-35mm full-frame lens is ideal, offering flexibility while minimizing distortion. Prime lenses like a 24mm or 35mm can also deliver exceptional sharpness and clarity. Ensure your chosen lens has minimal barrel distortion and good corner-to-corner sharpness.
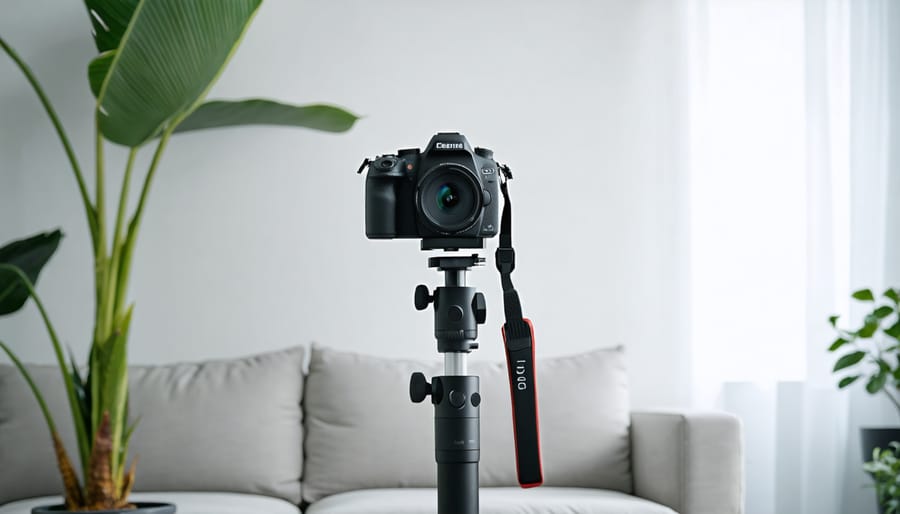
Along with your camera body and lenses, several essential camera accessories are needed for 3D photography. A sturdy tripod with a precise panoramic head is non-negotiable, as it ensures consistent rotation points for stitching. Remote triggers help avoid camera shake, while a bubble level ensures perfectly aligned horizons. Consider investing in a motorized panoramic head for more precise rotations and consistent results.
Good lighting equipment, such as external flashes or LED panels, can help maintain even exposure throughout your 360-degree captures, especially in challenging lighting conditions commonly found in interior spaces.
3D Scanning Tools and Software
The market offers various 3D scanning solutions tailored specifically for real estate applications. For comprehensive property captures, the Matterport Pro2 camera remains an industry standard, offering high-resolution 3D scans with exceptional detail and accuracy. Another popular option is the Leica BLK360, which provides professional-grade scanning capabilities in a compact form factor.
For those just starting, smartphone-based solutions like Canvas IO or LIDAR-equipped iPhones provide an accessible entry point into 3D scanning. These solutions, while not as precise as dedicated hardware, can still produce impressive results for smaller properties.
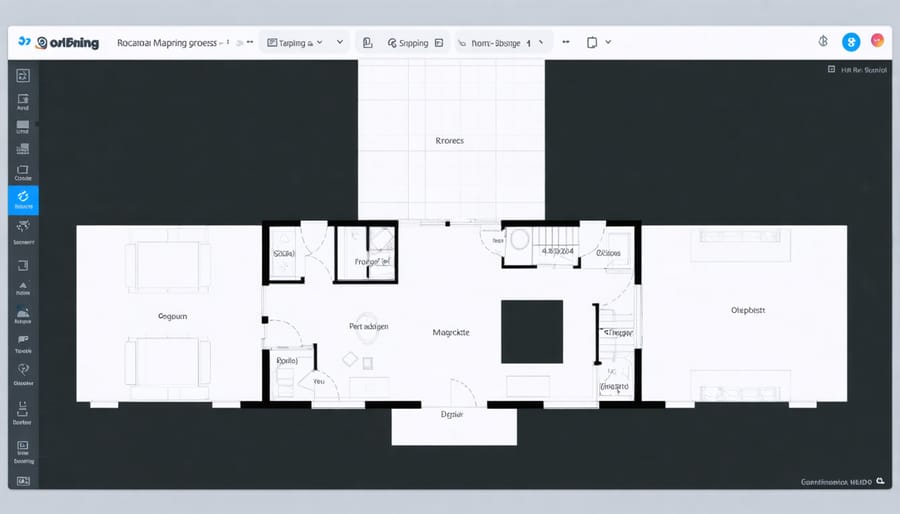
On the software side, Matterport’s ecosystem offers an end-to-end solution for processing and hosting 3D tours. Alternatives include Cupix, which provides powerful processing capabilities and custom branding options, and NavVis IndoorViewer, known for its user-friendly interface and advanced measurement tools.
For post-processing and refinement, Autodesk ReCap Pro enables detailed point cloud editing, while SketchUp and Blender offer tools for creating additional 3D elements and virtual staging. Cloud-based platforms like CloudCompare provide collaborative features essential for team projects.
When selecting tools, consider factors like scan quality requirements, property size, budget, and whether you need specific features such as floor plan generation or virtual staging capabilities. Many providers offer monthly subscription plans, making it easier to scale your investment as your business grows.
Post-Processing Workflow for VR-Ready Images
Image Alignment and Stitching
Creating stunning 3D real estate photography requires mastering the art of image alignment and stitching. This crucial step ensures your individual photos blend seamlessly into an immersive virtual experience. Much like 360-degree content creation, proper alignment begins with careful shooting techniques.
Start by maintaining consistent exposure and white balance across all shots. Use manual settings to prevent variations that could create visible seams. When capturing your images, ensure at least 30-40% overlap between consecutive shots – this gives your stitching software enough matching points to work with.
Most modern stitching software uses advanced algorithms to detect matching features between images automatically. However, you can improve results by following these best practices:
1. Keep the camera level throughout the shooting sequence
2. Rotate around the camera’s nodal point to minimize parallax
3. Avoid moving objects between shots when possible
4. Shoot in a systematic pattern (left to right, top to bottom)
During post-processing, carefully review auto-aligned images for common issues like ghosting or misalignment. Pay special attention to areas with repeating patterns or minimal texture, as these can confuse automated alignment tools. For challenging areas, most software allows manual control points to fine-tune the alignment.
Consider using HDR techniques when dealing with high-contrast scenes, but remember to align your exposure brackets before merging them. This ensures the final stitched panorama maintains consistent lighting throughout the space, creating a more professional and polished look that real estate clients expect.
Depth Mapping and 3D Conversion
Creating accurate depth maps is crucial for converting traditional 2D real estate photos into compelling 3D experiences. The process begins with capturing multiple images of the same space from slightly different angles, which provides the foundation for depth calculation.
Modern depth mapping techniques utilize sophisticated algorithms that analyze these multiple viewpoints to determine the relative distance of each object from the camera. This is achieved by identifying matching features across images and calculating their displacement, a process known as parallax measurement.
Several tools and software solutions can assist in this conversion process. Specialized applications like Matterport and RealityCapture use artificial intelligence to automatically generate depth information, while more advanced photographers might opt for manual control using programs like 3D Zephyr or Agisoft Metashape.
The quality of your depth map heavily depends on several factors:
– Lighting consistency across all captured images
– Sharp focus and minimal motion blur
– Sufficient overlap between consecutive shots
– Clear texture and detail in the photographed surfaces
When converting 2D images to 3D, it’s essential to pay attention to problem areas like reflective surfaces, windows, and areas with repetitive patterns. These can confuse depth-mapping algorithms and may require manual adjustments. Professional photographers often capture additional reference points or use markers to help software accurately calculate depths in challenging areas.
Post-processing plays a vital role in refining the 3D conversion. This includes cleaning up artifacts, adjusting depth values for more natural-looking results, and ensuring smooth transitions between different areas of the space. Many photographers find it helpful to start with smaller spaces or simpler rooms before tackling more complex areas like open-concept floors or multilevel spaces.
Remember that the goal is to create an immersive experience that helps potential buyers understand the property’s spatial relationships and flow. Take time to verify that stairs, doorways, and room transitions appear natural and properly scaled in the final 3D model.
Color Correction and Lighting Enhancement
Color correction and lighting enhancement are crucial steps in creating professional-looking 3D real estate photography that accurately represents the property. The key is to achieve a natural, balanced look that maintains consistency throughout the virtual tour while highlighting the best features of each space.
Start by adjusting white balance to ensure neutral colors across all images. This is particularly important when dealing with mixed lighting conditions, such as rooms with both natural and artificial light. Pay special attention to windows and reflective surfaces, which can introduce color casts that need correction.
HDR merging techniques are essential for handling high-contrast scenes. By combining multiple exposures, you can preserve both shadow detail and highlight information, creating a more realistic representation of the space. This is especially valuable for rooms with bright windows or dark corners that might otherwise appear blown out or too dark.
When enhancing lighting, focus on maintaining natural-looking illumination. Adjust exposure levels to brighten dark areas without making them appear artificially lit. Use selective adjustment tools to balance light levels between connected spaces, ensuring smooth transitions as viewers move through the virtual tour.
Consider the color temperature of different light sources within the property. Rooms lit by different types of bulbs may require selective corrections to maintain visual consistency. Use color grading to create a cohesive look throughout the tour while preserving the authentic feel of each space.
Finally, apply subtle vignetting and contrast adjustments to direct attention to key architectural features without making the editing obvious. The goal is to enhance the property’s natural beauty while maintaining photographic integrity that potential buyers can trust.
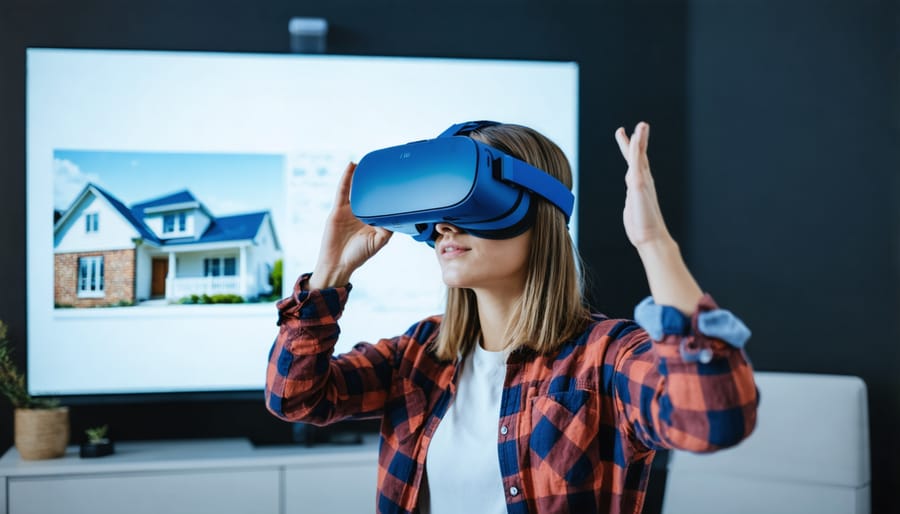
Optimizing for Virtual Reality Platforms
File Format Considerations
When creating 3D photography for real estate, choosing the right file format is crucial for compatibility and optimal viewing experience. The most widely supported format is JPEG for individual frames, but the final 3D tour typically requires specific formats depending on your delivery platform.
For web-based virtual tours, HTML5-compatible formats like WebVR and WebXR are becoming industry standards. These formats ensure your virtual tours work smoothly across different browsers without requiring additional plugins. If you’re creating content for specific VR headsets, formats like .vr for Oculus or .vive for HTC platforms might be necessary.
Many 3D tour creation platforms use proprietary formats. For instance, Matterport uses .mp files, while other platforms might use .panorama or .tour extensions. When exporting your work, consider offering multiple format options to ensure compatibility with different viewing devices and platforms.
File compression is another vital consideration. While high-resolution files provide the best quality, they can slow down loading times and affect the viewing experience. Most platforms recommend a balance between quality and file size, typically suggesting JPEG compression levels between 80-90% for individual frames.
For archival purposes, consider keeping uncompressed versions of your tours in formats like TIFF or RAW. This allows you to reprocess the tour in different formats as technology evolves and new platforms emerge.
Performance Optimization Techniques
When dealing with 3D real estate photography, optimizing performance is crucial for ensuring smooth virtual tours without compromising quality. The key lies in balancing file sizes with loading times, especially since these immersive experiences often involve multiple high-resolution images.
Start by shooting in RAW format, but export your final 3D tours in JPEG with a compression ratio of around 80-85%. This sweet spot maintains visual quality while significantly reducing file sizes. Modern 360-degree AI cameras often include built-in optimization features, making this process more streamlined.
Consider implementing progressive loading techniques, where lower-resolution previews load first, followed by higher-quality versions. This approach ensures visitors can start exploring immediately while the full-quality experience loads in the background.
For web delivery, utilize next-gen image formats like WebP when possible, which can reduce file sizes by up to 30% compared to traditional formats. Additionally, implement proper caching strategies and content delivery networks (CDNs) to distribute the load and improve access speeds for users worldwide.
Remember to resize images appropriately for different devices. Create responsive versions that automatically serve smaller files to mobile users while maintaining full resolution for desktop viewers. This adaptive approach ensures optimal performance across all platforms without sacrificing the immersive experience.
Quality Control and Testing
Quality assurance in 3D real estate photography requires a systematic approach to ensure your virtual tours work flawlessly across different devices and platforms. Start by testing your 3D tours on multiple devices, including smartphones, tablets, and desktop computers, using various browsers like Chrome, Safari, and Firefox to verify compatibility.
Pay special attention to image resolution and loading times. While high-resolution images are crucial for quality, they shouldn’t compromise the viewing experience. Aim for a balance where images load within 3-5 seconds on average internet connections while maintaining visual clarity.
Implement a checklist for each virtual tour:
– Verify all navigation points work correctly
– Check transitions between scenes are smooth
– Ensure hotspots and information overlays are correctly positioned
– Test viewing angles for natural perspective
– Confirm proper exposure and color consistency across all spaces
– Validate that measurement tools function accurately
Regular client feedback is invaluable for quality control. Consider creating a beta testing group of real estate agents who can provide practical insights about the user experience. Their feedback can help identify issues that technical testing might miss, such as intuitive navigation or feature accessibility.
For VR-specific testing, use both entry-level and professional VR headsets to ensure your tours provide consistent quality across different viewing methods. Watch for issues like motion sickness triggers, which can occur with incorrect camera alignment or unstable transitions.
Common Challenges and Solutions
When creating 3D photography for real estate, several common challenges can impact the final result. One of the most frequent issues is inconsistent lighting, particularly when capturing spaces with large windows or mixed lighting sources. To address this, photographers should schedule shoots during optimal daylight hours and use supplementary lighting to balance exposure across the space.
Another significant challenge is dealing with reflective surfaces like mirrors, glass, and polished floors. These can create unwanted glare or reveal camera equipment in the final images. Using polarizing filters and carefully positioning the camera can help minimize these reflections. In some cases, post-processing techniques may be necessary to remove unavoidable reflections.
Space constraints often pose difficulties, especially in smaller rooms or tight corners where capturing complete 360-degree views becomes challenging. Using wider-angle lenses can help, but be cautious of distortion. Sometimes, multiple shots from different positions might be necessary to create a complete view of the space.
Technical issues like stitching errors commonly occur when photos don’t align perfectly. This typically happens due to camera movement between shots or insufficient overlap between images. Using a sturdy tripod and ensuring at least 30-40% overlap between consecutive shots can significantly reduce stitching problems.
Color consistency across different rooms and lighting conditions can also be problematic. Maintaining consistent white balance settings throughout the shoot and using color checker cards can help ensure uniform color representation across the entire virtual tour.
Finally, motion blur from handheld shooting can compromise image quality. Besides using a tripod, implementing proper exposure settings and remote shutter release can help create sharper images. For spaces with moving elements like ceiling fans or curtains, shooting multiple exposures can help capture clean, blur-free images that can be combined in post-processing.
The rise of 3D photography in real estate has transformed how buyers explore properties, and this revolution is just beginning. As we’ve explored throughout this article, the combination of specialized cameras, thoughtful composition techniques, and powerful software solutions has made immersive virtual property tours accessible to photographers at every skill level. The impact on the real estate industry has been profound, with buyers increasingly expecting virtual walkthroughs as a standard feature of property listings.
Looking ahead, the future of photography technology promises even more exciting developments for 3D real estate photography. We can anticipate higher resolution captures, more seamless VR experiences, and improved integration with emerging platforms. As VR headsets become more commonplace in homes, the demand for high-quality 3D property tours will only increase.
For photographers looking to stay competitive in the real estate market, mastering 3D photography isn’t just an option – it’s becoming essential. By implementing the techniques and best practices we’ve discussed, you’ll be well-equipped to deliver the immersive property experiences that modern buyers demand. Remember, success in this field comes from combining technical expertise with creative vision and a deep understanding of your clients’ needs.