Transform ordinary phone snapshots into professional-grade images with mobile editing techniques that rival desktop solutions. Modern smartphones pack powerful editing capabilities, enabling photographers to enhance, adjust, and reimagine their work directly from their devices. Master these smartphone photography secrets through precision editing, whether you’re shooting landscapes, portraits, or street photography. From basic exposure adjustments to advanced color grading, mobile editing apps now offer unprecedented creative control, allowing photographers to develop their unique visual style anywhere, anytime. The key to exceptional mobile photography lies not just in capturing the moment, but in understanding how to leverage these portable editing tools to their full potential.
Essential Mobile Editing Tools You Already Have
Your Phone’s Hidden Editing Powers
Your smartphone’s default photo editing app is more powerful than you might realize. While many photographers rush to download third-party editing apps, the built-in tools can handle most editing tasks impressively well. Just like hidden camera features, these editing capabilities often go unexplored.
Both iOS and Android devices offer sophisticated adjustment tools for exposure, contrast, and color balance. On recent iPhones, you can even adjust individual color channels and fine-tune specific areas of your image using selective editing. Android users benefit from robust HDR enhancement tools and AI-powered photo optimization right in their gallery apps.
Portrait mode photos can be re-adjusted after capture, allowing you to modify background blur intensity and lighting effects. The healing tool, available in most native editing apps, helps remove unwanted elements seamlessly. You can also apply filters with adjustable intensity, crop with precision using rule-of-thirds guides, and straighten horizons with remarkable accuracy.
Take time to explore these built-in features before investing in premium editing apps – you might find everything you need is already in your pocket.
Free Apps That Rival Desktop Software
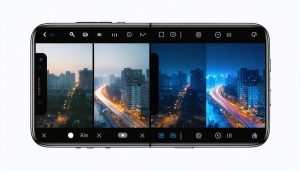
Several free mobile editing apps rival their desktop counterparts in features and capabilities. Snapseed, Google’s professional-grade editor, offers advanced tools like selective adjustments and healing brush functionality that match desktop software. The app’s curve adjustments and RAW editing capabilities make it a standout choice for serious photographers.
VSCO, while known for its filters, provides robust editing tools including HSL adjustments and advanced color grading options. Its clean interface makes complex edits surprisingly intuitive on mobile devices. Adobe Lightroom Mobile’s free version includes essential features like exposure control, color correction, and presets that align closely with its desktop version.
For those seeking Photoshop-like functionality, Photoshop Express offers layers, masks, and advanced compositing tools without cost. Meanwhile, Darkroom provides professional-grade color editing tools and batch processing capabilities that traditionally required expensive desktop software.
These apps prove that powerful photo editing no longer requires a computer or paid subscriptions, making professional-quality editing accessible to photographers everywhere.
Pro-Level Editing Techniques for Everyday Photos
Perfect Your Exposure and Contrast
Getting the exposure and contrast right is the foundation of transforming your mobile photos from good to great. While modern phones can capture impressive images, mastering these pro-level photography techniques will give you more control over your final results.
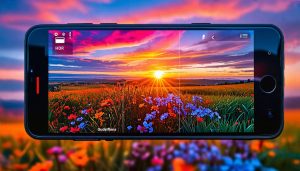
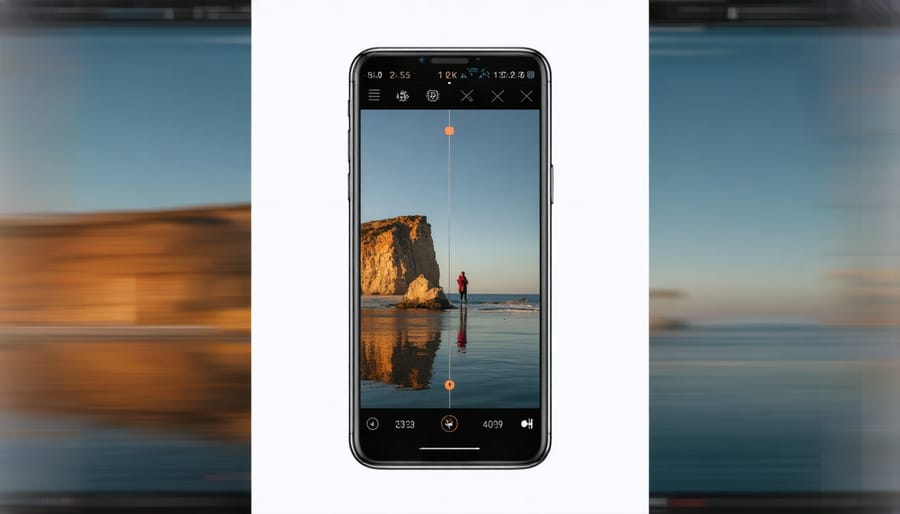
Start by adjusting the exposure, which controls the overall brightness of your image. Most editing apps feature a simple slider for this, but don’t just brighten everything – look for the sweet spot where both highlights and shadows retain detail. If your sunset photo looks washed out, try slightly underexposing to preserve those rich colors in the sky.
Contrast adds depth and dimension by increasing the difference between light and dark areas. Think of it as adding punch to your image, but be careful not to overdo it. A subtle boost can make colors pop and add definition to textures, while too much contrast can make your photo look artificial and lose detail in the shadows and highlights.
For portraits, try this technique: slightly decrease exposure to prevent skin from looking too bright, then selectively increase brightness in the eyes and key facial features. This creates natural-looking dimension while maintaining skin texture.
Many editing apps now offer separate controls for highlights and shadows, allowing for more precise adjustments. Use these to recover detail in bright skies or bring out information in darker areas without affecting the entire image.
Color Enhancement That Looks Natural
Color enhancement can make or break your mobile photos, and the key is finding the sweet spot between vibrant and artificial-looking results. Start by making subtle adjustments to your photo’s vibrancy rather than saturation – vibrancy smartly increases muted colors while protecting skin tones and already-saturated areas.
When working with color temperature, use your white balance tools to correct any unwanted color casts. Look for neutral elements in your photo, like white walls or gray pavements, to gauge if your colors are true to life. If you’re editing in Snapsplap or Lightroom Mobile, the eyedropper tool can help you quickly set accurate white balance by selecting a neutral point.
For more nuanced control, work with individual color channels. Instead of boosting all colors at once, selectively enhance specific hues. For instance, you might slightly boost blues in a landscape to make the sky pop while leaving other colors unchanged. The HSL (Hue, Saturation, Luminance) controls in most editing apps give you this precise control.
Remember that different scenes call for different approaches. Sunset photos often benefit from slightly warmer tones, while forest scenes might need a subtle boost in greens. Always check your edits at different brightness levels – what looks good in normal lighting might appear oversaturated when your phone’s brightness is turned up.
Selective Editing for Impact
Selective editing is where mobile photography truly shines, allowing you to enhance specific areas of your image while leaving others untouched. Start by mastering the use of masks and brushes in your editing app – these tools let you “paint” adjustments onto precise areas of your photo.
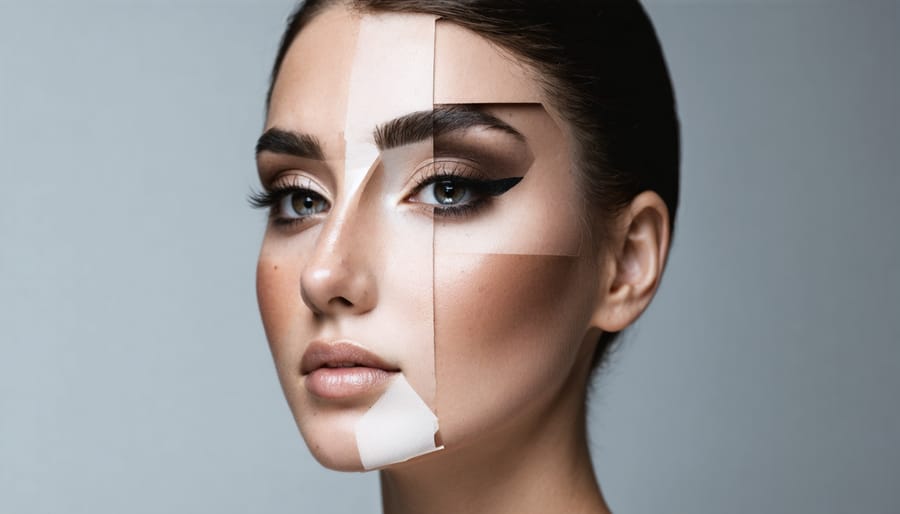
When editing portraits, focus on subtle skin smoothing and eye enhancement while maintaining natural texture. Use your finger or stylus to carefully brush over just the areas you want to adjust, keeping the effect strength around 30-40% for a natural look.
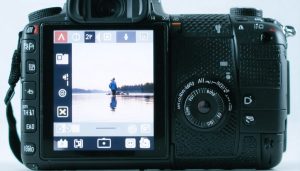
For landscape photos, try selectively adjusting exposure in different parts of the image. Darken bright skies while brightening shadowy foregrounds, or enhance the colors of autumn leaves while keeping the rest of the scene natural. The key is to make adjustments that guide the viewer’s eye without making the edits obvious.
Advanced techniques include luminosity masking, where you select areas based on their brightness levels, and color-based selections that target specific hues in your image. Most premium editing apps now offer these capabilities, though they may be labeled differently across platforms.
Remember to zoom in while making selective adjustments to ensure precise editing, and periodically zoom out to check how your changes affect the overall image. The goal is to enhance your photo while maintaining its authenticity and natural appeal.
Creative Effects Worth Using
Filters That Don’t Look Filtered
The key to using filters effectively is making them look natural and unobtrusive. Start by reducing the filter’s intensity – most editing apps allow you to adjust the strength of preset filters by sliding them down to 25-50% of their full effect. This subtle approach maintains the authenticity of your image while enhancing its best qualities.
Layer your filters strategically by combining complementary presets at low intensities. For instance, pair a warming filter at 30% with a contrast-enhancing filter at 20% to create depth without appearing artificial. Pay attention to how filters affect different elements of your photo – skin tones, shadows, and highlights should all look balanced and natural.
Consider creating your own custom preset by saving your favorite subtle adjustments. Start with minor tweaks to basics like contrast, highlights, and shadows before adding minimal color adjustments. This personalized approach ensures consistency across your photos while maintaining a natural look.
Watch out for common filtering pitfalls: oversaturated skies, unnatural skin tones, and extreme contrast. If you notice any of these issues, dial back the filter strength or adjust individual elements separately. Remember, the best edited photos are ones where viewers can’t tell they’ve been filtered at all – they just look naturally beautiful.
When in doubt, step away from your edit for a few minutes and return with fresh eyes. This helps you spot any heavy-handed filtering that might have seemed subtle during the editing process.
Custom Effects for Your Style
Creating your signature style in mobile photography goes beyond using standard filters. By developing and saving custom presets, you can maintain consistency across your photos while expressing your unique artistic vision. Think of presets as your personal recipe book for photo editing – once you’ve perfected a look you love, you can replicate it instantly across multiple images.
Start by experimenting with different combinations of adjustments like exposure, contrast, and color balance. When you find a combination that resonates with your creative photography techniques, save it as a custom preset in your editing app. Most popular editing apps like Snapseed, VSCO, and Lightroom Mobile offer this functionality.
To create an effective preset, consider the following approach:
1. Begin with basic adjustments (exposure, contrast, whites/blacks)
2. Fine-tune your color balance and saturation
3. Add subtle effects like grain or vignetting
4. Test your preset on different types of photos
5. Make minor adjustments for specific scenarios
Remember to name your presets descriptively – for example, “Warm Portrait” or “Moody Landscape” – so you can quickly identify the right look for each situation. Keep your preset collection organized and periodically review and refine them as your style evolves. This systematic approach to editing will save you time while helping you develop a consistent visual identity in your mobile photography.
Workflow Tips for Better Results
Save Time with Batch Editing
When you’re dealing with multiple photos from a single shoot or event, batch editing can be a game-changer for your mobile photography workflow. Instead of editing each photo individually, many mobile editing apps now offer powerful batch processing features that can save you hours of work.
Start by selecting photos with similar lighting conditions or those that need the same adjustments. Apps like Lightroom Mobile and Snapseed allow you to copy and paste editing settings across multiple images. For instance, if you’ve perfected the exposure, contrast, and color balance on one sunset photo, you can apply those exact settings to all your sunset shots from that session.
Another efficient approach is to create and save custom presets. These are like recipes for your editing adjustments that you can apply to multiple photos with a single tap. Many photographers develop a signature style by creating presets that reflect their preferred aesthetic, whether it’s bright and airy or moody and contrast-heavy.
Don’t forget about batch organization features. Most editing apps allow you to add keywords, ratings, or flags to multiple photos simultaneously. This makes it easier to sort through your portfolio and find specific images later. For social media preparation, you can also resize or watermark multiple photos in one go, ensuring consistency across your posts.
Remember to review each photo individually after batch editing, as some might need fine-tuning to account for their unique characteristics.
Preserve Quality While Editing
When editing your mobile photos, maintaining image quality should be your top priority. Start by always working with the highest resolution version of your original image. Many editing apps automatically compress photos, so check your app’s settings to ensure you’re working at maximum quality.
A crucial practice is to save your edited photos in the proper format. While JPEG is common, it’s a lossy format that degrades with each save. Consider using HEIC (for iOS) or PNG format when possible, especially during the editing process. Only convert to JPEG as a final step if needed for sharing.
Be mindful of over-editing. Each adjustment you make, particularly with tools like sharpening, noise reduction, or heavy color corrections, can potentially degrade image quality. Apply effects gradually and step back occasionally to assess the overall impact on your photo’s clarity and detail.
Work with non-destructive editing whenever possible. This means using apps that save your editing history or create virtual copies, allowing you to revert changes without damaging the original file. Many modern editing apps offer this feature, helping preserve your original photo’s quality throughout the editing process.
Finally, always keep backup copies of your original photos. This ensures you can start fresh if your edits don’t turn out as planned or if you notice quality issues in your final version.
Mobile photo editing has evolved from a simple filter-and-share process to a powerful creative tool that can transform ordinary snapshots into stunning works of art. Throughout this journey, we’ve explored essential techniques, from basic adjustments like exposure and contrast to advanced manipulation using layers and masks. Remember that the best editing approach is one that enhances your unique vision while maintaining the authenticity of your images.
Don’t be afraid to experiment with different apps and techniques – some of the most striking images come from unexpected combinations of tools and creative choices. Start with the basics, master them, and gradually incorporate more advanced techniques into your workflow. Keep in mind that less is often more; subtle adjustments can have a more significant impact than dramatic alterations.
Most importantly, develop your own style. While following trends can be inspiring, your unique perspective is what will make your photos stand out. Whether you’re capturing everyday moments or creating professional content, the tools and techniques we’ve discussed will help you bring your creative vision to life. Happy editing!