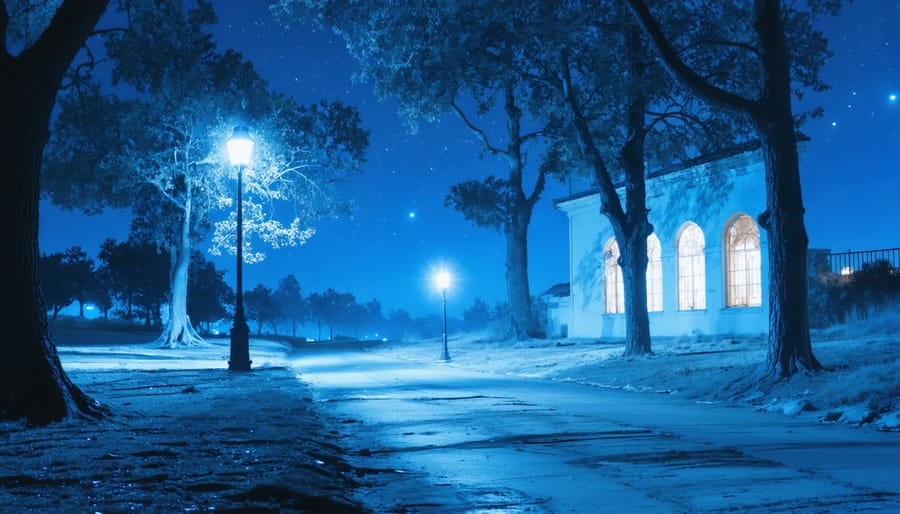
Step into the ethereal world of night infrared photography, where invisible light transforms familiar landscapes into surreal, luminescent dreamscapes. Like traditional night photography techniques, infrared imaging after dark reveals hidden dimensions of our world, but with an otherworldly twist that captivates both viewers and photographers alike.
Modern infrared sensors and converted cameras now make this once-specialized field accessible to enthusiast photographers, opening up possibilities for capturing the thermal signatures and reflected IR radiation that surround us after sunset. From the gentle heat signatures of sleeping wildlife to the mysterious glow of foliage under starlight, night infrared photography unveils a parallel universe of visual possibilities that remain invisible to the naked eye.
This technical yet creative pursuit combines the precision of traditional night photography with the experimental nature of infrared imaging, requiring both specialized equipment and a deep understanding of how infrared light behaves in darkness. Whether you’re documenting urban heat signatures or creating fine art landscapes, mastering night infrared photography will transform your approach to after-dark imaging forever.
The Magic Behind Night Infrared Photography
Understanding IR Light at Night
Infrared light behaves quite differently at night compared to daytime, which makes nighttime IR photography particularly interesting. While the sun is our primary source of infrared radiation during the day, at night we rely on residual heat from objects and artificial light sources. Many everyday objects retain heat well after sunset, creating unique opportunities for IR photography.
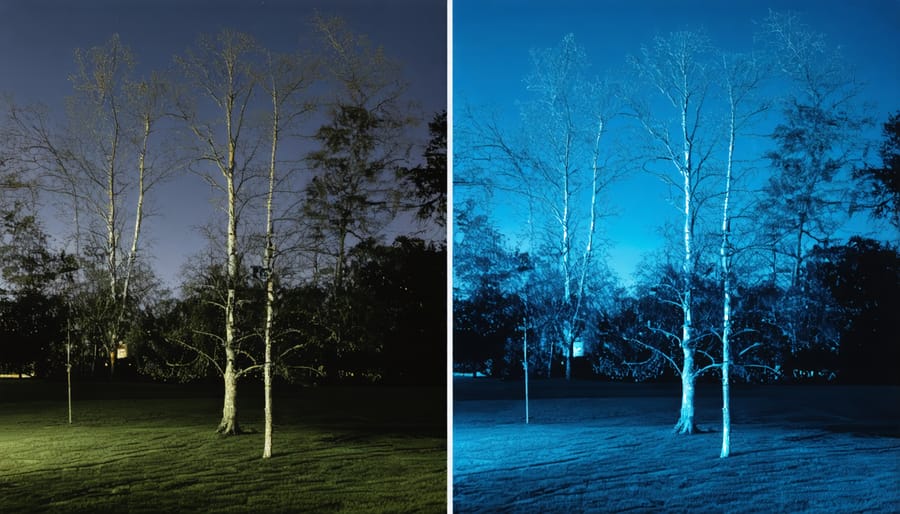
Interestingly, certain artificial light sources emit significant amounts of IR radiation. LED lights typically produce very little infrared, but traditional incandescent bulbs and sodium vapor street lamps emit considerable IR light. This means urban environments can be particularly rich in IR possibilities after dark. Natural elements like vegetation, which appears bright white in daytime IR photos, will appear darker at night unless they’ve retained significant heat from the day.
Temperature differences become more pronounced at night, making thermal contrasts more visible in IR. Warm objects like car engines, building ventilation systems, and even living creatures stand out dramatically against cooler backgrounds. Understanding these nighttime IR characteristics helps photographers plan their shots and anticipate how different subjects will appear in their final images.
Natural vs. Artificial IR Sources
When shooting infrared at night, you’ll encounter both natural and artificial sources of IR light. Natural IR sources include moonlight, which reflects the sun’s infrared radiation, and residual heat from objects that absorbed sunlight during the day. These natural sources create subtle, ethereal effects perfect for creative night photography ideas.
Artificial IR sources are more predictable and controllable. Security cameras often use IR LED illuminators, which can be repurposed for photography. dedicated IR flashlights and panels are available specifically for night photography, offering various power levels and beam patterns. Even some household remotes emit IR light, though they’re typically too weak for practical photography use.
The most reliable artificial sources are purpose-built IR illuminators, which come in different wavelengths (usually 850nm or 940nm). The 850nm models produce a faint red glow visible to the naked eye, while 940nm units are completely invisible but typically offer less power. When choosing an IR source, consider both its wavelength and your camera sensor’s IR sensitivity to achieve the best results.
Essential Equipment for Night IR Photography
Choosing the Right IR-Modified Camera
Selecting the right camera for infrared photography at night requires careful consideration of both the camera body and its modification options. While most digital cameras come with an internal IR-blocking filter, you’ll need to either modify an existing camera or purchase a pre-modified one for optimal results.
Full-spectrum modifications, which remove the IR-blocking filter entirely, offer the most versatility for night IR photography. This allows your camera to capture both visible and infrared light, giving you greater control over your final images. Many photographers opt to convert older DSLR bodies for this purpose, as it’s more cost-effective than modifying their primary camera.
When choosing a camera for modification, consider sensors with good high-ISO performance, as night IR photography often requires higher sensitivity settings. Full-frame sensors typically perform better in low-light conditions, though crop-sensor cameras can still produce excellent results.
Popular modification options include 720nm, 850nm, and full-spectrum conversions. The 720nm filter provides a good balance between infrared and visible light, while 850nm offers more dramatic, pure infrared effects. Full-spectrum modifications require external filters but provide the most flexibility for different shooting scenarios.
Remember that camera modifications are permanent and should be performed by experienced professionals. Several reputable companies specialize in IR conversions, offering warranties and consistent quality. If you’re just starting, consider testing with a pre-modified used camera before committing to converting your primary gear.
Lens Selection and Filters
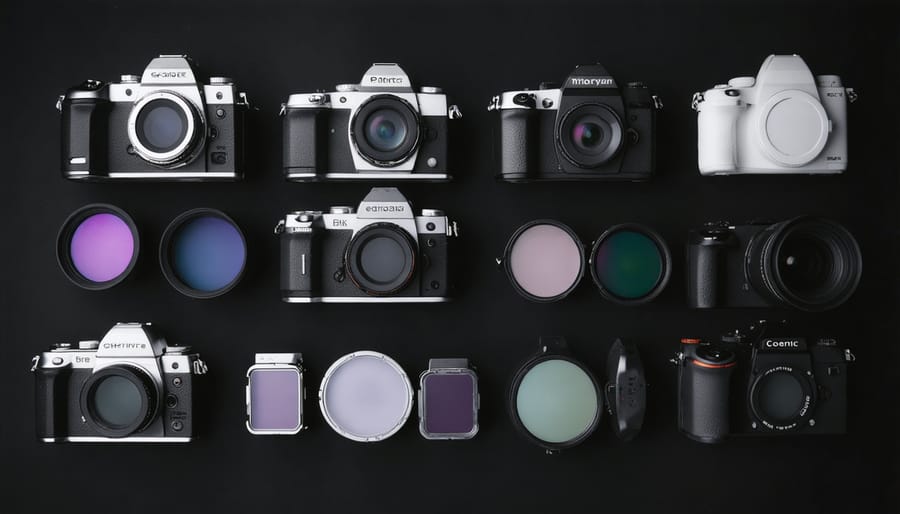
When it comes to night infrared photography, your choice of lens and filters can make or break your shots. For lenses, opt for wide-angle or standard focal lengths between 24mm and 50mm, as these provide excellent coverage for nighttime landscapes and architectural shots. Prime lenses often perform better than zooms due to their wider maximum apertures, which are crucial in low-light conditions.
Look for lenses with minimal “hot spots” – those bright circles that can appear in the center of IR images. Older manual focus lenses often perform exceptionally well for IR photography, as they typically have simpler coating designs that interfere less with infrared light.
Filter selection is crucial for night IR photography. The most common IR filters are the 720nm (standard IR), 850nm (deep IR), and 950nm (extreme IR). The 720nm filter is ideal for beginners as it allows some visible light through, making composition easier. The 850nm filter produces more dramatic black-and-white effects and is excellent for capturing the “Wood Effect” in foliage at night.
Remember to use a solid tripod, as IR filters are very dark and require longer exposure times. Consider investing in a step-up ring system so you can use the same IR filter across different lens diameters. For those shooting in urban environments, a light pollution filter can be stacked with your IR filter to reduce the orange glow from city lights, though be mindful that this will further increase exposure times.
Support Equipment and Accessories
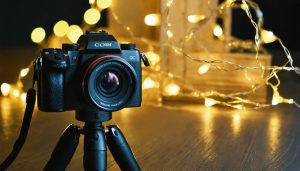
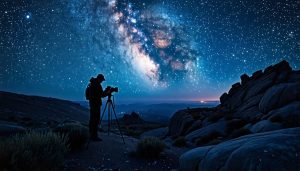
Successful night infrared photography relies heavily on proper support equipment and accessories to ensure sharp, clear images during long exposures. A sturdy tripod is absolutely essential – look for one with robust legs and a reliable locking mechanism to prevent any movement during exposure. Carbon fiber tripods offer an excellent balance of stability and portability, though quality aluminum models work well too.
Remote triggers or cable releases are equally important, as they eliminate camera shake from pressing the shutter button. Many modern cameras also offer smartphone connectivity, which can serve as a wireless trigger. For extended sessions, consider carrying extra batteries as night photography, especially with long exposures, can drain power quickly.
Lens filters are crucial companions for infrared photography. A good IR-pass filter is fundamental, but you might also want to consider graduated neutral density filters to balance exposure between the sky and foreground. Keep lens cleaning supplies handy, as any dust or fingerprints become more noticeable in infrared images.
A headlamp with a red light mode helps preserve your night vision while adjusting camera settings, and a bubble level ensures straight horizons. Don’t forget practical accessories like a weather-sealed camera bag, lens cloths, and silica gel packets to combat moisture. If you’re shooting in remote locations, a GPS device or smartphone with offline maps can help you navigate to and from your shooting locations safely.
Camera Settings and Techniques
Exposure Settings for Night IR
Getting your optimal camera settings right is crucial for successful night infrared photography. Start with your aperture setting – a wider aperture (lower f-number) like f/2.8 or f/4 allows more IR light to reach your sensor, which is especially important in low-light conditions. However, be mindful that extremely wide apertures might result in softer images, so finding the sweet spot between light gathering and sharpness is key.
For shutter speed, you’ll typically need longer exposures than daylight IR photography. Begin with exposures around 15-30 seconds, but be prepared to extend this to several minutes depending on your scene and available IR light. Using a sturdy tripod is non-negotiable at these exposure times.
ISO settings require careful consideration in night IR photography. While higher ISOs can help capture more IR light, they also introduce noise that can be particularly pronounced in infrared images. Start with ISO 400-800 as a baseline, and avoid going above ISO 1600 unless absolutely necessary. Modern cameras with good high-ISO performance might allow you to push this further, but always test your camera’s limits beforehand.
Remember that these settings work together as a triangle. If you’re shooting a scene with moving elements like clouds, you might need to adjust your aperture wider to maintain a faster shutter speed. Similarly, in very dark conditions, you might need to balance between a longer exposure and a higher ISO to achieve proper exposure while maintaining image quality.
Keep in mind that different IR filters will require different exposure adjustments. A 720nm filter typically needs less exposure compensation than an 850nm filter, which blocks more visible light.
Focusing in the Dark
Focusing in infrared night photography presents unique challenges, but with the right techniques, you can achieve tack-sharp images. Since infrared light focuses differently than visible light, traditional autofocus systems may struggle in low-light conditions. One reliable method is to pre-focus during daylight hours and mark your focus point with tape on the lens barrel, especially when shooting familiar locations.
For spontaneous shots, use your camera’s live view mode with focus peaking enabled if available. This feature highlights areas of sharp focus, making it easier to achieve precise manual focus. Another effective technique is to use a powerful IR-capable flashlight to temporarily illuminate your subject, allowing your camera’s autofocus to lock on before switching to manual focus to maintain that position.
When shooting landscapes, the hyperfocal distance technique becomes particularly valuable. Calculate your hyperfocal distance during daylight hours and note the focus ring position. This ensures maximum depth of field in your nighttime shots. Remember that infrared light focuses slightly differently than visible light, so you may need to adjust your focus point slightly closer than normal.
For absolute precision, consider using a focusing aid like a Bahtinov mask, commonly used in astrophotography. These create a distinctive diffraction pattern that makes achieving perfect focus much easier, even in near-total darkness. Always confirm your focus by taking test shots and checking them at 100% magnification on your camera’s LCD screen.
Long Exposure Considerations
Long exposures are a fundamental aspect of night infrared photography, often requiring exposure times ranging from several seconds to several minutes. When working with these extended durations, several critical factors need your attention to ensure sharp, clean images.
First, stability is paramount. A sturdy tripod is non-negotiable, but don’t forget about minimizing camera shake from other sources. Use your camera’s self-timer or a remote shutter release to avoid touching the camera during exposure. If possible, enable your camera’s mirror lock-up feature to reduce internal vibration.
Wind can be your biggest enemy during long exposures. Even slight movement of vegetation can create ghosting or blur in your images. Choose calm nights when possible, or increase your ISO slightly to achieve shorter exposure times when conditions aren’t ideal. Like traditional lighting techniques, you’ll need to experiment with different settings to find the sweet spot.
Temperature changes during long exposures can cause condensation on your lens. Consider using lens warmers or periodically checking and cleaning your equipment. Additionally, long exposures can generate significant noise in your images, especially in warmer conditions. Enable your camera’s long exposure noise reduction if available, but remember this will double your shooting time as the camera processes each image.
Battery life becomes crucial during extended shooting sessions. Cold temperatures and long exposures drain batteries quickly, so always carry spares. Finally, consider using the bulb mode for exposures longer than 30 seconds, and don’t forget to factor in reciprocity failure – you may need to add extra exposure time beyond what your meter suggests for optimal results.
Post-Processing Night IR Images
Raw Processing Essentials
Raw processing is where the magic of night infrared photography truly comes to life, and getting these initial adjustments right sets the foundation for stunning final images. The first crucial step is setting an appropriate white balance, as infrared photos straight from the camera often appear overwhelmingly red. Start by experimenting with a custom white balance setting between 2000K and 4000K to neutralize the red cast and reveal the ethereal qualities of your infrared capture.
In your raw processor, pay special attention to the temperature and tint sliders. These will be your primary tools for achieving the characteristic infrared look, where foliage appears white or silver and skies take on dramatic dark tones. A good starting point is to push the temperature slider towards the cool end and adjust the tint toward magenta until you achieve a natural-looking balance.
The exposure slider becomes particularly important in night infrared shots, as these images often require additional brightening to reveal detail in the shadows while maintaining the mysterious atmosphere. Don’t be afraid to push the exposure up by 1-2 stops, but keep an eye on noise levels in the darker areas.
When adjusting contrast, take a gentler approach than you might with regular night photography. Infrared images naturally have a dreamy, soft quality, and excessive contrast can destroy this effect. Instead, use the clarity and texture sliders with a light touch to enhance detail while maintaining the distinctive infrared glow that makes these images so captivating.
Remember to check your histogram frequently during these adjustments, ensuring you’re maintaining detail in both highlights and shadows while preserving the unique characteristics of your infrared capture.
Creative Color Effects
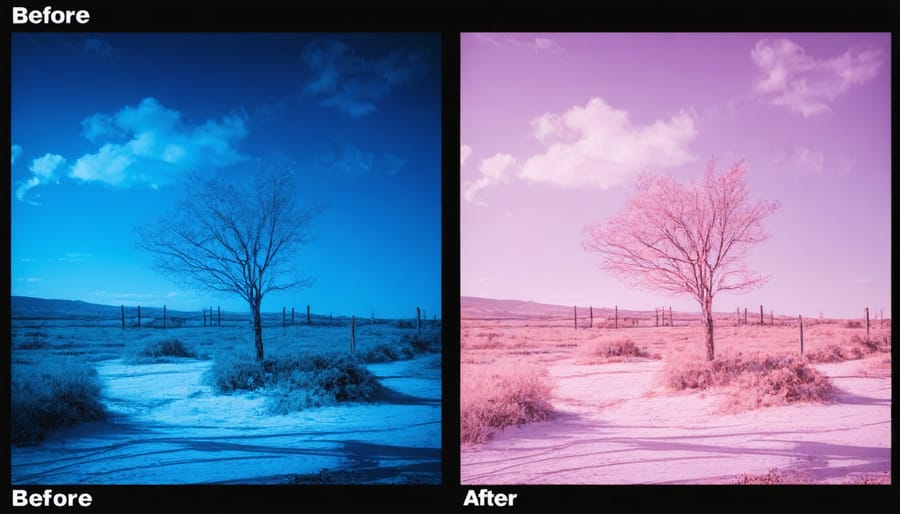
Infrared photography at night opens up a world of creative possibilities through false-color effects. While traditional infrared images often appear in shades of white and red, digital processing allows you to push creative boundaries further. One popular technique is channel swapping, where you exchange the red and blue channels in your image editor to create ethereal blue foliage against dramatic purple skies.
The “Wood Effect,” named after infrared photography pioneer Robert Wood, can be enhanced at night by carefully adjusting your white balance during shooting or in post-processing. This creates striking images where vegetation appears bright white while the night sky takes on deep, mysterious tones. Combining this with black and white conversion techniques can produce particularly moody nightscapes.
Experiment with split-toning to add subtle color variations to your highlights and shadows. Try warming the highlights while cooling the shadows to create a dreamlike atmosphere that emphasizes the surreal nature of night infrared photography. For more dramatic effects, consider creating false-color HDR images by combining multiple infrared exposures at different settings.
Don’t be afraid to break conventional rules – try selective coloring where you maintain infrared effects in certain parts of the image while revealing natural colors in others. This technique works especially well with architectural subjects, where you can contrast the warm glow of artificial lighting against the cool infrared rendering of surrounding vegetation.
Remember that each infrared filter and camera sensor combination produces slightly different color responses, so take time to experiment with your specific setup to develop your unique style.
Night infrared photography opens up a fascinating world of creative possibilities that extends well beyond conventional nighttime shooting. Throughout this guide, we’ve explored the essential equipment, techniques, and creative approaches that can help you capture stunning infrared images after dark. From selecting the right IR-converted camera or filters to mastering exposure settings and composition, each element plays a crucial role in achieving compelling results.
Remember that success in night IR photography comes with practice and experimentation. Don’t be afraid to push boundaries and try different approaches – whether it’s capturing the ethereal glow of street lights through IR-converted landscapes or documenting the unique thermal signatures of urban environments after sunset. The distinctive look of infrared imagery, combined with the mysteries of night photography, creates endless opportunities for unique artistic expression.
Start with simple subjects and familiar locations as you build your confidence. Pay attention to how different light sources affect your IR images, and maintain detailed notes about your camera settings and shooting conditions. As you become more comfortable with the basics, challenge yourself to explore more complex scenes and techniques.
The world of night infrared photography is still relatively unexplored, which means there’s plenty of room for innovation and personal style development. Whether you’re interested in fine art photography, scientific documentation, or simply expanding your creative horizons, night IR photography offers a unique perspective on the world after dark. So grab your gear, head out into the night, and start creating your own infrared masterpieces.

