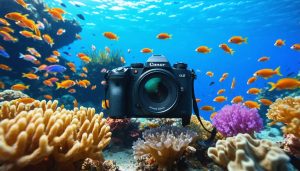
Transform your iPhone into a professional underwater camera with a quality waterproof housing rated for your intended depth, whether snorkeling at 10 feet or diving at 130 feet. Master the underwater photography basics by pre-configuring your iPhone’s camera settings: lock focus, enable grid lines, and set exposure before entering the water. Position yourself 2-4 feet from marine subjects to capture optimal clarity and color, as water absorbs light and reduces image quality at greater distances. Launch the Camera app using your iPhone’s side button while submerged, and shoot slightly upward to incorporate natural light and create dramatic silhouettes against the water’s surface. Understanding these fundamentals transforms ordinary underwater snapshots into compelling aquatic imagery that rivals dedicated underwater cameras, without investing thousands in specialized equipment.
Essential Gear for Underwater iPhone Photography
Waterproof Cases and Housing Options
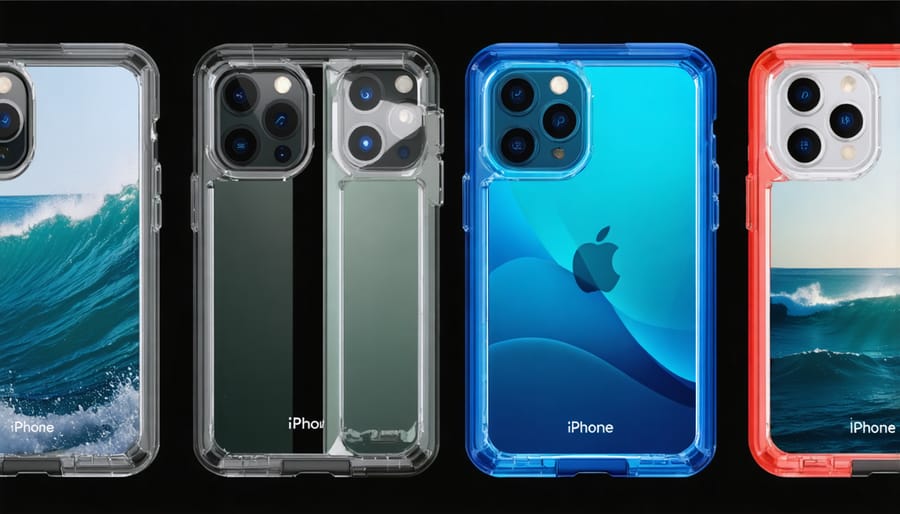
When it comes to essential underwater photography gear, choosing the right waterproof case for your iPhone is crucial. There are three main options to consider: dedicated waterproof cases, universal waterproof pouches, and professional underwater housings.
Dedicated waterproof cases like the AxisGo and ProShot offer custom-fit protection specifically designed for your iPhone model. These cases typically provide superior clarity for your photos, reliable button access, and depth ratings between 33-130 feet. While more expensive ($200-400), they deliver excellent results and peace of mind.
Universal waterproof pouches present a budget-friendly alternative ($15-40) and work with multiple phone models. These pouches are perfect for shallow water activities like snorkeling and pool photography, usually rated for depths up to 30 feet. However, they may introduce some image distortion and can be trickier to operate underwater.
Professional underwater housings from brands like Kraken and Nautilux represent the premium segment ($500+). These housings offer superior build quality, advanced control options, and compatibility with external lenses and lighting systems. They’re ideal for serious underwater photographers who need reliability at greater depths.
Consider your intended use, budget, and required depth rating when choosing. For casual pool and snorkeling photos, a quality universal pouch might suffice. For frequent diving or professional work, invest in a dedicated case or housing system.
Recommended Accessories and Add-on Lenses
To maximize your iPhone’s underwater photography potential, investing in quality accessories can make a significant difference. The SeaLife SportDiver housing is a popular choice, offering waterproof protection up to 130 feet while maintaining full access to your iPhone’s camera controls. This professional-grade housing includes an optical glass lens port and dedicated shutter button for precise control.
For enhanced image quality, consider adding external lenses specifically designed for underwater use. The Kraken Sports KRL-01 wide-angle lens is particularly effective for capturing expansive reef scenes and large marine life, while the Weefine Smart Housing’s macro lens excels at detailed close-ups of small aquatic creatures.
Essential accessories include a floating hand strap to prevent accidental drops and an anti-fog insert to keep your housing clear in varying temperatures. A color correction filter is crucial for maintaining accurate colors at depth – the Backscatter FLIP8/9 filter system is highly recommended for its versatility and ease of use.
For more serious underwater photographers, an external light source is invaluable. The Kraken Solar Flare Mini-2500 provides powerful, even illumination and helps restore true colors that get lost at depth. Don’t forget a sturdy mounting tray with handles for improved stability and handling while shooting.
Remember to also pack spare O-rings and silicone grease for maintaining your housing’s waterproof seal, and consider a moisture detector for added peace of mind.
Camera Settings and Setup
Best Camera Apps for Underwater Use
Several specialized apps can enhance your underwater iPhone photography experience, transforming your aquatic shots from good to exceptional. Hydropro stands out as a top choice, offering advanced features like split-screen shooting for over/under water compositions and custom white balance settings specifically designed for underwater conditions.
ProCam Underwater is another excellent option, particularly praised for its manual controls and RAW shooting capabilities. The app includes dedicated underwater scene modes and exposure compensation tools that help combat the blue-green color cast common in underwater photos.
For those focusing on marine life photography, Marine Cam provides species identification features alongside its camera functions, making it particularly valuable for diving enthusiasts and underwater naturalists. The app includes built-in filters optimized for different water conditions and depths.
SeaLife Micro 3+ offers sophisticated depth-sensing capabilities and automatically adjusts camera settings based on your current depth. It also includes helpful features like burst mode for capturing fast-moving marine life and advanced stabilization for clearer shots in challenging conditions.
Don’t overlook the native iPhone Camera app, which, when paired with the right underwater housing, can deliver impressive results. Its simplicity and reliability make it a solid choice for beginners, while features like Live Photos can capture unique underwater moments with movement.
Remember to download and familiarize yourself with these apps before your underwater adventure, as many features work offline once installed.
Pre-dive Camera Configuration
Before diving into underwater photography with your iPhone, proper camera configuration is essential for capturing the best possible images. Start by ensuring your iPhone is fully charged and has adequate storage space for your underwater session.
First, open your Camera app and switch to Photo mode. Enable HDR (High Dynamic Range) to capture better detail in both bright and shadowy areas underwater. This is particularly important as water can create challenging lighting conditions.
Next, turn on your camera grid by going to Settings > Camera > Grid. This will help you compose your shots using the rule of thirds, which is crucial for balanced underwater compositions. While you’re in settings, disable Auto HDR to maintain more control over your images.
For optimal underwater results, lock your focus and exposure before submerging your phone. Do this by tapping and holding on your subject until the AE/AF Lock indicator appears. This prevents your camera from constantly trying to refocus underwater, which can result in blurry images.
If your underwater housing has a physical shutter button, test it above water to ensure it’s properly aligned with your iPhone’s volume buttons, which can serve as shutter releases. Finally, enable your iPhone’s quick launch camera feature (swipe left from lock screen) for those unexpected underwater photo opportunities.
Remember to clean your iPhone’s camera lens and housing thoroughly before entering the water to avoid any spots or smudges that could affect image quality.

Underwater Photography Techniques
Lighting and Color Correction
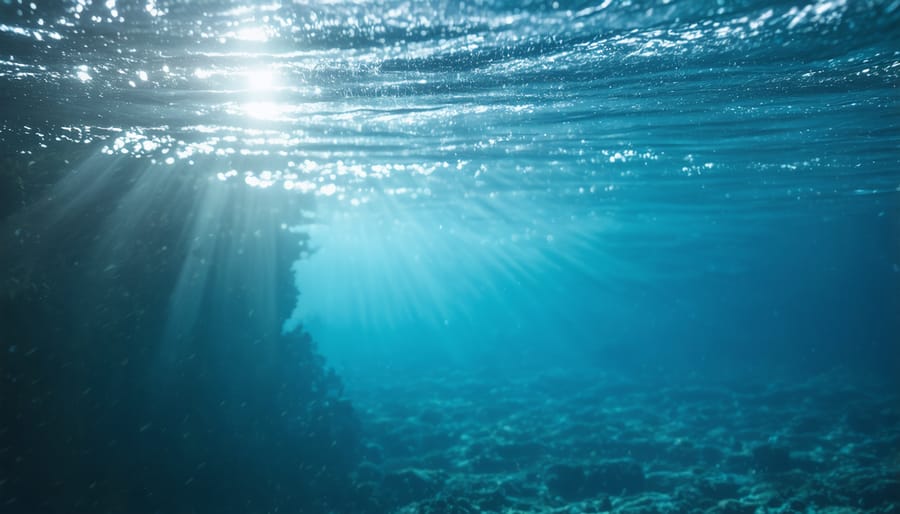
Light behaves differently underwater, making mastering lighting techniques crucial for capturing stunning underwater photos with your iPhone. Water absorbs colors progressively, starting with reds at shallow depths, followed by oranges and yellows as you go deeper. This is why many underwater photos can appear blue-green without proper correction.
To combat this, position yourself to make the most of natural sunlight. The best underwater photos are often taken during the “golden hours” – early morning or late afternoon – when sunlight enters the water at an optimal angle. Try to shoot with the sun behind you to illuminate your subject and minimize backscatter (the reflection of light particles in the water).
For clearer shots in deeper water or cloudy conditions, consider using an underwater LED light or strobe. These artificial light sources help restore natural colors and create more vibrant images. When using artificial lighting, position it at a 45-degree angle to your subject to reduce backscatter and create appealing shadows.
In post-processing, use your iPhone’s built-in editing tools or third-party apps to adjust white balance, boost contrast, and enhance colors. The key is to maintain a natural look while compensating for the color loss that occurs underwater. Start with subtle adjustments to avoid oversaturated or unrealistic-looking images.
Composition Rules for Underwater Shots
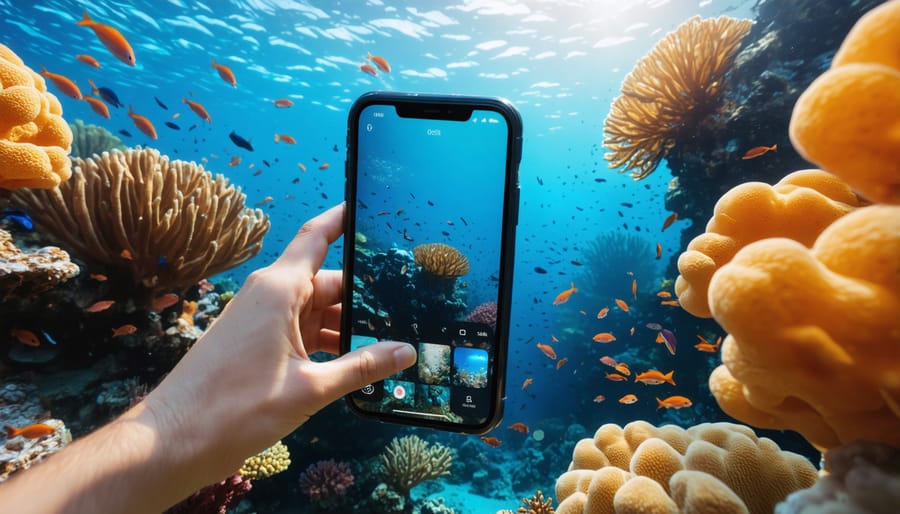
Composing stunning underwater shots with your iPhone requires a different approach than regular photography. The key is to get close to your subject – the “get close, then get closer” rule is especially important underwater where water clarity can affect image quality.
Position yourself slightly below your subject when possible, shooting upward to capture the natural light filtering through the water. This angle creates depth and drama while helping separate your subject from the background. For marine life, try to capture them at eye level to create a more intimate connection in your photos.
The rule of thirds works beautifully underwater – place coral formations, fish, or other subjects along the grid lines or at their intersections. Leave space in the direction your subject is moving or looking to create a sense of motion and purpose in the frame.
Colors fade dramatically as you go deeper underwater, so staying in shallow waters (within 15 feet) will help maintain vibrant colors in your shots. Use natural features like coral formations or rock structures to frame your subjects and add depth to your compositions.
When shooting larger scenes, include a foreground element to provide scale and perspective. This could be a piece of coral, small fish, or even your diving buddy. For abstract shots, look for interesting patterns in coral formations or the interplay of light rays through the water.
Remember that water movement affects both you and your subject, so be patient and take multiple shots of the same scene to ensure you capture the perfect moment.
Movement and Focus Tips
Achieving sharp underwater photos with your iPhone requires mastering both movement and focus techniques. Water magnifies every small motion, making stability crucial for clear shots. Hold your iPhone with both hands and keep your elbows tucked close to your body to minimize camera shake. When capturing moving subjects like fish or coral swaying in currents, anticipate their movement patterns and position yourself accordingly.
For optimal focus, tap and hold on your main subject to lock both focus and exposure. This AE/AF lock feature is particularly valuable underwater where lighting conditions can change rapidly. Keep a distance of about 12-24 inches from your subject – any closer might result in blurry images due to the water’s magnification effect.
If you’re shooting in deeper water, consider using the volume buttons as shutter release instead of the on-screen button. This provides better stability and reduces the risk of accidentally triggering unwanted screen functions through your waterproof case.
Remember that water naturally slows down movement, so take advantage of this by moving deliberately and smoothly. When following marine life, move parallel to your subject rather than chasing it directly. This approach not only results in better shots but also minimizes disturbance to aquatic life.
Post-Processing Underwater Photos
Color Correction and White Balance
One of the biggest challenges in underwater iPhone photography is dealing with the color distortion that occurs beneath the surface. Water absorbs different wavelengths of light at varying depths, typically causing photos to appear blue or green-tinted. Fortunately, there are several ways to restore natural colors in your underwater shots.
The first step is to get it right in-camera. Using the iPhone’s built-in manual white balance feature can help compensate for color shifts. Simply tap to focus on a white or neutral-colored object underwater, and your iPhone will adjust accordingly. For best results, consider using a white slate or diving card as a reference point.
In post-processing, the iPhone’s native editing tools offer surprisingly powerful color correction options. Start by adjusting the white balance temperature slider to counter any blue cast. Then, fine-tune the tint to address any unwanted green hues. The vibrance and saturation controls can help restore the richness of colors that may have been lost underwater.
For more precise control, third-party editing apps like Snapseed or Lightroom Mobile provide advanced tools for color correction. These apps offer selective color adjustments, allowing you to target specific color ranges without affecting the entire image. Remember that subtle adjustments often yield the most natural-looking results – avoid over-saturating your images, as this can make them appear artificial and less professional.
Recommended Editing Apps
After capturing stunning underwater shots with your iPhone, enhancing them with the right editing apps can take your images to the next level. While many photo editing techniques work well for underwater photography, certain apps are particularly suited for addressing the unique challenges of subsea imagery.
Snapseed stands out as a versatile free option with powerful tools for adjusting white balance and enhancing colors that may have been lost underwater. Its selective adjustment tool is particularly useful for bringing out detail in specific areas while maintaining natural-looking results.
Adobe Lightroom Mobile offers exceptional control over color correction, crucial for underwater shots where blues and greens often dominate. Its dehaze feature can effectively cut through water-induced softness, while the clarity slider helps define underwater subjects more distinctly.
For those seeking specialized underwater editing capabilities, Dive+ is specifically designed for underwater photography. It excels at removing the blue-green color cast common in underwater photos and can restore natural colors with impressive accuracy.
For creative effects, VSCO provides beautiful filters that complement underwater imagery, though use them sparingly to maintain authenticity. Additionally, TouchRetouch proves invaluable for removing unwanted particles or backscatter that often appear in underwater photos.
Remember to shoot in RAW format when possible, as these apps can extract significantly more detail from RAW files compared to standard JPEG images.
Underwater photography with your iPhone opens up a fascinating world of creative possibilities, and with the right tools and techniques, you can capture stunning aquatic images that rival those taken with professional equipment. As we’ve explored throughout this guide, successful underwater iPhone photography relies on three key elements: proper waterproof housing or cases, understanding your iPhone’s camera capabilities, and mastering fundamental underwater photography techniques.
Remember that practice makes perfect, and your first underwater shots might not be National Geographic material – and that’s perfectly okay! Start in controlled environments like pools before venturing into open water, and always prioritize safety while shooting. Take advantage of your iPhone’s features like Burst Mode for moving subjects and Portrait Mode for close-up shots of stationary marine life when conditions permit.
The beauty of underwater iPhone photography lies in its accessibility. You don’t need expensive DSLR equipment to start capturing the magical underwater world. With your iPhone, some basic gear, and the techniques we’ve covered, you’re well-equipped to begin your underwater photography journey.
So don’t wait for the perfect moment – grab your waterproof case, review your safety measures, and dive in! The underwater world is waiting to be captured through your lens, and with each dive, you’ll develop new skills and perspectives that will enhance your photography adventures. Happy shooting, and may your underwater photography journey be filled with amazing discoveries and memorable captures!