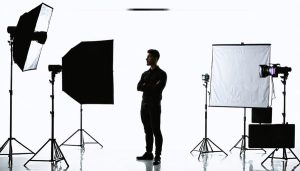
Transform ordinary photos into striking visual stories by mastering the interplay of light and shadow. Position a basic softbox at a 45-degree angle above your subject to create dramatic yet flattering directional lighting that reveals texture and depth. Craft professional-quality lighting setups using household items like white shower curtains for diffusion, aluminum foil for reflectors, and LED desk lamps when essential lighting equipment isn’t available. Layer multiple light sources at different intensities and angles to build dimension and mood, starting with a key light at full power, then adding fill and accent lights at decreasing strengths of 1/2 and 1/4 power respectively.
Paint with light by combining long exposures with targeted illumination from flashlights or LED panels, moving the light source during exposure to highlight specific areas while maintaining natural shadows. This creative approach to lighting transforms standard shots into compelling images that capture both technical excellence and artistic vision, whether you’re shooting portraits, products, or atmospheric scenes.
Natural Light Mastery
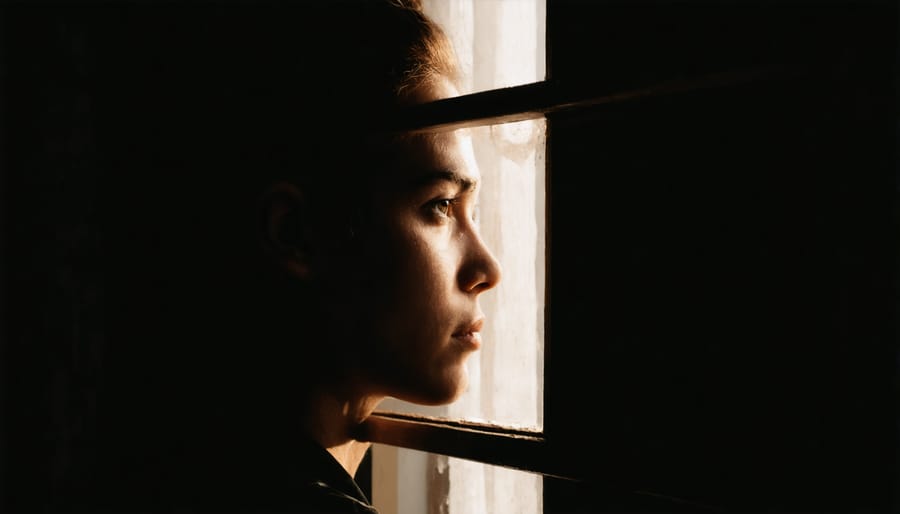
Window Light Sculpting
Window light is one of photography’s most versatile and beautiful lighting tools, offering photographers a natural way to create stunning images. When mastering indoor lighting techniques, understanding how to work with window light can transform your photography.
Start by observing how window light falls into your space throughout the day. North-facing windows typically provide soft, consistent light, while south-facing windows offer more dramatic, direct sunlight. Position your subject at different angles relative to the window to discover various lighting effects. For portrait photography, placing your subject at a 45-degree angle to the window creates beautiful, dimensional lighting that’s flattering for most faces.
To diffuse harsh direct sunlight, hang a white sheet or translucent curtain over the window. This creates a larger, softer light source that wraps around your subject more naturally. For additional control, use a reflector or white foam board opposite the window to bounce light back into shadow areas, creating a more balanced exposure.
Don’t be afraid to experiment with silhouettes by placing your subject between the camera and window, or create dramatic split lighting by positioning your subject perpendicular to the window. For product photography, try placing items on a table near the window and using black or white cards to shape the light and control reflections.
Remember that weather conditions will affect your window light quality – cloudy days provide soft, even illumination perfect for portraits, while sunny days offer more dramatic possibilities.
Golden Hour Magic
The golden hour – that magical period just after sunrise or before sunset – offers photographers an unparalleled opportunity to create stunning images with natural lighting. During these precious moments, the sun’s low position creates warm, directional light that can transform ordinary scenes into extraordinary photographs.
To maximize golden hour lighting, position your subject with the sun behind them for dramatic backlighting effects. This technique creates a beautiful rim of light around your subject, often called rim lighting, which adds depth and dimension to your images. For portraits, this can produce an ethereal glow around your subject’s hair and outline.
Try working with silhouettes by exposing for the bright background and allowing your subject to fall into shadow. Or, use a reflector positioned opposite the sun to bounce light back onto your subject’s face, creating balanced, warm illumination. For landscape photographers, golden hour presents opportunities to capture long shadows that add texture and leading lines to your compositions.
Don’t limit yourself to traditional compositions – experiment with flare effects by partially blocking the sun with your subject or nearby objects. This can create dreamy, atmospheric images with natural light bursts. Remember that golden hour light moves quickly, so scout your location beforehand and be ready to work efficiently.
Pro tip: Download a golden hour calculator app to predict exact timing for your location, ensuring you’re ready to capture this fleeting magical light.
Artificial Light Creativity
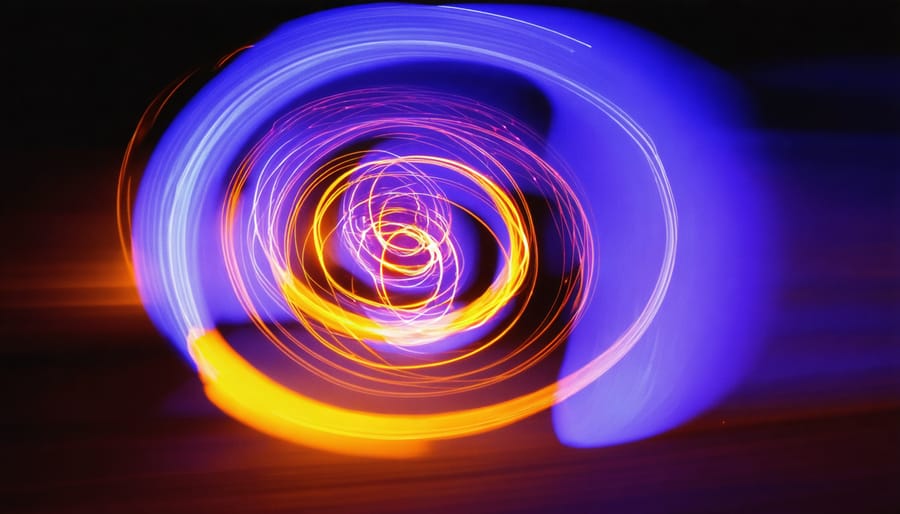
DIY Light Painting
Light painting offers a magical way to create stunning visual effects by combining low light photography techniques with simple tools you probably already have. The basic setup requires just a camera capable of long exposures, a sturdy tripod, and any light source you can move – from LED flashlights to sparklers.
Start by setting your camera to manual mode with a shutter speed between 10-30 seconds. Use a low ISO (100-400) to minimize noise, and set your aperture around f/8 for good depth of field. Working in complete darkness yields the best results, as your camera will only capture the moving light sources.
Popular light painting tools include:
– LED flashlights or phone lights
– Glow sticks
– Steel wool (with proper safety precautions)
– EL wire
– Colored gel filters
Try simple patterns first, like writing your name or drawing basic shapes. Move the light source continuously and keep it pointed away from the camera. Remember that anything stationary and well-lit will appear in your final image, while moving elements become ethereal streaks of light.
For more complex designs, try combining different colored lights or varying your movement speed. You can even illuminate specific parts of your scene selectively during the exposure for dramatic effect. The key is experimentation – each shot will be unique, making light painting an endlessly creative technique.
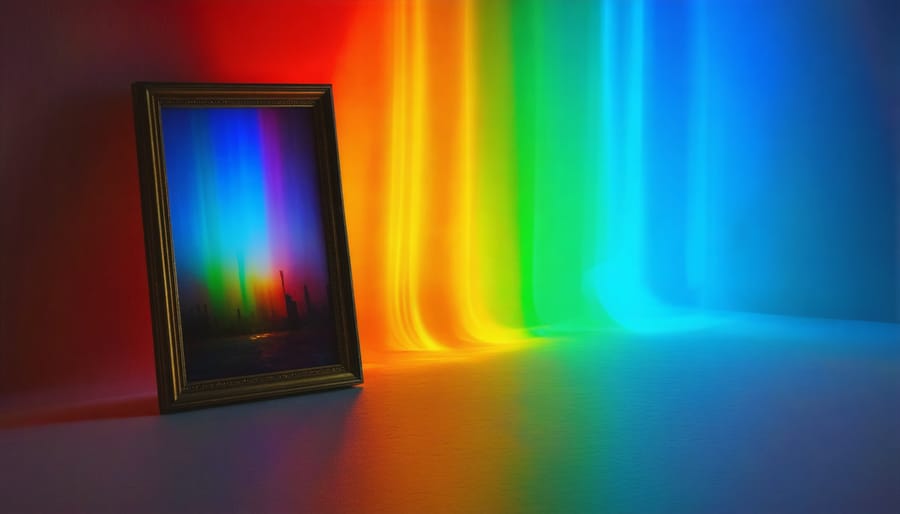
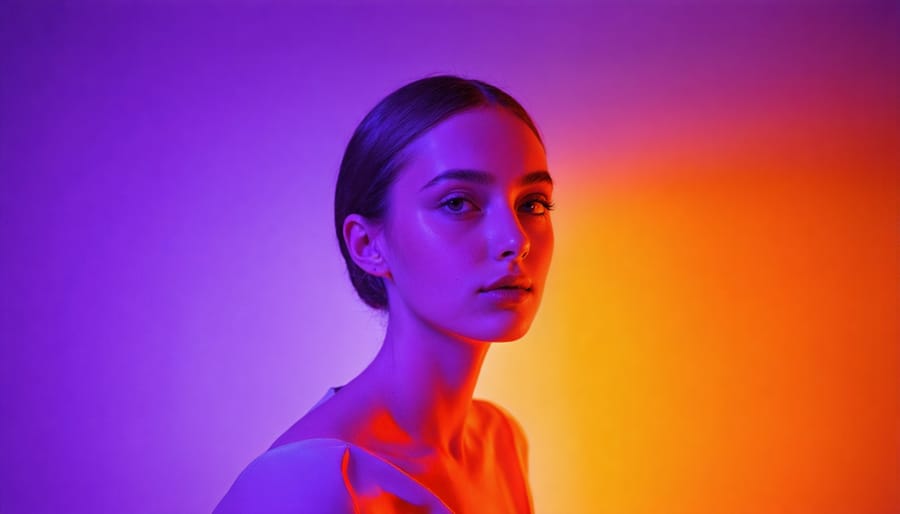
Colored Gel Magic
Colored gels can transform an ordinary photo into a mesmerizing masterpiece, adding depth, mood, and dramatic flair to your images. These translucent sheets of colored material, when placed over your light sources, create stunning effects that can elevate your photography to new creative heights.
Start by experimenting with primary colors – red, blue, and yellow gels are perfect for beginners. Place a red gel over your main light to create a warm, intimate atmosphere ideal for portraits, or use blue gels to simulate moonlight in night photography. For a more dramatic effect, try combining complementary colors, such as using a blue-gelled backlight with an orange-gelled key light to create striking contrast.
One popular technique is “split lighting,” where you use different colored gels on multiple lights to create distinct zones of color in your image. This works particularly well for fashion and editorial shoots, creating a modern, cinematic look. For example, position a magenta-gelled light on one side of your subject and a cyan-gelled light on the other for a bold, contemporary aesthetic.
Don’t forget about intensity control – stacking multiple gels of the same color deepens the effect, while combining different colors creates new hues. Remember that gels will reduce your light output, so you may need to adjust your exposure accordingly. Start with subtle effects and gradually build up to more dramatic looks as you become comfortable with the technique.
Everyday Objects as Light Modifiers
You don’t need expensive lighting gear to create stunning photos – your home is full of potential light modifiers! A white bed sheet can become a beautiful diffuser, creating soft, wraparound light perfect for portraits. Aluminum foil, when crumpled and flattened, acts as a reflector that adds sparkle to still life shots and creates dramatic highlights.
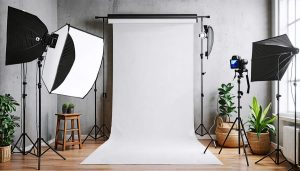
Kitchen parchment paper taped over a window softens harsh sunlight, while a black trash bag can be used to flag light and create dramatic shadows. Even a simple piece of cardboard covered in white paper makes an excellent bounce card for your home studio setup.
Get creative with shower curtains as light diffusion panels, or use venetian blinds to create striking shadow patterns. A white plastic cutting board becomes a portable reflector, while a mason jar can create interesting light patterns when placed in front of a light source. Even a plain white t-shirt can diffuse a harsh flash, turning it into a softer, more flattering light.
Remember to experiment with distance and angles – moving these makeshift modifiers closer or farther from your subject dramatically changes their effect. The best part? These household solutions not only save money but often produce results that rival professional gear.
Advanced Light Shaping
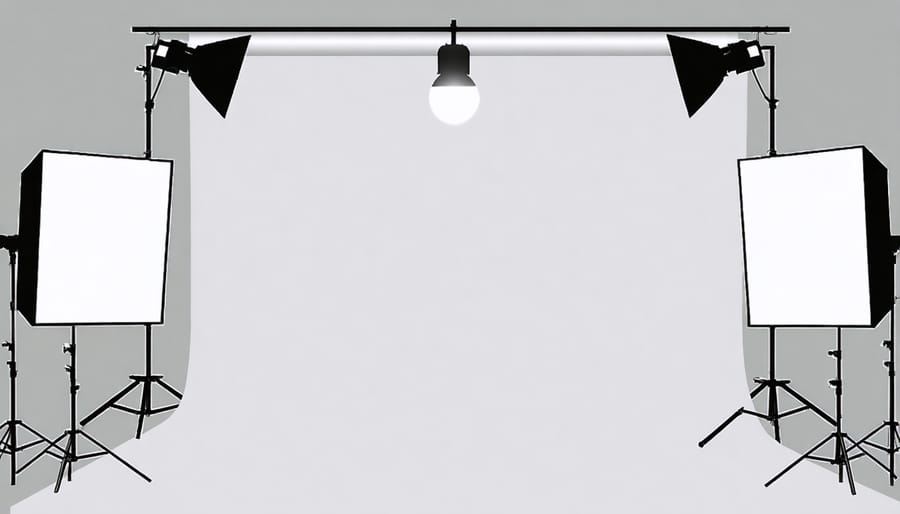
Multiple Light Source Orchestration
Working with multiple light sources can transform your photography from simple to spectacular, but it requires careful orchestration to achieve the desired effect. Think of yourself as a conductor, with each light playing a specific role in your photographic symphony.
The foundation often begins with a three-point lighting setup, but you can build upon this by introducing additional sources for creative effects. The key is understanding the hierarchy of your lights and how they interact with each other.
Start by establishing your main light source, then introduce secondary lights one at a time. This methodical approach helps you maintain control over the final image. Pay attention to light ratios – a good rule of thumb is to keep your fill light about half the intensity of your key light, while accent lights can vary depending on the desired effect.
Color temperature matters significantly when mixing different light sources. LED panels, speedlights, and natural light all have distinct color characteristics. Use color temperature meters or your camera’s white balance settings to ensure consistency, or deliberately mix temperatures for creative contrast.
Light modifiers play a crucial role in multiple light setups. Softboxes, umbrellas, and grids help control light spread and prevent unwanted spill. Position your lights at different heights and angles to create depth and dimension in your images.
Consider using flags or gobos to block light from certain areas, helping to sculpt the final image. Remember that each additional light source increases complexity, so start simple and build up gradually as you become more comfortable with the setup.
For precise control, investing in a light meter can be invaluable. This tool helps you measure the exact output of each light source, ensuring consistent ratios across your setup. When working with multiple lights, wireless triggers become essential for seamless coordination and adjustment.
Shadow Play Techniques
Shadow play in photography is one of the most powerful tools for creating mood and depth in your images. By deliberately working with shadows, you can transform ordinary scenes into dramatic masterpieces that tell compelling visual stories.
The key to effective shadow play lies in understanding the relationship between light direction and subject placement. Start by positioning your main light source at a 45-90 degree angle to your subject. This creates long, dramatic shadows that add depth and dimension to your composition. For particularly striking results, try placing your subject near a window or using a single, strong artificial light source.
Negative space, created by strategic use of shadows, can be just as important as the illuminated areas of your photo. Think of shadows as a frame that draws attention to your subject. One effective technique is to expose for the highlights and let the shadows fall into deep, rich blacks. This creates a high-contrast image that immediately captures attention.
Try experimenting with different patterns by placing objects between your light source and subject. Venetian blinds, plant leaves, or even a simple grid can cast interesting shadow patterns that add texture and visual interest to your images. For portraits, try using a gobo (a template that goes in front of your light) to cast creative shadow patterns across your subject’s face.
Remember that timing matters when working with natural light. Early morning or late afternoon sun creates longer, more dramatic shadows that are perfect for creative photography. In studio settings, you can replicate this effect by positioning your lights low and to the side of your subject.
The beauty of shadow play lies in its versatility – whether you’re shooting portraits, still life, or architecture, mastering shadow techniques can elevate your photography from ordinary to extraordinary.
Light Ratios for Mood
Light ratios are the secret language of mood in photography, playing a crucial role in how viewers emotionally connect with your images. Think of light ratios as the difference in brightness between your main light and fill light, creating depth and atmosphere in your photographs.
A 1:1 ratio, where your main and fill lights are equal, produces flat, neutral lighting that works well for corporate headshots or product photography. As you increase the ratio, the mood intensifies. A 2:1 ratio creates subtle dimensionality, while a 4:1 ratio adds drama without being overwhelming – perfect for portrait photography where you want to maintain detail in the shadows.
For more dramatic effects, try pushing your ratios to 8:1 or even 16:1. These higher ratios create deep shadows and striking contrasts that can evoke mystery, tension, or isolation. Film noir photographers often used extreme ratios to create their signature moody aesthetics.
Here’s a quick mood guide for different ratios:
– 1:1 to 2:1: Clean, friendly, approachable
– 3:1 to 4:1: Professional, confident, refined
– 8:1: Dramatic, mysterious, intimate
– 16:1 and higher: Intense, moody, artistic
To measure your ratios, use a light meter or take test shots while adjusting your lights. Remember that the distance and angle of your lights affect the ratio as much as their power settings. Start with subtle ratios and gradually experiment with more dramatic lighting as you become comfortable with the technique.
The key is matching your ratio to your subject and intended emotional impact. A high-contrast ratio that works beautifully for a moody portrait might be completely wrong for a cheerful family photo.
Practical Applications
Let’s explore how these creative lighting techniques translate into real-world photography scenarios. A wedding photographer might use bounce flash during the reception, directing light off the venue’s white ceiling to create soft, even illumination that flatters the dancing guests. For portraits, positioning a single light source at a 45-degree angle creates Rembrandt lighting, perfect for dramatic headshots with professional appeal.
Food photographers often combine natural window light with a white reflector on the opposite side, creating appetizing highlights while filling shadows to showcase texture and detail. When shooting products, many photographers use a lightbox setup with two side lights and a top light to eliminate shadows completely, resulting in clean, commercial-worthy images.
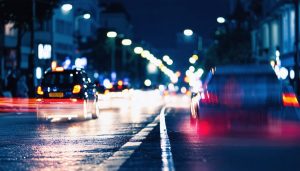
For outdoor portraits during harsh midday sun, photographers frequently use scrims to diffuse natural light, combined with a reflector to bounce light back onto the subject’s face. This creates a natural-looking result that appears effortlessly beautiful. Urban photographers often experiment with colored gels on their speedlights during blue hour, creating cyberpunk-inspired street portraits with striking neon accents.
In macro photography, ring lights or DIY solutions using LED strips provide even illumination for close-up subjects like flowers or insects. Landscape photographers might use long exposures with light painting techniques to illuminate foreground elements while capturing starlit skies.
Studio photographers often create depth by using a three-point lighting setup: key light for primary illumination, fill light to soften shadows, and rim light to separate the subject from the background. For more dramatic effects, they might introduce fog or haze using a smoke machine, then backlight it to create ethereal beams of light.
Remember that these applications are starting points – the most compelling images often come from experimenting with these techniques and adapting them to your unique vision and circumstances.
Mastering creative lighting techniques is an ongoing journey that opens up endless possibilities for your photography. Throughout this guide, we’ve explored various methods to manipulate light, from natural light manipulation to sophisticated artificial lighting setups, proving that compelling imagery doesn’t always require expensive equipment.
Remember that the most important aspects of creative lighting are understanding the fundamental principles and being willing to experiment. Whether you’re working with a simple reflector, crafting DIY lighting solutions, or using professional studio equipment, the key is to observe how light behaves and impacts your subjects.
Don’t be afraid to break conventional rules – some of the most striking photographs come from unexpected lighting choices. Start with the basics we’ve covered, then gradually incorporate more complex techniques as your confidence grows. Keep a lighting journal to document what works and what doesn’t, and always be open to learning from both successes and mistakes.
The beauty of creative lighting lies in its versatility and personal interpretation. What matters most is developing your unique style while maintaining technical proficiency. Take these techniques as a foundation, but let your creativity guide you in developing your signature lighting approach.
As you continue your photography journey, remember that every challenging lighting situation is an opportunity to innovate and grow. The techniques shared here are just the beginning – your creative vision will lead the way to countless more possibilities.