Store your growing photography collection securely and efficiently with a dedicated NAS (Network Attached Storage) system – a critical investment as essential as maintaining your photography equipment. Professional photographers routinely generate thousands of RAW files and edited images, often exceeding 100GB per shoot, making traditional external hard drives inadequate for long-term storage and workflow management. A properly configured NAS system delivers instant access to your entire photo library, automated backups, and seamless integration with editing software like Lightroom and Capture One. Whether you’re shooting weddings, managing commercial projects, or building a professional portfolio, implementing a NAS solution transforms scattered photo storage into a streamlined, professional-grade asset management system that grows with your business.
Why Photographers Need NAS Storage
Raw Files and Storage Demands
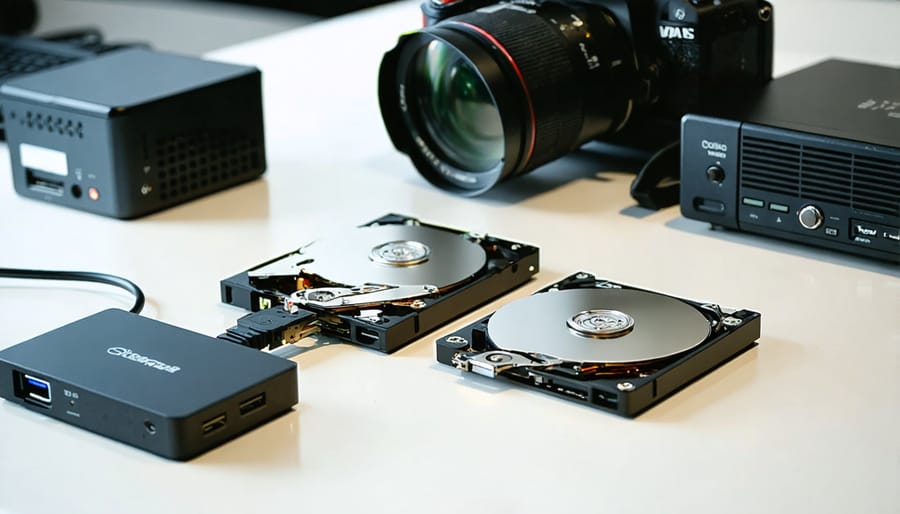
For photographers, understanding storage demands is crucial as raw files can quickly consume massive amounts of space. A typical 45-megapixel camera produces RAW files ranging from 50-100MB each, while high-resolution panoramas or composite images can exceed 200MB per file. During a busy wedding shoot, you might capture 2000-3000 images, potentially requiring 150-300GB of storage for a single event.
Professional photographers often need to maintain multiple versions of their work: RAW files, edited versions, and various export formats for clients. This multiplies storage requirements significantly. For instance, a year’s worth of professional photography work can easily demand 4-8TB of storage space, considering both original files and edited versions.
Backup needs are equally important. The industry standard “3-2-1 backup rule” suggests keeping three copies of your data, with two stored on different media types and one kept off-site. This means your actual storage requirements are typically triple your raw data needs. A photographer shooting 50 weddings annually might need 15-20TB of total storage capacity to maintain a proper backup strategy.
Long-term archival storage is another consideration. While you might not actively use older shoots, many photographers keep their entire portfolio accessible, requiring additional storage capacity for these historical files. Factor in the growth of your business and increasing file sizes from newer camera equipment when planning your storage solution.
Remote Access and Client Delivery
One of the biggest advantages of NAS storage for photographers is the ability to access your photo library from anywhere in the world. Whether you’re on location, meeting with clients, or working from a coffee shop, you can securely connect to your NAS and access your entire photo collection as if you were in your studio.
Most modern NAS systems offer dedicated mobile apps and web interfaces that make remote access seamless. You can browse thumbnails, download full-resolution images, and even edit metadata on the go. This flexibility is invaluable when you need to quickly pull up a specific photo for a client or continue editing work while traveling.
Client delivery becomes effortless with NAS systems. Instead of dealing with external hard drives or unreliable file-sharing services, you can create secure, password-protected folders for each client. Share professional-looking galleries with customizable expiration dates, and maintain control over download permissions and image resolution. Some NAS systems even allow you to track when clients access their photos and which images they download.
For collaborative projects, NAS storage enables real-time file sharing with other photographers or editors. You can set up shared workspaces, manage version control, and ensure everyone has access to the latest edits without duplicating files or causing confusion about which version is current.
This remote accessibility transforms how photographers interact with their image libraries and deliver work to clients, making it a game-changing feature of NAS storage solutions.
Essential NAS Features for Photography
RAID Configuration Options
RAID configuration is a crucial aspect of setting up your NAS storage, offering different levels of data protection and performance. For photographers, the most relevant RAID options are RAID 1, RAID 5, and RAID 6.
RAID 1, also known as mirroring, creates an exact copy of your data across two drives. While this means you’ll only get half of your total storage capacity, it provides excellent data protection and is ideal for photographers just starting with NAS storage. If one drive fails, your data remains safe on the other drive.
RAID 5 offers a better balance between storage capacity and protection. It requires at least three drives and uses parity data to rebuild information if a drive fails. For photographers, RAID 5 is often the sweet spot, providing both good performance and data protection while maintaining most of your storage capacity.
RAID 6 takes protection a step further by using double parity, allowing for two drives to fail simultaneously without data loss. While this offers the highest level of protection, it comes at the cost of more storage space and slightly slower write speeds. Consider RAID 6 if you’re storing irreplaceable client photos or extensive photography archives.
For maximum flexibility, some photographers opt for SHR (Synology Hybrid RAID) or similar proprietary systems, which allow for easier drive expansion and mixing of different drive sizes while maintaining protection.
Speed and Performance Requirements
When working with high-resolution RAW files and extensive photo collections, speed and performance become crucial factors in your NAS setup. For photographers, the primary concern is ensuring smooth file transfers and quick access to your image library.
As a baseline, look for a NAS system that supports at least 1 Gigabit Ethernet (1GbE), which provides theoretical transfer speeds up to 125MB/s. However, if you’re working with large batches of photos or 4K/8K video files, consider investing in a system with 10GbE capability, which can deliver speeds up to 1,250MB/s.
Your network infrastructure plays a vital role too. Even the fastest NAS won’t perform well if your network setup isn’t optimized. Ensure your router and network cables can handle the bandwidth requirements. Cat6 or Cat6a ethernet cables are recommended for optimal performance, especially if you plan to upgrade to 10GbE in the future.
For drive configuration, consider using SSDs for cache acceleration. This can significantly improve access times for frequently used files, like current project folders or image catalogs. While traditional HDDs work well for archive storage, having SSD cache can make a noticeable difference in your daily workflow.
Remember that real-world speeds will typically be lower than theoretical maximums due to factors like network overhead, drive speeds, and simultaneous users. Plan your setup with some headroom to accommodate future needs and growing file sizes.
Backup and Redundancy Features
When it comes to protecting your precious photo library, a robust backup strategy is essential, just as important as proper equipment care. Most quality NAS systems offer multiple layers of protection through RAID configurations, which create redundant copies of your data across multiple drives. For photographers, RAID 5 or RAID 6 configurations are particularly popular, offering an excellent balance between storage efficiency and data protection.
Beyond RAID, consider implementing the 3-2-1 backup strategy: three copies of your data, stored on two different types of media, with one copy kept off-site. Your NAS can automatically create local backups while also syncing to cloud storage services like Amazon S3 or Backblaze for off-site protection.
Many photography-focused NAS solutions include snapshot features, allowing you to create point-in-time copies of your data. This proves invaluable when you need to recover from accidental deletions or file corruptions. Look for systems offering automated backup scheduling, which can run during off-hours when you’re not actively working on your images.
For additional peace of mind, consider enabling features like hot-swappable drives and UPS support. These allow for seamless drive replacement during failures and protect against power outages, ensuring your valuable photo collection remains safe and accessible at all times.
Setting Up Your Photography NAS
Folder Structure and Organization
A well-organized folder structure is crucial for managing your photo library efficiently on a NAS system. Start with a top-level folder for your photography work, then create main categories based on your workflow. Here’s a proven structure that many photographers find effective:
/Photography
/Client_Work
/[Year]
/[Client_Name]
/Raw
/Edited
/Final_Delivery
/Personal_Projects
/[Year]
/[Project_Name]
/Portfolio
/High_Res
/Web_Ready
/Archive
/[Year]
Use consistent naming conventions for all folders and files. For example, date formats should follow YYYY-MM-DD pattern, making it easier to sort chronologically. Client folders might look like “2024-01-15_Smith_Wedding” for better organization.
Consider creating separate folders for different processing stages. Keep RAW files in one location, working files (like PSDs) in another, and exported finals in a dedicated folder. This separation helps maintain a clean workflow and makes backups more manageable.
For catalogs and cache files from editing software like Lightroom or Capture One, store these on your local machine rather than the NAS for better performance. Sync these catalogs to a dedicated folder on your NAS for backup purposes.
Create a clear distinction between active projects and archived work. Move completed projects to the archive folder after delivery and backup, keeping your active folders lean and easily navigable.
Remember to maintain consistent permissions across your folder structure, ensuring you have appropriate access levels for different team members if you’re working collaboratively.
Integration with Photo Editing Software
Integrating your NAS with popular photo editing software is crucial for maintaining a smooth, efficient workflow. Adobe Lightroom, one of the most widely used photo management tools, works seamlessly with NAS systems through its network sharing capabilities. To set up Lightroom with your NAS, simply map your NAS drive as a network location and create a new catalog that points to your NAS-stored images.
Capture One users can also benefit from NAS integration by creating sessions or catalogs directly on the NAS drive. However, it’s recommended to keep catalog files locally on your computer while storing the actual image files on the NAS for optimal performance. Regular professional system care and maintenance will ensure your connection remains stable and responsive.
For ON1 Photo RAW and DxO PhotoLab users, the process is similarly straightforward. Map your NAS as a network drive, and these applications will treat it as any other storage location. Remember to configure your editing software’s cache settings to store temporary files locally on your computer’s SSD for better performance while keeping your original files safe on the NAS.
Many photographers also use Bridge or Photo Mechanic for culling and organizing. These applications work particularly well with NAS systems, as they’re designed to handle large image libraries efficiently. To optimize performance, consider creating smart previews or smaller proxy files that stay on your local drive while maintaining the original files on your NAS.
Keep in mind that connection speed between your computer and NAS will significantly impact your editing experience. Using a wired ethernet connection rather than Wi-Fi will provide the most reliable performance for seamless photo editing.
Real-World Performance Tips
Optimizing Network Performance
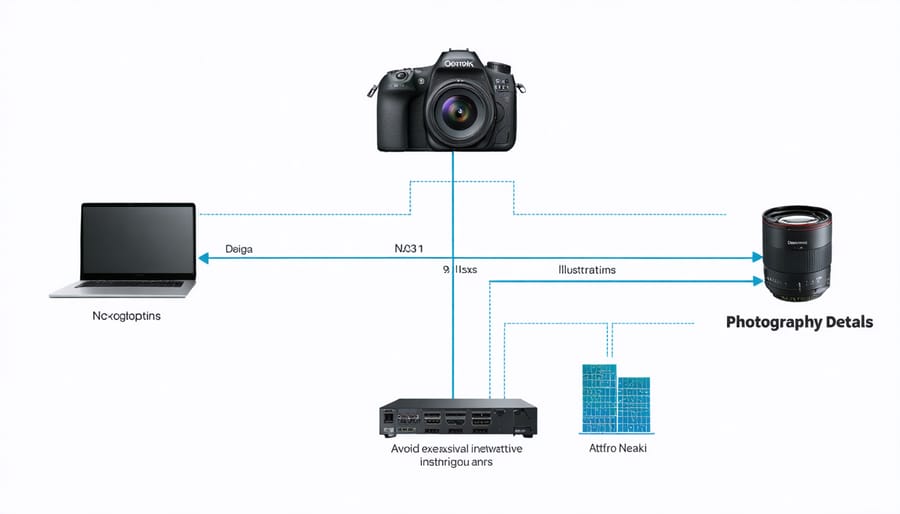
For optimal performance with your NAS storage, the network setup is just as crucial as the storage device itself. Start by using Cat6 or Cat6a Ethernet cables, which support faster speeds and offer better protection against interference than older Cat5e cables. If possible, connect your NAS directly to your editing workstation rather than through multiple network switches to minimize latency.
Consider implementing a dedicated network for your NAS traffic. This means setting up a separate network connection exclusively for file transfers between your computer and NAS, keeping it isolated from your regular internet traffic and other network activities. This approach can significantly improve transfer speeds and reduce bottlenecks.
For wireless access, while convenient, remember that even the fastest Wi-Fi connections can’t match the speed and reliability of a wired connection. If you must use Wi-Fi, ensure your router supports the latest standards (Wi-Fi 6 or better) and position it optimally for the strongest signal.
Many photographers find success with link aggregation (LAG), which combines multiple network connections to increase bandwidth. Most modern NAS devices support this feature, allowing you to achieve faster transfer speeds by using two or more Ethernet connections simultaneously.
Regular network maintenance is essential. Keep your NAS firmware and network drivers updated, monitor network performance using built-in tools, and periodically check for issues like cable damage or network congestion. Consider using quality-of-service (QoS) settings on your router to prioritize NAS traffic during critical backup or transfer operations.
For remote access, set up a VPN rather than relying on port forwarding, as it provides better security without significantly impacting performance when properly configured.
Maintenance and Management
Just like essential camera maintenance keeps your gear running smoothly, maintaining your NAS system is crucial for protecting your precious photo library. Here’s how to keep your storage system in top shape.
Regularly check your drives’ health using your NAS manufacturer’s monitoring tools. Most systems provide notifications about potential drive failures, allowing you to take action before losing any data. Schedule weekly disk health scans and pay attention to any unusual noises or performance issues.
Keep your NAS operating system and firmware updates current. These updates often include security patches and performance improvements that can enhance your system’s reliability. Set up automatic updates if available, but schedule them during off-hours when you’re not actively working with your files.
Dust management is often overlooked but critical. Every few months, power down your NAS and carefully clean the ventilation areas. Good airflow prevents overheating, which can lead to drive failures and data loss.
Monitor your storage capacity and maintain at least 15-20% free space for optimal performance. Set up email alerts for when storage reaches certain thresholds, typically at 80% capacity. This gives you time to plan for expansion or archive older projects.
Finally, verify your backup systems monthly. Test your recovery procedures by restoring a few random files to ensure your safety net works when needed. Remember, a NAS isn’t just about storage – it’s about protecting your creative work for years to come.
Choosing the right NAS storage solution for your photography workflow doesn’t have to be overwhelming. Throughout this guide, we’ve explored the essential aspects of NAS systems that matter most to photographers, from protecting precious image files to enabling efficient workflows across multiple devices.
Remember that the key factors to consider are storage capacity, redundancy options, speed capabilities, and ease of access. Whether you’re a wedding photographer managing thousands of RAW files or a landscape photographer with a growing collection of high-resolution images, a properly configured NAS system can transform your digital asset management approach.
For most photographers, we recommend starting with at least a 2-bay NAS system from reputable manufacturers like Synology or QNAP, configured with RAID 1 for basic redundancy. As your needs grow, you can explore more advanced solutions with additional bays and features. Don’t forget to implement a solid backup strategy beyond your NAS, such as cloud storage or offline backups, to ensure maximum protection for your valuable work.
The investment in a NAS system pays dividends through improved organization, streamlined workflows, and peace of mind knowing your images are safely stored and easily accessible. Take time to properly set up your folder structure, permissions, and backup routines from the start, and you’ll create a robust foundation for your photography business or hobby to grow.
Remember, the best NAS solution is one that fits your specific needs and workflow while providing room for future expansion. Start with the basics, and gradually explore more advanced features as you become comfortable with your system.


