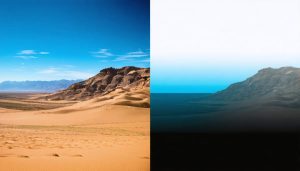
In the quest for perfect exposure, camera integration time stands as one of photography’s most powerful yet often misunderstood controls. This critical interval – the duration your camera’s sensor collects light – shapes not just the brightness of your image, but its very character. Think of it as your camera’s conversation with light: too brief, and you miss the subtle whispers of shadow detail; too long, and the bright highlights become an overwhelming shout.
Professional photographers leverage integration time to craft everything from tack-sharp sports photos at 1/8000th of a second to ethereal long exposures that transform rushing waterfalls into silky ribbons. But beyond these creative applications lies a fascinating technical dance between your sensor’s light-gathering capabilities, your subject’s movement, and the story you want your image to tell.
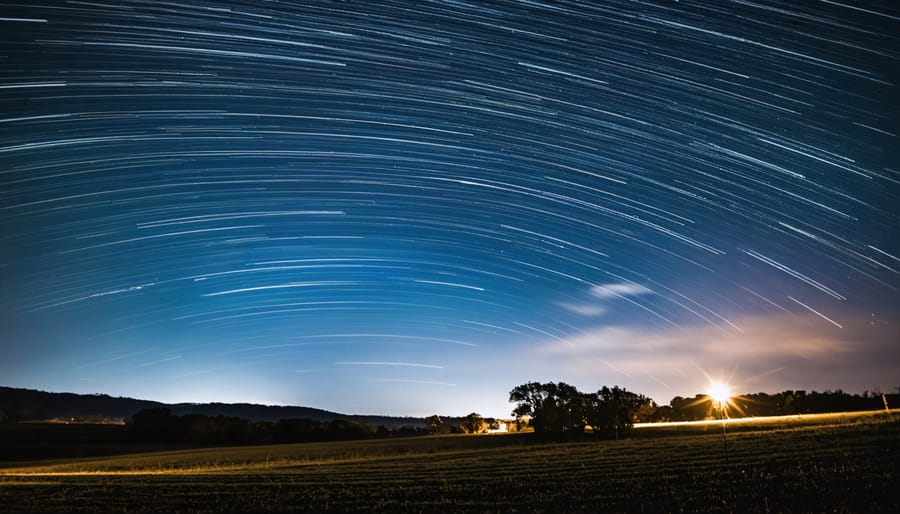
Whether you’re shooting star trails in the dead of night or freezing a hummingbird’s wings in mid-flight, mastering integration time unlocks a new dimension of photographic possibility. This foundational concept influences every frame you capture, working in concert with aperture and ISO to form the exposure triangle that defines modern digital photography.
Understanding Camera Integration Time
The Digital Sensor Process
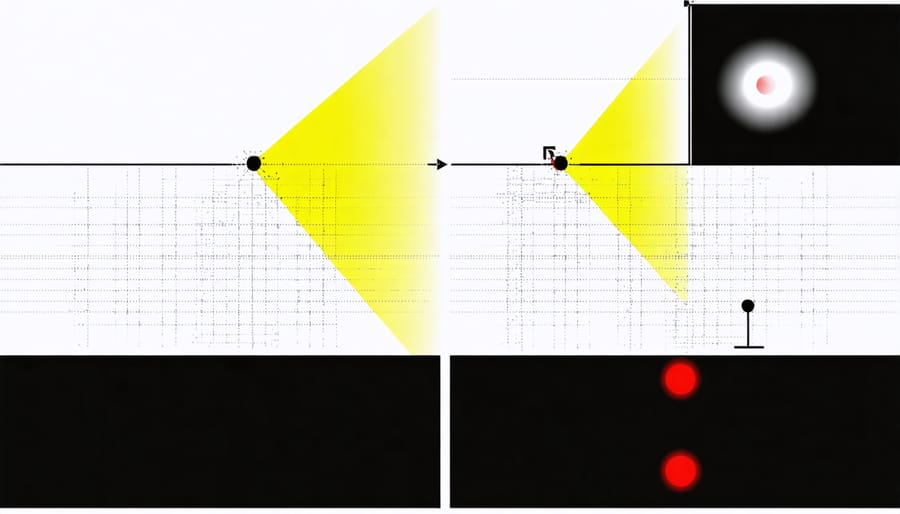
Digital sensors work like tiny light collectors, with each pixel acting as a bucket catching incoming photons during exposure. When light hits the sensor, it creates an electrical charge in each pixel, with brighter areas generating stronger charges than darker ones. This process continues throughout the entire integration time, which is essentially how long we allow these “buckets” to collect light.
Think of it like collecting rainwater: leave your bucket out longer, and you’ll collect more water. Similarly, a longer integration time allows more photons to accumulate in each pixel, resulting in a brighter image. The sensor’s pixels have a maximum capacity, though, just like a bucket can overflow. When pixels reach their full capacity, they can’t record any additional light information, leading to what photographers call “blown highlights” or overexposure.
Once the integration time ends, the sensor converts these accumulated electrical charges into digital values through an analog-to-digital converter (ADC). This process transforms the light information into the digital data that becomes your final image, with each pixel’s value representing its brightness level in the photograph.
Integration Time vs. Shutter Speed
While both integration time and shutter speed relate to the duration of light capture, they serve different purposes in photography. Traditional shutter speed refers to the mechanical or electronic action of the camera’s shutter opening and closing, typically measured in fractions of a second. Integration time, on the other hand, represents the total duration during which a digital sensor actively collects light data.
Think of shutter speed as the gateway controlling when light enters the camera, while integration time is how long the sensor processes that light. In most situations, these values align closely, but they can differ significantly in specialized photography scenarios. For instance, in astrophotography or scientific imaging, you might use longer integration times with multiple exposures while maintaining a consistent shutter speed.
The relationship becomes particularly interesting in modern electronic and mirrorless cameras, where the traditional mechanical shutter is often replaced by an electronic one. Here, the distinction between integration time and shutter speed becomes more nuanced, as the sensor can be programmed to collect light data independently of the shutter mechanism, offering greater flexibility in exposure control.
Software Control of Integration Time
Native Camera Apps
Native camera apps across different brands offer varying levels of software control options for integration time, with some providing more advanced features than others. Canon’s native app typically allows users to adjust exposure duration through their manual mode, presenting it as shutter speed rather than integration time. This setting can range from ultra-fast 1/8000th of a second to several seconds or even minutes in bulb mode.
Nikon’s interface provides similar control through their camera app, with the added benefit of an intuitive slider system that makes adjustments more user-friendly for beginners. Sony’s imaging apps stand out for their extended exposure options, particularly useful for astrophotography and low-light scenarios.
Smartphone manufacturers have also embraced integration time controls, with Apple’s ProRAW mode offering precise exposure adjustment through their native camera app. Google’s Pixel phones feature an astrophotography mode that automatically calculates optimal integration times for night sky shots.
For more specialized needs, many camera brands now include interval shooting modes that automate long exposure sequences. These built-in tools eliminate the need for third-party apps in many situations, though they may not offer the same depth of control as dedicated photography software.
Keep in mind that access to these controls often depends on your device’s specific model and firmware version, with higher-end cameras typically offering more extensive options.
Third-Party Integration
Many popular third-party applications have embraced integration time control, making it more accessible to photographers of all skill levels. Programs like Capture One, Adobe Lightroom Classic, and real-time camera control software offer intuitive interfaces for adjusting integration time settings directly from your computer.
These applications typically provide both basic and advanced control options. For instance, digiCamControl allows photographers to fine-tune integration time through simple slider controls, while more sophisticated solutions like BackyardEOS offer precise numerical input and automation capabilities for astrophotography.
Mobile apps have also joined the integration time control landscape. Apps like DSLR Controller for Android and Cascable for iOS enable remote adjustment of integration time settings, making it convenient for photographers working in challenging positions or conducting time-lapse photography.
What sets these third-party solutions apart is their ability to combine integration time control with other essential features. Many offer real-time previews, exposure simulation, and batch processing capabilities. Some even include advanced features like integration time bracketing and custom automation sequences.
For specialized photography niches, dedicated software solutions exist. Astrophotographers often use programs like Sequence Generator Pro, which provides precise integration time control optimized for long-exposure celestial photography. Similarly, scientific imaging software offers sophisticated integration time management for research and documentation purposes.
Practical Applications
Low-Light Photography
Low-light photography presents unique challenges that require careful consideration of integration time. When shooting in dimly lit environments, longer integration times allow more light to reach the sensor, but this approach comes with both benefits and potential pitfalls that photographers need to navigate.
The key to achieving high-quality photo results in low light is finding the sweet spot between exposure time and image clarity. Start by determining the lowest acceptable shutter speed for your subject. For static scenes, you might extend integration times to several seconds, while moving subjects may require faster speeds combined with higher ISO settings.
A practical approach is to begin with the reciprocal rule: set your shutter speed to 1/focal length. For instance, with a 50mm lens, start at 1/50th second. From there, experiment with longer integration times while maintaining stability through a tripod or image stabilization. Remember that extremely long integration times can introduce noise and reduce overall image sharpness.
Modern cameras often feature automatic long-exposure noise reduction, which takes a second “dark frame” to subtract sensor noise from your image. While this can improve image quality, it doubles your capture time, so consider disabling it when shooting time-sensitive scenes like star trails or city lights.
For handheld shots in low light, try to keep integration times under 1/60th second unless your lens or camera body features excellent stabilization. This helps prevent motion blur while still capturing enough light for a properly exposed image.
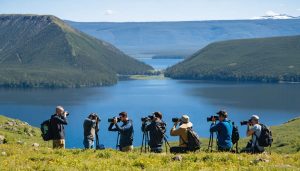
Action and Sports
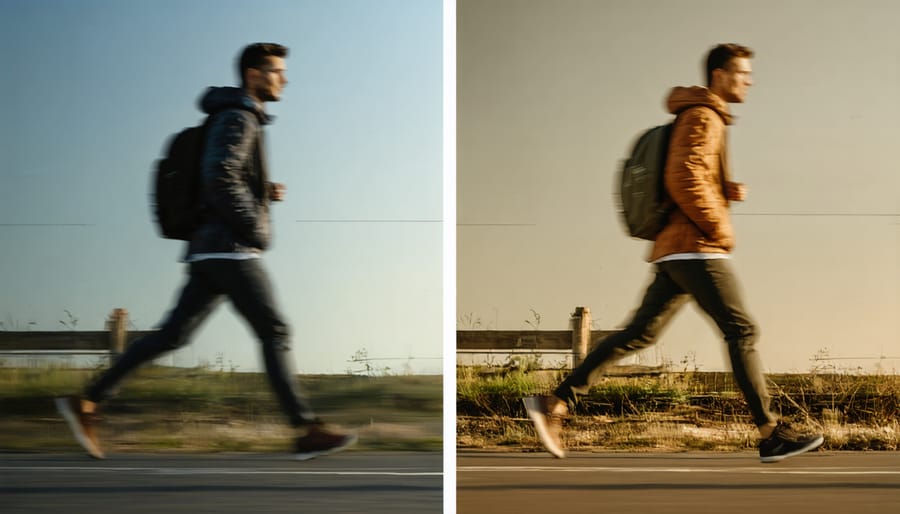
When photographing fast-moving subjects like sports events or wildlife, integration time becomes critically important. A long integration time can result in motion blur, which might be artistically desirable in some cases but is usually problematic when capturing action shots. Professional sports photographers typically aim for integration times of 1/1000th of a second or faster to freeze motion effectively.
Consider a baseball player swinging a bat – at the moment of impact, the bat tip can move at speeds exceeding 70 mph. To capture this moment crisply, you’ll need extremely short integration times. Similarly, when photographing motorsports or fast-moving animals, shorter integration times help maintain sharp details that might otherwise be lost to motion blur.
However, achieving these ultra-short integration times often requires careful balance with other camera settings. You might need to increase your ISO sensitivity or use a wider aperture to compensate for the reduced light gathering time. Modern cameras often feature specialized sports modes that automatically optimize these settings for action photography.
A practical approach is to start with a baseline of 1/500th of a second for most sports photography, then adjust based on your specific subject. For instance, indoor basketball might require different settings than outdoor track events due to lighting conditions. Remember that while faster integration times freeze motion more effectively, they also require more available light or higher ISO settings, which could affect image quality.
Astrophotography
Astrophotography represents one of the most demanding applications of camera integration time, where photographers often capture stunning images of the night sky using exposures ranging from several seconds to multiple hours. In this specialized field, longer integration times are essential for collecting enough light from dim celestial objects like distant galaxies, nebulae, and star clusters.
When shooting the night sky, photographers typically combine multiple long exposures, sometimes totaling several hours of integration time. For example, a detailed image of the Andromeda Galaxy might require 20 separate exposures of 3 minutes each, resulting in a total integration time of 60 minutes. This technique, known as stacking, helps reduce noise while bringing out faint details that would be impossible to capture in a single shot.
Modern cameras and tracking mounts have made long-exposure astrophotography more accessible to enthusiasts. These specialized mounts compensate for Earth’s rotation, allowing integration times of several minutes per exposure without star trailing. However, factors like light pollution, moon phase, and atmospheric conditions can significantly impact the required integration time.
For beginners, starting with shorter integration times of 15-30 seconds for basic Milky Way shots is recommended. As you gain experience, you can progress to longer exposures and more complex targets. Remember that successful astrophotography often requires patience and experimentation with different integration times to achieve the desired results.
Common Integration Time Challenges
Photographers often encounter several common challenges when dealing with integration time, but fortunately, most have straightforward solutions. One frequent issue is motion blur in low-light conditions, where longer integration times can make handheld shots nearly impossible. Using a sturdy tripod or increasing ISO sensitivity can help overcome this limitation, though you’ll need to balance noise levels with your desired outcome.
Another challenge is capturing fast-moving subjects, particularly in dim environments. Sports and wildlife photographers frequently face this dilemma. The solution often involves finding the sweet spot between acceptable noise levels and faster integration times, sometimes requiring external lighting to protect your photography workflow from unwanted blur.
Light flicker from artificial sources, especially LED lights, can create inconsistent exposure across frames when using faster integration times. This is particularly problematic in indoor sports venues or when shooting video. Using flicker detection features in modern cameras or adjusting your integration time to match the light source’s frequency can resolve these issues.
Temperature-related sensor noise becomes more pronounced with longer integration times, especially during night photography or astrophotography. Combat this by using your camera’s long-exposure noise reduction feature or shooting in cooler conditions when possible. Some photographers even use specialized cooling systems for their cameras during extended astronomical shoots.
Understanding camera integration time is crucial for achieving optimal exposure and image quality in your photography. Whether you’re capturing fast-moving subjects or working in challenging lighting conditions, mastering integration time settings can significantly improve your results. Remember to start with shorter integration times for moving subjects and well-lit scenes, gradually increasing the duration for low-light situations or when creating artistic effects. Experiment with different settings while considering your camera’s capabilities and your creative vision. By balancing integration time with other exposure parameters like ISO and aperture, you’ll have greater control over your final images. Keep practicing and don’t be afraid to push the boundaries – the perfect integration time setting often lies at the intersection of technical precision and artistic expression.