Panorama photography transforms ordinary scenes into sweeping visual narratives that capture the grandeur of landscapes, cityscapes, and architectural marvels in their full magnificence. This specialized photographic technique combines multiple images into a single, wide-format photograph that mirrors how our eyes naturally scan vast horizons. Whether you’re standing atop a mountain range or documenting the intricate details of an urban skyline, panoramic photography allows you to convey the breathtaking scale and depth of a scene that standard photography simply cannot achieve.
Far more than just wide-angle shots, true panoramas require precise technical execution, careful planning, and an understanding of specialized equipment and techniques. From the traditional film panoramic cameras of the past to today’s sophisticated digital stitching methods, this art form has evolved to become more accessible while maintaining its power to captivate viewers with immersive, ultra-wide perspectives that tell complete visual stories in a single frame.
What is Panorama Photography?

Types of Panoramic Images
Panoramic images come in several distinct varieties, each offering unique perspectives and serving different creative purposes. The three main types you’ll encounter in panoramic photography techniques are cylindrical, spherical, and linear panoramas.
Cylindrical panoramas are perhaps the most common type, wrapping around the photographer in a cylinder-like fashion. Imagine standing in the center of a room and rotating to capture the walls in a continuous strip. These panoramas work beautifully for landscapes and cityscapes, maintaining straight vertical lines while bending the horizon into a gentle curve.
Spherical panoramas take things a step further by capturing everything visible from a single point – including above and below. Also known as 360-degree panoramas, these immersive images let viewers explore in all directions, as if standing in the photographer’s shoes. They’re particularly popular in virtual tours and interactive web presentations.
Linear panoramas are the simplest form, created by stitching multiple photos in a straight line. Think of capturing a mountain range or a lengthy architectural façade. Unlike their curved cousins, linear panoramas maintain straight lines throughout the image, making them ideal for subjects that demand geometric accuracy.
Each type requires specific shooting techniques and equipment considerations, but all share the common goal of expanding our view beyond the limitations of standard camera frames.

When to Use Panoramic Photography
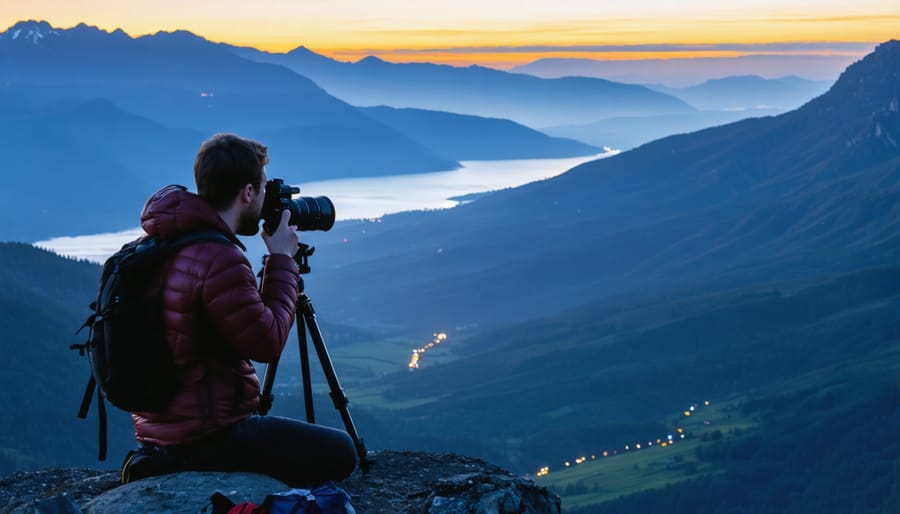
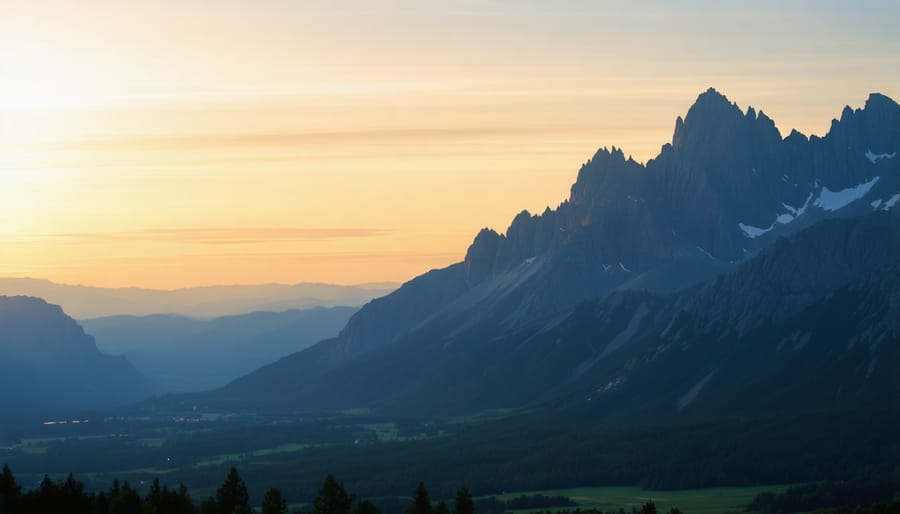
Panoramic photography truly shines in specific scenarios where traditional single-frame shots simply can’t capture the full majesty of a scene. Landscapes are perhaps the most obvious choice, with sweeping mountain ranges, vast deserts, and expansive coastlines being perfect candidates for panoramic treatment. The technique particularly excels at sunrise or sunset when the light stretches across the horizon.
Urban photography also benefits greatly from panoramic techniques. Cityscapes, especially from elevated viewpoints, can showcase the relationship between buildings, streets, and the surrounding environment in a way that’s impossible with standard frames. Historical architecture, like grand cathedrals or ancient ruins, often requires panoramic capture to document their full scale and detail.
Interior photography is another excellent application, particularly for real estate or architectural documentation. A well-executed panorama can give viewers a natural sense of space and flow within a room or building. Sports venues, concert halls, and other large gathering spaces are also ideal subjects, as panoramic shots can capture both the scale of the venue and the atmosphere of the event.
Nature photographers often use panoramic techniques for capturing wildlife habitats or documenting environmental changes over large areas. For overcoming common challenges in wildlife photography, consider reading about some common mistakes. The technique is also valuable for group photos with large numbers of people, especially when shooting space is limited.
Essential Equipment for Panorama Photography

Camera and Lens Requirements
While any modern digital camera can capture panoramic images, certain features make some cameras more suitable than others. A camera with manual exposure control is essential to maintain consistent lighting across all frames. DSLR and mirrorless cameras are ideal choices, as they offer the necessary control and image quality, though even advanced compact cameras can work well.
For lenses, a standard or slightly wide-angle lens typically works best, with focal lengths between 35mm and 50mm being most popular. While ultra-wide lenses might seem logical, they can create distortion that complicates the stitching process. Prime lenses often deliver superior results due to their consistent edge-to-edge sharpness, though high-quality zoom lenses can also perform admirably. To explore different lens options for your camera, consider checking out the best lenses for your Canon camera.
Essential features to look for include:
– Manual exposure settings
– Manual focus capability
– Raw format shooting
– A sturdy tripod mount
– Electronic level indicator (helpful but not mandatory)
Remember that the actual camera resolution matters less than consistent exposure and sharp focus across all frames. Even a mid-range camera can produce stunning panoramas when used correctly with proper technique.
Helpful Accessories
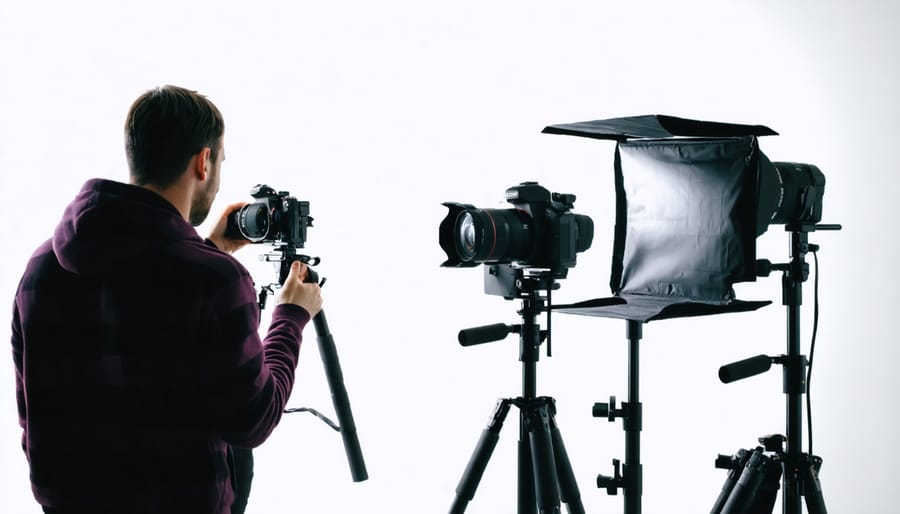
While a sturdy tripod is essential for panoramic photography, several other accessories can significantly enhance your results. A leveling base or panoramic head helps maintain precise horizontal alignment between shots, preventing distortion in the final image. Consider investing in a bubble level if your camera doesn’t have a built-in electronic level – this ensures straight horizons across all frames. A remote shutter release minimizes camera shake, complementing proper camera holding techniques. For challenging lighting conditions, a circular polarizing filter can help manage reflections and enhance colors consistently across your panorama sequence. Finally, memory cards with ample storage space are crucial, as panoramic sequences often require multiple high-resolution images.
Key Technical Considerations
Camera Settings
To capture stunning panoramas, it’s crucial to dial in the right optimal camera settings before you start shooting. Begin by switching your camera to manual mode to maintain consistent exposure across all frames. Set your ISO as low as possible (typically 100-200) to minimize noise, and choose an aperture between f/8 and f/11 for maximum depth of field and sharpness.
White balance should be locked to a manual setting rather than auto to ensure consistent color temperature throughout the sequence. For the sharpest results, use manual focus after focusing on your subject, then switch off autofocus to prevent the camera from refocusing between shots.
Shutter speed should be fast enough to prevent camera shake – generally 1/125th of a second or faster when shooting handheld. If you’re using a tripod, slower speeds are acceptable. Remember to shoot in RAW format to give yourself more flexibility during post-processing, and disable any automatic features like image stabilization that might interfere with smooth panning.
For best results, overlap each frame by about 30-40% to give your stitching software enough information to blend the images seamlessly.
Panoramic photography opens up a whole new world of creative possibilities, allowing you to capture breathtaking vistas and immersive scenes that standard photographs simply can’t match. Whether you’re photographing sweeping landscapes, bustling cityscapes, or detailed architectural interiors, the techniques and principles we’ve explored will help you create compelling panoramic images that tell a fuller story.
Remember that while specialized equipment can enhance your results, you can start creating panoramas with just your smartphone or basic camera. The key lies in proper technique: stable positioning, consistent settings, and adequate overlap between frames. Don’t be discouraged if your first attempts aren’t perfect – like any photographic skill, panoramic photography improves with practice and experimentation.
We encourage you to step out and start creating your own panoramic masterpieces. The satisfaction of capturing and sharing these wide-angle views makes the learning process worthwhile. Happy shooting!


