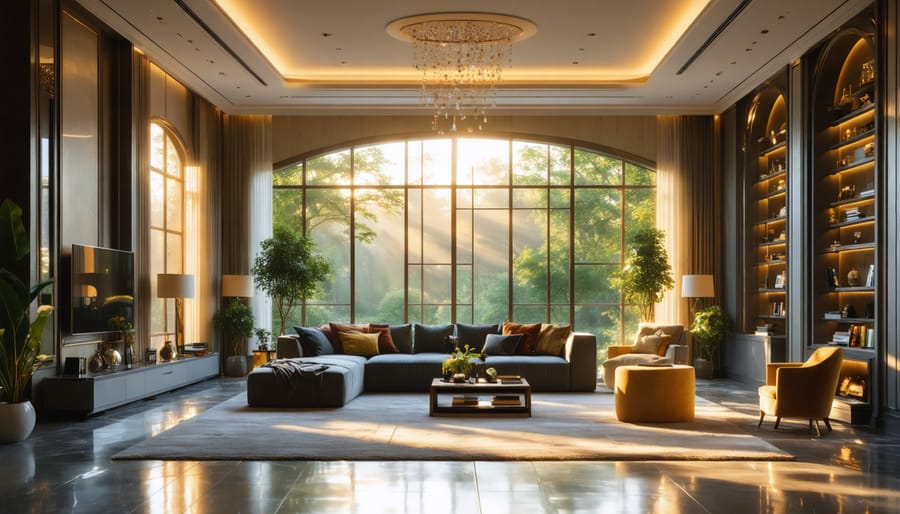
Mastering interior photography demands precise control over light and shadow to capture spaces in their most compelling form. Understanding how to manipulate natural and artificial lighting transforms ordinary room photos into professional-grade imagery. These indoor photography lighting tricks form the foundation of exceptional interior shots.
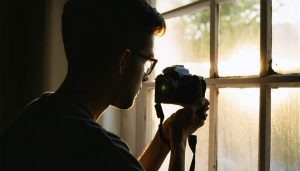
Natural light streaming through windows creates dramatic highlights and shadows, but managing its intensity and direction requires strategic timing and positioning. Position yourself perpendicular to windows during golden hour for warm, balanced illumination that enhances architectural details without harsh contrasts. When natural light falls short, layer artificial lighting using a combination of continuous LED panels and strategic flash placement to maintain depth while eliminating unwanted shadows.
The key to professional interior photography lies in understanding how different surfaces interact with light. Glossy floors, mirrors, and metallic fixtures require careful consideration to avoid hot spots and reflections, while textured walls and fabrics need targeted lighting to emphasize their dimensional qualities. Master these fundamentals, and every interior space becomes an opportunity to create compelling visual narratives that captivate viewers and showcase spaces at their absolute best.
Essential Lighting Equipment for Interior Photography
Natural vs. Artificial Light Sources
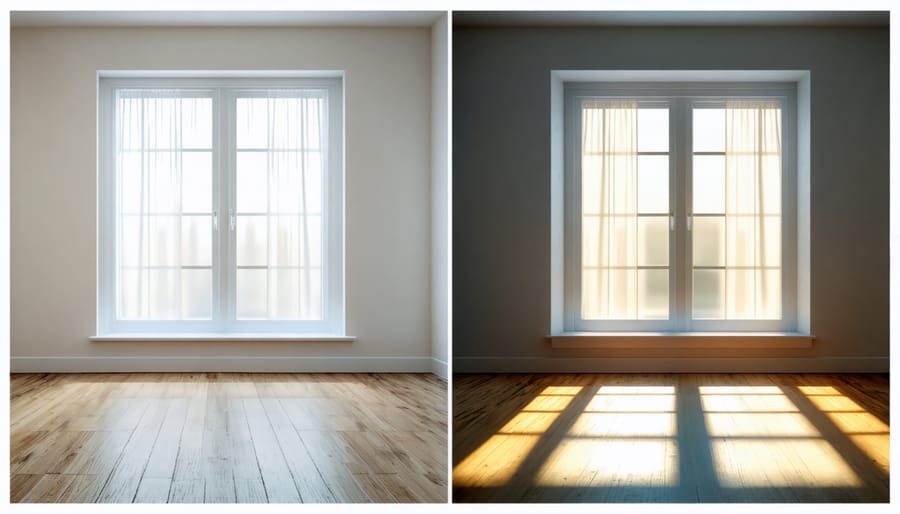
Understanding the interplay between natural and artificial light is crucial for creating stunning interior photographs. Natural light, streaming through windows and doors, offers a soft, organic quality that can bring warmth and authenticity to your images. It’s particularly effective during golden hour (early morning or late afternoon) when the light is warm and directional, creating beautiful shadows and highlights.
However, natural light isn’t always reliable or sufficient. This is where artificial lighting comes into play. Studio lights, speedlights, and LED panels each serve different purposes. Continuous LED lights are excellent for beginners as they allow you to see exactly how the light falls before taking the shot. Speedlights offer more power and flexibility but require practice to master. Studio strobes provide the most control and power but are less portable and typically more expensive.
When shooting interiors, consider combining both light sources. For example, you might use natural window light as your main light source while adding a subtle fill light from an LED panel to brighten dark corners. This hybrid approach often yields the most natural-looking results. Remember that artificial lights can be modified with diffusers, softboxes, or bounce cards to mimic the soft quality of natural light. If you’re new to managing different types of lighting, exploring tips on mastering light in photography can be an invaluable resource.
The key is understanding when to use each type of light. For real estate photography, natural light often works best during daytime shoots. For commercial interior work where consistency is crucial, artificial lighting provides more control and reliability, regardless of the time of day or weather conditions.
Must-Have Lighting Tools
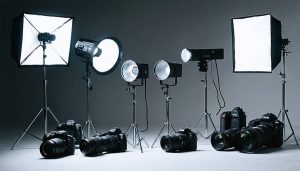
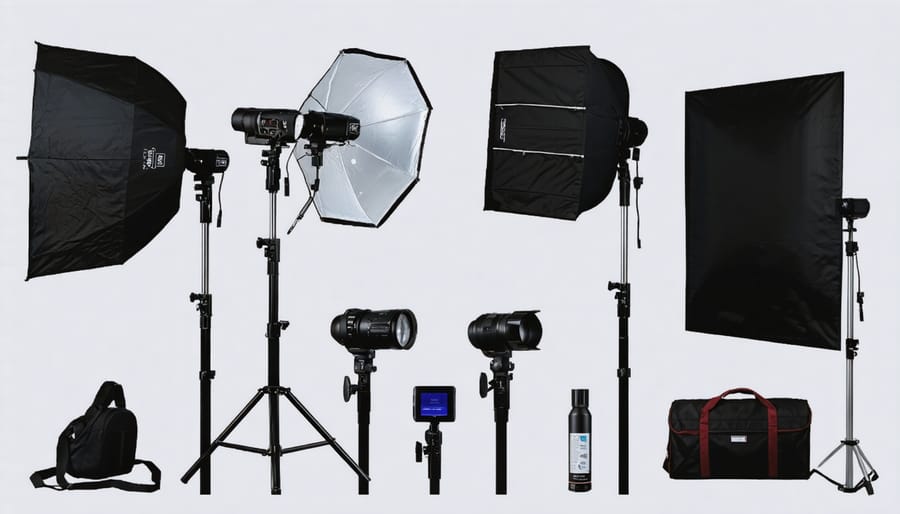
Having the right essential lighting equipment can make or break your interior photography. Let’s dive into the tools you’ll want in your kit.
First up is a reliable speedlight or flash unit. Look for one with TTL capability and wireless functionality – this gives you flexibility in positioning and automatic exposure control. Consider having at least two units for more complex setups.
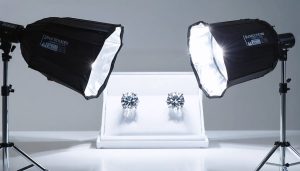
Diffusers are your best friends for creating soft, natural-looking light. A collapsible softbox (24-inch minimum) helps transform harsh flash into gentle, window-like illumination. White shoot-through umbrellas are another versatile option, especially in tight spaces.
Light stands are non-negotiable – invest in sturdy ones that can handle the weight of your modifiers. Get at least two standard stands and one compact stand for tight corners. Don’t forget sandbags for stability!
For control and precision, pick up a set of grid attachments and barn doors. These help direct light exactly where you want it, preventing unwanted spill. A collection of neutral density gels lets you balance flash with ambient light.
Finally, grab a light meter and a set of radio triggers. While not strictly modifiers, they’re crucial for achieving consistent, professional results. A color checker passport helps maintain accurate colors across different lighting conditions.
Remember, you don’t need everything at once – start with the basics and build your kit as you grow.
Core Lighting Techniques for Different Room Types
Living Room and Large Spaces
Lighting large spaces like living rooms presents unique challenges, but with the right approach, you can achieve stunning results. The key is to create layers of light that work together harmoniously while avoiding harsh shadows and uneven illumination.
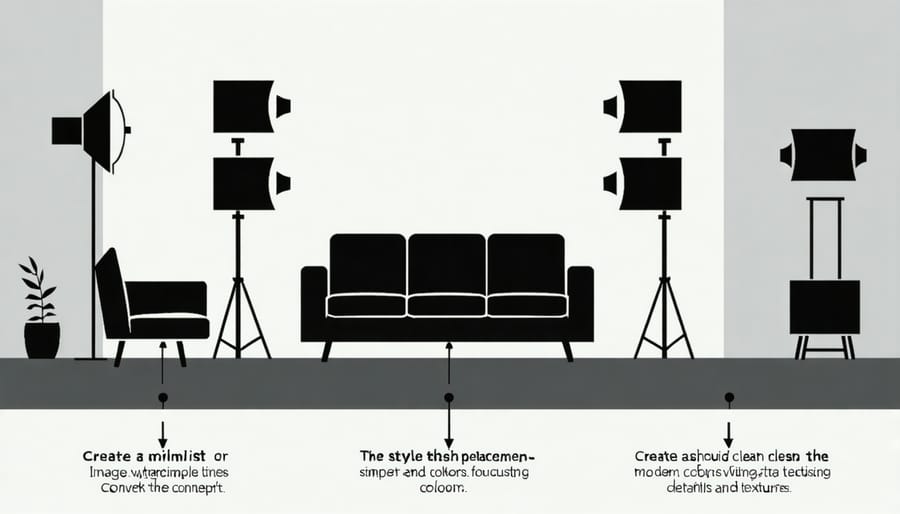
Start by utilizing available natural light through windows and glass doors. Position your camera to make the most of this light source, but be prepared to supplement it. Large softboxes placed strategically in corners can provide broad, even illumination that mimics natural light. For optimal results, position them at 45-degree angles to your subject area.
Multiple speedlights with diffusers can help fill shadows and create depth in larger spaces. Place them behind furniture or in corners, pointing them toward the ceiling or walls to bounce the light and create a more natural feel. This technique, known as bounce flash, helps prevent the artificial “flash” look that direct lighting can create.
For spaces with high ceilings, consider using tall light stands with umbrella modifiers. These create a broader spread of light that can reach both the foreground and background elements effectively. Remember to balance your lighting ratios – aim for a 2:1 or 3:1 ratio between your main and fill lights to maintain natural-looking depth.
To prevent flat-looking images, incorporate accent lights to highlight architectural features or artwork. Small LED panels can be particularly useful for this purpose, offering precise control over where the light falls.
Kitchen and Bathroom Photography
Kitchens and bathrooms present unique challenges in interior photography due to their highly reflective surfaces and typically confined spaces. The key to success lies in managing these reflections while maintaining proper exposure and color accuracy.
When shooting kitchens, position your lights at 45-degree angles to minimize direct reflections from appliances and countertops. Use diffused light sources, such as softboxes or bounce flash, to create even illumination without harsh hotspots. For stainless steel appliances, consider using polarizing filters to reduce glare and maintain detail.
In bathrooms, mirrors pose the biggest challenge. To avoid capturing yourself or your equipment in reflections, work from an angle and use a longer focal length lens. Position your main light source outside the bathroom door when possible, using it to create directional light that highlights fixtures without causing problematic reflections.
For both spaces, multiple small light sources often work better than one large one. LED panels or compact speedlights can be tucked into corners or mounted high on light stands to illuminate dark spots without overwhelming the space. Remember to balance artificial light with any natural light coming through windows to maintain a realistic feel.
When dealing with tight spaces, consider focus stacking techniques to maintain sharpness throughout the frame, especially when shooting close to fixtures or details. HDR photography can also help manage the extreme contrast often found in these rooms, particularly when shooting during bright daylight hours.
Bedroom and Small Room Setups
Photographing smaller spaces like bedrooms and compact rooms presents unique challenges, but with the right lighting techniques, you can create stunning images that feel spacious and inviting. The key is to work with layers of light while being mindful of space constraints.
Start by positioning your main light source near the doorway or room entrance, as this often provides the most working space. A softbox or large umbrella diffuser works well here, but if space is truly tight, consider using a speedlight with a bounce card to create softer, more flattering light.
Window light can be your best friend in small rooms. Position your camera to capture both the natural light source and its gradual fall-off across the room. This creates depth and helps prevent the space from appearing flat in your images. If shooting during daytime, use sheer curtains to diffuse harsh sunlight and create a more ethereal atmosphere.
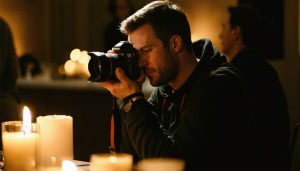
For bedrooms specifically, consider using practical lights like bedside lamps to add warmth and create multiple points of interest. Place small LED panels behind furniture or in corners to add subtle rim lighting, which helps separate elements and creates the illusion of more space.
Remember to avoid wide-angle distortion by stepping back as far as possible and using a longer focal length. This helps maintain natural proportions while still capturing the entire room. When space permits, use a reflector opposite your main light to fill shadows and balance the overall exposure.
Window and Mixed Lighting Scenarios
Working with mixed lighting scenarios is one of the most challenging yet rewarding aspects of interior photography. When natural light streams through windows, it creates a beautiful ambiance, but it can also pose exposure challenges when combined with artificial lighting.
The key to mastering window and mixed lighting lies in understanding the color temperature differences. Natural daylight typically runs cooler (bluer) than indoor lighting, which tends to be warmer (more yellow). To create a harmonious look, start by deciding which light source will be your primary illumination. If you’re emphasizing natural light, consider turning off artificial lights and using reflectors to bounce window light into darker areas.
For balanced results, try setting your white balance to match your dominant light source. Then, use gels on your artificial lights to match the color temperature of the natural light, or vice versa. A common technique is to place a CTO (Color Temperature Orange) gel on flash units when working with daylight to create a seamless blend. You can dig deeper into these light management techniques to further refine your approach.
Window treatments can be your allies in controlling natural light. Sheer curtains act as natural diffusers, softening harsh sunlight and reducing contrast. For rooms with multiple windows, you might need to selectively control the light entering each one to achieve the desired effect. Consider shooting during the golden hour when natural light is warmer and more flattering, making it easier to blend with artificial sources.
Remember that timing is crucial – the angle and intensity of natural light changes throughout the day, so plan your shoots accordingly.
Advanced Lighting Solutions
Multiple Flash Techniques
Mastering multiple flash techniques can transform your interior photography from amateur to professional-grade. Think of each flash as a performer in an orchestra – they need to work in perfect harmony to create something spectacular.
Start by positioning your main flash as the key light, typically at a 45-degree angle to your subject. This will be your primary light source. Then, add a second flash as your fill light to soften shadows and provide balanced illumination. Position it opposite your key light, but at a lower power setting – usually about half the intensity of your main flash.
For more depth and dimension, introduce a third flash as a rim or accent light. Place it behind your subject to create separation from the background. When working with multiple flashes, remember to:
– Use different power settings for each flash to create hierarchy
– Trigger them simultaneously using radio transmitters
– Consider using colored gels to add warmth or cool tones
– Test each light individually before combining them
Pro tip: Start with just two flashes until you’re comfortable with the setup, then add more as needed. Use light modifiers like softboxes or umbrellas to shape the light quality. Remember to take test shots between adjustments – small changes in flash position or power can dramatically impact your final image.
Problem-Solving Difficult Spaces
Interior photographers often encounter challenging spaces that can test their lighting skills to the limit. Small bathrooms with no natural light, large rooms with mixed lighting sources, and spaces with dark corners all present unique obstacles. Here’s how to tackle these common challenges effectively.
For windowless bathrooms, consider using a portable LED panel positioned near the doorway to create soft, even illumination. Bounce the light off the ceiling or a nearby wall to minimize harsh reflections on mirrors and fixtures. If space permits, a second light source placed behind the camera can help eliminate unwanted shadows.
Large rooms with mixed lighting require careful color temperature management. Start by deciding whether to match the ambient lighting or overpower it completely. Using gels on your flash units can help balance different light sources, ensuring consistent color throughout the space. For rooms with high ceilings, bouncing flash off walls rather than the ceiling often produces more controlled results.
Dark corners can be particularly troublesome in real estate and architectural photography. Try placing a small flash unit or LED light behind furniture to create subtle fill light. This technique, known as “hiding lights,” helps maintain a natural look while ensuring no area appears too dark or disconnected from the main space.
When dealing with rooms that have strong exterior light, use HDR techniques combined with strategic fill lighting to balance the exposure. This approach helps maintain detail in both the interior and through windows while creating a cohesive, professional look. For more advanced guidance, you might explore concepts like illuminating your artistry with light.
Color Temperature Management
Color temperature management is one of the trickiest aspects of interior photography, especially when dealing with mixed lighting sources. Daylight streaming through windows, tungsten bulbs in lamps, and fluorescent ceiling lights can all create a chaotic mix of colors that can ruin your shots if not properly managed.
The key to maintaining consistent color starts with understanding that different light sources have different color temperatures, measured in Kelvin (K). Natural daylight typically ranges from 5500-6500K, while indoor tungsten lights are usually around 2700-3000K. This difference explains why interior shots often have an unwanted orange or blue cast.
To combat this, start by choosing a primary light source and adjusting other lights to match. If you’re working with natural light, you can use CTO (Color Temperature Orange) gels on your artificial lights to match daylight. Conversely, if artificial lighting is your main source, use CTB (Color Temperature Blue) gels on lights to match tungsten temperatures.
White balance is your next crucial tool. Using a gray card or color checker passport helps ensure accurate colors across all your shots. Consider shooting in RAW format, which gives you more flexibility to adjust white balance in post-processing without losing image quality.
For consistent results, try to eliminate mixed lighting altogether by either blocking out natural light with blinds or turning off artificial lights. This gives you complete control over your lighting situation and ensures color consistency throughout your shoot.
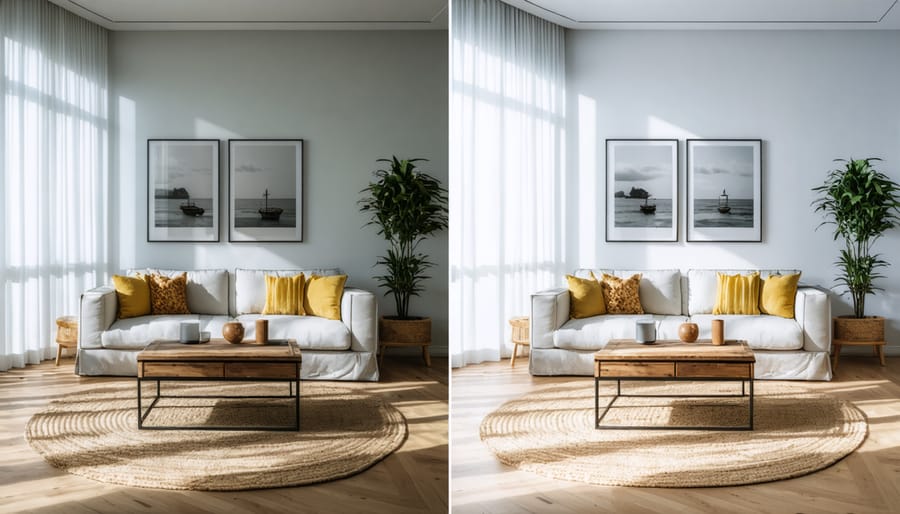
Post-Processing Tips for Interior Lighting
After capturing your interior shots, mastering post-processing tips can elevate your images from good to exceptional. Start by adjusting the white balance to ensure natural-looking colors, particularly when dealing with mixed lighting situations. Many interiors have both natural and artificial light, which can create conflicting color temperatures that need harmonizing in post.
Focus on recovering shadow details without losing the natural contrast of the space. Use selective adjustments to brighten darker corners while maintaining the room’s ambient atmosphere. The graduated filter tool is particularly useful for balancing bright windows with darker interiors – pull back highlights in window areas while gently lifting shadows in the foreground.
Color management is crucial in interior photography. Pay special attention to removing unwanted color casts, especially those created by reflected light bouncing off colored walls or furniture. Use HSL adjustments to fine-tune specific colors without affecting the entire image.
Lens corrections should be applied to eliminate distortion, particularly in wide-angle shots of small spaces. Remove any converging vertical lines using perspective correction tools to ensure walls appear perfectly straight. This maintains the architectural integrity of the space while creating a more professional look.
Consider using luminosity masks for precise exposure blending when working with bracketed shots. This technique helps achieve a natural-looking balance between interior and exterior brightness levels. Remember to keep your adjustments subtle – over-processed interior photos can look artificial and lose the warmth that makes spaces inviting.
Finally, pay attention to removing minor distractions through careful spot removal. Clean up any sensor spots, small objects left in frame, or reflection issues that might have been missed during shooting. The goal is to enhance the natural beauty of the space while maintaining authenticity in your final image.
Mastering interior photography lighting is a journey of continuous learning and experimentation. Throughout this guide, we’ve explored essential techniques that can transform your interior shots from ordinary to extraordinary. Remember that successful interior photography relies on the careful balance of natural and artificial light, understanding your camera settings, and having the right equipment at your disposal.
The key takeaways from our discussion include the importance of understanding light direction and quality, the strategic use of diffusers and reflectors, and the value of multiple light sources in creating depth and dimension. We’ve also learned that different rooms present unique challenges, requiring adaptable approaches and creative problem-solving.
To continue developing your interior photography skills, start by practicing these techniques in your own space. Begin with natural light and gradually incorporate artificial lighting as you become more comfortable. Document your results, noting what works and what doesn’t in different situations. Join photography communities to share your work and learn from others’ experiences.
Consider investing in basic lighting equipment first, such as a speedlight and a diffuser, before moving on to more advanced gear. Remember that even the most sophisticated equipment won’t compensate for poor technique – focus on mastering the fundamentals we’ve covered here.
Most importantly, don’t be afraid to experiment and develop your own style. The techniques we’ve discussed are guidelines, not rigid rules, and the most compelling interior photographs often come from photographers who understand the basics but aren’t afraid to push creative boundaries.

