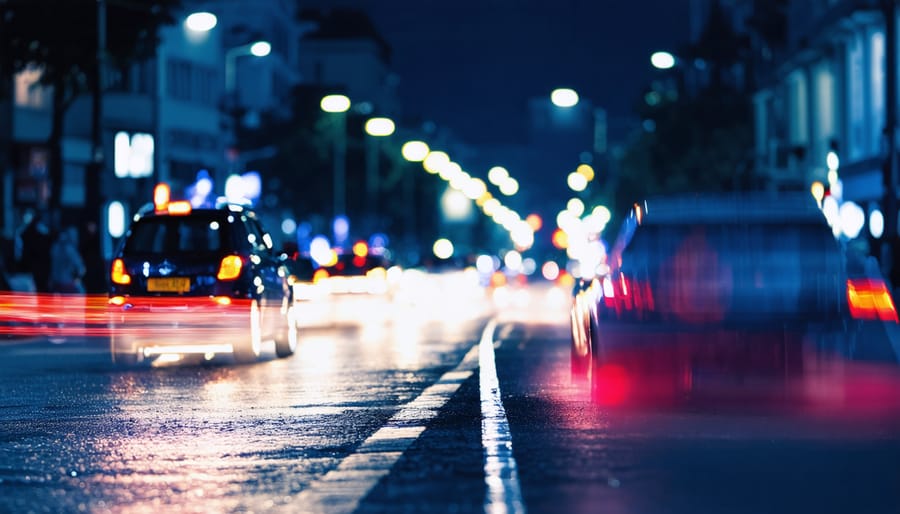
Master the challenges of low light photography by pushing your ISO higher than you think—modern cameras handle noise remarkably well up to ISO 3200 and beyond. Open your aperture wide to f/1.8 or f/2.8, creating a gateway for maximum light while producing that coveted bokeh effect in dimly lit scenes. Stabilize your camera with a sturdy tripod and employ night photography techniques like using a remote shutter release to eliminate camera shake during longer exposures. Every compelling low light image starts with understanding your camera’s exposure triangle—aperture, shutter speed, and ISO—but thrives on creative vision and technical precision. Whether you’re capturing the pulse of city nightlife or the subtle drama of indoor portraits, these foundational elements transform challenging lighting conditions into opportunities for extraordinary photography.
Understanding Your Camera’s Low Light Capabilities
ISO Settings: Finding the Sweet Spot
Understanding ISO settings is crucial for low light photography, but finding the right balance can be tricky. While higher ISO values allow you to capture more light, they also introduce digital noise that can degrade image quality. The key is finding your camera’s sweet spot – the highest ISO setting you can use while maintaining acceptable image quality.
Most modern cameras perform well up to ISO 1600 or 3200, but this varies significantly between models. Start by testing your camera at different ISO settings in low light conditions. Take test shots at ISO 800, 1600, 3200, and 6400, then examine them at 100% magnification on your computer. Look for the point where noise becomes unacceptable for your standards.
Remember that some noise is better than a blurry photo. If you’re shooting a moving subject or need a faster shutter speed to avoid camera shake, don’t be afraid to push your ISO higher. Modern noise reduction software can help clean up grainy images, but nothing can fix motion blur.
Consider these factors when choosing your ISO:
– Subject movement
– Available light
– Your camera’s capabilities
– The final output size of your images
– Whether you’re shooting RAW or JPEG
Pro tip: If you’re shooting RAW, you can usually push your ISO one stop higher than with JPEG, as you’ll have more flexibility in noise reduction during post-processing.
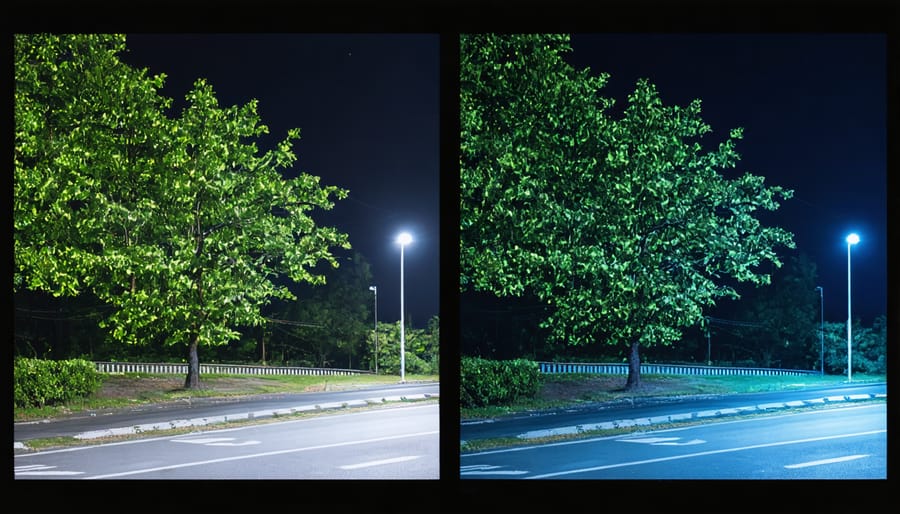
Maximum Aperture: Why It Matters
Maximum aperture is a critical factor in low light photography, as it determines how much light your lens can gather. Think of your lens aperture like the pupil of your eye – the wider it can open, the more light it lets in. A lens with a larger maximum aperture (indicated by a smaller f-number like f/1.8 or f/1.4) allows significantly more light to reach your camera’s sensor compared to one with a smaller maximum aperture (like f/4 or f/5.6).
This light-gathering capability becomes especially valuable when shooting in dim conditions. A lens with a maximum aperture of f/1.8 lets in about four times more light than one that only opens to f/3.5, allowing you to use faster shutter speeds or lower ISO settings. This flexibility is crucial for maintaining image quality and reducing noise in your photos.
Consider this practical example: shooting an indoor concert with a kit lens that maxes out at f/3.5 might force you to use ISO 6400 to get a properly exposed image. The same shot with an f/1.8 lens could potentially be captured at ISO 1600, resulting in significantly cleaner images with better detail and color reproduction.
When choosing lenses for low light photography, prioritize those with larger maximum apertures. While these “fast” lenses often come with a higher price tag, the improvement in image quality and shooting flexibility makes them a worthwhile investment for serious low light photography. For those seeking compatible options, exploring the compatibility of Canon lenses might be beneficial.
Essential Camera Settings for Low Light
Manual Mode Mastery
When shooting in low light conditions, mastering manual mode becomes your secret weapon for consistently stunning images. Understanding and controlling your essential camera settings for low light photography gives you the power to capture exactly what you envision.
Start by setting your ISO manually, rather than letting it float in auto mode. While higher ISO values can help in darkness, they also introduce noise. Finding the sweet spot – typically between 800 and 3200 on modern cameras – balances light sensitivity with image quality.
Aperture control becomes crucial in low light scenarios. Opening up to your lens’s widest aperture (lowest f-number) lets in maximum light, though be mindful of your depth of field. A setting of f/1.8 or f/2.8 often works well for low light situations while maintaining acceptable sharpness.
Shutter speed is where many photographers struggle in dark conditions. Instead of letting the camera guess, determine the slowest speed you can hand-hold (typically 1/focal length) or use a tripod for longer exposures. Don’t be afraid to push boundaries – sometimes a slightly blurry shot with the right exposure beats a sharp but underexposed image.
Remember to use your camera’s spot metering mode for precise exposure readings of your subject. This prevents the camera from being fooled by bright backgrounds or dark shadows. Combined with exposure compensation, you’ll have fine-tuned control over your final image’s brightness and mood.
Practice these manual controls in various low light situations until they become second nature. Your confidence will grow, and you’ll find yourself creating images that perfectly capture the atmosphere of dimly lit scenes.
Raw vs. JPEG in Low Light
When shooting in low light conditions, your choice between RAW and JPEG can significantly impact the final quality of your images. RAW format is particularly valuable in challenging lighting situations because it captures all the data from your camera’s sensor, giving you much more flexibility during post-processing.
Think of RAW files as your digital negative – they contain all the information about the scene, including details in both shadows and highlights that might be lost in JPEG format. This becomes crucial when shooting in low light, as you’ll often need to recover shadow details or adjust exposure without introducing unwanted noise or artifacts.
JPEG files, while more convenient and space-saving, apply in-camera processing and compression that can limit your ability to make significant adjustments later. In low light situations, this compression can make noise more pronounced and reduce your ability to rescue underexposed areas of your image.
Here’s why RAW is particularly beneficial for low light photography:
– Greater dynamic range preservation
– Better noise reduction control
– More latitude in exposure adjustments
– Enhanced ability to adjust white balance
– Higher bit depth for smoother tonal transitions
However, remember that RAW files require more storage space and processing power. They also need to be processed before sharing, unlike JPEGs which are ready to use straight out of camera. For critical low light work where image quality is paramount, the extra effort of shooting in RAW is usually worth it. If you’re shooting casual snapshots or need immediate results, JPEG might still be a suitable choice.
Consider shooting RAW+JPEG if you’re unsure – this gives you the best of both worlds, though it does use more storage space.
Stabilization Techniques
Handheld Photography Tips
When shooting without a tripod in low light conditions, mastering proper camera holding techniques becomes crucial. Start by keeping your elbows tucked close to your body and creating a stable triangle between your arms and face. This natural stance significantly reduces camera shake.
To maximize stability, control your breathing – take a slow breath, hold it gently, and press the shutter button during this pause. Use available surfaces like walls, tables, or lamp posts as makeshift supports when possible. In situations where you can’t find support, widening your stance and slightly bending your knees can help maintain balance.
For sharper images, enable your camera’s image stabilization if available. Combine this with a slightly higher ISO setting – don’t be afraid to push to ISO 1600 or even 3200 if your camera handles noise well. Using burst mode can also increase your chances of capturing at least one sharp frame.
Remember to use faster shutter speeds when possible; a good rule of thumb is to keep your shutter speed at least equivalent to your focal length (e.g., 1/50s for a 50mm lens). If light permits, opening up your aperture to its widest setting not only allows more light but also enables faster shutter speeds, reducing the impact of camera shake.
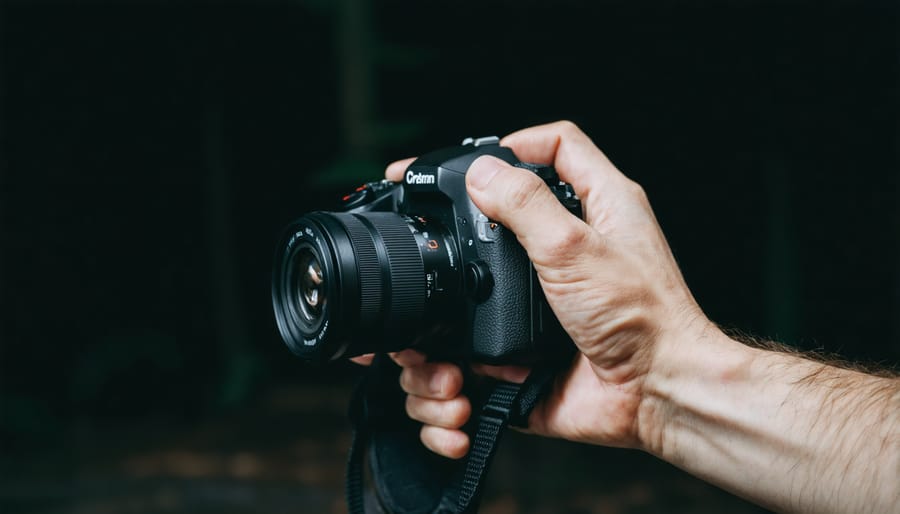
Tripod and Support Options
A sturdy tripod is non-negotiable for successful low light photography, serving as your first line of defense against camera shake and blur. When selecting a tripod, prioritize stability over portability, though modern carbon fiber options offer an excellent balance of both. Look for models with adjustable legs and a reliable locking mechanism to ensure your camera remains perfectly still during long exposures.
Beyond the basic tripod, consider investing in a ball head mount for smooth adjustments and quick composition changes. A remote shutter release or wireless trigger is another valuable addition, eliminating the subtle vibrations caused by pressing the camera’s shutter button.
For situations where traditional tripods aren’t practical, alternative support systems can be lifesavers. A monopod offers mobility while still providing stability, perfect for events or crowded spaces. Mini tripods or tabletop supports are excellent for travel and impromptu shots. Even a simple beanbag can serve as an effective camera support when placed on walls, railings, or other stable surfaces.
Don’t forget about tripod maintenance – regularly check and tighten all joints and locks. In windy conditions, hang your camera bag from the tripod’s center hook for added stability. When shooting on uneven terrain, retractable spike feet can provide extra grip and security. Remember, even the most expensive camera can’t compensate for an unstable support system in low light conditions.
Creative Lighting Solutions
Natural Light Sources
Natural light can be your best friend in low-light situations when you know how to work with it. The key to mastering available light lies in understanding its qualities and behavior during different times of the day.
During the “blue hour” – that magical period just before sunrise or after sunset – you’ll find soft, diffused light that’s perfect for atmospheric shots. The ambient light during this time creates a natural blue cast that can add mood to your images without requiring additional equipment.
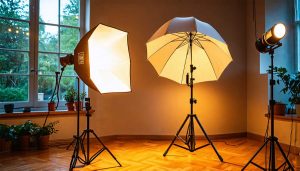
Window light is another powerful natural source, especially for indoor photography. Position your subject at a 45-degree angle to a window to create dramatic side lighting, or face them directly toward the window for even illumination. On overcast days, windows act as giant softboxes, providing beautifully diffused light that’s ideal for portraits and still life photography.
Urban environments offer unique opportunities with street lamps, neon signs, and architectural lighting. These sources can create interesting color combinations and dramatic shadows that add depth to your nighttime shots. Look for reflective surfaces like wet pavements or glass buildings, which can multiply available light sources and create compelling compositions.
Remember that the direction and quality of natural light changes throughout the day, so timing your shoots accordingly can make a significant difference in your results. Sometimes, the most striking low-light photos come from embracing and working with the minimal light available rather than fighting against it.
Artificial Light Techniques
Artificial light can be both a blessing and a challenge in low light photography. Street lamps, neon signs, and storefront displays offer unique opportunities to create compelling images with distinctive moods and color temperatures. To work effectively with artificial light, position your subject to take advantage of the light’s direction and intensity. For example, a subject standing beneath a street lamp can create dramatic shadows and highlights that add depth to your image.
Color temperature varies significantly among artificial light sources. Sodium vapor street lights cast an orange glow, while LED displays might emit cool blue tones. Instead of fighting these color casts, embrace them as creative elements in your composition. You can even use multiple light sources with different colors to create interesting contrasts and add depth to your scenes.
When shooting in areas with mixed artificial lighting, consider using your camera’s custom white balance feature to achieve more accurate colors. Alternatively, shoot in RAW format to have more flexibility in adjusting white balance during post-processing.
Light painting is another creative technique to explore with artificial light sources. Using slow shutter speeds, you can capture light trails from passing cars or create interesting effects with handheld light sources. Remember that artificial lights can also create lens flare – an effect you can either minimize using a lens hood or incorporate deliberately as a creative element in your composition.
To prevent harsh shadows when working with overhead artificial lights, consider using a reflector or positioning your subject at an angle that distributes the light more evenly across their features.
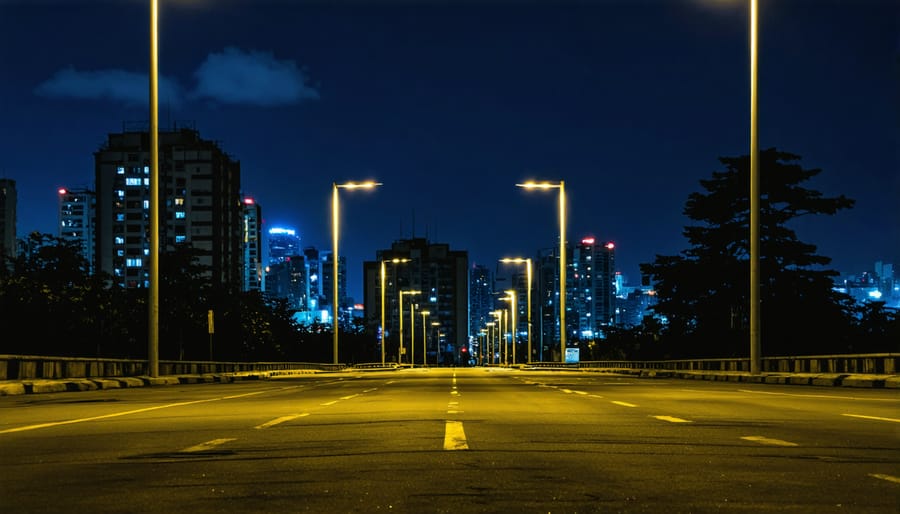
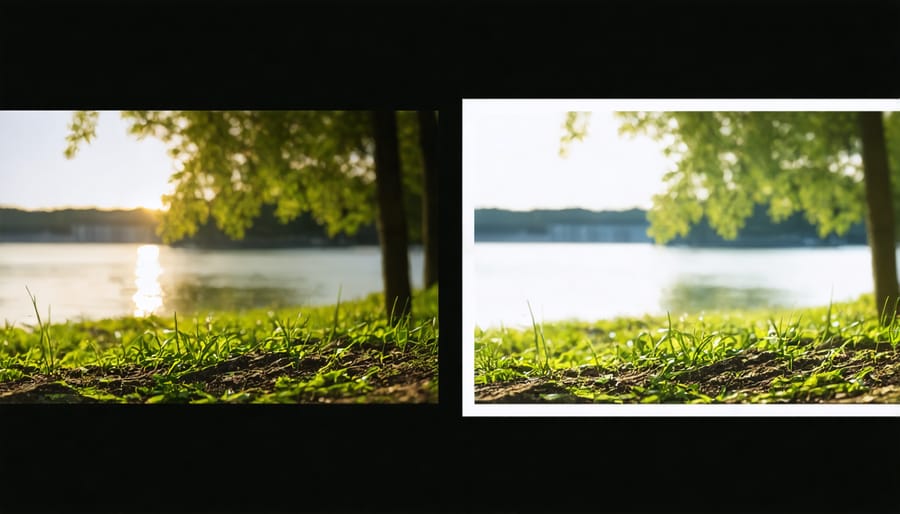
Post-Processing for Low Light Images
Noise Reduction Strategies
Digital noise can be a persistent challenge in low light photography, but several effective software techniques can help you achieve cleaner, more professional-looking images. The key is to start with the best possible RAW file and then apply noise reduction strategically during post-processing.
Begin by using your editing software’s luminance noise reduction slider carefully. Start with a setting around 25-30 and adjust gradually while watching the effect on both smooth areas and detailed sections of your image. Pay special attention to maintaining fine details, as aggressive noise reduction can make your photos appear artificial or plasticky.
Color noise reduction typically requires a lighter touch. Most modern cameras handle color noise well, so a setting between 10-15 usually suffices. When working with higher ISO images, consider using selective noise reduction by creating masks for different areas of your photo. This allows you to apply stronger reduction to smooth areas like skies while preserving detail in textured regions.
For challenging shots, consider image stacking techniques. By taking multiple exposures of the same scene and combining them in post-processing, you can effectively average out random noise while maintaining sharpness. Many photographers also find success using specialized noise reduction software like DxO PureRAW or Topaz DeNoise AI for particularly demanding situations.
Remember that some grain can add character to your images, especially in black and white photography. Don’t feel compelled to eliminate every trace of noise if it contributes to your creative vision. To advance further in editing techniques, exploring how to transform your photos like a pro may be beneficial.
Color and Exposure Adjustment
In low light photography, thoughtful color and exposure adjustments during post-processing can transform an underexposed image into a compelling visual story. Start by assessing your image’s histogram to understand the distribution of light and shadow. Rather than dramatically increasing overall exposure, work with selective adjustments to preserve the moody atmosphere while enhancing crucial details.
When adjusting exposure, focus first on recovering shadow details in areas you want viewers to notice, using targeted adjustments rather than global changes. This helps maintain the natural darkness of the scene while ensuring important elements remain visible. Pay special attention to your subject’s features or architectural details that might otherwise be lost in shadow.
Color temperature adjustments can significantly impact the mood of your low light images. Warmer tones can create an intimate, cozy feeling, while cooler temperatures might better suit urban nightscapes. Don’t be afraid to embrace some color cast from artificial lighting – it can add character to your image, though you’ll want to correct any unflattering tints.
Noise reduction requires a delicate balance. Apply it sparingly to maintain image detail, focusing on areas where noise is most distracting. Consider using luminance noise reduction more heavily than color noise reduction, as this often produces more natural-looking results. Finally, make subtle clarity and contrast adjustments to enhance depth without creating an artificial look.
Mastering low light photography is a journey that requires both technical knowledge and creative vision. Throughout this guide, we’ve explored essential techniques from choosing the right camera settings to selecting appropriate gear and post-processing methods. Remember that successful low light photography starts with understanding your camera’s capabilities, particularly in terms of ISO performance and manual controls.
The key takeaways include working with wider apertures, stabilizing your camera effectively, and understanding the balance between ISO and noise. Don’t be afraid to push your camera’s limits, but always be mindful of maintaining image quality. The magic often happens during the golden and blue hours, so timing your shoots can be just as crucial as technical expertise.
Practice is your best teacher in low light photography. Start with simple indoor setups where you can control the lighting conditions, then gradually move to more challenging outdoor nighttime scenarios. Experiment with different techniques we’ve discussed, from long exposures to light painting, and develop your unique style.
Keep in mind that even professionals don’t get every shot perfect on the first try. Be patient with yourself, and don’t hesitate to revisit locations multiple times to capture the perfect image. With dedication and consistent practice, you’ll find that challenging low light situations transform into creative opportunities for stunning photographs that stand out from the crowd.
Get out there, embrace the darkness, and start creating your own masterpieces in low light!

