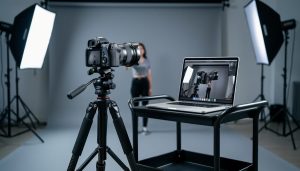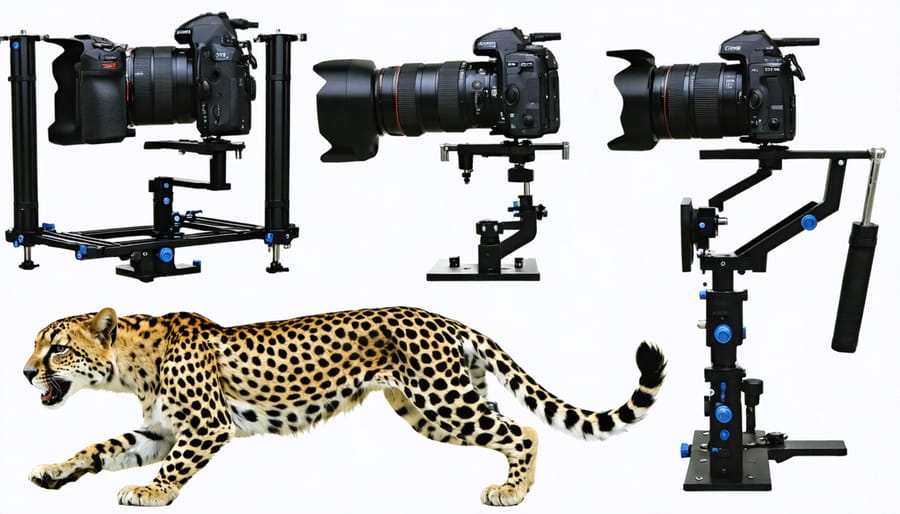
Imagine capturing a shot of a sprinting cheetah in perfect focus, or filming a smooth tracking shot through rugged terrain – these seemingly impossible feats become reality with the right camera suspension system. From handheld gimbals to sophisticated cable-mounted rigs, camera suspension technology has revolutionized how we capture both still and moving images, eliminating unwanted shake and enabling previously impossible shots.
Whether you’re a documentary filmmaker tracking wildlife through uneven terrain or a wedding photographer navigating crowded reception halls, your choice of camera suspension can make the difference between professional-grade footage and amateur shakiness. Modern suspension systems range from compact smartphone gimbals to professional-grade Steadicam rigs, each offering unique advantages for specific shooting scenarios.
This comprehensive guide explores the world of camera suspension systems, breaking down the essential technologies, comparing different solutions, and helping you choose the perfect stabilization setup for your creative vision. We’ll examine how these systems work, what sets them apart, and most importantly, how to select the right one for your specific needs and budget.
What Is Camera Suspension and Why Does It Matter?
The Physics Behind Camera Suspension
Camera suspension works on fundamental physics principles that help neutralize unwanted movement and vibrations. At its core, the system relies on Newton’s laws of motion and the principles of inertia and momentum. When your camera moves unexpectedly, the suspension system creates an opposing force to counteract that movement, much like shock absorbers in a car.
The key components typically include springs and dampers. Springs store potential energy and provide the initial resistance to movement, while dampers dissipate kinetic energy to prevent oscillation. This combination works together to create a balanced system that responds to both sudden jolts and gradual movements.
Gravity plays a crucial role in suspension systems, particularly in gimbal-based setups. By carefully positioning the camera’s center of gravity, the system can maintain stability with minimal energy input. Modern suspension systems often incorporate sophisticated mechanisms like fluid damping and electromagnetic stabilization to enhance this natural physical balance.
Understanding these physics principles helps photographers choose the right suspension system for their needs, as different shooting scenarios require varying levels of dampening and responsiveness.
Impact on Image Quality
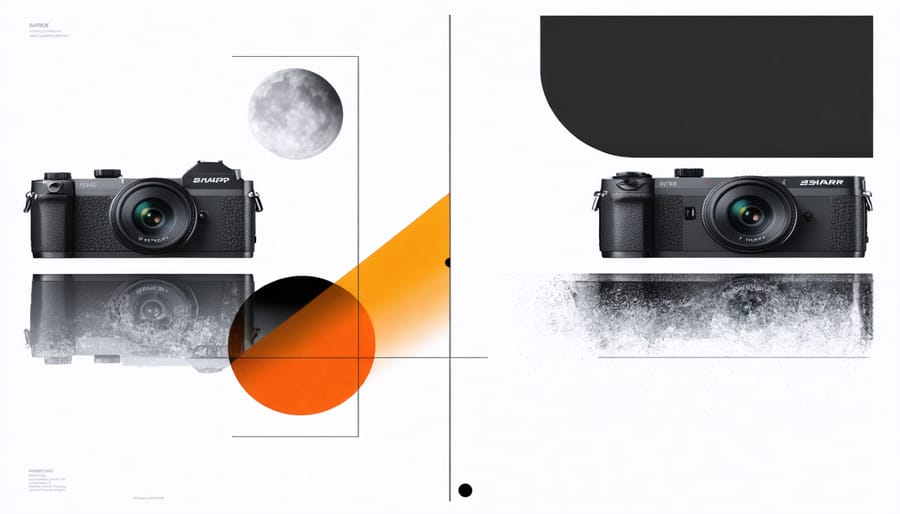
Proper camera suspension significantly influences the quality of your final images, particularly in challenging shooting conditions. When your camera is effectively stabilized, you’ll notice sharper details, better color accuracy, and reduced motion blur, especially in low-light situations or when using longer focal lengths. Even slight camera movements can result in noticeable image degradation, but a well-designed suspension system acts as your silent partner in maintaining clarity.
Think of suspension as your insurance policy against unwanted vibrations and movements. Whether you’re shooting from a moving vehicle, working with longer exposures, or dealing with wind interference, good suspension helps maintain that critical stability. Professional photographers often notice the biggest improvement in their telephoto shots, where even minimal shake can be magnified dramatically.
For videographers, the impact is even more pronounced. Smooth, fluid motion becomes possible without the jarring effects of camera shake, resulting in more professional-looking footage that keeps viewers engaged.
Popular Camera Suspension Systems
Gimbal Stabilizers
Gimbal stabilizers represent the pinnacle of modern camera stabilization technology, combining sophisticated electronics with precision engineering. These three-axis systems continuously monitor and adjust your camera’s position, counteracting unwanted movement in real-time. Whether you’re capturing sweeping landscape shots or following fast-moving subjects, gimbals deliver buttery-smooth footage that was once only possible with expensive professional equipment.
For videographers and content creators, understanding your action camera settings alongside gimbal operation is crucial for optimal results. Most modern gimbals offer multiple stabilization modes, including follow mode for natural panning movements, lock mode for maintaining a fixed direction, and POV mode for immersive first-person perspectives.
What sets gimbals apart is their versatility across different shooting scenarios. From lightweight smartphone gimbals to professional-grade systems for cinema cameras, there’s a solution for every need. Many models now include smart features like object tracking, time-lapse programming, and wireless control through smartphone apps, making them increasingly accessible to creators at all levels.
Spring-Loaded Stabilizers
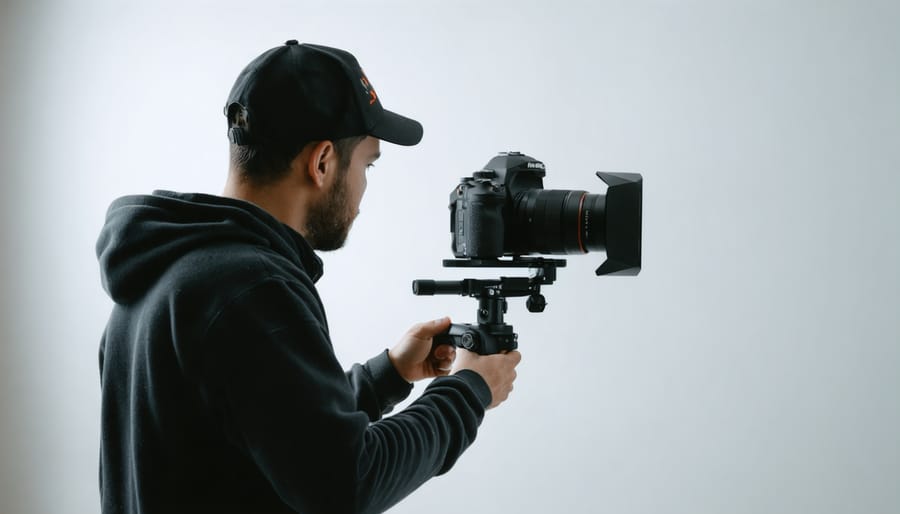
Spring-loaded stabilizers represent one of the most reliable mechanical solutions for camera stability, utilizing a sophisticated system of springs and counterweights to absorb unwanted movement. These systems work by creating opposing forces that naturally dampen vibrations and sudden motions, much like the suspension in your car smooths out a bumpy road.
The beauty of spring-loaded stabilizers lies in their simplicity and dependability. Unlike electronic stabilizers, they don’t require batteries or power sources, making them ideal for extended shoots in remote locations. The springs are typically adjustable, allowing photographers to fine-tune the tension based on their camera’s weight and shooting style.
These systems excel in situations where subtle movements need to be eliminated, such as macro photography or long-exposure shots. Many photographers appreciate their responsive feel and the way they maintain a natural connection to the camera’s movement while filtering out unwanted shake. The mechanical nature of spring stabilizers also means they’re generally more durable and weather-resistant than their electronic counterparts, though they do require occasional maintenance to keep the springs in optimal condition.
Steadicam Systems
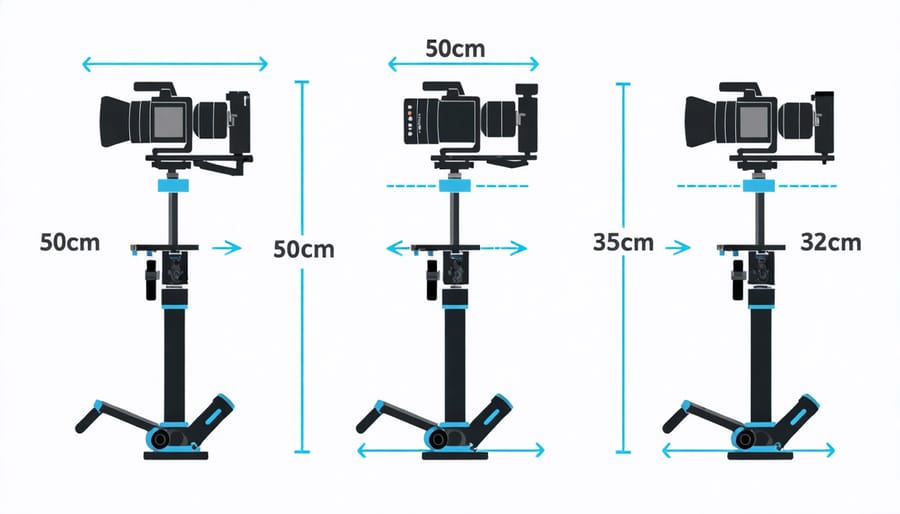
Steadicam systems represent the gold standard in professional camera stabilization, offering unparalleled smoothness and control for moving shots. Originally developed by Garrett Brown in 1975, these sophisticated systems use a complex arrangement of counterweights, gimbals, and an articulating arm that connects to a vest worn by the operator.
The key to a Steadicam’s effectiveness lies in its iso-elastic arm, which uses spring-loaded parallel linkages to maintain consistent vertical camera position regardless of the operator’s movement. The system’s sled component houses the camera, monitor, batteries, and counterweights, all precisely balanced around the gimbal point to achieve neutral buoyancy.
Professional Steadicam operators undergo extensive training to master these systems, as proper operation requires both technical expertise and physical stamina. While traditional Steadicam rigs can cost anywhere from $15,000 to $80,000, manufacturers now offer more accessible options for independent filmmakers, such as the Steadicam Air and Merlin series.
Modern Steadicam systems have evolved to accommodate everything from lightweight mirrorless cameras to hefty cinema rigs, making them versatile tools for productions of all sizes. The technology continues to influence newer stabilization solutions, though many professionals still consider traditional Steadicam systems irreplaceable for achieving those signature floating camera movements.
DIY Suspension Rigs
For photographers on a budget, creating your own suspension rig can be both cost-effective and rewarding. A basic DIY setup can be assembled using readily available materials like paracord, carabiners, and counterweights. One popular method involves using a system of pulleys mounted to ceiling joists, combined with adjustable climbing rope for precise height control.
A simple yet effective DIY option is the “triple-point suspension” using strong nylon cords attached to three anchor points. This provides stable support while allowing for smooth camera movements. Another creative solution involves repurposing microphone boom stands with added counterweights for smaller cameras.
For more advanced DIY builds, consider incorporating skateboard bearings for smooth panning movements or using industrial-grade wire rope with proper tensioners. Remember to always test your rig thoroughly with dummy weights before mounting your actual camera equipment.
Safety is paramount when building custom rigs. Always use materials rated for at least three times your camera’s weight, and double-check all connection points. While DIY solutions can save money, never compromise on the quality of essential components like mounting hardware and safety cables.
Choosing the Right Suspension System
Camera Type and Weight Considerations
Choosing the right suspension system starts with understanding your camera’s weight and form factor. DSLR and mirrorless cameras typically range from 1-3 pounds without lenses, while cinema cameras can easily exceed 15 pounds when fully rigged. Your suspension system needs to be rated to handle not just the camera body, but also your heaviest lens combinations, monitors, and accessories.
For lightweight setups under 5 pounds, compact gimbals and basic spring-loaded stabilizers often suffice. These systems are perfect for mirrorless cameras with standard zoom lenses, offering good stability without becoming cumbersome. Mid-range setups between 5-15 pounds require more robust solutions, such as professional-grade gimbals or dual-arm suspension systems that can handle the additional weight of cinema lenses and accessories.
Heavy cinema rigs exceeding 15 pounds demand industrial-strength solutions. Look for suspension systems with reinforced arms, multiple adjustment points, and higher weight capacities. Remember that a system rated for exactly your rig’s weight might struggle during dynamic movements – always choose a suspension rated for at least 20% more than your total payload.
Consider also the physical dimensions of your camera setup. Some systems work better with compact bodies, while others are designed specifically for longer cinema cameras. The balance point of your rig will significantly impact the suspension system’s performance, so choose one that offers adequate adjustment range for your specific configuration.
Shooting Style and Requirements
Different photography styles demand varying levels of camera stability and movement control. For action photographers capturing sports or wildlife, a versatile suspension system that allows quick repositioning while maintaining stability is crucial. These shooters often prefer gimbal-style suspensions that can track moving subjects smoothly while minimizing camera shake.
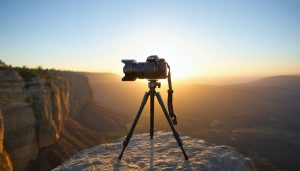
Landscape photographers, on the other hand, typically need rock-solid stability for long exposures and precise compositions. In this case, traditional tripods with robust suspension heads work best, especially when shooting in challenging weather conditions or on uneven terrain. Check out the must-have gear essentials for enhancing landscape shots with stability and precision.
Videographers face unique challenges that often require fluid movement capabilities. A combination of stabilizing elements might be necessary to improve your photography skills and achieve those cinematic shots. This could include slider systems with dampened suspension for smooth tracking shots or spring-loaded stabilizers for handheld work.
Studio photographers working with controlled lighting setups might need overhead suspension systems that can support heavier camera and lighting equipment while allowing for quick adjustments. These systems often incorporate counterweights and adjustable tension controls to accommodate different camera configurations.
Consider your primary shooting environment and subject matter when selecting a suspension system. Urban photographers might prefer lightweight, portable options, while architectural photographers might need more robust systems capable of precise vertical adjustments and heavy payload capacity.
Maintenance and Care Tips
Proper maintenance of your camera suspension system is crucial for ensuring its longevity and reliable performance. Following these essential maintenance tips will help protect your investment and keep your shots steady.
Regular inspection is your first line of defense. Check all mounting points, screws, and joints before each use, ensuring everything is properly tightened. Pay special attention to quick-release plates and safety locks, as these are critical for securing your camera.
Keep your suspension system clean by gently wiping it down after each use, especially when shooting in dusty or coastal environments. Use a slightly damp microfiber cloth for the frame and a dry brush for hard-to-reach areas. Avoid using harsh cleaning chemicals that might damage the system’s protective coating.
Lubrication is key for smooth operation. Apply a small amount of manufacturer-recommended lubricant to moving parts every few months, depending on usage. Be careful not to over-lubricate, as this can attract dust and debris.
Store your suspension system properly when not in use. Keep it in a padded case away from extreme temperatures and humidity. If possible, store it in a partially assembled state to reduce stress on the springs and joints.
Remember to check weight limits and balance regularly. As you add or change camera equipment, rebalance the system according to manufacturer specifications. This prevents undue stress on the mechanism and ensures optimal performance.
When traveling, protect your suspension system from impact and vibration. Use appropriate cases and padding, and never force components if they seem stuck or misaligned. If you notice any unusual sounds or resistance, have your system professionally serviced rather than risking damage to your equipment.
Camera suspension systems play a vital role in achieving professional-quality shots and protecting your valuable equipment. Whether you opt for a traditional gimbal, a lightweight handheld stabilizer, or a sophisticated electronic system, the key is matching the solution to your specific needs and shooting style. Remember to consider factors like equipment weight, shooting environment, and your budget when making your choice. Regular maintenance and proper setup are essential for optimal performance, regardless of the system you choose. By investing in the right suspension solution and taking time to master its operation, you’ll significantly improve your photography and videography results while ensuring your gear stays safe and secure during use.


