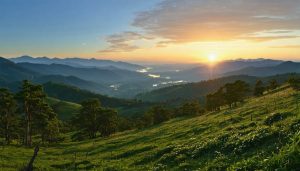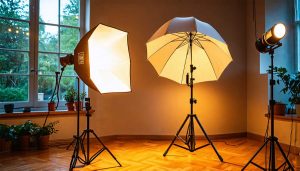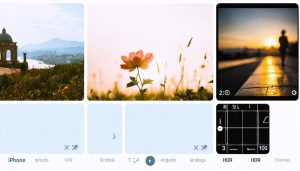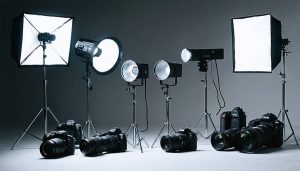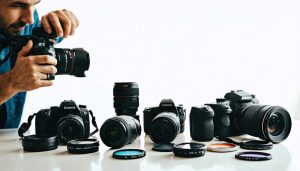
Master the essential camera settings with this concise cheat sheet. Dial in aperture to control depth of field – smaller f-numbers create beautiful background blur. Adjust shutter speed to freeze or blur motion – faster speeds capture crisp action shots. Tweak ISO to manage light sensitivity – increase for low light, decrease for bright scenes. Experiment with different combinations to unleash your creativity and take stunning photos, every time.

Mastering Exposure
Aperture
Aperture, measured in f-stops, controls the size of the opening in the lens that allows light to reach the camera sensor. It also determines depth of field, or how much of the image appears sharp. Smaller f-numbers like f/1.8 or f/2.8 indicate a wider aperture, resulting in a shallow depth of field with a blurred background – perfect for portraits or isolating subjects. Larger f-numbers like f/8 or f/16 mean a narrower aperture, providing a deeper depth of field where more of the scene is in focus. This is ideal for landscapes or group shots. As a general guideline, start with an aperture around f/5.6 for everyday shooting, and adjust based on the desired effect and available light. Remember, aperture also affects exposure, so you may need to compensate with shutter speed or ISO when changing f-stops.

Shutter Speed
Shutter speed, measured in fractions of a second, determines how long your camera’s sensor is exposed to light. Faster shutter speeds like 1/1000s freeze motion, making them ideal for action shots or minimizing camera shake when shooting handheld. For flawless handheld shots, consider learning how to hold your camera like a pro. Slower shutter speeds like 1/30s or longer create motion blur, which can be used creatively for artistic effects like silky smooth waterfalls or light trails. As a general rule, to avoid blur from camera shake when shooting handheld, use a shutter speed that’s the reciprocal of your lens focal length. For example, with a 50mm lens, use 1/50s or faster. Stabilized lenses and cameras let you handhold a few stops slower. In low light, you may need to use slower shutter speeds – just be sure to steady your camera on a tripod. Experiment with different shutter speeds to control the depiction of motion in your images.
ISO
ISO determines your camera’s sensitivity to light and impacts image brightness and noise levels. Lower ISO values like 100-400 are ideal for bright conditions, producing clean, noise-free images. As light levels decrease, you’ll need to raise the ISO to maintain proper exposure. ISO 800-1600 works well for indoor or low-light situations, while even higher values like 3200+ may be necessary for very dim scenes. However, increasing ISO also amplifies noise, resulting in grainier images. Finding the right balance between brightness and acceptable noise is key. When in doubt, opt for the lowest ISO that still provides proper exposure to maximize image quality.
Focus Modes for Tack-Sharp Images
Manual Focus
While autofocus is convenient, manual focus allows greater control in certain scenarios. Low-light situations, macro photography, and shooting through obstacles like fences or foliage often benefit from manual focus. It’s also useful for precise focusing in landscapes or when you want to lock focus for multiple shots. To nail manual focus, start by setting your lens to manual focus mode. Use live view and zoom in on your subject to check sharpness. If your camera has focus peaking, enable it to highlight in-focus edges. Take your time and make small adjustments until the critical elements are tack-sharp. With practice, manual focusing will become second nature.
White Balance Basics
White balance is a crucial setting that ensures colors in your photos appear accurate and natural. It adjusts for different color temperatures of light sources, from cool blue tones to warm orange hues. For beginners, using auto white balance (AWB) is often the easiest option. This mode analyzes the scene and attempts to neutralize color casts automatically. However, there may be situations where AWB doesn’t quite capture the desired mood or ambiance.
In such cases, you can explore custom white balance options. Most cameras offer presets like daylight, cloudy, shade, tungsten, and fluorescent, each optimized for specific lighting conditions. For even greater control, you can set a custom white balance by photographing a neutral reference point, such as a white card or gray card, under the same lighting as your subject. This tells the camera exactly what “white” should look like in that environment.
As you gain experience, experiment with different white balance settings to understand their impact on color rendering. While AWB is a reliable starting point, learning to manipulate white balance creatively can add artistic flair to your images. Whether you prefer true-to-life colors or stylized warm or cool tones, mastering white balance will elevate your photography skills.
Composition Guidelines
When it comes to composing stunning photographs, a few basic principles can make all the difference. The rule of thirds is a classic guideline that involves mentally dividing your frame into a 3×3 grid and placing key elements along the lines or at their intersections. This creates a balanced, visually appealing composition that draws the viewer’s eye naturally through the image.
Leading lines are another powerful tool for guiding the viewer’s gaze and adding depth to your shots. Look for natural or man-made lines in your scene – such as roads, fences, or rivers – and use them to lead the eye toward your main subject or into the distance.
Framing is a technique that uses elements in the foreground to create a “frame” around your subject, helping to isolate it and add context or depth. Trees, archways, and windows all make excellent natural frames. When framing, ensure that your foreground elements are in focus and don’t distract from the main subject.
Remember, while these composition guidelines provide a solid foundation, photography is an art form that thrives on creativity and experimentation. As you develop your skills, don’t be afraid to bend or break the rules intentionally for artistic effect. For ideas on what gear to bring along on your photo adventures, explore the must-have gear essentials for stunning landscape photos. The more you practice and study the work of other photographers, the more you’ll develop your own unique style and eye for composition.
For more in-depth advice on camera settings and techniques, check out our beginner’s guide to buying the perfect camera. With a solid understanding of composition basics and a willingness to experiment, you’ll be well on your way to capturing stunning images that showcase your creative vision.

Conclusion
Understanding the basic camera settings is the first step to taking control of your photography. By mastering exposure, aperture, shutter speed, ISO, and white balance, you’ll be well-equipped to capture stunning images in various conditions. Remember, practice makes perfect – don’t be afraid to experiment with different combinations and venture out of auto mode. The more you play with these settings, the more intuitive they’ll become. And don’t forget about other essential aspects, such as composition tips, that can take your photos to the next level. So grab your camera, get creative, and most importantly, have fun on your photography journey!


