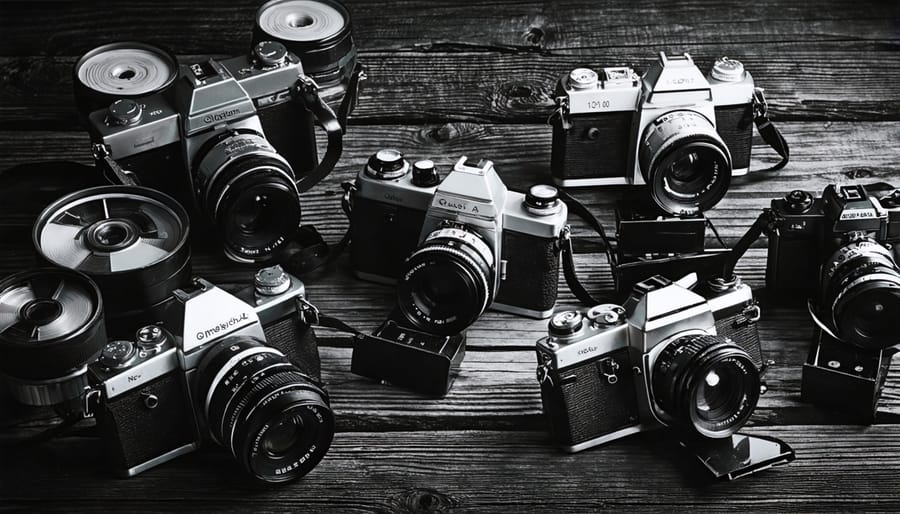
Embrace the dramatic contrasts and timeless allure of film photography with these essential tips for creating stunning black and white photography. Visualize in monochrome, seeking out strong lines, shapes, and textures that translate powerfully without color. Master lighting techniques, harnessing the interplay of highlights and shadows to sculpt your subjects. Experiment with filters to control contrast and tonal range for maximum impact. Develop your own signature style through mindful composition, darkroom techniques, and a keen eye for the expressive potential of black and white imagery.
Understanding Black and White Film
Film Speeds
Film speed, or ISO, plays a crucial role in black and white photography. Lower ISO films like ISO 50 or 100 produce fine grain and sharp details, ideal for landscapes or portraits. Higher ISO films like ISO 400 or 800 are better suited for low-light situations or capturing fast action, but they exhibit more pronounced grain. Experiment with different ISOs to achieve your desired aesthetic. Keep in mind that black and white film generally has more latitude than color film, allowing for more flexibility in exposure. Don’t be afraid to push or pull the film to achieve your creative vision.
Contrast and Grain
The choice of film can greatly impact the contrast and grain in your black and white photographs. High contrast films like Kodak Tri-X or Ilford HP5 Plus will produce deep blacks and bright whites, resulting in striking, dramatic images. These films also tend to have more prominent grain, which can add texture and character to your shots. On the other hand, low contrast films such as Kodak T-Max or Ilford Delta will yield softer, more subtle tonal gradations and finer grain, making them ideal for portraits or landscapes where you want a smoother, more refined look. Keep in mind that the development process can also influence contrast and grain, so experiment with different developers and techniques to achieve your desired aesthetic. Ultimately, the interplay of film choice, exposure, and development allows you to craft the unique look and feel of your black and white images.
Camera Settings for Optimal Results
Metering
Accurate metering is crucial for achieving proper exposures in black and white film photography. Unlike digital cameras, film has a narrower exposure latitude, meaning less room for error. Use a handheld light meter or your camera’s built-in meter to determine the correct exposure settings. When metering, consider the scene’s contrast and whether you want to prioritize shadows or highlights. For high-contrast scenes, spot metering on a mid-tone can help maintain detail in both the shadows and highlights. Bracketing your exposures by shooting multiple frames at slightly different settings can provide a safety net, ensuring you capture the optimal exposure. Remember that film’s sensitivity to different colors can impact the final image, so keep this in mind when metering scenes with strong color contrasts. With practice and careful metering, you’ll be able to consistently achieve well-exposed black and white film photographs.
Aperture and Shutter Speed
Mastering aperture and shutter speed is key to achieving your desired look in black and white film photography. By carefully balancing these settings, you can control the depth of field, motion blur, and overall exposure. For a shallow depth of field that isolates your subject against a blurred background, use a wide aperture like f/2.8 or f/4. This is perfect for portraits or emphasizing specific elements in your frame. Conversely, a narrow aperture like f/11 or f/16 will render more of the scene in sharp focus, ideal for landscapes or shots with multiple subjects at different distances.
Shutter speed becomes particularly important when capturing motion. A slow shutter speed, such as 1/15th or 1/8th of a second, can create a beautiful sense of movement in flowing water, passing cars, or people walking. Just be sure to stabilize your camera to avoid unwanted blur. For crisp, frozen action, opt for a fast shutter speed like 1/500th or 1/1000th of a second. Don’t be afraid to experiment with different combinations to find what works best for your vision. With practice, you’ll develop an intuitive feel for how aperture and shutter speed interact to shape the final image on your black and white film.
Composition Tips
Contrast and Tonal Range
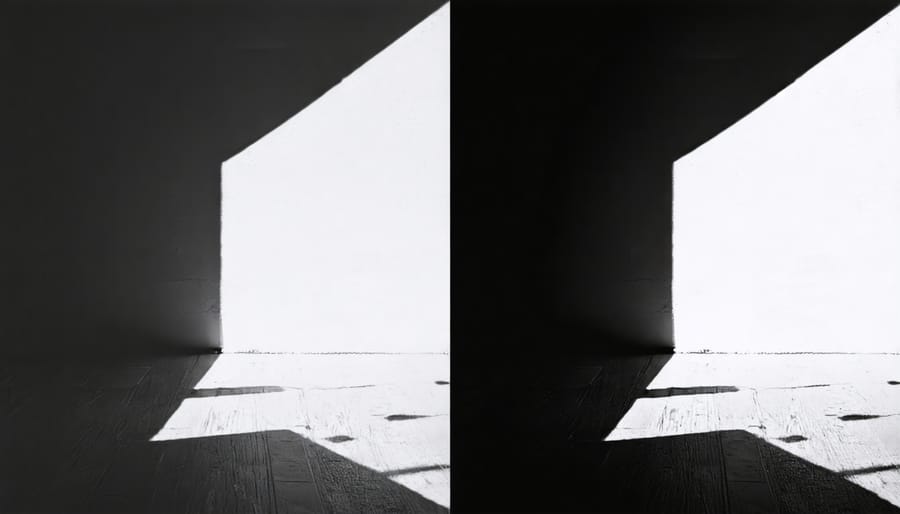
Black and white film offers a wide tonal range, from deep blacks to bright whites, with a spectrum of grays in between. Mastering contrast is key to creating impactful compositions. Look for scenes with strong lighting contrasts, like dramatic shadows or bright highlights, to emphasize texture and form. Experiment with filters, such as a red filter to darken blue skies and increase contrast, or a yellow filter for more subtle effects. Pay attention to the interplay of light and shadow, and how they define your subject. High-contrast scenes can yield striking graphic images, while lower contrast can evoke a softer, more ethereal mood. Learning to visualize and control tonal range will elevate your black and white photography. Embrace the unique characteristics of film, like its ability to retain detail in highlights and shadows, to create images with depth and dimensionality. With practice, you’ll develop an eye for contrast and tonal range that sets your work apart.
Patterns, Textures, and Shapes
Black and white photography is all about creating striking compositions using patterns, textures, and shapes. Look for repeating elements, like rows of windows on a building or a field of flowers, to create visually interesting patterns. Textures, such as the rough bark of a tree or the smooth surface of a lake, can add depth and dimension to your images. Pay attention to the interplay of light and shadow on these textures to enhance their impact. Geometric shapes, like circles, triangles, and squares, can provide structure and balance to your compositions. Look for these shapes in architecture, nature, and everyday objects. Experiment with different angles and perspectives to emphasize these patterns, textures, and shapes in your black and white images. Remember, without the distraction of color, these elements become the main focus of your photographs, so use them deliberately to create compelling and artistic shots.
Leading Lines and Framing
Leading lines and framing are powerful compositional techniques in black and white photography. Look for natural lines in your scene, like roads, fences, or architectural elements, that can guide the viewer’s eye toward your main subject. Framing your subject with elements in the foreground, such as branches, doorways, or windows, can add depth and context to your image. These techniques help create a sense of direction and focus, drawing the viewer into the photograph. Experiment with different angles and perspectives to emphasize leading lines and framing, and consider how they contribute to the overall mood and story you want to convey in your black and white shot.
Mastering Lighting
Natural Light
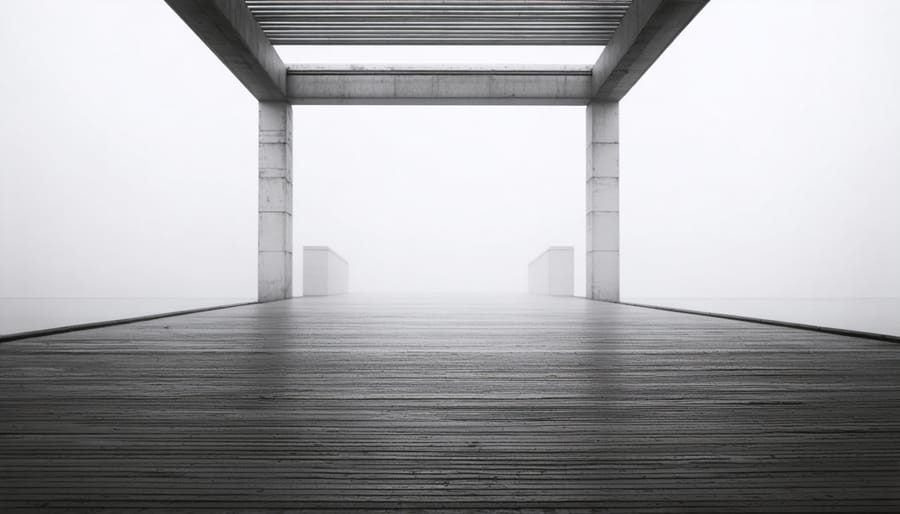
When shooting black and white film, natural light is your best friend. Soft, diffused light from an overcast sky or open shade can create beautifully even illumination and minimize harsh contrasts. Early morning or late afternoon sunlight, known as the “golden hours,” offers warm, directional light that can add depth and dimension to your subjects. Backlighting is another powerful technique, where you position your subject between the camera and the light source to create a glowing effect or silhouette. Experiment with different angles and observe how the light falls on your subject to emphasize texture, form, and patterns. Remember, the absence of color in black and white photography means that light, shadow, and contrast become your primary tools for creating mood and guiding the viewer’s eye through the composition.
Artificial Light
When working with artificial light sources in black and white film photography, embrace the creative possibilities they offer. Unlike natural light, artificial lighting gives you full control over the direction, intensity, and quality of the light. Experiment with different types of light sources, such as tungsten bulbs, fluorescent tubes, or even candles, to achieve unique effects and moods in your images.
Consider using a spotlight or a focused beam to create dramatic shadows and highlights, emphasizing the play of light and dark that is so essential to black and white photography. Alternatively, diffuse the light with translucent materials or bounce it off reflective surfaces to achieve a softer, more even illumination. Don’t be afraid to mix different light sources or use colored gels to introduce subtle tonal variations in your monochromatic images.
Remember that the positioning of your light sources relative to your subject is crucial. Side lighting can accentuate textures and depth, while backlighting can create striking silhouettes or luminous halos. Pay attention to how the light interacts with your subject’s features, and adjust your lighting setup accordingly to achieve the desired effect.
Developing and Printing
When developing your black and white film, consider using a dedicated black and white developer for optimal contrast and tonal range. Ilford ID-11 and Kodak D-76 are popular choices among photographers. Ensure your development times and temperatures are consistent to achieve predictable results. Agitation techniques also play a crucial role in even development – try using a combination of gentle inversions and rotations.
For printing, consider using variable contrast paper, which allows you to adjust the contrast using color filters. This gives you greater control over the final look of your prints. When exposing your paper, use a test strip to determine the optimal exposure time for your desired tonal range. Dodge and burn techniques can be used to selectively lighten or darken areas of your print, adding depth and drama to your images.
Experiment with different paper grades and brands to find the one that best suits your artistic vision. Ilford Multigrade and Kodak Polymax are reliable options for high-quality prints. When processing your prints, be sure to use fresh chemistry and follow the manufacturer’s recommended times and temperatures for consistent results. Finally, proper washing and drying techniques will ensure the longevity of your prints, allowing you to enjoy your beautiful black and white images for years to come.
Conclusion
In conclusion, black and white film photography offers a timeless and captivating way to express your creative vision. By mastering the fundamentals of exposure, composition, lighting, film selection, and darkroom techniques, you can create stunning monochromatic images that stand the test of time. Remember to experiment with different films, filters, and printing methods to find your unique style. Embrace the challenges and limitations of the medium, as they often lead to the most rewarding results. With practice, patience, and a keen eye, you’ll soon discover the incredible potential of black and white film photography. So, grab your camera, load up some film, and start exploring the world in captivating shades of gray. For those looking to further enhance their skills, checking out essential tips to skyrocket your photography skills may provide additional insights.


