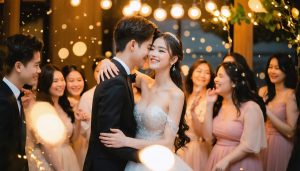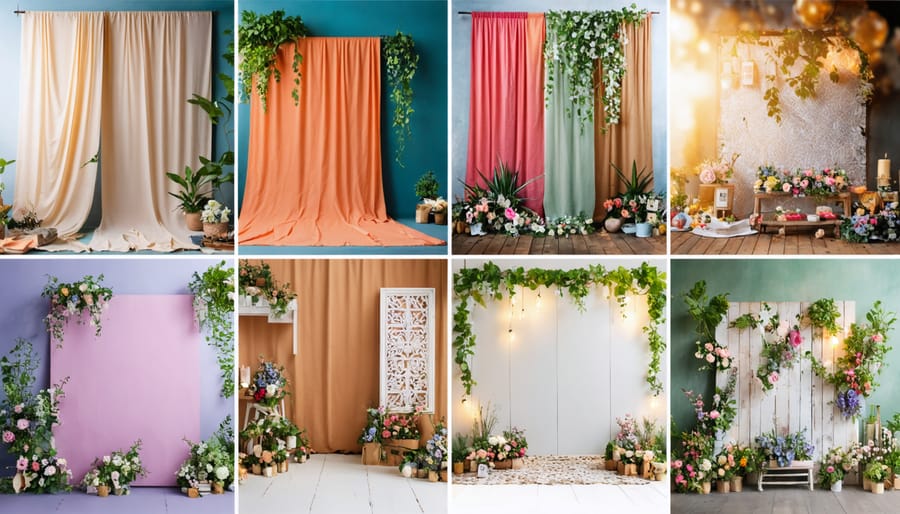
Transform any space into a stunning photo backdrop with these DIY ideas. Hang textured fabric like lace, burlap, or velvet for an elegant look, or create a rustic wooden backdrop using reclaimed boards. Paint a large canvas or sheet of plywood with an ombre effect, bold geometric shapes, or a dreamy watercolor wash for a versatile background that complements various subjects, from creative baby photos to artistic portraits. Experiment with unusual materials like metallic foil, crumpled paper, or even a wall of greenery for eye-catching textures and dimensions that elevate your images. With a little creativity and some simple supplies, you can craft unique, professional-quality backdrops that make your photography stand out.
Fabric Backdrops
Curtains and Drapes
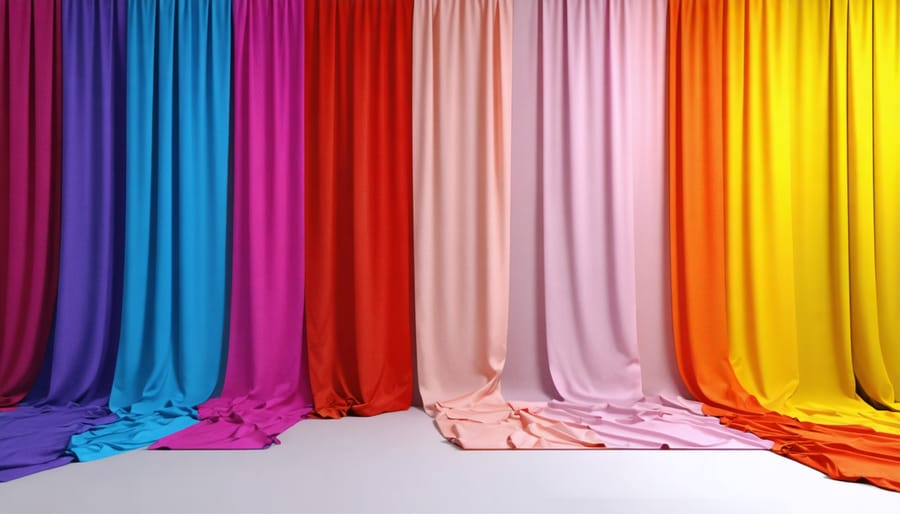
Curtains and drapes offer an elegant solution for creating soft, flowing photography backdrops. Sheer fabrics like chiffon or voile allow light to pass through, resulting in a dreamy, ethereal effect perfect for portraits or fine art photography. For a more dramatic look, opt for heavy, opaque fabrics like velvet or thick cotton. Hang curtains from a rod or drape them over a frame, using clips or pins to create pleats and gathers. Experiment with different colors and textures to evoke various moods – a white lace curtain suggests romance and purity, while a deep burgundy velvet drape adds richness and luxury. Curtains also provide versatility in controlling light; open them wide for a bright, airy feel or close them partially for moodier, directional lighting. With a little creativity, everyday curtains and drapes can be transformed into stunning, professional-quality backdrops that elevate your photography to new heights.
Tapestries and Rugs
Tapestries and rugs offer a wealth of intricate patterns, textures, and bohemian flair to elevate your photo backdrops. These versatile textiles can transform a plain wall into a visually captivating scene. When selecting a tapestry or rug, consider the colors, designs, and overall aesthetic that complement your photographic style. Bold, colorful patterns can add vibrance and energy, while muted, earthy tones create a more subtle, natural ambiance.
Hang tapestries using removable adhesive strips or clips to avoid damaging walls, or drape them over a backdrop stand for a flowing, organic look. Experiment with layering multiple tapestries or rugs to add depth and dimension. Play with positioning, such as hanging them asymmetrically or gathering them to one side for a dynamic, off-center composition.
For a bohemian vibe, pair patterned tapestries with natural elements like potted plants, woven baskets, or wooden furniture. The juxtaposition of intricate designs and earthy textures creates a visually rich, eclectic atmosphere. With their portability and adaptability, tapestries and rugs are ideal for on-location shoots, allowing you to bring a touch of bohemian charm to various settings. Embrace the unique patterns and textures of these textiles to craft photo backdrops that tell a story and transport viewers into a world of artistic expression.
Natural Elements
Floral Walls
Floral walls are a stunning backdrop option that can add a touch of romance, elegance, or whimsy to your photos. To create a floral wall, you’ll need a sturdy base such as a wooden panel, foam board, or even a wall in your home. If using real flowers, start by creating a grid with floral wire or fishing line to help keep the blooms in place. Begin attaching the flowers to the grid, working from the center outward and varying the placement and colors for a natural, organic look.
For a more budget-friendly and low-maintenance option, consider using artificial flowers. These can be attached directly to the base using a hot glue gun or floral adhesive. Mix and match different types and colors of flowers to create depth and visual interest. Don’t be afraid to incorporate greenery, like leaves or vines, to add texture and fill in any gaps.
When designing your floral wall, consider the overall color scheme and mood you want to evoke in your photos. Pastel hues can create a soft, romantic vibe, while bold, vibrant colors can make a dramatic statement. Experiment with different flower arrangements and densities to find a look that suits your style and complements your subjects. With a little creativity and patience, a stunning floral wall backdrop is within reach.
[197 words]
Rustic Wood and Foliage
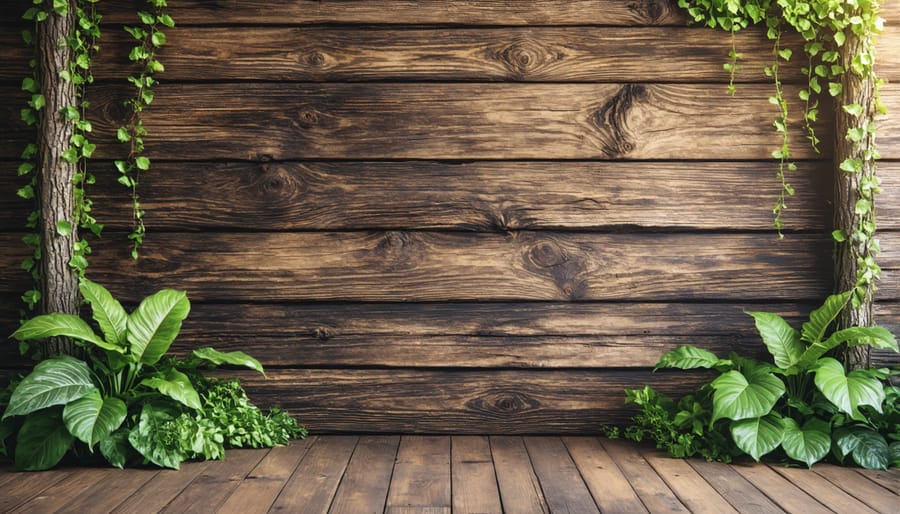
Incorporating rustic, natural elements into your photo backdrops can instantly transport your subjects to an enchanting, outdoorsy scene. Reclaimed wood planks, weathered and full of character, make a stunning backdrop that adds texture and depth to your images. Arrange the planks vertically, horizontally, or in a herringbone pattern for a variety of looks. Complement the wood with lush greenery, such as leafy branches, vines, or a garland of eucalyptus. The combination of rough-hewn wood and delicate foliage creates a captivating contrast that’s perfect for portraits, product shots, or fine art photography.
To add even more visual interest, consider incorporating wild flowers, pinecones, or berries into your backdrop. These natural accents provide pops of color and organic shapes that draw the eye and make your photos come alive. Experiment with different arrangements and compositions to find the perfect balance of rustic charm and sophistication. With a little creativity and some foraged materials, you can craft a one-of-a-kind backdrop that brings the beauty of the great outdoors into your studio or home.
Paper and Cardboard
Origami Backdrops
Origami, the Japanese art of paper folding, offers a unique way to create eye-catching backdrops for your photos. By folding sheets of paper into intricate geometric designs, you can craft stunning 3D patterns that add depth and visual interest to your images. Start with simple folds like triangles or squares, then experiment with more complex techniques such as tessellations or modular origami. Use a variety of paper colors and textures to create contrast and dimension. For an even more dramatic effect, try incorporating lighting techniques to cast shadows and highlights across your origami backdrop. For advice on lighting equipment, you might consider reading this beginner’s guide to photography lighting equipment. With patience and practice, you can master the art of origami and elevate your photography to new heights. Whether you’re shooting portraits, still life, or abstract compositions, an origami backdrop is sure to make your photos stand out from the crowd.
Painted Cardboard
Painted cardboard offers a versatile and affordable solution for creating custom photo backdrops. With just a few supplies like cardboard, paint, and brushes, you can transform a blank surface into a unique backdrop tailored to your photoshoot theme. Experiment with different painting techniques such as blending, splattering, or creating patterns to add depth and visual interest. You can also use stencils or masking tape to create sharp lines and geometric shapes. Consider using a variety of paint finishes like matte, glossy, or metallic to achieve different textures and reflective qualities in your photos. The possibilities are endless with painted cardboard backdrops, allowing you to bring your creative vision to life.
Repurposed Household Items
Vintage Frames and Mirrors
Elevate your photo backdrops with a touch of nostalgia and elegance by incorporating vintage frames and mirrors. Scour thrift stores, antique shops, and flea markets for unique finds that add character to your shots. Mix and match different sizes, shapes, and styles of frames to create an eclectic, visually appealing arrangement. Hang them on a wall or lean them against a sturdy surface for a chic, editorial look. Mirrors not only provide a reflective surface for interesting light play but also add depth to your images. Experiment with positioning your subject within or behind the frames for a dynamic, layered composition. Don’t be afraid to embrace the patina and imperfections of aged pieces, as they contribute to the overall vintage aesthetic. With a little creativity and an eye for timeless details, vintage frames and mirrors can transform your photo backdrops into captivating works of art.
Hanging Décor
Hanging décor elements can instantly transform a plain backdrop into an enchanting scene. Suspend string lights vertically or horizontally to create a twinkling, magical ambiance perfect for portraits or still life shots. Drape sheer ribbons or fabric in soft hues for an ethereal, romantic feel, or opt for bold colors to make a statement. Hanging ornaments, such as paper lanterns, pom-poms, or geometric shapes, add depth and visual interest to your backdrop. Mix and match different sizes, colors, and textures to create a unique, eye-catching display. For a natural, bohemian vibe, suspend dried flowers, leaves, or branches using clear fishing line. With a little creativity and some quick backdrop ideas like these, you can easily elevate your photography and create stunning, one-of-a-kind images that showcase your artistic vision.

Tips for Installation and Lighting
Proper installation and lighting are crucial for achieving the best results with your DIY photo backdrops. Start by securely mounting your backdrop to a sturdy support system, such as a stand or wall, ensuring it’s taut and wrinkle-free. Consider the size of your subject and the desired framing when positioning the backdrop.
Lighting plays a vital role in creating the mood and highlighting the backdrop’s texture. Experiment with different lighting setups, such as side lighting to emphasize texture or backlighting for a dreamy effect. Softboxes and diffusers help create even, soft light, while reflectors can bounce light and fill in shadows. Adjust the distance and angle of your lights to control shadow intensity and eliminate unwanted glare.
Pay attention to color temperature when selecting light sources. Daylight-balanced bulbs work well for a natural look, while tungsten or LED lights offer flexibility for creative color effects. Use a light meter or your camera’s histogram to ensure proper exposure and avoid overblown highlights or underexposed shadows.
Remember, the key to success is experimentation and practice. Don’t be afraid to try different combinations of backdrop materials, lighting techniques, and camera settings to find what works best for your vision. Refer to tips for optimal results to further refine your setup and elevate your photography game.
Conclusion
With these creative DIY photo backdrop ideas, you now have the tools and inspiration to take your photography to the next level. Don’t be afraid to experiment, mix and match materials, and let your imagination run wild. The beauty of these DIY backdrops is that they allow you to create a truly personalized and unique look for your images without breaking the bank. Whether you’re a professional photographer looking to add variety to your portfolio or a hobbyist wanting to elevate your Instagram game, these ideas serve as a launching pad for your own unique DIY backdrop designs. Remember, the key is to have fun and embrace your creativity. Your one-of-a-kind backdrops will not only impress your clients or followers but also make the photography experience more enjoyable and rewarding for you as an artist. So grab your supplies, start crafting, and watch your photography stand out from the crowd!

