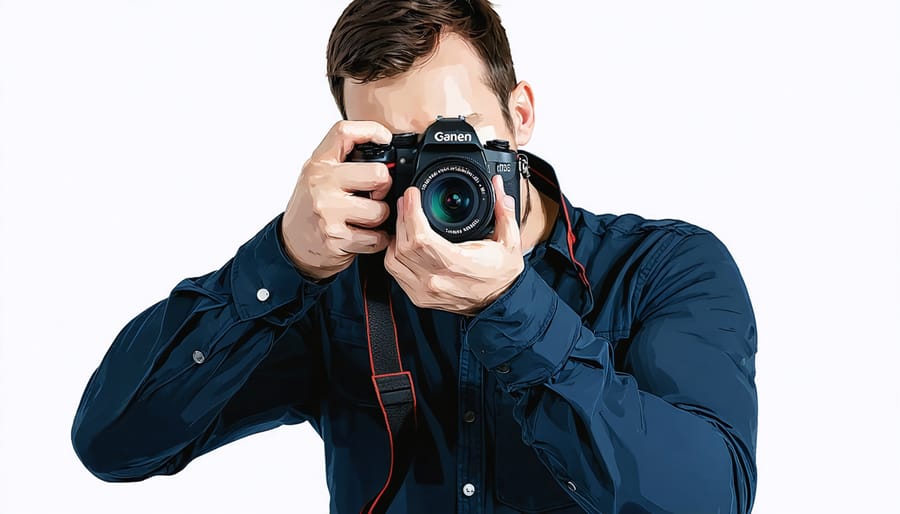
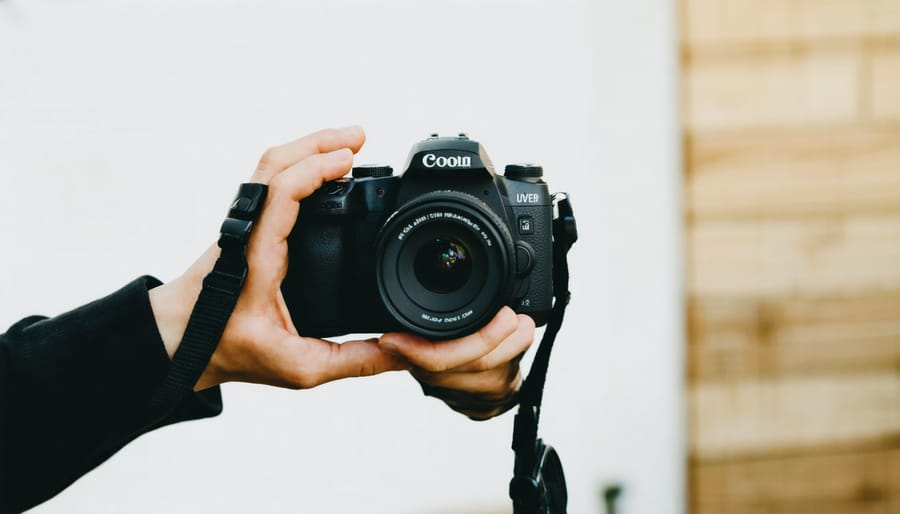
Hold your camera firmly with your right hand, keeping your index finger on the shutter button and supporting the lens with your left hand for proper camera holding technique. Tuck your elbows close to your body to create a stable base, and brace the camera against your face for added support. When shooting vertically, rotate the camera 90 degrees and maintain the same hand positions for consistent stability. For extended shoots or heavier gear, consider using a tripod, monopod, or other support equipment to minimize camera shake and ensure sharp images.
The Basic Grip
Right-Hand Grip
To grip the camera body with your right hand, start by wrapping your fingers comfortably around the right side of the camera, with your palm resting against the grip. Ensure that your hand feels secure and stable, as this will help prevent camera shake and allow for precise control. Place your index finger on the shutter button, resting it gently to avoid accidentally triggering the shutter. Keep your finger poised and ready to press the button when you’re ready to capture the shot. Your thumb should be positioned on the back of the camera, providing additional support and allowing you to access rear controls easily. Adjust your grip as needed to maintain comfort and stability, especially during longer shooting sessions. Remember, a proper right-hand grip is crucial for steady shooting and quick access to essential controls, so take the time to find a hold that works best for you.
Left-Hand Support
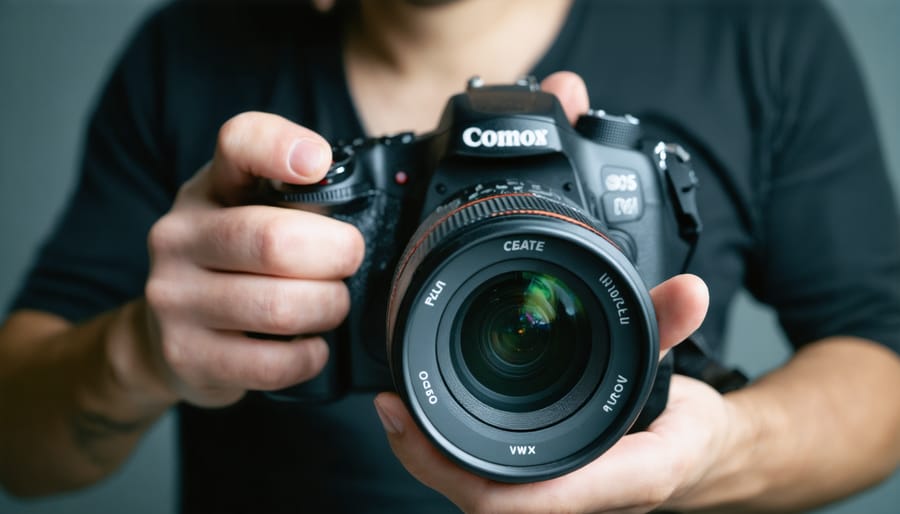
Your left hand plays a crucial role in stabilizing the camera and lens while shooting. Position your left hand underneath the lens barrel, supporting the lens and camera body. This grip allows you to comfortably hold the weight of the camera and lens, reducing strain on your right hand. By cradling the lens from below, you can minimize camera shake and maintain a steady shot, especially when using slower shutter speeds or longer focal lengths. Additionally, your left hand is ideally placed to make adjustments to the zoom ring or manual focus ring without having to shift your grip. Remember to keep your left elbow tucked close to your body for added stability. With practice, supporting your camera and lens with your left hand will become second nature, leading to sharper, more consistent images.
Vertical Shooting Grip
When shooting in a vertical or portrait orientation, it’s crucial to maintain a stable grip while keeping access to essential controls. To achieve this, start by rotating your camera 90 degrees clockwise, so the shutter button is at the top. Place your right hand on the camera’s right side, with your thumb and index finger positioned to easily reach the shutter button and front dial. Your other fingers should wrap securely around the camera body or grip.
Next, support the lens from below using your left hand, with your elbow tucked close to your body for added stability. If your camera or lens has a tripod collar, consider using it for better balance and to reduce strain on the camera’s lens mount. When using heavier lenses, this can make a significant difference in comfort and stability.
Adjust your left hand’s position to ensure you can easily reach the lens’s zoom and focus rings if needed. For smaller lenses, you may find it more comfortable to place your left hand on the camera body for additional support.
As with horizontal shooting, keep your arms close to your body and maintain a stable stance with your feet shoulder-width apart. If your camera has a tilting LCD screen, you can use it to compose your shots from various angles while still maintaining a secure grip.
If you’re interested in enhancing your portrait photography skills, you might find some inspiration in our post on Stunning Portrait Photography Ideas.
Remember, the key to a successful vertical grip is finding a comfortable, stable position that allows you to access your camera’s essential controls easily. With practice, you’ll develop muscle memory and be able to switch between horizontal and vertical grips seamlessly, enabling you to capture the perfect shot in any orientation.
Tripod and Monopod Techniques
Tripod Setup
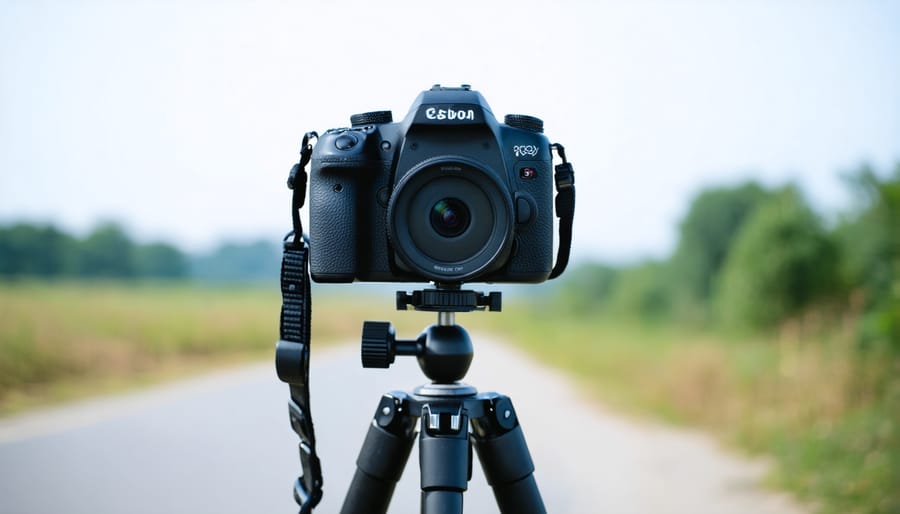
Setting up a tripod is crucial for achieving sharp, blur-free images, especially in low-light situations or when using slower shutter speeds. Begin by extending the legs of your tripod to the desired height, ensuring that the base is stable and level. Many tripods have built-in bubble levels to help you achieve a perfectly horizontal setup. If your tripod lacks this feature, consider using a small, attachable bubble level to ensure accuracy. Once the tripod is level, securely attach your camera to the tripod head using the appropriate mounting plate or quick-release system. Adjust the tripod head to your desired orientation, whether horizontal or vertical, and tighten all locks to prevent any unwanted movement. Remember, a sturdy tripod setup is the foundation for capturing sharp, professional-looking images, so take the time to get it right. With practice, setting up your tripod will become second nature, allowing you to focus on composing and capturing stunning photographs.
Monopod Usage
In situations where you need extra stability but don’t want to lug around a tripod, a monopod can be your best friend. Monopods are particularly useful when shooting sports, wildlife, or events where you need to move quickly and maintain a stable shot. To use a monopod effectively, start by adjusting the height to a comfortable level. Plant the monopod firmly on the ground, keeping it close to your body for added support. Rest your camera on the monopod’s platform, using your free hand to operate the camera controls. If your monopod has a tilt head, you can make minor adjustments to the camera angle. Remember to keep your elbows tucked in and your stance steady. With practice, a monopod can help you capture sharp, blur-free images even in challenging conditions.
Tips for Stability
In addition to the fundamental techniques we’ve covered, there are several other ways to enhance camera stability and capture sharp images. One effective method is bracing yourself against a solid object, such as a wall, tree, or sturdy fence. This provides an extra point of contact and minimizes camera shake, especially when shooting at slower shutter speeds. You might also explore our tips for capturing beautiful images in challenging environments in wildlife photography.
Another helpful tool is image stabilization, which is available in many modern cameras and lenses. This technology compensates for camera movement by shifting internal elements to counteract shake. While not a substitute for proper technique, image stabilization can be a valuable aid in low-light situations or when using longer focal lengths.
Controlling your breathing is another key aspect of maintaining stability. When you’re ready to take the shot, take a deep breath, exhale slowly, and then gently press the shutter button. This helps minimize any movement caused by breathing, particularly when shooting at slower shutter speeds or using a telephoto lens.
If you find yourself in a situation where you need to hold the camera at an awkward angle or can’t brace against a solid object, consider using your camera strap for added support. By wrapping the strap around your elbow and pulling it taut, you can create a makeshift stabilizer that helps keep the camera steady.
Lastly, practice makes perfect. The more you shoot, the more comfortable you’ll become with holding your camera correctly and the better your muscle memory will be. Over time, proper technique will become second nature, and you’ll be able to focus more on the creative aspects of photography.
Conclusion
In conclusion, holding your camera correctly is a crucial foundation for capturing sharp, blur-free photos. By using a stable and comfortable grip, keeping your elbows tucked in, and gently pressing the shutter button, you can minimize camera shake and improve image sharpness. Remember to adapt your grip for vertical shots and use both hands whenever possible. Utilizing camera support accessories like neck straps, wrist straps, and tripods can further enhance stability. As with any skill, practice makes perfect. The more you consciously focus on your camera holding technique, the more natural and instinctive it will become. Soon, you’ll find yourself capturing sharper, more professional-looking images without even thinking about it. So grab your camera, head out, and start putting these techniques into practice. Your photography will thank you for it!


