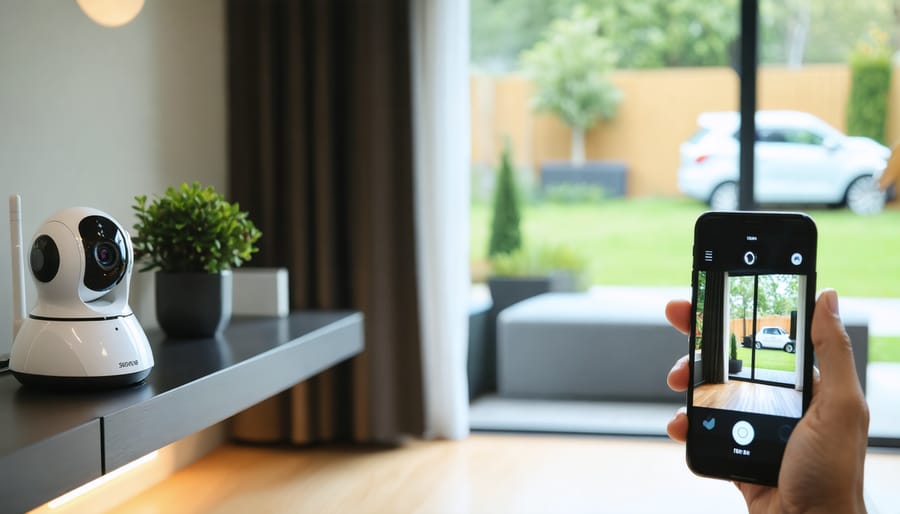
Choose a camera with the right features for your needs, considering resolution, night vision, field of view, two-way audio, and smart home integration.
Position your camera strategically to cover key areas like entryways, garages, or outdoor spaces, ensuring a clear view and minimal obstructions.
Follow the manufacturer’s instructions to connect the camera to your WiFi network, using the provided app to scan the QR code or enter network details.
Configure security settings like user permissions, motion detection zones, and alert preferences to protect your privacy and get relevant notifications.
Choose the Right Camera

Indoor vs. Outdoor Cameras
When choosing between indoor and outdoor WiFi cameras, consider your specific surveillance needs. Indoor cameras are designed for monitoring interior spaces and typically have a smaller, more discreet form factor. They often come with features like night vision, two-way audio, and motion detection. Outdoor cameras, on the other hand, are built to withstand the elements, with rugged, weather-resistant housings. They usually offer wider viewing angles and stronger infrared night vision for better coverage in low-light conditions.
If you’re looking to keep an eye on your living room, nursery, or home office, an indoor camera will suffice. However, if you want to monitor your yard, driveway, or porch, an outdoor model is essential. Some cameras are rated for both indoor and outdoor use, offering versatility. Ultimately, assess your coverage requirements and environmental factors to determine the best fit for your home security setup.
Budget Considerations
When it comes to WiFi smart cameras, there are options to fit nearly any budget. Entry-level cameras typically cost under $50 and offer basic features like 720p HD video, motion detection, and two-way audio. Mid-range models, priced between $50-$150, step up to 1080p Full HD, wider viewing angles, and improved night vision. High-end cameras, ranging from $150-$400+, boast advanced capabilities like 4K Ultra HD, AI-powered person detection, enhanced zoom, and integration with smart home systems. While premium models offer the most comprehensive feature set, even affordable WiFi cameras now deliver solid performance for home monitoring. Consider your specific needs and budget to find the sweet spot. As a general rule, expect to pay more for higher resolution, better low-light performance, and advanced AI features compared to basic point-and-shoot cameras.
Prep Your Home Network
Before installing your WiFi smart camera, it’s crucial to ensure your home network is prepared to support it. Start by assessing your router’s location and signal strength. Ideally, place your router in a central location, away from obstructions like walls and large metal objects that can interfere with the signal. If you have a large home or encounter weak spots, consider investing in a mesh WiFi system or range extenders to boost coverage.
Next, check your internet connection speed using online tools like Speedtest.net. Most smart cameras require a minimum upload speed of 1-2 Mbps for smooth streaming and reliable remote access. If your speeds are consistently below this threshold, contact your internet service provider to discuss upgrade options.
Security is another key factor when prepping your network for a smart camera. Change your router’s default password to a strong, unique one containing a mix of letters, numbers, and symbols. Enable WPA2 encryption to protect your WiFi network from unauthorized access. Additionally, create a separate guest network for your smart devices to isolate them from your main network, reducing the risk of potential breaches.
Finally, update your router’s firmware to the latest version. These updates often include performance improvements and security patches that can help optimize your network for smart camera connectivity. By taking these proactive steps to prep your home network, you’ll lay the foundation for a seamless and secure smart camera installation experience.
Set Up the Camera Hardware

Placement Tips
Proper camera placement is crucial for optimal performance and coverage. Start by identifying the most important areas to monitor, such as entryways, windows, and high-traffic zones. Consider the camera’s field of view and ensure it captures the desired area without obstruction. Avoid placing cameras facing direct sunlight or bright lights to prevent glare and overexposure. If mounting outdoors, choose a location protected from the elements and potential vandalism.
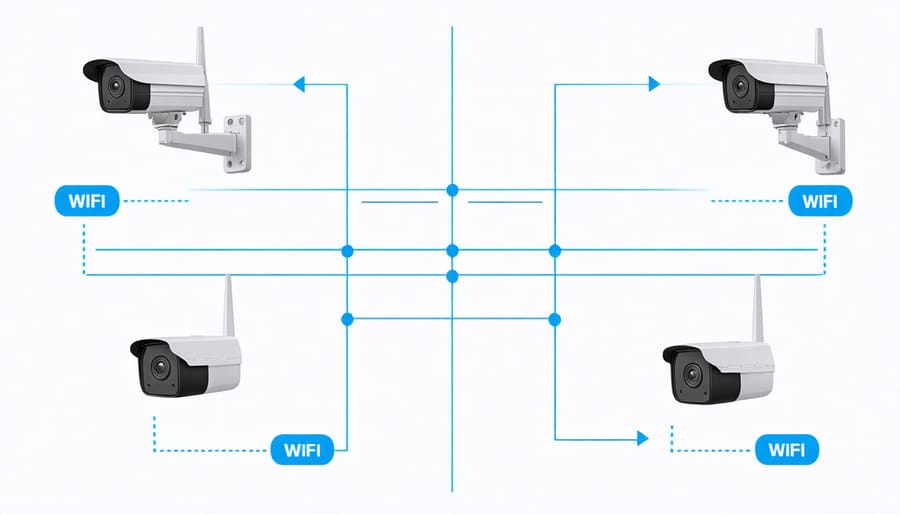
When installing multiple cameras, create overlapping coverage to minimize blind spots. Experiment with camera height and angle to find the best perspective. Generally, mounting cameras 8-10 feet high provides a good balance between coverage and detail. Lastly, ensure the camera is within range of your WiFi router or access point for a stable connection. If necessary, consider using WiFi extenders or powerline adapters to boost signal strength in remote locations.
Cable Management
Neat and tidy cable management is crucial for both aesthetics and safety when installing your WiFi smart camera. Start by carefully planning the cable route, aiming for the shortest path while avoiding potential hazards like power lines or high-traffic areas. Use cable clips or adhesive strips to secure the wires along walls, baseboards, or ceilings, ensuring they’re taut and unobtrusive. For outdoor installations, opt for weatherproof cable conduits to protect against the elements and prevent damage from pests. If you need to drill holes to run cables through walls, be sure to use a cable grommet to avoid fraying and maintain a clean appearance. When concealing cables, allow some slack for future adjustments or maintenance, but avoid excess that could create tripping hazards. With proper cable management techniques, your WiFi smart camera installation will look professional and remain safe and secure for years to come.
Connect and Configure
To connect your WiFi smart camera, start by downloading the companion mobile app from the App Store or Google Play. Once installed, create an account or log in. Ensure your smartphone is connected to the 2.4GHz WiFi network you want the camera to use. Open the app, select “Add Device,” and choose your camera model from the list.
Most apps will then prompt you to scan the QR code on the camera or in the manual. If your camera has a setup button, press and hold it until the LED blinks. The app will detect the camera and guide you through connecting it to your WiFi network. Enter your WiFi password when prompted.
After the camera connects, you can customize its settings via the app. Assign the camera a name (e.g., “Front Door”) and set your time zone. Adjust video quality settings based on your needs and network bandwidth. Many cameras offer motion detection sensitivity controls to minimize false alerts. Configure notification preferences to receive real-time alerts via push notifications, email, or SMS.
To ensure privacy, change the default camera password to a strong, unique one. If your camera supports cloud storage, you may need to subscribe to a plan or configure third-party storage options like Dropbox or Google Drive. For local storage, insert a compatible microSD card into the camera.
Finally, update the camera’s firmware to the latest version for optimal performance, security patches, and new features. With setup complete, you can now access your camera’s live feed anytime, anywhere, using the mobile app. Some apps even allow you to grant access to family members or share clips on social media.

Customize Notifications
To customize your WiFi smart camera notifications, start by enabling push notifications in the camera’s companion app. This allows you to receive real-time alerts on your smartphone whenever the camera detects motion or sound. Next, set up motion detection zones to focus monitoring on specific areas like doors or windows, minimizing false alarms triggered by pets or swaying branches. Adjust the sensitivity settings to fine-tune the camera’s responsiveness to movement and noise. Consider enabling smart alerts that use AI to distinguish between people, animals, and vehicles, sending notifications only for events that matter most to you. Some cameras offer facial recognition, alerting you when familiar or unfamiliar faces are detected. Regularly review and tweak these settings based on your experience to strike the right balance between staying informed and avoiding notification fatigue. Remember to perform regular camera maintenance to ensure optimal performance and reliability. With customized notifications, you can stay on top of important events while minimizing unnecessary interruptions.
Maintain and Secure
To keep your WiFi smart camera secure and running smoothly, it’s essential to maintain it properly. Regularly check for and install any available firmware updates from the manufacturer. These updates often include important security patches and performance improvements. It’s also a good idea to change your camera’s default password to a strong, unique one to prevent unauthorized access.
Consider enabling two-factor authentication if your camera supports it for an extra layer of security. Be mindful of where you place your camera to avoid unintentionally capturing private areas or infringing on neighbors’ privacy. Regularly back up any important footage to a secure location, such as a password-protected external hard drive or cloud storage service.
To further protect your camera from hacking attempts, ensure your home WiFi network is properly secured with a strong password and up-to-date encryption (like WPA2 or WPA3). Avoid using public WiFi networks to access your camera’s feed or settings. Lastly, periodically check your camera’s login history and settings for any suspicious activity, and immediately investigate and address any unusual changes or access attempts. By following these best practices, you can enjoy the benefits of your WiFi smart camera with peace of mind.
With a WiFi smart camera installed, you can enjoy peace of mind knowing your home is protected around the clock. These cameras provide an extra layer of security, letting you monitor your property remotely using your smartphone or tablet. Whether you’re at work, on vacation, or just in another room, you can check in anytime to see what’s happening. The ability to receive instant alerts of any suspicious activity means you can respond quickly if needed. By following this guide, you’ll have the knowledge and confidence to select the perfect camera for your needs and set it up like a pro. Take control of your home security today and experience the benefits of a WiFi smart camera system firsthand.


