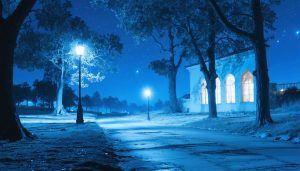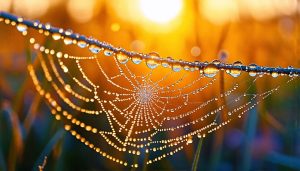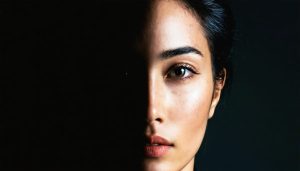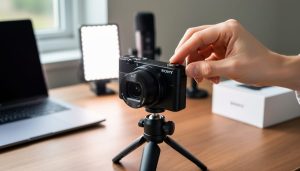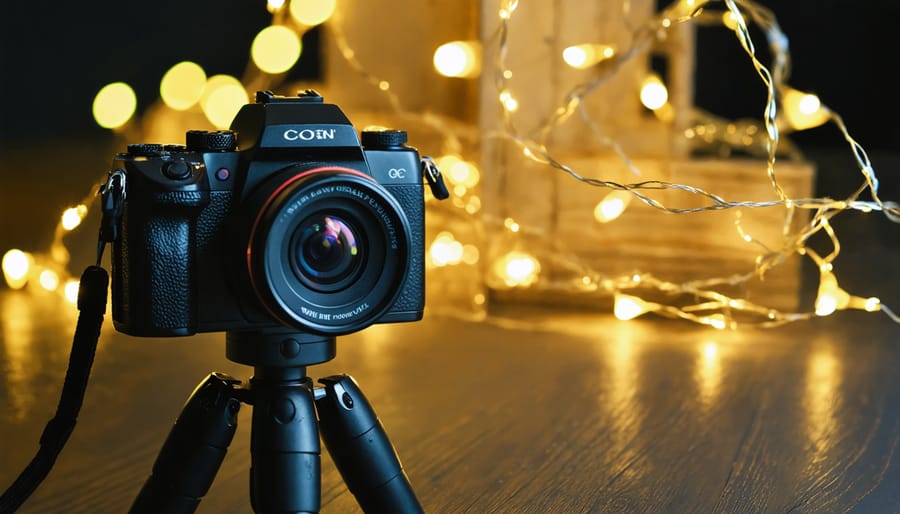
Set up a tripod, use manual focus, and experiment with long exposures to capture crisp, well-exposed nighttime shots. Illuminate your subject with night photography tips like light painting using flashlights or sparklers for creative effects. Play with reflections, shadows, and silhouettes using lamps, string lights, or even the glow of electronic devices to add mood and visual interest to your indoor night photos. Adjust your camera settings, starting with a high ISO (800-3200), wide aperture (f/2.8-f/5.6), and shutter speed of at least 10-30 seconds, then tweak based on your specific lighting conditions and desired effect.
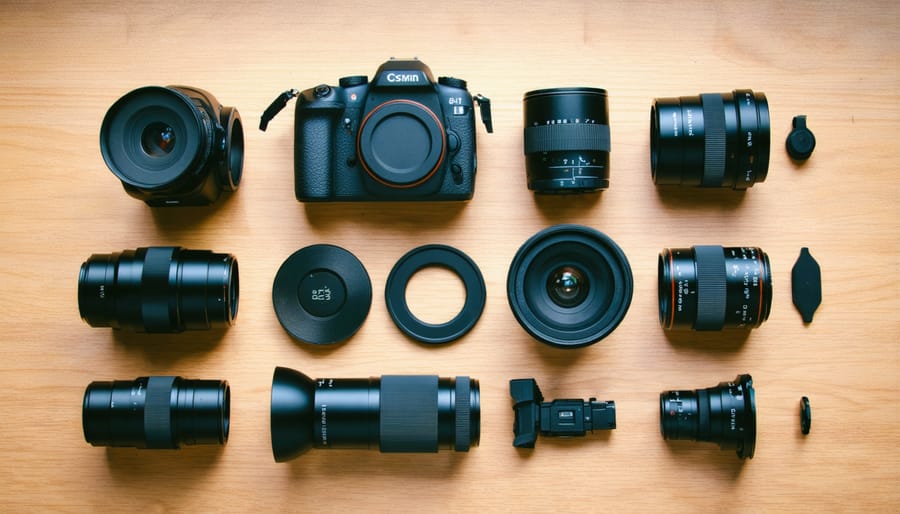
Essential Night Photography Gear
Camera Settings for Night Shots
For the best results when shooting at night, switch your camera to manual mode. This gives you full control over the exposure settings. Capture images in RAW format to preserve the most detail and allow for greater flexibility in post-processing. Open your lens’s aperture wide, such as f/2.8 or f/1.4, to let in more light. Use a longer exposure time, anywhere from a few seconds to several minutes, depending on the ambient light and your desired effect. Camera settings like a higher ISO, such as 800 or 1600, will make the sensor more sensitive to light, allowing you to capture brighter images in low-light conditions. However, be mindful that higher ISOs can introduce more noise. Experiment with different combinations of aperture, shutter speed, and ISO to find the perfect balance for your night photography scene.
Capture the Magic of String Lights
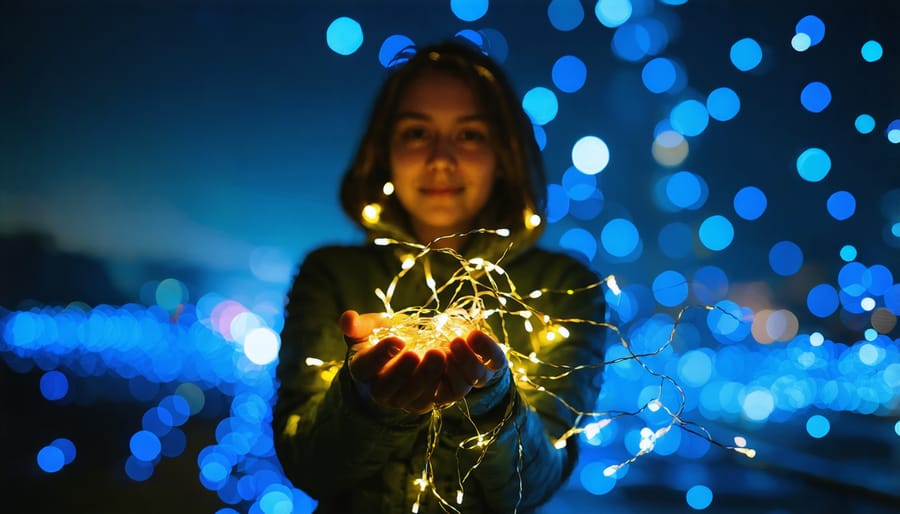
String lights can add a touch of enchantment to your nighttime photos at home. To capture their magical glow, start by setting your camera on a tripod and using a wide aperture (low f-number) to create a shallow depth of field. This will blur the lights into soft, dreamy orbs known as bokeh. Experiment with manual focus to fine-tune the effect. For a festive look, photograph Christmas lights draped over a mantel or woven through branches. Try wrapping string lights around everyday objects like vases or picture frames to add a whimsical touch. Don’t be afraid to move the lights or change your camera angle for more creative compositions. Use a slow shutter speed to capture light trails or gently wind-blown strands. If your lights are too bright, try diffusing them with a sheer curtain or shooting them slightly out of focus. With a little experimentation, you can transform ordinary string lights into extraordinary works of art right in your own home. Whether you’re aiming for a cozy, intimate vibe or a dazzling, fairytale-inspired scene, the versatility of string lights makes them an essential tool for any night photographer’s toolkit.
Create Striking Silhouettes
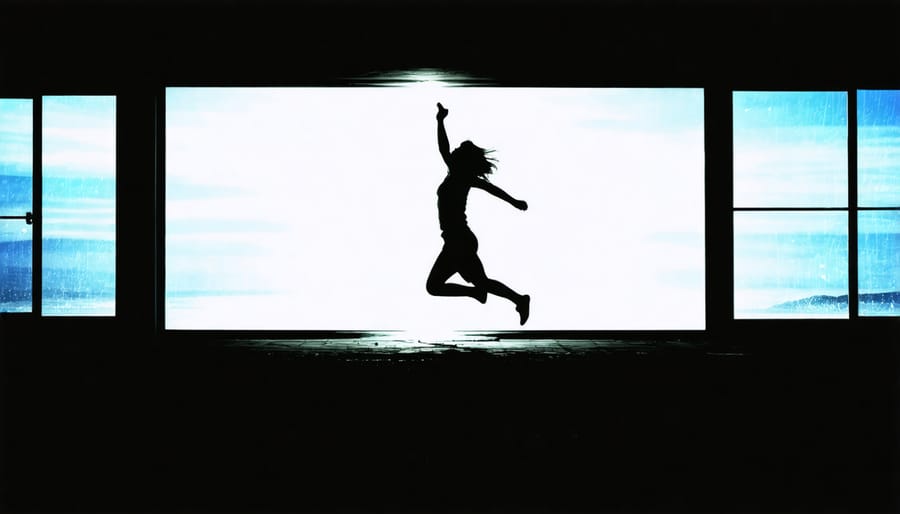
To create captivating silhouettes, start by positioning your subject in front of a bright light source like a window or lamp. Ensure there’s enough contrast between the light and your subject. Turn off any other lights to avoid unwanted illumination on your subject. Use manual camera settings, setting your exposure for the brightest part of the scene. This will underexpose your subject, creating a dark silhouette against the bright background.
Experiment with different poses and angles to capture intriguing shapes and forms. Silhouettes of people can be particularly striking – try having your subject jump, dance, or strike a dramatic pose. Household objects like plants, vases, or sculptures can also make interesting silhouettes when lit from behind.
For window silhouettes, try shooting during the golden hour when the sun is low, creating a warm, glowing backdrop. Sheer curtains can diffuse the light for a softer effect. With lamps, position them directly behind your subject and experiment with different lampshades or colored bulbs for creative effects.
Remember, the key to successful silhouettes is creating a strong contrast between light and dark. With a little creativity and experimentation, you can capture beautiful, dramatic silhouettes right in your own home. Consider setting up a simple home photography studio to expand your creative possibilities.
Paint with Light
Paint with light is a captivating night photography technique that allows you to create stunning, otherworldly images using simple tools like flashlights, sparklers, or even your phone’s light. To get started, you’ll need a camera capable of manual settings, a sturdy tripod, and a light source. Set your camera to a slow shutter speed (start with 10-30 seconds and adjust as needed), a low ISO (100-400), and a narrow aperture (f/8-f/16) to ensure sharp, well-exposed images.
In a dark room or outdoor space, position your camera on the tripod and compose your shot. Trigger the shutter and move your light source within the frame, “painting” patterns, words, or shapes. Experiment with different colors, intensities, and distances from the camera. You can also use multiple light sources or have a friend move through the scene with a light for a ghostly effect.
Remember, light painting requires trial and error. Review your shots and make adjustments to your camera settings and lighting techniques until you achieve the desired result. With practice and creativity, you’ll soon be crafting mesmerizing light paintings that elevate your night photography portfolio.
Mastering light in this way can truly turn your photos into art.
Experiment with Shadow Play
Get creative with shadow play by experimenting with different light sources and objects around your home. Try placing a patterned lampshade in front of a bright lamp to cast intriguing shadows on a plain wall. Alternatively, use blinds or curtains to create striped or geometric shadow patterns. Look for objects with interesting shapes, like plants, figurines, or cut-out designs, and position them strategically to cast captivating shadows. Play with the distance between the light source, object, and shadow surface to alter the size and definition of the shadows. Don’t be afraid to move things around and try various angles to find the most compelling compositions. With a little imagination and experimentation, you can transform ordinary household items into mesmerizing shadow art.
Shoot the Night Sky from Your Backyard
Even if you live in a light-polluted area, capturing stunning night sky photos is still possible with the right techniques. Start by finding the darkest spot in your backyard, away from direct light sources. Use a sturdy tripod to minimize camera shake during long exposures. For sharp stars, use the rule of 500: divide 500 by your lens’s focal length to determine the longest exposure time before star trails appear. Set your aperture wide open (f/2.8 or lower) and ISO between 1600-6400, depending on darkness. To focus, switch to manual focus, zoom in on a bright star using Live View, and adjust until it appears crisp. Incorporate foreground elements like trees or buildings for context and depth. The moon can be trickier due to its brightness; use a faster shutter speed (1/125 or higher) and lower ISO (100-400) to avoid overexposure. With planets, longer focal lengths (100mm+) work best. Keep experimenting with different compositions and settings, and don’t be afraid to venture beyond your backyard for even darker skies. With practice, you’ll soon be capturing breathtaking night sky images right from home.
Conclusion
Home night photography is a fantastic way to stretch your creativity and experiment with the interplay of light and shadow. By using common household items, you can craft mesmerizing low light images that capture a unique mood and atmosphere. Whether you’re light painting with flashlights, creating dreamy bokeh with string lights, or transforming everyday objects into silhouettes, the possibilities for artistic expression are endless. Remember to adjust your camera settings for optimal results, with a sturdy tripod, wide aperture, high ISO, and slow shutter speed being key. Most importantly, have fun and don’t be afraid to think outside the box. With a little imagination and these night photography techniques, you’ll be amazed at the captivating images you can create without ever leaving home.

