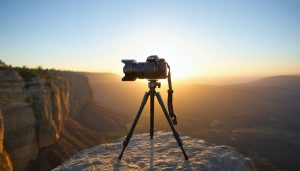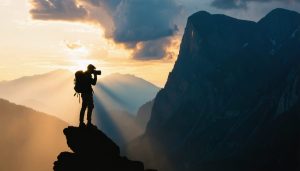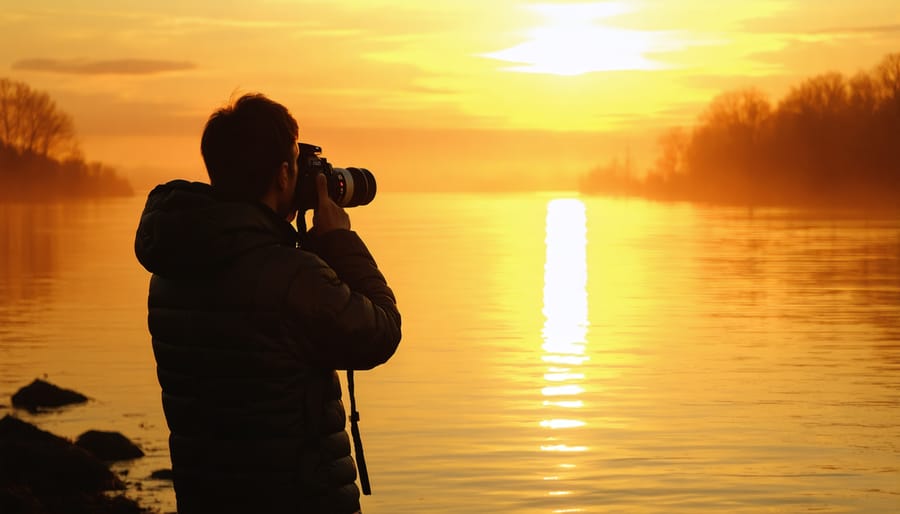
Harness natural light by shooting during golden hours, using reflectors, and experimenting with backlighting to create stunning, well-lit images. Compose your shots thoughtfully, considering elements like leading lines, framing, and the rule of thirds to create dynamic, balanced photographs. Adapt to weather conditions by protecting your gear, adjusting camera settings, and embracing unique opportunities presented by rain, snow, or fog. When shooting indoors, make the most of available light sources, use wide apertures, and experiment with creative angles to capture compelling images in challenging environments. Engage with your subjects, whether people or animals, to capture authentic emotions and natural interactions that bring your photographs to life. Enhance your images in post-processing by adjusting exposure, contrast, and color balance, and applying targeted edits to draw attention to key elements and create a cohesive visual narrative.
Understand Natural Lighting
Golden Hour
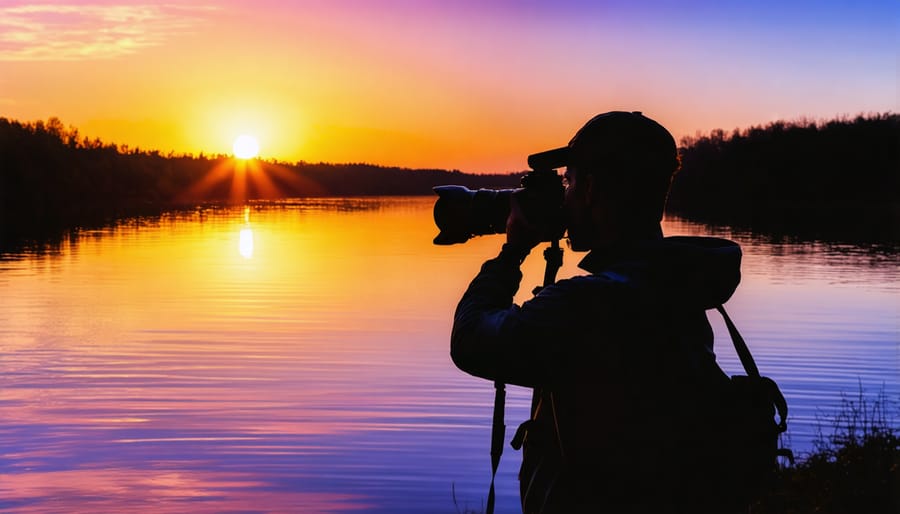
The golden hours, the time just after sunrise and before sunset, offer a magical quality of light that can elevate your photographs to new heights. During these fleeting moments, the sun is low on the horizon, casting a warm, golden glow across the landscape. This soft, directional light sculpts subjects with gentle shadows, adding depth and dimension to your compositions. Colors become richer and more saturated, making even ordinary scenes appear extraordinary. By shooting during the golden hours, you can capture stunning backlit portraits with a dreamy, ethereal feel or landscapes bathed in a luminous, honey-hued light. The lengthy shadows created by the low-angle sun can also add drama and visual interest to your images. While the golden hours require careful planning and patience, the breathtaking results are well worth the effort. So, set your alarm clock, scout your locations in advance, and be ready to seize the enchanting light of the golden hours.
Overcast Days
On overcast days, the diffused light creates a soft, even illumination that’s ideal for many types of photography. The lack of harsh shadows and high contrast makes it easier to achieve balanced exposures. For portraits, the flattering light minimizes blemishes and wrinkles, resulting in smooth skin tones. Landscape photographers can take advantage of the saturated colors and enhanced details that come with diffused lighting.
To make the most of overcast conditions, adjust your camera settings accordingly. Start with a lower ISO to maintain image quality, and use a wider aperture to create a shallow depth of field if desired. Slower shutter speeds may be necessary due to the reduced light, so consider using a tripod to avoid camera shake.
Compose your shots to emphasize the soft, dreamlike atmosphere created by the overcast sky. Look for interesting textures, patterns, and colors that stand out in the even lighting. Experiment with different angles and perspectives to add depth and dimension to your images.
Keep in mind that while overcast days provide a consistent light source, the intensity can vary depending on cloud coverage. Be prepared to adjust your settings as needed to maintain proper exposure throughout your shoot. With a little creativity and technical know-how, you can capture stunning images that showcase the unique qualities of diffused light on cloudy days.
Scout and Compose Your Shots
Rule of Thirds
The Rule of Thirds is a classic composition technique that can help you create more balanced and visually appealing images. To apply this rule, imagine your frame divided into a 3×3 grid. The key is to position important elements of your scene along the gridlines or at their intersections. For example, instead of placing the horizon line in the middle of your shot, align it with the top or bottom third. This creates a more dynamic composition and draws the viewer’s eye to the main subject. Similarly, positioning a tree or building along a vertical gridline can add depth and interest to your image. While the Rule of Thirds is a great starting point, remember that rules are meant to be broken in photography. Trust your intuition and experiment with different compositions to find what works best for each unique scene.
Leading Lines
Leading lines are a powerful compositional tool that can guide the viewer’s eye into and through your photograph. Look for natural or man-made lines in your environment, such as roads, paths, fences, or even the curve of a shoreline. Position yourself so these lines lead from the foreground towards your main subject or focal point in the distance. Diagonal lines often work best to create a sense of depth and dynamism. Experiment with different angles and perspectives to emphasize the leading lines and direct attention where you want it. For example, a winding trail through a forest can lead the eye to a distant mountain peak, while a pier stretching out into a lake can draw focus to a stunning sunset. By thoughtfully incorporating leading lines, you can create images with greater visual impact and narrative flow, inviting viewers to explore the scene alongside you.
Work with the Weather
Stormy Skies
Stormy skies offer dramatic photographic opportunities, but safety should always come first. Monitor weather reports and avoid dangerous areas. Use a sturdy tripod to stabilize your camera in high winds. Protect your gear with weatherproof covers or plastic bags. Capture the moody atmosphere by underexposing slightly and using a polarizing filter to darken skies and reduce glare. Focus on interesting cloud formations, lightning strikes (from a safe distance), and the interplay of light and shadow. Incorporate foreground elements like trees or buildings for scale and composition. Shoot in RAW format for maximum flexibility in post-processing. Boost contrast, adjust white balance, and selectively brighten key areas to emphasize the storm’s intensity. With careful planning and technique, you can safely create striking images that showcase nature’s raw power.
Misty Mornings
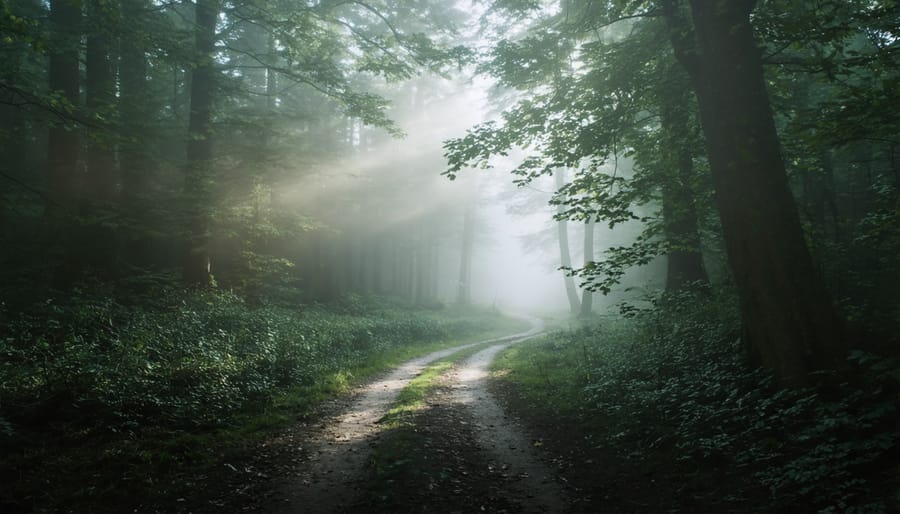
Misty mornings offer a magical opportunity for photographers to capture ethereal, dreamlike images. The soft, diffused light filtering through the fog creates a sense of depth and mystery, transforming ordinary landscapes into enchanting scenes. Embrace the muted color palette and emphasize the interplay of light and shadow to evoke a moody atmosphere. Look for interesting silhouettes, such as lone trees or distant figures, to add a sense of scale and narrative to your compositions. Experiment with longer exposures to smooth out any movement and enhance the misty effect. Be prepared for rapidly changing conditions as the sun rises and the fog dissipates, revealing new photographic possibilities with each passing moment. With patience and a keen eye, misty mornings can yield stunning, one-of-a-kind images that captivate the viewer’s imagination.
Adapt to Indoor Environments
Window Light
Positioning your subject near a window is an excellent way to harness the power of natural light in your photography. Look for a room with large windows that allow plenty of soft, diffused light to enter. Place your subject a few feet away from the window, at a slight angle, to create a flattering, directional light that wraps around their features. This technique works particularly well for portraits, as it minimizes harsh shadows and enhances the subject’s natural beauty. Experiment with different distances and angles to find the most complementary lighting for your subject. If the light is too bright, you can use sheer curtains or blinds to soften it further. Keep in mind the time of day, as the quality and intensity of window light will vary throughout the day. Early morning and late afternoon often provide the most pleasant, golden light for indoor portraits.
Bounce Flash
Bouncing your flash is a simple yet effective technique to soften shadows and create more flattering light when shooting indoors. Instead of pointing the flash directly at your subject, angle it towards a white ceiling or wall to diffuse the light and achieve a more natural-looking illumination. This approach helps minimize harsh shadows under the eyes, nose, and chin, resulting in a softer, more even light that wraps around your subject. Experiment with different bounce angles and distances to control the intensity and direction of the light. If your camera lacks a built-in bounce card, consider using a small piece of white cardboard or a reflector to redirect the flash output. Remember to adjust your flash exposure compensation as needed to maintain proper exposure when bouncing the light. With practice, bouncing your flash will become a go-to technique for creating beautiful, flattering light in any indoor setting.
Interact with Your Subjects
Candid Moments
Capturing candid moments requires patience, keen observation, and a bit of stealth. Rather than constantly directing your subjects, take a step back and let scenes unfold naturally. Observe interactions, emotions, and spontaneous gestures that reveal authentic expressions and connections. Anticipate key moments, such as a genuine laugh or a tender glance, and be ready to snap the shutter at the right instant. Use a longer lens to maintain a discreet distance and avoid disrupting the natural flow of events. Embrace the imperfections and rawness of unposed shots, as they often convey the most compelling stories. Keep your camera at the ready, trust your instincts, and be prepared to capture fleeting moments that cannot be recreated. With practice and persistence, you’ll develop an eye for spotting and immortalizing those precious, unscripted moments that make photography so powerful.
Environmental Portraits
When creating environmental portraits, the goal is to capture your subject in a setting that reflects their personality, interests, or story. Start by choosing a location that is meaningful to your subject, such as their home, workplace, or a favorite outdoor spot. Pay attention to the background and foreground elements, ensuring they enhance the narrative without distracting from the subject.
Guide your subject in finding poses that feel natural and authentic to them. Encourage interaction with their surroundings, such as leaning against a wall, sitting on a bench, or engaging with objects relevant to their story. Utilize natural light whenever possible, positioning your subject near windows or in open shade outdoors. Consider the time of day and how the light will affect the mood and atmosphere of the image.
Experiment with different angles and perspectives to add visual interest and emphasize the relationship between the subject and their environment. Use a wide aperture to create a shallow depth of field, drawing focus to your subject while beautifully blurring the background. Remember, the key to compelling environmental portraits is to create images that offer a glimpse into your subject’s world and tell their unique story.

Post-Processing for Impact
Color Grading
Color grading is a powerful tool to manipulate the mood and atmosphere of your photographs. By selectively adjusting hues, saturation, and luminance, you can emphasize certain colors to evoke specific emotions. Cooler tones like blue and green can create a sense of calmness or melancholy, while warmer hues like orange and red can convey energy, warmth, or even tension. Desaturating colors can give a vintage or somber feel, while vibrant, saturated tones can make an image pop with life. Experiment with color grading to subtly enhance the existing colors in your environment or dramatically transform the mood to tell a compelling visual story.
Contrast Adjustments
Contrast adjustments can make or break a scenic photograph. To ensure your key elements stand out, start by identifying the brightest and darkest areas in your frame. Use your camera’s histogram to gauge the tonal range and avoid clipping highlights or shadows. Slightly underexposing the image can help retain detail in bright skies, while bracketing exposures provides flexibility in post-processing. When editing, apply targeted contrast adjustments using curves or levels to emphasize depth and dimension. Dodge and burn techniques can selectively lighten or darken specific areas, directing the viewer’s eye to focal points. With mindful contrast control, you’ll create striking scenic images that command attention.
Conclusion
In conclusion, mastering the art of photography in various environments is all about adapting, experimenting, and being prepared. By understanding how to work with natural light, compose your shots thoughtfully, and adjust your settings for different weather conditions, you can create stunning images no matter where you find yourself. Don’t be afraid to explore new locations, whether it’s a bustling city street or a tranquil forest, and always be on the lookout for unique perspectives and intimate moments with your subjects. As you continue to hone your skills, remember that photography is a journey of lifelong learning. Embrace the challenges that come with each new environment, and keep pushing yourself to try new techniques and eco-friendly photography practices. With dedication, creativity, and a willingness to step outside your comfort zone, you’ll be well on your way to capturing the beauty and diversity of the world around you.


