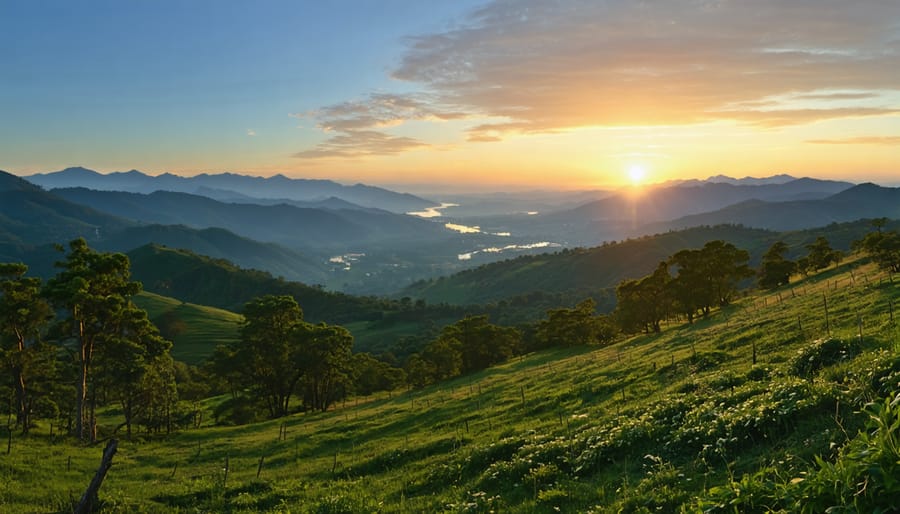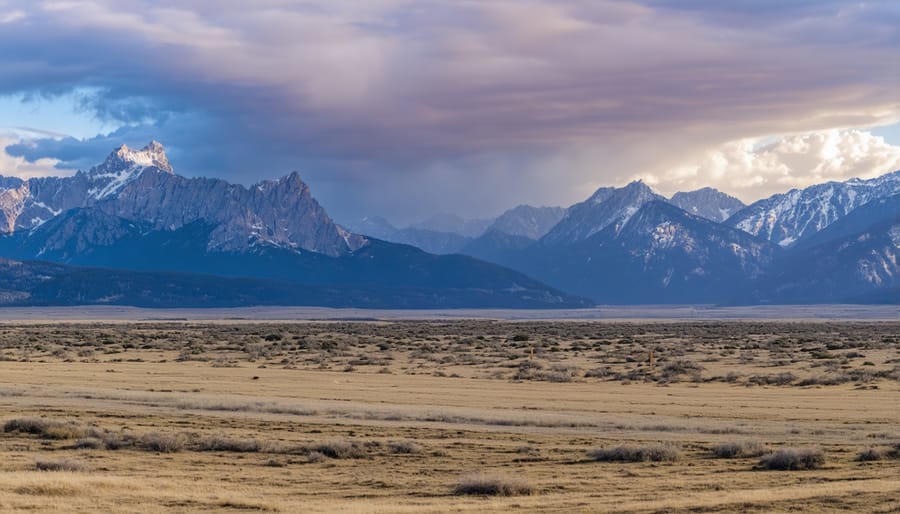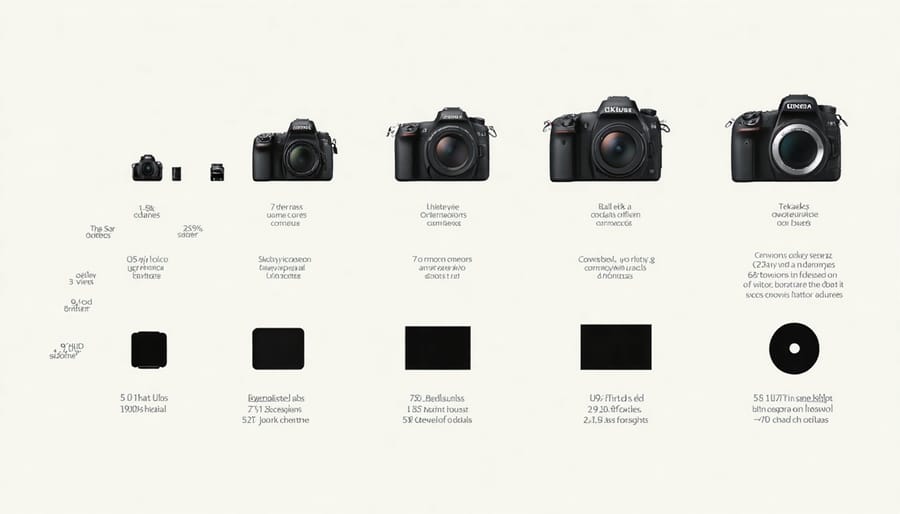
Understand the dimensions that define a panoramic photo’s unique rectangular shape, allowing you to capture sweeping vistas and immersive scenes. Familiarize yourself with common panoramic aspect ratios like 2:1, 3:1, and even 6:1 to determine the ideal framing for your subject. Consider the resolution and megapixel count needed to maintain sharp detail across the elongated frame, especially for large prints. Compose your panoramas thoughtfully, using leading lines, balanced elements, and a clear focal point to guide the viewer’s eye through the expansive image.
Standard Panoramic Photo Dimensions
Wide-Format Panoramas
Wide-format panoramas typically use aspect ratios like 6:17, 6:12, or 6:9, which are wider than standard photo sizes. The exact dimensions depend on the camera’s sensor size and the focal length of the lens used. For example, a full-frame camera with a 24mm lens can capture a 6:17 ratio panorama that’s roughly 13,600 pixels wide by 4,800 pixels tall. A crop-sensor camera with the same lens would produce a smaller panorama, around 8,800 by 3,100 pixels. Other common ratios include 1:2 (6000×12000 pixels), 1:3 (4000×12000 pixels), and 1:4 (3000×12000 pixels). Keep in mind that the final print size of your panorama will be determined by the resolution of your image and the desired pixels per inch (PPI) for printing. A 6:17 ratio panorama at 300 PPI could be printed at approximately 45 inches wide by 16 inches tall without losing quality.

Medium-Format Panoramas
Medium-format cameras offer photographers unique panoramic options, with aspect ratios like 6:6 (square), 6:4.5, and 6:7. These dimensions provide a distinct look compared to the more common 3:2 or 4:3 ratios found in 35mm and digital cameras. The square 6×6 format, popularized by cameras like the Hasselblad, delivers a classic, timeless aesthetic. The 6×4.5 (1.33:1) and 6×7 (1.17:1) formats offer a wider panoramic view without extreme elongation, making them well-suited for landscapes, architecture, and portrait photography. While these aspect ratios may require some cropping for standard print sizes, they allow for creative framing and a unique perspective. Medium-format panoramas are known for their exceptional detail, wide dynamic range, and shallow depth of field, thanks to the larger film or sensor size. When composing with these formats, consider the balance and symmetry afforded by the square frame, or use the wider rectangles to emphasize sweeping horizons or leading lines.
Factors Affecting Panorama Dimensions

Camera Sensor Size
The size of your camera’s sensor plays a significant role in determining the dimensions of your panoramic photos. Larger sensors, like those found in full-frame cameras, allow you to capture a wider field of view and more detail in each frame, resulting in larger overall panoramas. Conversely, smaller sensors, such as those in crop-sensor or smartphone cameras, will produce smaller panoramas with the same focal length lens. It’s essential to consider your camera sensor size when planning your panoramic shots, as it will impact the number of frames you need to capture and the resolution of your final image. Keep in mind that while larger sensors offer advantages, it’s still possible to create stunning panoramas with smaller sensors by carefully planning your composition and using appropriate techniques.
Lens Focal Length
The lens focal length you choose significantly impacts the field of view captured in a panoramic photo. Wide-angle lenses, typically in the 16-35mm range on full-frame cameras, are popular choices for panoramas due to their expansive coverage. However, longer focal lengths can also be used to create more compressed or detailed panoramas by stitching together multiple shots.
Keep in mind that focal length affects not only the horizontal field of view but also the vertical angle of view. This means that shorter focal lengths will capture more of the scene vertically, which may require cropping for optimal panoramic proportions. Experiment with different lens focal lengths to find the perspective that best suits your creative vision and the landscape you’re photographing. With practice, you’ll develop an intuition for which focal lengths work best in various scenarios to achieve the desired dimensions and visual impact in your panoramas.
Panorama Resolution and Print Sizes
Digital Resolution for Panoramas
To ensure your panoramic images maintain sharp details when printed or displayed at large sizes, aim for a minimum resolution of 300 pixels per inch (ppi). For a 20×60 inch panorama, that equates to a digital file with dimensions of at least 6000×18000 pixels. Higher resolutions like 600 ppi are ideal for gallery-quality prints. Keep in mind that file size increases significantly with resolution, so make sure you have ample storage space. When stitching together multiple images to create a panorama, use a tripod and overlap each frame by about 30% to ensure smooth blending and maintain consistent sharpness across the entire image. Shooting in RAW format will give you the most flexibility for post-processing adjustments while preserving maximum detail and dynamic range.
Panoramic Photo Print Sizes
Panoramic photos are often printed in a range of standard sizes to suit different display needs. Popular panoramic print sizes include 4×12, 8×24, 12×36, and 16×48 inches. These dimensions maintain the elongated aspect ratio characteristic of panoramas while providing options for small to large-scale prints. Custom printing allows for even greater flexibility in size.
When choosing a print size, consider the resolution of your panoramic image to ensure optimal print quality. Larger prints require higher resolution files to avoid pixelation or loss of detail. A good rule of thumb is to have at least 300 pixels per inch (PPI) at the desired print size. Consult with your print service provider for specific resolution requirements based on the printing technology used.
Tips for Composing Panoramic Photos
When composing panoramic photos, consider the Rule of Thirds to create balanced and visually appealing images. Place key elements along the grid lines or at their intersections. Leading lines, such as roads, rivers, or architectural features, can guide the viewer’s eye through the expansive scene. Incorporate foreground interest to add depth and scale, drawing the viewer into the image. Pay attention to the horizon line, ensuring it’s straight and level, unless you’re intentionally tilting for creative effect. Experiment with different viewpoints and angles to find the most compelling perspective. Consider the time of day and lighting conditions to capture the desired mood and atmosphere. Remember, while the wide aspect ratio of panoramas offers ample space for storytelling, be intentional with your composition and avoid including unnecessary elements that may detract from the overall impact of your image.
In conclusion, understanding the dimensions and aspect ratios of panoramic photos is key to capturing stunning wide-angle images. By familiarizing yourself with standard panorama sizes, resolution requirements, and composition techniques, you can create immersive and visually appealing photographs. Remember, experimentation is part of the fun – so grab your camera, explore different panoramic dimensions, and let your creativity shine!


