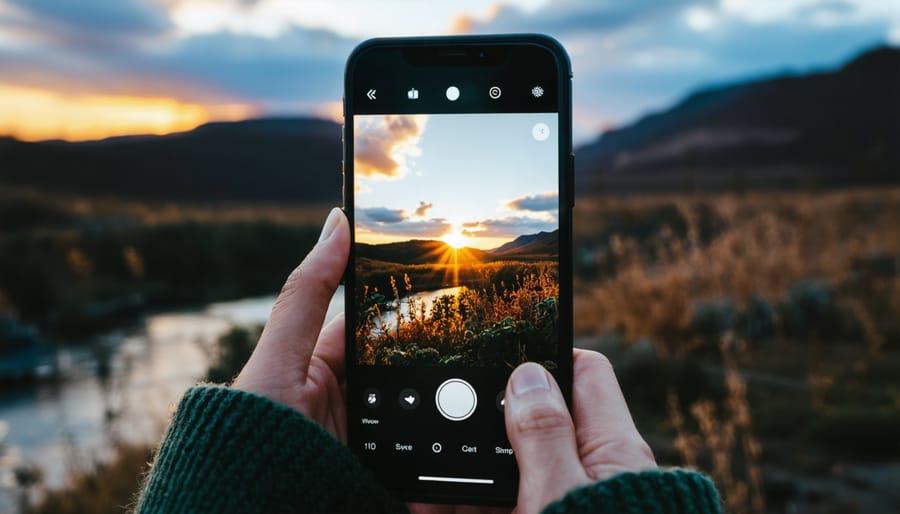
Elevate your iPhone photography by mastering advanced camera settings. Shoot in RAW format to capture maximum detail and flexibility for post-processing. Master your camera settings like shutter speed, ISO, and exposure compensation to precisely control exposure. Experiment with manual focus for creative control over depth of field. Leverage HDR mode to beautifully capture high-contrast scenes without losing detail in shadows or highlights.
1. Enable and Master the Grid
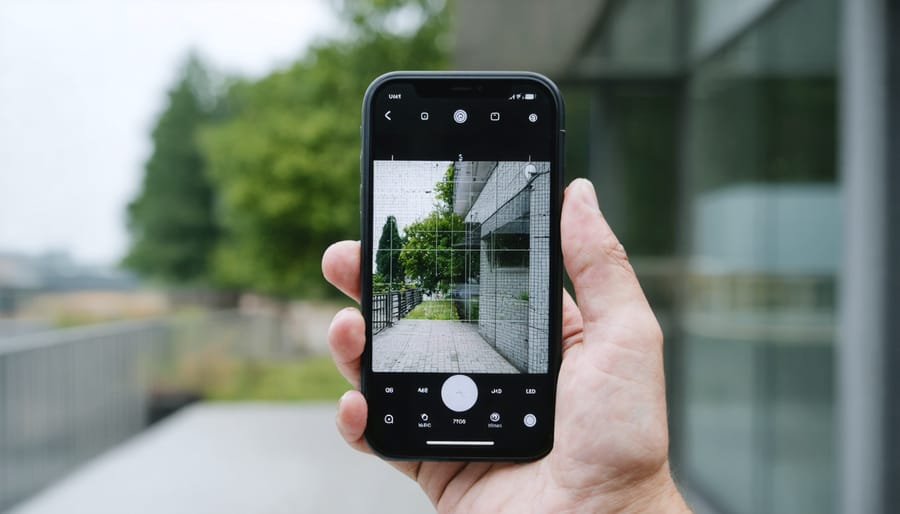
The grid is a powerful composition tool that overlays a 3×3 grid on your iPhone’s camera screen, dividing the frame into nine equal parts. This grid helps you compose shots using the rule of thirds, a fundamental principle in photography. The rule suggests that placing your subject or key elements along the grid lines or at their intersections creates a more balanced, visually appealing composition.
To enable the grid, go to your iPhone’s Settings, select Camera, and toggle on the Grid option. Once activated, you’ll see two horizontal and two vertical lines superimposed on your camera view.
When framing your shot, try positioning the main subject at one of the four points where the grid lines intersect. For example, when capturing a landscape, place the horizon along the top or bottom horizontal line, and any significant elements, like a tree or building, near one of the vertical lines.
Similarly, when photographing people, align their eyes with the top horizontal line for a pleasing portrait. If your subject is facing sideways, position them along one of the vertical lines, leaving some negative space in the direction they’re facing for a natural, balanced look.
Mastering the grid and the rule of thirds takes practice, but it’s a surefire way to elevate your iPhone photography and create compelling, well-composed images that draw the viewer’s eye to your intended focal points.
2. Experiment with Focus and Exposure Control
One powerful feature of the iPhone’s camera is the ability to lock focus and exposure separately. This gives you more control over the final look of your image. To lock focus, simply tap and hold on the area you want in sharp focus until the “AE/AF Lock” badge appears. Now, even if you recompose the shot, the focus will remain locked on that point.
To lock exposure, swipe up or down on the screen to adjust brightness after locking focus. This is great for tricky lighting situations where you want to prioritize proper exposure for a key part of the scene, like a backlit subject. The iPhone will hold these settings until you tap the screen to unlock.
Independently controlling focus and exposure unlocks creative techniques. For a portrait with a soft background, lock focus on your subject’s eyes, then reduce exposure to darken the background. For a sunset landscape, set focus and optimal exposure on the sky, then recompose to include the darker foreground. The camera will maintain your sky exposure, preventing it from being blown out.
Locking focus also enables sharp shots in low light or when your subject is moving. Just prefocus on the spot where you anticipate the action, then snap the shot when the moment unfolds. With focus locked, you won’t risk the camera hunting and missing the crucial moment.
Remember, you can always tap the screen to reset focus and exposure if you need to adjust on the fly. Mastering this control opens up a new level of intention and artistry in your iPhone images.
3. Unleash the Power of Burst Mode
Burst mode is an incredibly useful feature for capturing fast-paced action or ensuring you get the perfect shot in tricky situations. To use burst mode, simply hold down the shutter button while taking a photo. Your iPhone will rapidly take a series of photos, allowing you to select the best ones later.
This feature is particularly handy when photographing moving subjects, such as athletes, children, or pets. By taking multiple shots in quick succession, you increase the likelihood of capturing the perfect moment or expression. Burst mode is also great for group photos, as it helps ensure everyone has their eyes open and is smiling.
To review your burst photos, open the Photos app and select the burst thumbnail. Tap “Select” in the bottom right corner, then scroll through the images to find your favorites. Tap the circle in the lower right corner of each photo you want to keep, then tap “Done.” You can then choose to keep only the selected photos or keep everything.
With a little practice, burst mode can become a go-to tool in your iPhone photography arsenal, helping you capture once-in-a-lifetime moments with ease.
4. Get Close with Macro Mode
Macro mode on the iPhone allows you to capture stunning close-up shots of tiny subjects like flowers, insects, and intricate textures. This feature uses the Ultra Wide camera lens to focus on objects as close as 2 cm away, revealing incredible details that are usually invisible to the naked eye.
To get the best results with macro mode, ensure your subject is well-lit. Natural light works best, so try to shoot outdoors or near a window. If you’re indoors, use a small LED light or a reflector to illuminate your subject evenly. Avoid using the iPhone’s built-in flash, as it can create harsh shadows and wash out colors.
Stabilization is key when shooting in macro mode. Even the slightest movement can blur your image, so use both hands to hold your iPhone steadily. You can also rest your elbows on a table or use a tripod for added stability. The iPhone’s built-in stabilization will help, but it’s not a substitute for a steady hand.
Experiment with different angles and perspectives to create unique compositions. Try shooting from above, below, or at eye level with your subject. Use DIY photo backdrop ideas to add visual interest and make your subject pop.
Finally, be patient and take multiple shots. Macro photography requires precision, so it may take a few tries to get the perfect image. With practice and experimentation, you’ll be able to capture stunning close-up shots that showcase the beauty of the tiny world around us.
5. Capture Action with Slo-Mo and Time-Lapse
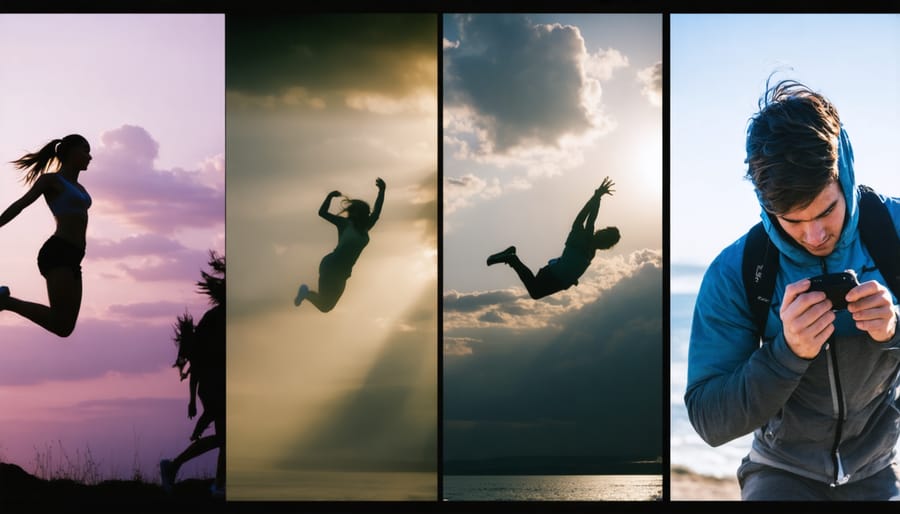
Time for some action! Your iPhone makes it easy to get creative with slow motion and time-lapse techniques. For slo-mo, simply swipe to the Slo-mo mode in your camera app. This captures video at a high frame rate, allowing you to slow down the action for dramatic effect. It’s perfect for capturing sports, dance moves, jumping pets, or even something as simple as blowing bubbles. Experiment with timing to find that sweet spot where the slowed-down motion is most impactful.
On the flip side, time-lapse condenses longer scenes into short, engaging videos. The iPhone automatically captures frames at set intervals and stitches them together. This storytelling technique shines for sunsets, blooming flowers, busy city scenes, or creative projects taking shape. Mount your phone on a tripod for best results and let it roll—the more time captured, the more dramatic the effect.
Both modes open up a world of creative possibilities, from mastering action photography to crafting compelling narratives. For slo-mo, get close to the action and pan smoothly to track your subject. With time-lapse, compose carefully and avoid major shifts in exposure. Above all, don’t be afraid to play around—your iPhone makes experimenting easy, and you might just capture something amazing.
6. Master Portrait Mode and Live Photos
Portrait Mode on your iPhone allows you to capture stunning, DSLR-like photos with beautifully blurred backgrounds. To optimize your portraits, start by ensuring your subject is well-lit and positioned against a contrasting background. This helps the camera differentiate between foreground and background, resulting in a more pronounced bokeh effect. Experiment with different angles and distances from your subject to find the sweet spot where the background blur is most pleasing.
When using Portrait Mode, pay attention to the lighting conditions. Soft, diffused light often works best for portraits, so consider shooting in the shade or during the golden hours around sunrise and sunset. If the light is too harsh, the camera may struggle to accurately detect edges and produce a less convincing depth effect.
Live Photos, a feature that records a short video along with each still image, offers some hidden gems. After capturing a Live Photo, you can apply various effects like Loop, Bounce, and Long Exposure to create unique, dynamic images. Loop turns your Live Photo into a continuous video loop, perfect for showcasing small movements or actions. Bounce plays the video forward and then in reverse, creating a fun, back-and-forth effect. Long Exposure blends the frames of the Live Photo to simulate a slower shutter speed, ideal for capturing motion blur or light trails.
To access these Live Photo effects, simply swipe up on the image in the Photos app and select the desired option. With a bit of creativity and experimentation, you can transform your Live Photos into captivating, eye-catching visuals that bring your memories to life.
7. Edit Like a Pro in the Photos App
The Photos app on your iPhone is a powerful tool for editing and fine-tuning your images after capture. With a suite of intuitive controls, you can adjust exposure, tweak colors, crop for the perfect composition, and more. Exposure adjustments let you brighten shadows or recover highlights, while the color tools offer everything from vibrant saturation boosts to precise white balance tweaks. The cropping tool helps you reframe shots for maximum impact or adhere to specific aspect ratios for social media. You can even apply filters, remove blemishes, and experiment with creative effects. Whether you’re a pro photographer or just looking to step up your iPhone photo game, mastering the Photos app’s editing features is essential. For even more genius tips for jaw-dropping smartphone photos, check out our in-depth guide. With a little practice and experimentation, you’ll be amazed at how much you can accomplish without ever leaving your iPhone. So dive in, explore the tools, and watch as your mobile photography soars to new heights.
By mastering these advanced iPhone camera settings, you’ll have the tools to take your mobile photography to the next level. Remember, experimentation is key – don’t be afraid to play around with different combinations of settings to see what works best for your unique style and vision. As you continue your iPhone photography journey, be sure to check out our other resources, including tutorials on the best photo editing apps and composition techniques. With practice, patience, and a willingness to explore, you’ll be capturing stunning, professional-quality images with your iPhone in no time.


