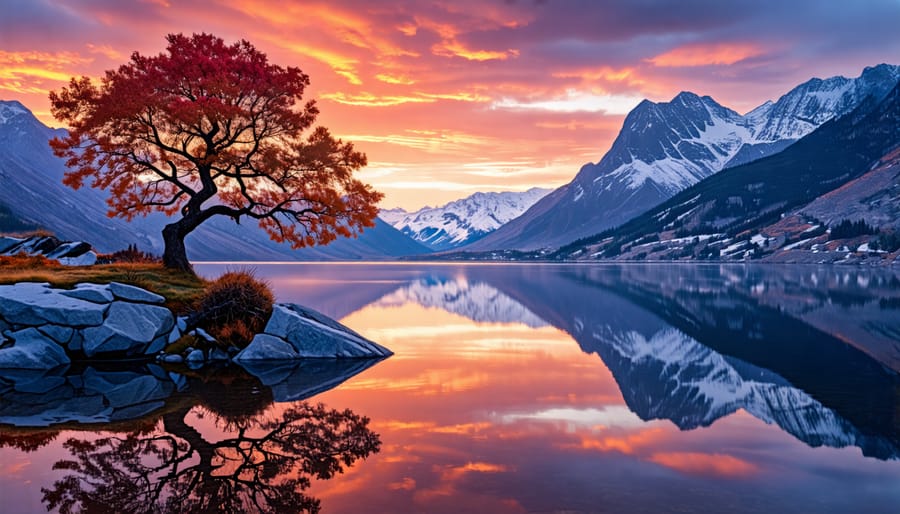
Choose your focal point carefully to create a strong, balanced composition that leads the viewer’s eye through the frame. Use the rule of thirds, leading lines, and other compositional techniques to add visual interest and depth.
Set your camera to aperture priority mode and select a narrow aperture like f/11 or f/16 for maximum depth of field and sharp focus from foreground to background. For tack-sharp images, mount your camera on a sturdy tripod and use a remote shutter release or timer to minimize vibrations.
Shoot during the golden hours around sunrise and sunset when the light is warm, directional, and dramatic. Alternatively, head out on overcast days for soft, even lighting that’s perfect for capturing fine details and textures. Always pack must-have gear like neutral density filters to control exposure in bright conditions or a circular polarizer to reduce glare and enhance colors.
Master Your Camera Settings
Aperture for Depth of Field Control
To control depth of field in your landscape photos, use your camera’s aperture settings. Aperture, measured in f-stops, determines how much light enters the lens. A smaller f-stop number (like f/2.8) results in a wider aperture opening, creating a shallow depth of field where only part of the image is in sharp focus. For landscapes, you typically want everything from foreground to background to appear crisp. To achieve this, use a narrow aperture with a higher f-stop number (like f/11 or f/16). This keeps more of the scene in focus. Be aware that as you narrow the aperture, less light enters the camera, so you may need to compensate with a slower shutter speed or higher ISO. Experiment with different aperture settings to find the perfect balance for each landscape scenario you encounter. With practice, you’ll master using aperture to control depth of field and capture stunning, sharp landscape images.
Shutter Speed Secrets
Shutter speed is a powerful tool for capturing the essence of a landscape. Slower shutter speeds, such as 1/15th of a second or longer, can create a dreamy, ethereal effect on moving elements like water, clouds, or foliage. This technique is especially effective for conveying a sense of motion and adding a creative flair to your images. On the other hand, faster shutter speeds freeze motion, ensuring sharp details in fast-moving subjects like birds or windblown grass. Experiment with different shutter speeds to find the perfect balance for your scene. A solid tripod is essential for slower speeds to prevent camera shake and maintain image sharpness. Don’t be afraid to use filters, such as neutral density filters, to reduce the amount of light entering your lens and allow for longer exposures even in bright conditions. With practice, you’ll master the art of using shutter speed to create stunning, dynamic landscape photographs.
ISO Insights
In landscape photography, balancing ISO is crucial for achieving optimal image quality. While lower ISO values typically produce the cleanest images with minimal noise, there are situations where increasing the ISO is necessary. When shooting in low light conditions, such as during golden hour or blue hour, a higher ISO allows you to maintain a fast enough shutter speed to avoid camera shake and capture sharp images. However, be mindful of the trade-off between ISO and image noise. Experiment with your camera to determine its high ISO performance and find the sweet spot where you can maintain acceptable noise levels while still capturing well-exposed images. Remember, it’s better to have a slightly noisy sharp image than a blurry clean one. When the light is abundant, keep your ISO as low as possible to maximize image quality and dynamic range.
Compose Like a Pro
Use Leading Lines
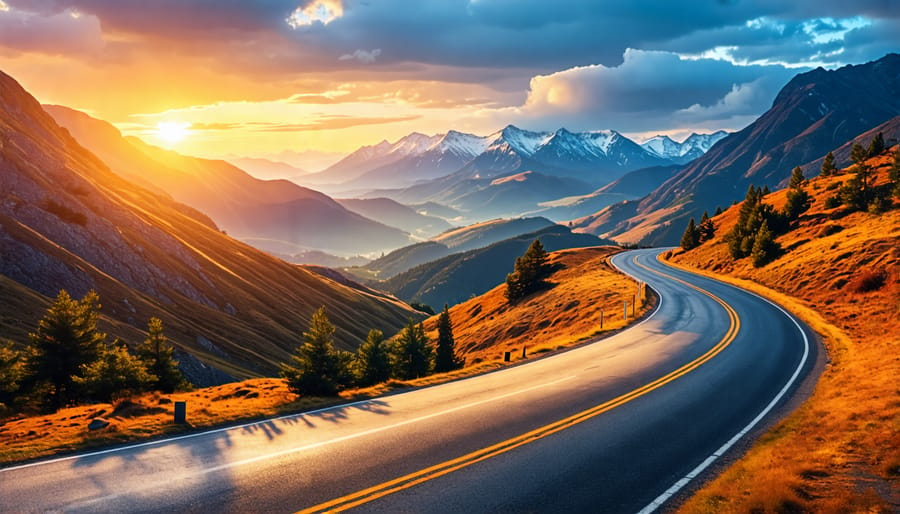
Leading lines are a powerful compositional tool in landscape photography. By strategically using natural or man-made elements that form lines, you can guide the viewer’s eye through the frame and toward your intended subject. Roads, rivers, fences, and even tree trunks can serve as leading lines. When composing your shot, consider how these lines intersect with other elements and whether they lead the eye to a specific focal point.
Diagonal lines often work best, as they create a sense of depth and dynamism. Winding roads or paths can lead the viewer on a visual journey, inviting them to explore the scene. Converging lines, such as train tracks or a pier extending into a lake, can create a strong sense of perspective and draw the eye toward a vanishing point on the horizon.
When using leading lines, pay attention to where they originate and terminate within the frame. Experiment with different angles and positions to find the most compelling composition. Leading lines can also be used to create balance or asymmetry, depending on your creative intent. Remember, the goal is to use these lines to enhance your composition and guide the viewer’s eye through the landscape in a meaningful way.
Leverage the Rule of Thirds
The rule of thirds is a classic composition technique that can instantly elevate your landscape photographs. Imagine your frame divided into a 3×3 grid. The points where the lines intersect are known as power points. By placing key elements of your scene, such as the horizon line, a striking tree, or a meandering river, along these lines or at the power points, you create a more balanced and dynamic composition that naturally draws the viewer’s eye.
For example, instead of centering the horizon in your frame, try placing it along the top or bottom third for a more interesting perspective. A lone tree or prominent rock formation positioned at one of the power points can add visual interest and depth to your image. Remember, the rule of thirds is a guideline, not a hard and fast rule. Trust your instincts and experiment with positioning elements slightly off the lines or power points for added visual tension and uniqueness.
By leveraging the rule of thirds, you can create landscapes that are not only visually pleasing but also convey a sense of story and intention. Give it a try the next time you’re out shooting and see how this simple technique can transform your compositions.
Create a Sense of Scale
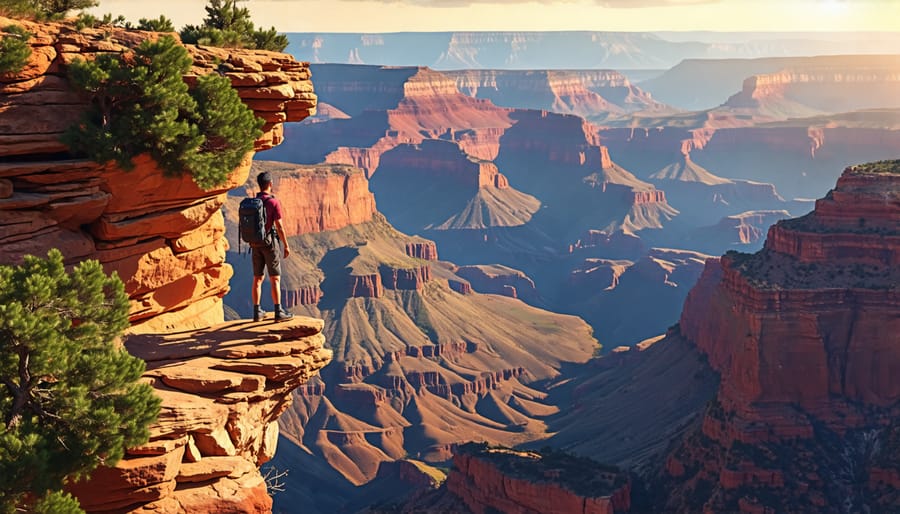
When photographing vast landscapes, it’s easy for the grandeur of the scene to get lost in translation. To really convey the sense of scale, try including recognizable objects in your frame. A lone hiker standing atop a massive cliff or a boat sailing through an expansive fjord can instantly give viewers a relatable point of reference. This technique is particularly effective when shooting with a wide-angle lens, as it emphasizes the contrast between the small familiar object and the immense surroundings.
Another way to create a sense of scale is by using foreground elements. Placing a rock, flower, or any other interesting object in the immediate foreground can provide depth and make the distant landscape appear even more vast. Keep an eye out for naturally occurring leading lines, like rivers or trails, which can guide the viewer’s eye through the scene and further enhance the perception of scale. By thoughtfully composing your shots with these elements, you can truly showcase the awe-inspiring magnitude of the landscapes before you.
Light Your Landscapes
Leverage the Golden Hours
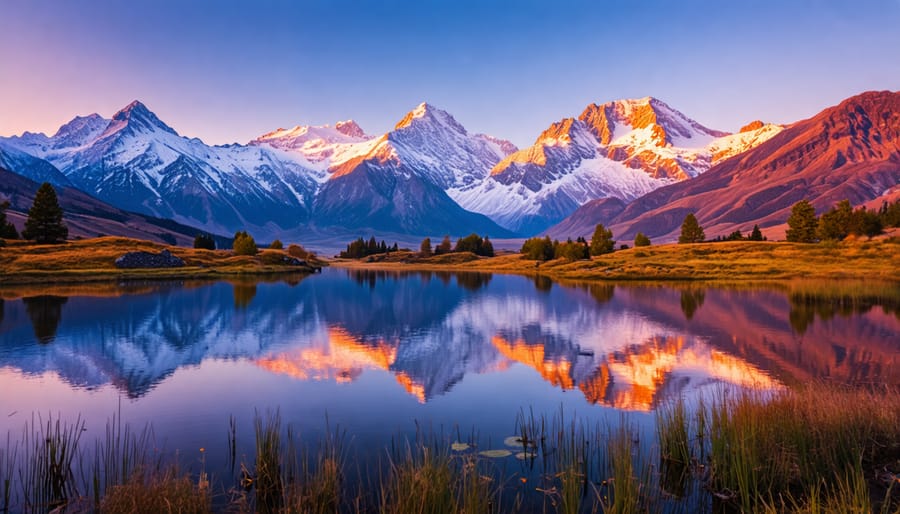
The golden hours around sunrise and sunset offer photographers an unparalleled opportunity to capture stunning landscapes bathed in warm, glowing light. These fleeting moments transform scenes with long shadows, enhanced textures, and a captivating ambiance that can elevate any image. To make the most of these magical hours, arrive at your location well before the sun rises or sets to scout compositions and set up your gear. Look for ways to incorporate the sun’s low angle into your shots, whether it’s backlighting subjects, creating starburst effects, or casting dramatic shadows across the landscape.
Keep in mind that the light changes rapidly during the golden hours, so be prepared to adapt your exposures and compositions accordingly. Bracketing your shots can help ensure you capture the full dynamic range of the scene. Don’t forget to experiment with different focal lengths and perspectives – a wide-angle lens can emphasize expansive vistas, while a telephoto can compress the scene and highlight the sun’s interaction with distant elements. Above all, be patient and immerse yourself in the moment. The golden hours require a bit of luck and perseverance, but the breathtaking images you create will be well worth the effort. By leveraging the unique qualities of this special light, you can infuse your landscape photographs with a sense of magic and emotion that sets them apart.
Tame the Midday Sun
When shooting landscapes in the harsh midday sun, the key is to work with the light, not against it. Embrace the dramatic shadows and high contrast by seeking out scenes with interesting textures, like rocky canyons or gnarled trees. Use a polarizing filter to cut glare and deepen blue skies. For a softer look, try a diffusion filter or shoot in the shade of a tree or rock formation.
Composition is crucial in bright light. Look for strong geometric shapes, leading lines, and patterns to create visual interest. Silhouettes can be striking against a bright sky – position your subject in front of the sun and expose for the highlights. Reflections in water can also add a creative twist.
While the golden hours are ideal, don’t put your camera away when the sun is high. Challenge yourself to find unique perspectives and work with the light you have. Bracket your exposures to ensure you capture detail in both shadows and highlights. And don’t forget to protect your gear (and yourself) from the heat and UV rays. With a little creativity and technical know-how, you can capture stunning landscapes even in the most challenging light.
In conclusion, capturing stunning landscape photographs requires a combination of technical skill, creative vision, and patience. By mastering camera settings like aperture, shutter speed, and ISO, you’ll gain full control over the look and feel of your images. Composition techniques such as the rule of thirds, leading lines, and framing will help you create more impactful and engaging shots. And by learning to work with different lighting conditions, from golden hour to blue hour to harsh midday sun, you’ll be able to make the most of any landscape photography opportunity. Remember, the key is to practice regularly, experiment with new techniques, and always stay open to creative possibilities. With dedication and persistence, you’ll soon find yourself capturing landscape images that truly showcase the beauty and wonder of the natural world. So grab your gear, head out to your favorite scenic spot, and start putting these tips and tricks into action!

