Focus manually for maximum sharpness; switch your lens to manual focus and use live view to zoom in and adjust until the subject is tack-sharp. Illuminate your subject with diffused light; position a small LED panel or reflector to the side for even, soft lighting that brings out detail. Compose tightly and deliberately; get close to isolate the subject against a clean, uncluttered background for maximum impact. Invest in a dedicated macro lens; while extension tubes and close-up filters work, a true macro lens unlocks the greatest image quality and working distance for serious macro photography.
Master Your Focus
Manual Focus
When shooting macro photography, manual focus is often the best choice for achieving razor-sharp precision. Autofocus can struggle to lock onto the right spot when dealing with such small subjects and shallow depth of field. By focusing manually, you have complete control over what’s in focus.
To make manual focusing easier, use your camera’s live view mode and zoom in on the LCD screen to check sharpness. Many cameras also have focus peaking, which highlights in-focus edges in a contrasting color. For stationary subjects, you can even prefocus and then move the camera slightly back and forth until the critical area is pin-sharp.
When handholding, it’s helpful to brace your arms against your body for stability. For the most precise focus, however, a sturdy tripod is invaluable. This lets you fine-tune focus without introducing camera shake. Tethering your camera to a laptop can make focusing even more accurate, as you’ll see the preview on a larger screen.
Focus Stacking
Focus stacking is a powerful technique that allows you to achieve maximum depth of field in your macro photographs. By taking multiple shots of your subject, each focused at a slightly different point, you can later combine them using photo editing software to create a single image with every part of your subject in sharp focus. This is especially useful when working with extremely shallow depth of field at high magnifications.
To get started with focus stacking, mount your camera on a sturdy tripod to ensure each shot is perfectly aligned. Set your lens to manual focus and compose your shot. Take the first photo focused on the closest part of your subject, then slightly adjust the focus point further into the frame and take another shot. Continue this process until you’ve captured the entire depth of your subject in focus across multiple images.
When focus stacking, it’s crucial to maintain consistent exposure settings throughout the series of shots. Use manual mode to lock in your aperture, shutter speed, and ISO. For the sharpest results, use a small aperture like f/11 or f/16, and adjust your shutter speed and ISO accordingly to maintain proper exposure. Also, be sure to keep your lighting consistent across all shots.
Once you’ve captured your focus-stacked images, import them into your favorite photo editing software. Many programs, such as Adobe Photoshop and Helicon Focus, have built-in focus stacking tools that automate the process of aligning and blending the shots together. With some practice and experimentation, focus stacking can take your macro photographs to new levels of detail and clarity.
Light It Right
Natural Light
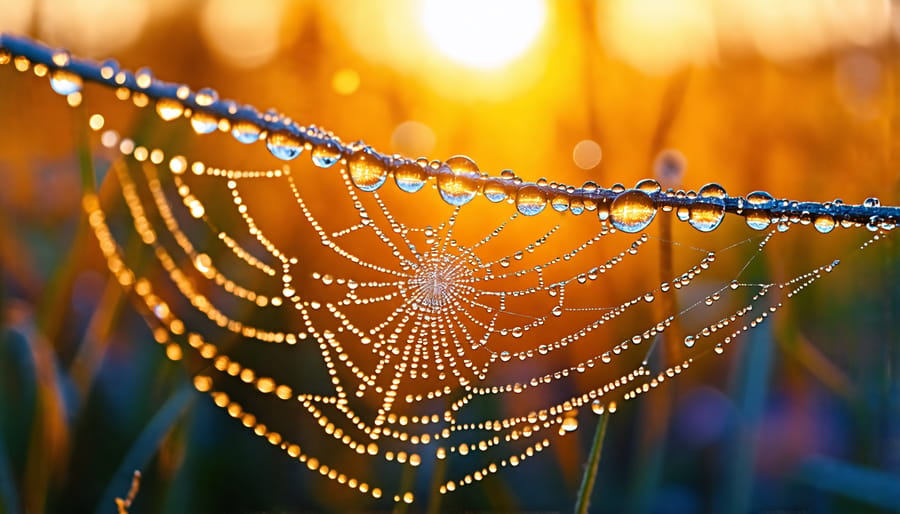
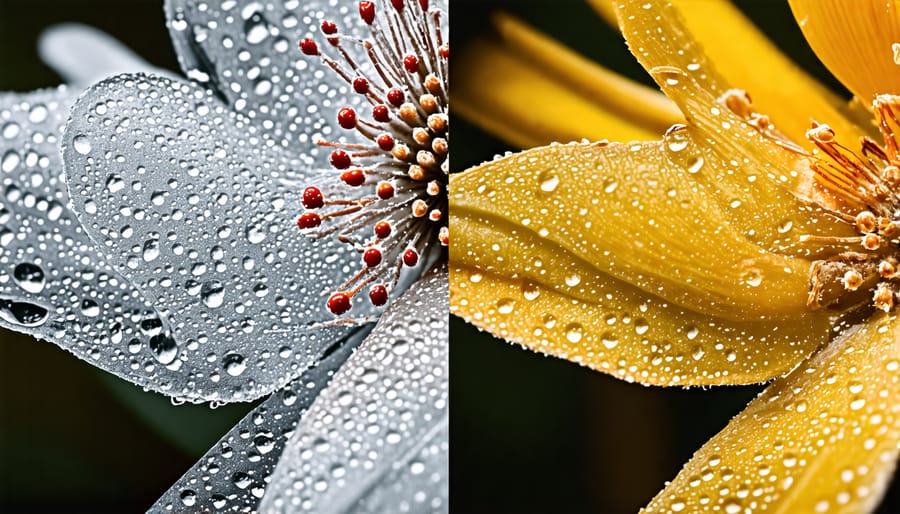
When working with natural light for macro photography, aim for soft, diffused illumination to minimize harsh shadows and bring out your subject’s delicate details. Early morning and late afternoon offer the most favorable lighting conditions, with the sun low in the sky providing a warm, golden glow. If shooting midday, find a shaded area or create your own shade using a diffuser or reflector. Overcast days are also ideal for macro work, as the clouds act as a natural softbox, producing even, wraparound light. Experiment with backlighting to add a dreamy, ethereal quality to your shots, but be mindful of flare. Always observe how the light interacts with your subject, and make adjustments to your position or the subject’s orientation to achieve the most flattering result.
Flash and Diffusers
Using flash can help illuminate your macro subject and freeze motion, but harsh direct light often produces unflattering results. To soften the light, use diffusers such as softboxes, shoot-through umbrellas, or even DIY solutions like a white plastic bag or a translucent plastic container. These spread and soften the light, reducing harsh shadows and specular highlights.
Experiment with different lighting equipment and techniques to shape the light to your liking. Ring flashes that mount around the lens are popular for evenly illuminating small subjects. You can also use reflectors to bounce light back onto the subject, filling in shadows without the need for additional flash units.
For a more natural look, consider using off-camera flash positioned at an angle to the subject. This creates a sense of depth and dimension. With practice, you’ll learn to control the intensity, direction, and quality of light to enhance your macro photographs.
Compose for Impact
Fill the Frame
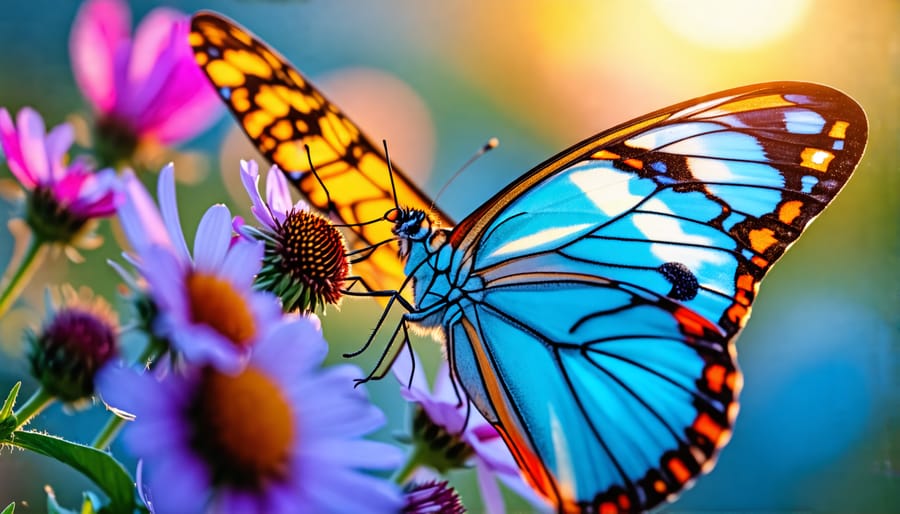
When composing macro shots, don’t be afraid to get up close and personal with your subject. Filling the frame with your subject isolates intricate details and textures that might otherwise be lost in a wider shot. This technique helps eliminate distracting backgrounds, drawing the viewer’s eye to the most compelling aspects of your subject. Experiment with different angles and perspectives to find the most engaging composition. Remember, in macro photography, even the tiniest details can become the star of the show when you fill the frame.
Backgrounds Matter
When composing macro shots, the background is just as important as your subject. Busy, cluttered backgrounds can distract from even the most stunning subject, while a clean, complementary backdrop will make your subject truly shine. Opt for plain, neutral backgrounds like a solid-colored wall, a piece of fabric, or a natural element like a leaf or smooth stone. You can also create your own backgrounds using poster board, felt, or even just a sheet of paper. Experiment with different colors to find one that contrasts well with your subject. If you’re shooting outdoors, try to find a spot where the background is far enough away to be out of focus, creating a pleasing bokeh effect. Remember, the goal is to make your subject the star of the show, so choose backgrounds that enhance rather than compete with it. With a little creativity and careful consideration, you can craft images where your subject truly pops.
Get Geared Up
Macro Lenses
Dedicated macro lenses are designed specifically for close-up photography, offering superior sharpness, clarity, and magnification compared to regular lenses. These specialized macro lenses typically have focal lengths ranging from 50mm to 200mm, with magnification ratios of 1:1 or greater. This means they can capture life-size or larger images of small subjects. Macro lenses also feature longer working distances, allowing you to maintain a comfortable distance from your subject while still achieving stunning close-ups. When choosing a macro lens, consider factors such as focal length, magnification ratio, and compatibility with your camera system to find the best option for your needs and budget.
Extension Tubes and Filters
Extension tubes are hollow cylinders that fit between your camera body and lens, allowing you to focus closer than your lens’s minimum focusing distance. They come in various lengths and can be stacked for greater magnification. Close-up filters, on the other hand, screw onto the front of your lens like regular filters. They act as magnifying glasses, enabling your lens to focus more closely on small subjects. Both tools are relatively inexpensive ways to venture into macro photography without investing in a dedicated macro lens. However, they may not provide the same level of sharpness and image quality as a true macro lens.
Conclusion
In conclusion, macro photography is a fascinating and rewarding genre that allows you to explore the intricate beauty of the world around you. By mastering the techniques of focusing, lighting, composition, and using the right gear, you’ll be well on your way to creating stunning close-up images. Remember, practice is key—the more you experiment with these techniques, the more comfortable and proficient you’ll become. Don’t be afraid to get creative and try new approaches, as that’s often how the most captivating macro shots are born. As you embark on your macro photography journey, keep an open mind and a curious eye. The tiny wonders that surround us are waiting to be discovered and captured through your lens. So grab your camera, venture out into the world, and let your imagination guide you as you uncover the extraordinary in the ordinary.