Compose your shots thoughtfully; look for interesting angles, use leading lines to draw the viewer’s eye, and apply the rule of thirds for balanced compositions. Shoot during the golden hours around sunrise and sunset for the most beautiful, soft lighting that brings scenes to life. Interact with locals to capture authentic moments and unique cultural insights that go beyond typical tourist shots. Pack light but bring the right gear – a versatile zoom lens, sturdy tripod,Extra batteries, and plenty of memory cards are musts for any travel photography kit.
Essential Photography Gear for Travel
Choosing the Right Camera
When it comes to choosing a camera for travel photography, there are several options to consider, each with its own advantages and disadvantages. DSLR cameras have long been the go-to choice for professionals and serious enthusiasts due to their excellent image quality, interchangeable lenses, and manual controls. However, they can be bulky and heavy, making them less than ideal for travel.
In recent years, mirrorless cameras have gained popularity among travel photographers. They offer comparable image quality to DSLRs but in a more compact and lightweight package. Many mirrorless cameras also feature advanced features like in-body image stabilization and fast autofocus, making them well-suited for capturing sharp images on the go.
Advanced compact cameras, also known as point-and-shoots, are another option for travelers who want a balance between portability and image quality. These cameras typically have larger sensors than smartphones and offer manual controls, but they don’t have interchangeable lenses.
Finally, don’t underestimate the power of your smartphone camera. Modern smartphones have impressive cameras that can capture high-quality images in a wide range of situations. They’re also the most portable option and allow you to easily edit and share your photos on the go. However, they don’t offer the same level of manual control or versatility as dedicated cameras.
Ultimately, the best camera for your travel photography needs depends on your priorities and shooting style. Consider factors like image quality, portability, ease of use, and budget when making your decision.
Must-Have Accessories
When it comes to travel photography accessories, having extra batteries and memory cards is a must. There’s nothing worse than running out of power or storage space in the middle of a shoot! A sturdy, comfortable camera bag is essential for protecting your gear on the go. Look for one with adjustable dividers, weather-resistant materials, and easy access to your equipment.
A cleaning kit with a blower, brushes, and microfiber cloths will help keep your lenses and sensors free of dust and smudges. For stable shots in low light or when using slower shutter speeds, pack a lightweight travel tripod. A polarizing filter is incredibly useful for reducing glare, enhancing colors, and adding contrast to skies and water.
Finally, don’t forget about backup! Bring an external hard drive or use cloud storage to ensure your precious memories are safe even if something happens to your camera or memory cards.
Mastering the Fundamentals
Exposure Triangle
The exposure triangle is a fundamental concept in photography that refers to the interplay between aperture, shutter speed, and ISO. Mastering these three settings is key to capturing stunning travel photos in any situation.
Aperture controls the size of the opening in your lens, which affects depth of field – how much of your image is in sharp focus. A wide aperture (low f-number like f/2.8) gives a shallow depth of field, perfect for isolating subjects like portraits or details. A narrow aperture (high f-number like f/11) keeps more of the scene in focus, ideal for landscapes where you want foreground to background sharpness.
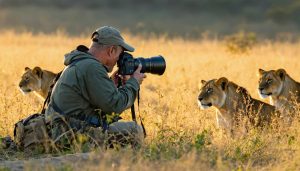
Shutter speed determines how long your camera’s sensor is exposed to light. Faster shutter speeds (like 1/1000s) freeze motion, great for action shots or wildlife. Slower speeds (like 1/60s) blur movement, useful for conveying motion in waterfalls or panning with moving subjects. Very slow shutter speeds (like 30 seconds) in low light require a tripod to avoid camera shake.
ISO relates to your camera’s sensitivity to light. Lower ISO values (100-400) produce the best image quality but need more light. Higher ISO settings (1600+) allow shooting in dimmer conditions but introduce more noise/grain. Aim for the lowest ISO possible for the situation.
By adjusting these interdependent essential camera settings, you control the final look of your travel images. Experiment to find the perfect balance for each scene you encounter on your adventures!
Composition Techniques
Composing stunning travel photos is all about understanding the fundamentals and training your eye to see creatively. One of the most important principles is the rule of thirds, where you mentally divide your frame into a 3×3 grid and place key elements along the lines or at their intersections. This creates a more balanced, visually appealing shot.
Leading lines are another powerful tool, using elements like roads, fences, or natural formations to draw the viewer’s eye into the scene. Look for opportunities to frame your subject using archways, windows, or trees to add depth and context.
Symmetry can be incredibly striking, especially in architectural or natural scenes with reflections. Keep an eye out for moments of perfect balance and alignment.
Don’t be afraid to experiment with perspective – get low, climb high, or tilt your camera for a unique angle. Play with scale by including people or familiar objects to convey the grandeur of a landscape.
Remember, rules are meant to be broken! Trust your instincts and don’t be afraid to deviate from the norms to capture something truly original. The more you practice these techniques, the more naturally you’ll start seeing creative compositions in the world around you.
Telling a Story
Travel photography is all about telling a story and capturing the essence of a place. Look for details that convey the unique character of your destination – the colorful textiles at a local market, the weathered face of a street vendor, or the steam rising from a bowl of traditional soup. Seek out scenes that evoke emotion and transport the viewer. Varying your perspective, from wide establishing shots to intimate close-ups, helps build a compelling narrative. Most importantly, take time to observe and immerse yourself in the local culture. The best travel photos often come from genuine interactions and serendipitous moments off the beaten path.
Genre-Specific Tips
Landscapes
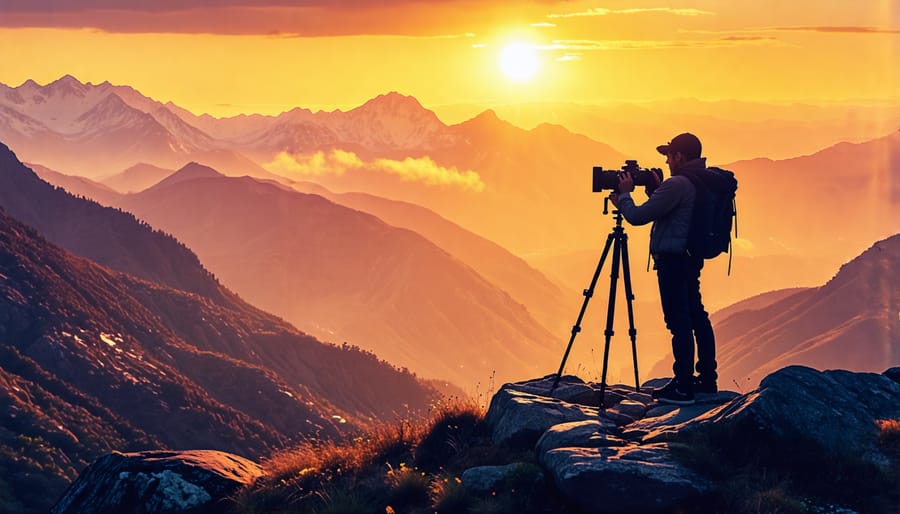
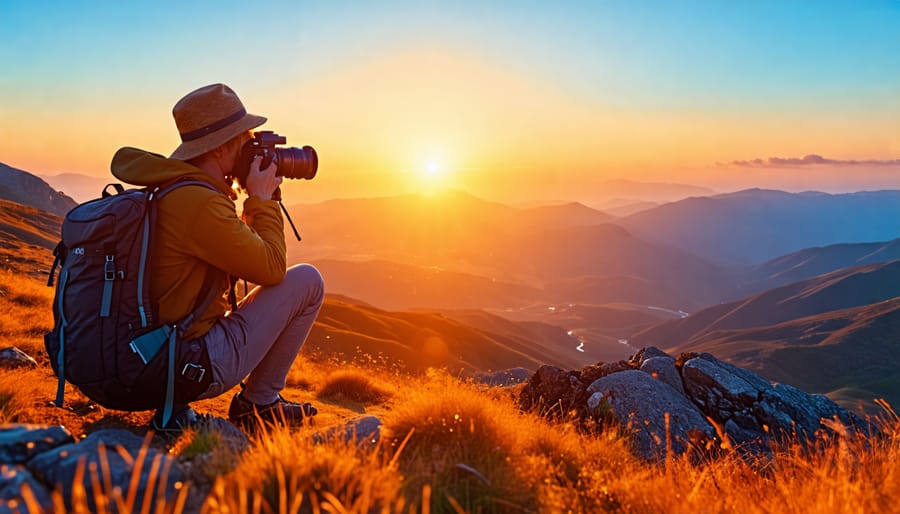
When it comes to capturing breathtaking landscapes, timing is everything. The best light often occurs during the “golden hours” – the first and last hour of sunlight each day when the sun is low on the horizon, casting a warm, golden glow across the scene. Another prime time is the “blue hour” just before sunrise or after sunset, which bathes the landscape in a cool, ethereal light.
To ensure sharp images, a sturdy tripod is essential landscape photography gear. This allows you to use slower shutter speeds without introducing camera shake, especially in low light conditions. When composing your shot, consider the rule of thirds and look for leading lines that guide the viewer’s eye through the frame.
Settings-wise, a smaller aperture (higher f-number) will give you a larger depth of field, ensuring both foreground and background elements are in focus. However, this requires a slower shutter speed, so adjust your ISO accordingly to maintain proper exposure. Experiment with different focal lengths too – wide-angle lenses can add drama and a sense of scale, while telephotos can compress the scene and highlight distant details.
Finally, don’t forget filters! A circular polarizer can reduce glare, enhance colors, and boost contrast, while neutral density filters allow for longer exposures to create silky smooth water or streaky clouds. With these tools and techniques in your arsenal, you’ll be well on your way to capturing stunning travel landscapes.
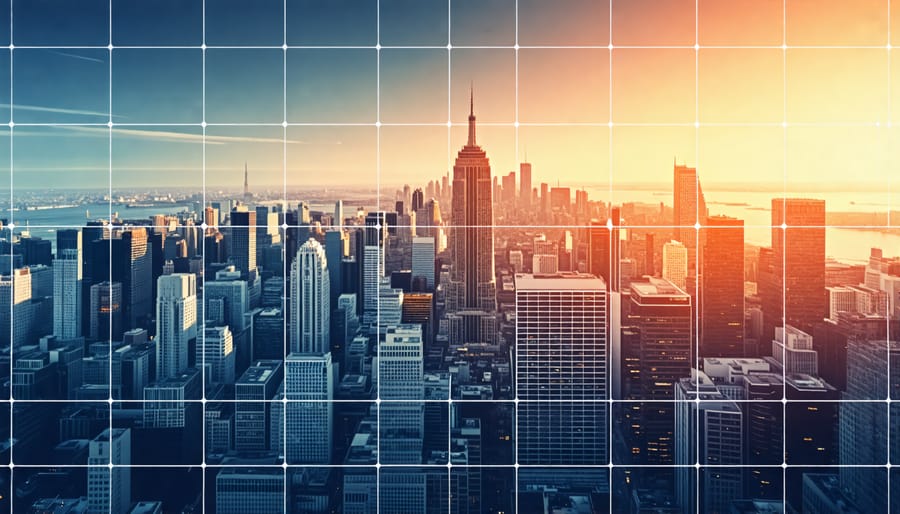
Cityscapes
Cityscapes offer a captivating blend of architecture, energy, and culture, making them irresistible subjects for travel photographers. To capture the essence of a city, start by scouting iconic landmarks and hidden gems during the day. Look for interesting angles, reflections, and juxtapositions that showcase the unique character of the buildings and streets. Experiment with wide-angle lenses to emphasize the scale of skyscrapers or use a telephoto lens to isolate architectural details.
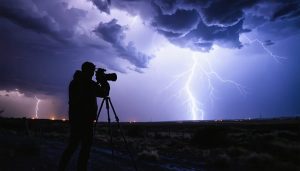
As the sun sets, the city transforms into a dazzling display of lights and shadows. This is the perfect time to experiment with night photography tips and capture the magic of the urban landscape. Use a tripod to stabilize your camera for long exposures, which will help you capture the motion of traffic and illuminate dark areas. Look for colorful neon signs, illuminated storefronts, and light trails from passing cars to add visual interest to your shots.
To convey the vibe of a city, don’t forget to photograph the people and street scenes that make it unique. Candid shots of locals going about their daily lives, bustling markets, and lively performances can help tell the story of a place. Be respectful and unobtrusive when photographing people, and always ask for permission if you want to take a close-up portrait.
Portraits
Capturing authentic portraits of locals is a skill every travel photographer should develop. When approaching potential subjects, always be respectful and ask for permission first. A warm smile and friendly demeanor can help put people at ease. If there’s a language barrier, using hand gestures or showing examples of your photos can convey your intent.
Once you have permission, decide whether a posed or candid shot will work best. Posed portraits allow you to carefully compose the shot and give your subject time to relax in front of the camera. Candid shots, on the other hand, capture more natural, spontaneous moments that reflect the subject’s personality.
Pay attention to the surroundings and use them to add context and narrative to your portraits. Shooting a street vendor in front of their stall or a farmer in their fields can tell a more complete story about their life and culture. Experiment with different angles, such as shooting from a low perspective to make your subject appear more powerful or heroic.
Remember, the goal is to create meaningful, respectful portraits that showcase the unique individuals you encounter on your travels. By taking the time to connect with your subjects and craft thoughtful compositions, you’ll come away with a collection of images that truly capture the essence of a place and its people.
Editing Your Photos
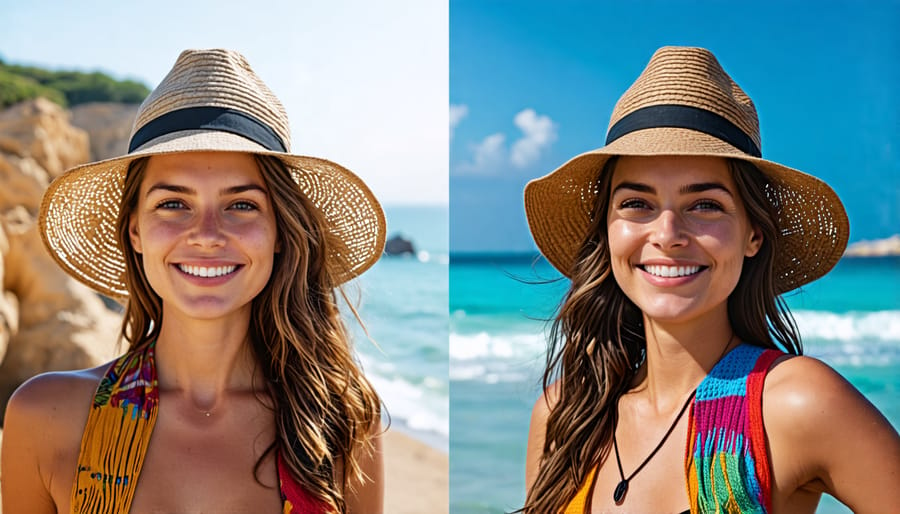
When you get back from an incredible trip, it’s natural to want your photos to reflect the beauty and wonder you experienced. This is where post-processing comes in – the process of editing your images to enhance colors, adjust exposure, and bring out the best in each shot. For beginners, post-processing can seem intimidating, but with a few simple techniques and the right software, you can take your travel photos from good to great.
One of the most popular and user-friendly options for photo editing is Adobe Lightroom. This powerful tool allows you to make global adjustments to your image, such as tweaking the white balance, exposure, and contrast, as well as more targeted edits like boosting colors or sharpening details. Lightroom also has a range of presets available, which are pre-configured settings you can apply with just one click for instant results.
Another great option for beginners is Skylum Luminar, which boasts an intuitive interface and AI-powered tools to help you quickly improve your photos. Luminar’s AI Sky Replacement feature is particularly useful for travel photography, allowing you to swap out a dull or overexposed sky with a more dramatic one in seconds.
When editing your travel photos, start with the basics – adjust the white balance to ensure accurate colors, tweak the exposure and contrast to bring out detail in the highlights and shadows, and use the clarity and sharpening tools to add crispness to your image. Be careful not to overdo it, though – you want your photos to look natural and true-to-life, not overly processed.
It’s also a good idea to experiment with cropping your photos to improve the composition or remove distracting elements from the edges of the frame. Remember, less is often more when it comes to post-processing. Your goal should be to enhance the natural beauty of the scene, not to completely alter it.
With a bit of practice and experimentation, you’ll develop a workflow that works for you and helps you consistently create stunning travel photos that you’ll be proud to share with others. Don’t be afraid to play around with different settings and techniques – the beauty of digital photography is that you can always undo any changes you make and start again.
Conclusion
In conclusion, travel photography is an incredibly rewarding pursuit that allows you to capture the essence of the places you visit and the experiences you have along the way. By understanding your camera settings, mastering composition techniques, and being prepared for various shooting situations, you’ll be well on your way to creating stunning travel images. Remember, the key to success is practice, patience, and a willingness to step out of your comfort zone. So grab your camera, embark on your next adventure, and let your creativity shine through your photographs. The world is waiting to be captured through your lens!